3D Print Overheating: Fix Drooping and Deformation on Small Parts
What Does Overheating Look Like?
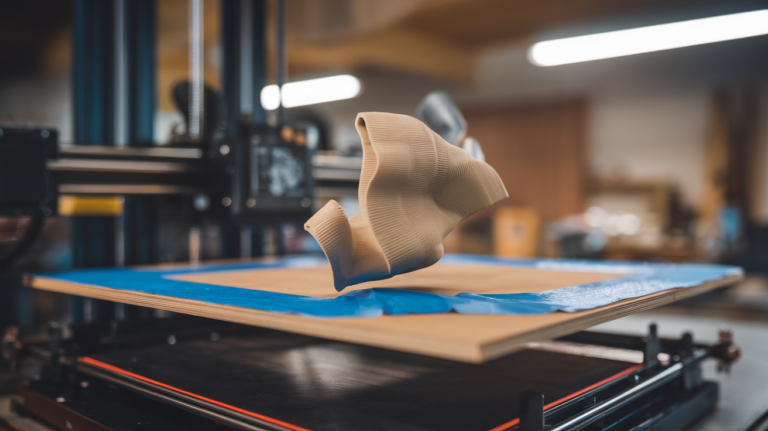
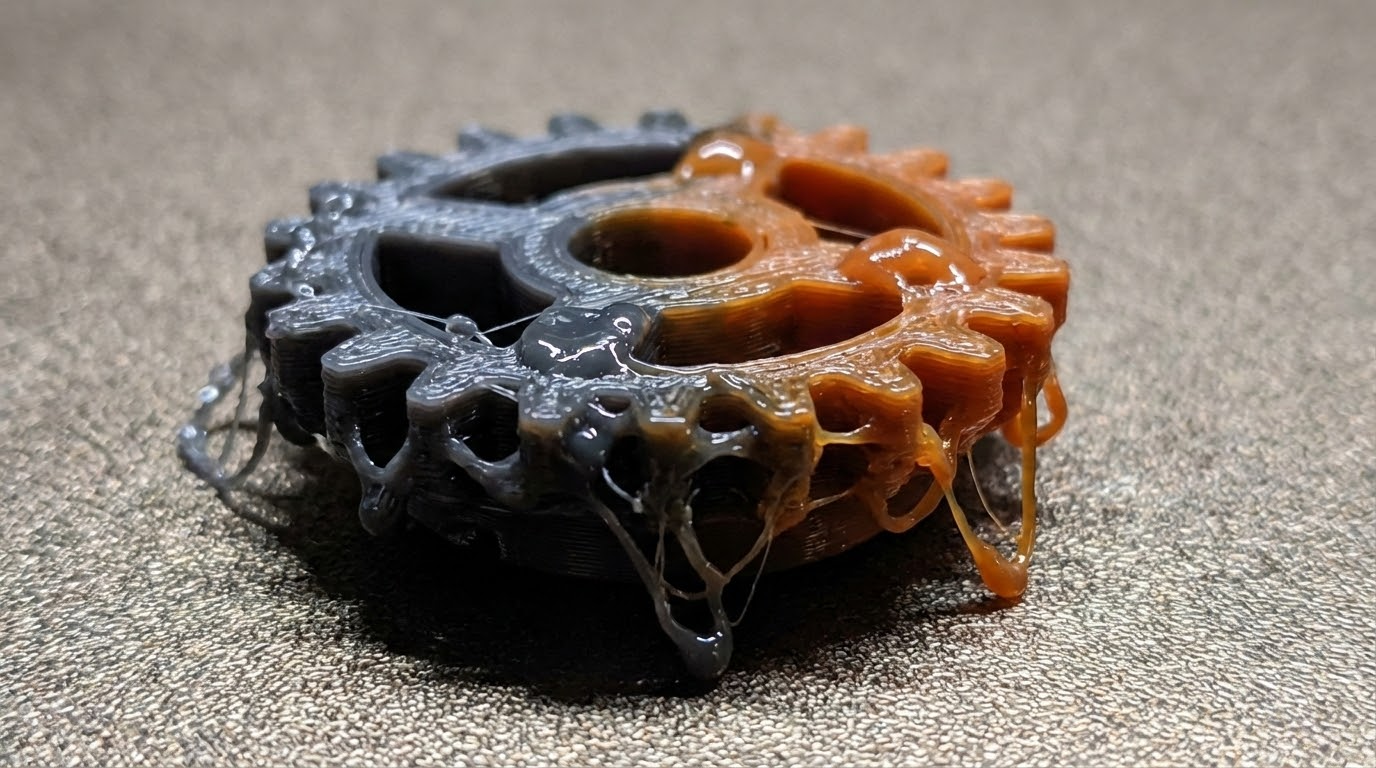
You’re printing a detailed miniature, a thin tower, or any part with small cross-sections, and somewhere around the top it starts to look… melted. The layers get blobby, details disappear, and the whole structure starts leaning or curling. That’s overheating, and it’s one of the most common issues when printing small or thin parts.
The problem is simple physics: when you’re printing a tiny layer, the nozzle deposits hot plastic and then immediately comes back for the next layer. There’s not enough time for the previous layer to cool and solidify before new hot material gets dumped on top of it. The result is a mushy mess where each new layer deforms the one below it.
This is especially brutal on things like pointed tops of figurines, thin spires, small cylindrical posts, and any geometry that gets progressively smaller as it goes up. The smaller the layer area, the less time it has to cool.
Why Cooling Is Everything for Small Parts
On a large print, each layer takes minutes to complete. By the time the nozzle comes back around, the previous layer has had plenty of time to cool. But on a 5mm diameter cylinder? The nozzle might complete one layer in 2-3 seconds and immediately start the next one. That’s nowhere near enough cooling time.
Your part cooling fan helps, but on really small parts, even 100% fan speed can’t cool the plastic fast enough when layers are being deposited every few seconds. This is where you need to get creative with your slicer settings.
Fix #1: Minimum Layer Time
This is the single most effective setting for preventing overheating on small parts. Every major slicer has it:
- Cura: “Minimum Layer Time” under Cooling
- PrusaSlicer: “Slow down if layer print time is below” under Filament Settings → Cooling
- OrcaSlicer: “Slow down for curling perimeters” and “Min layer time”
Set this to at least 10-15 seconds. What this does is force the printer to slow down on small layers so each one gets a minimum amount of cooling time before the next layer starts. If a layer would normally take 3 seconds, the printer will reduce its speed to stretch it out to your minimum time.
For really tiny features (sub-10mm), I sometimes bump this to 20 seconds. Yes, it makes those layers print painfully slow, but the quality difference is dramatic.
Fix #2: Print Multiple Objects at Once
This is an often-overlooked trick that works beautifully. Instead of printing one miniature, print two or three spread across the bed. While the nozzle is printing on object B, object A is cooling down. By the time the nozzle returns to object A, it’s had plenty of time to solidify.
You can even print a “sacrificial tower” — a small cylinder placed near your main object that serves no purpose other than giving the previous layer cooling time. Some slicers call this a “cooling tower” or you can just manually add a cylinder in your slicer.
Fix #3: Reduce Print Temperature
Lowering your nozzle temperature reduces how fluid the plastic is when it exits the nozzle. Less fluid plastic solidifies faster, which means less drooping on small features. For PLA, try dropping from your normal temperature to 190-195°C. For PETG, drop 5-10°C from your usual setting.
There’s a limit to how low you can go — too cold and you’ll get poor layer adhesion and potential jams. But most people run hotter than necessary, so there’s usually room to come down.
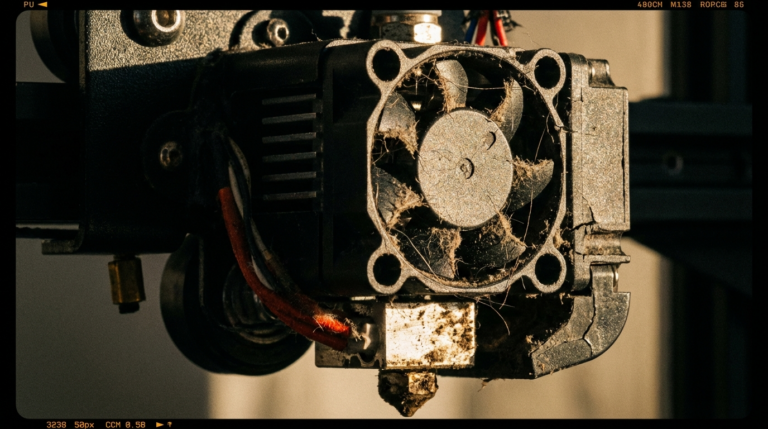
Fix #4: Maximize Fan Cooling
Make sure your part cooling fan is at 100% for these problem layers. If your slicer ramps up fan speed gradually over the first few layers (which is normal to help bed adhesion), make sure it reaches 100% well before the small features start.
If you’re still seeing issues with the fan at max, your cooling duct might be the bottleneck. Stock cooling ducts on budget printers like the Ender 3 are notoriously bad — they only blow from one side, leaving the other side of the print poorly cooled. Upgrading to a dual-sided duct like the HeroMe Gen7 or Briss Fang can make a massive difference.
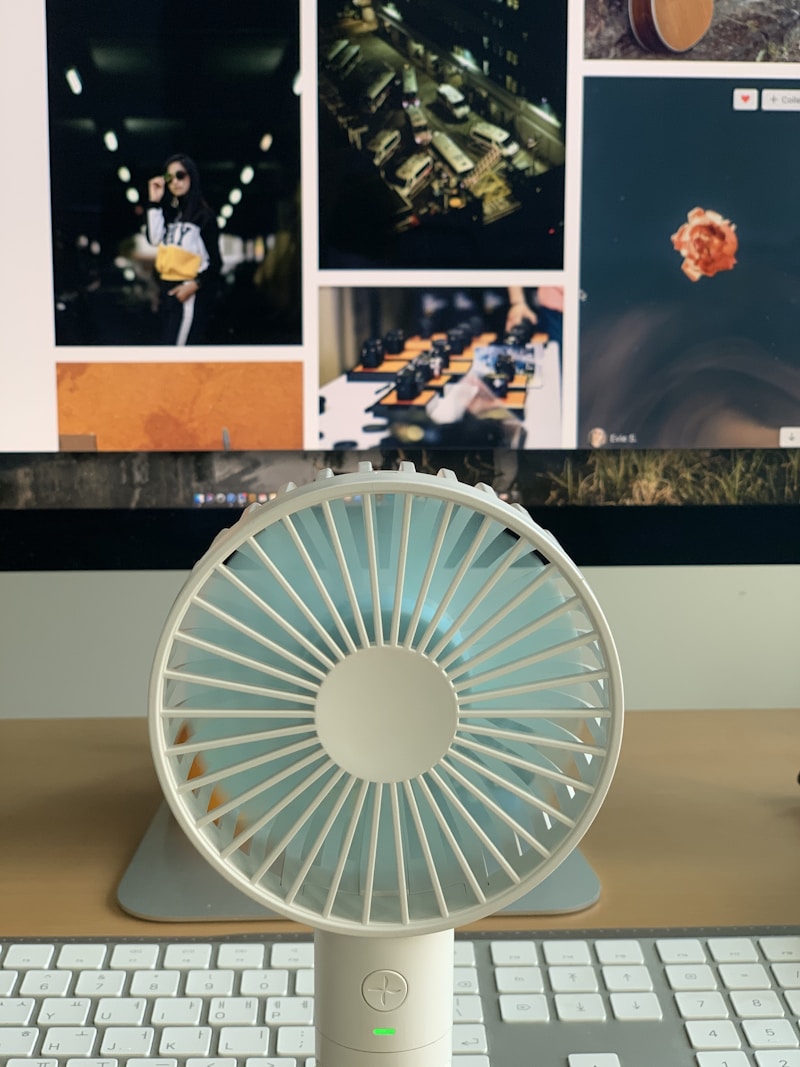
Another option: point a desk fan at your printer during these tricky prints. It’s crude, but effective. The extra ambient airflow helps cool the plastic faster than the part cooling fan alone.
Fix #5: Reduce Print Speed for Small Features
Beyond the minimum layer time setting, you can explicitly reduce the speed for small perimeters. In PrusaSlicer, there’s a “Small perimeters” speed setting specifically for this. Set it to 15-25mm/s for features under 6mm radius.
Slower printing = more time per layer = more cooling time. It’s the same principle as minimum layer time, but gives you more granular control.
Fix #6: Use a Smaller Layer Height
Thinner layers mean less material deposited per pass, which means less heat dumped into the part per layer. Going from 0.2mm to 0.12mm layer height can noticeably reduce overheating issues on small features. The tradeoff is longer print time, but for detailed parts where you’re already printing slowly, the difference isn’t as dramatic as you’d think.
Advanced: Per-Object Settings
Both PrusaSlicer and Cura support per-object or per-region settings. This means you can keep your normal fast settings for the bulky base of your model, and only apply the slow, cool settings to the small detailed sections near the top.
In PrusaSlicer, right-click an object and choose “Add settings for this object” → you can override speed, temperature, and cooling settings. In Cura, you can add a “Per Model Settings” modifier to specific parts of the mesh.
Material Matters
Different filaments respond differently to overheating:
- PLA: Most susceptible to overheating on small features because of its low glass transition temperature (~60°C). But it also responds best to fan cooling.
- PETG: More heat-resistant but strings more, so overheating small PETG parts creates a double whammy of drooping plus stringing.
- ABS: Rarely has overheating issues on small parts because you typically print with minimal cooling (to prevent warping). But when it does happen, there’s less you can do about it without causing other problems.
- TPU: Flexible filaments are very prone to overheating and there’s no good fix other than printing extremely slowly with maximum cooling.
My Go-To Settings for Detailed Small Parts (PLA)
- Temperature: 195°C (down from my usual 210°C)
- Minimum layer time: 15 seconds
- Fan speed: 100% after layer 3
- Small perimeter speed: 20mm/s
- Layer height: 0.12mm
- Extra object on bed: Sacrificial cooling tower
With these settings, I can print miniatures with antenna-thin details and pointed tips without any drooping. It takes patience — a detailed mini might take 4-5 hours instead of 2 — but the results speak for themselves.
The key insight is that overheating on small parts isn’t a printer problem, it’s a time problem. Give each layer enough time to cool, whether through slower speeds, minimum layer time, or printing multiple objects, and the problem disappears.