3D Print Pillowing: How to Fix Bumpy Top Layers
What Is Pillowing in 3D Printing?
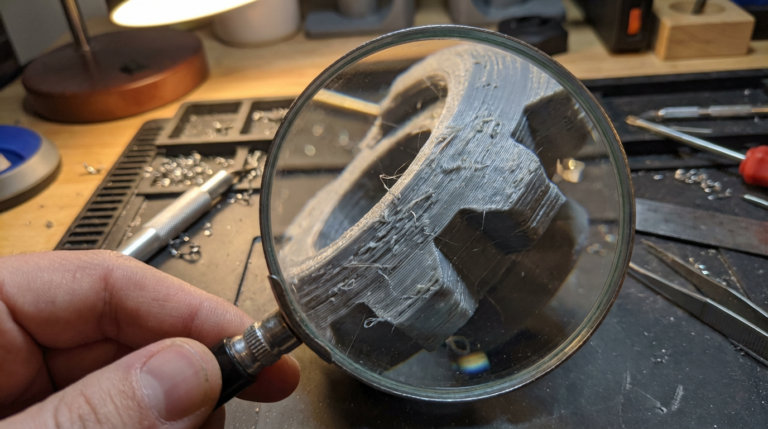
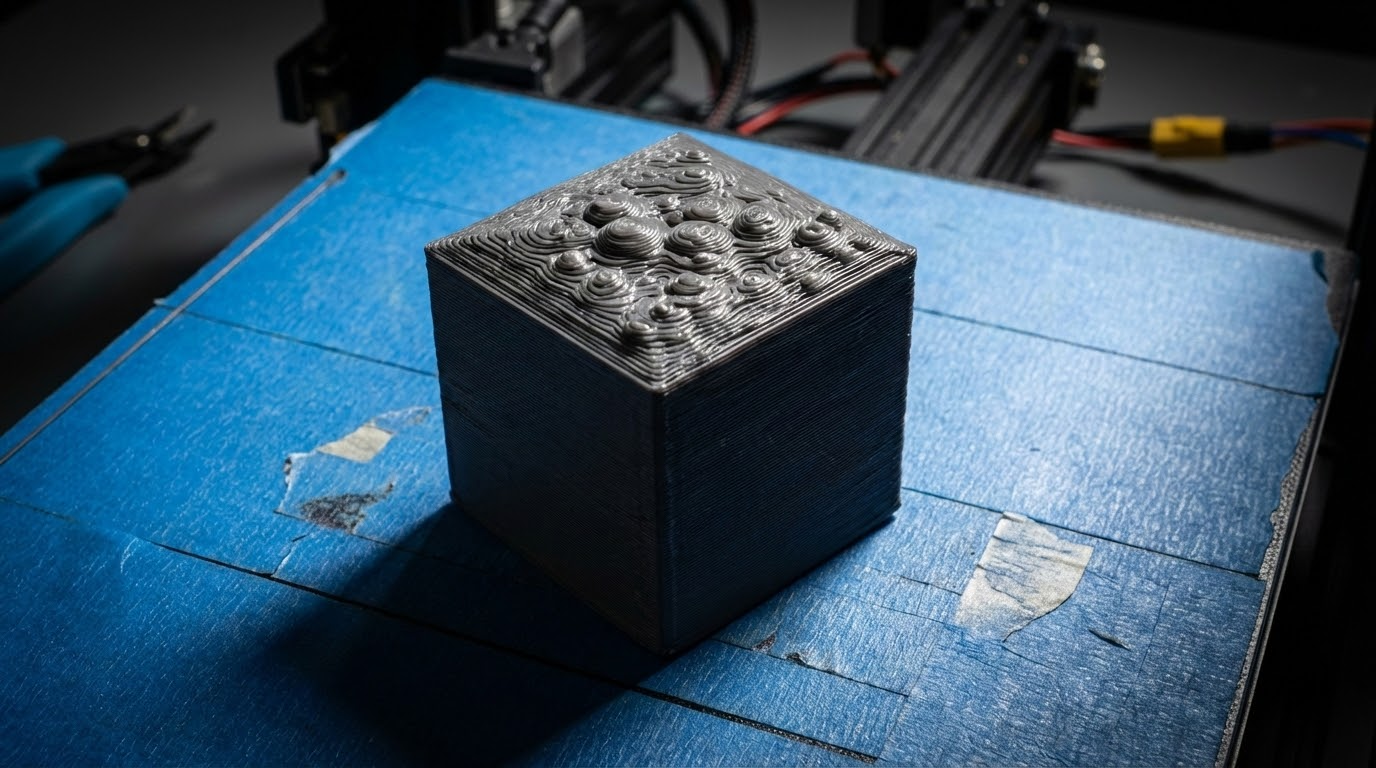
If you’ve ever pulled a print off the bed and noticed the top surface looks bumpy, uneven, or full of tiny gaps — congratulations, you’ve encountered pillowing. It’s one of the most frustrating cosmetic defects in FDM printing because everything else about the print might look perfect, but that top layer tells a different story.
Pillowing happens when the top layers of your print don’t fully close over the infill pattern beneath. Instead of a smooth, solid surface, you get a rough texture that mirrors the infill structure underneath — almost like a pillow being pushed up from the inside. Hence the name.
The good news? This is almost always fixable with a few slicer adjustments. Let’s break down exactly why it happens and what you can do about it.
Why Does Pillowing Happen?
Understanding the root cause is half the battle. Pillowing is essentially a cooling and coverage problem. Here’s what’s going on under the hood:
Not Enough Top Layers
This is the number one cause. If you’re only printing 2-3 top layers, the plastic simply doesn’t have enough material to bridge over the gaps in your infill pattern. Each top layer tries to span the distance between infill lines, and if there aren’t enough layers stacked up, the plastic sags into those gaps before it can solidify.
For most prints, you want a minimum of 5-6 top layers. Some people go as high as 8 for absolutely bulletproof top surfaces. The exact number depends on your layer height — the goal is roughly 1mm of solid top shell thickness.
Infill Percentage Too Low
When your infill is set to something like 10-15%, the gaps between infill lines are massive. Your top layers need to bridge those gaps, and the wider the gap, the more likely you’ll see sagging and pillowing. Bumping infill to 20-25% gives the top layers much better support.
Poor Cooling
This is the other major factor. When plastic is extruded over a gap (bridging over infill), it needs to cool and solidify quickly before gravity pulls it down. If your part cooling fan isn’t doing its job, the filament stays molten too long and sags into the infill voids.
Print Temperature Too High
Running your hotend temperature on the high end makes the plastic more fluid, which means it takes longer to solidify when bridging. If you’re seeing pillowing, try dropping your temperature by 5-10°C and see if it helps.
How to Fix Pillowing: Step-by-Step
Here’s my recommended approach, starting with the changes that have the biggest impact:
Step 1: Increase Top Layers
Open your slicer and find the top/bottom shell settings. In Cura, this is under “Top/Bottom” → “Top Layers.” In PrusaSlicer, it’s under “Layers and perimeters” → “Top solid layers.”
Set it to at least 5 layers. If your layer height is 0.2mm, that gives you 1mm of solid top. For 0.12mm layers, bump it to 8. The formula is simple:
Top layers = 1.0mm ÷ layer height
This single change fixes pillowing in about 70% of cases.
Step 2: Bump Up Infill
If you’re running infill below 20%, try increasing it to 20-25%. Yes, it uses more material and adds print time, but it dramatically reduces the span your top layers need to bridge.
Alternatively, try changing your infill pattern. Gyroid and cubic infill patterns create more evenly distributed support points compared to grid or lines, which can help with pillowing even at lower infill percentages.

Step 3: Maximize Cooling
Make sure your part cooling fan is running at 100% for the top layers. Most slicers let you set fan speed per layer or per feature. For PLA, there’s no reason not to run the fan at full blast for top surfaces.
If you have a single-sided fan duct, consider upgrading to a dual-sided or 360° cooling solution. The HeroMe Gen7 and Briss Fang are popular options that significantly improve cooling coverage.
Step 4: Lower Print Temperature
If you’re printing PLA at 215°C, try dropping to 205°C for the top layers. Many slicers support per-feature temperature adjustments. Cooler plastic solidifies faster when bridging, which reduces sagging.
Step 5: Reduce Top Layer Speed
Slowing down the top layers gives each line of plastic more time to bond with the layer below and cool before the next pass. Try reducing top surface speed to 20-30mm/s. In Cura, look for “Top Surface Skin Speed.” In PrusaSlicer, it’s “Top solid infill” under speed settings.
Step 6: Enable Ironing
If you’ve tried everything above and still want an even smoother top surface, enable ironing in your slicer. This feature makes the nozzle pass over the top surface again with minimal extrusion, essentially heat-pressing the plastic smooth. It adds time but produces gorgeous results.
In Cura, find it under “Top/Bottom” → “Enable Ironing.” Start with a flow rate of 10% and an ironing speed of about 40% of your normal speed.
Pillowing Fix Cheat Sheet
Here’s a quick reference for your slicer settings:
- Top layers: Minimum 5 (aim for 1mm total thickness)
- Infill: At least 20%, preferably gyroid or cubic pattern
- Cooling: 100% fan for top layers
- Temperature: Drop 5-10°C from your normal setting
- Top layer speed: 20-30mm/s
- Ironing: Enable for perfect finish (optional)
When Pillowing Isn’t Really Pillowing
Sometimes what looks like pillowing is actually a different problem. If you see rough top surfaces with tiny holes or bubbles, that might be wet filament. Moisture in your filament turns to steam during printing and creates micro-voids on the surface. The fix there is drying your filament, not adjusting slicer settings.
Similarly, if the roughness is only on specific areas of the top surface (near where the nozzle travels to a new section), you might be dealing with a Z-seam or travel-related oozing issue rather than true pillowing.
Prevention Is Better Than Cure
Once you’ve dialed in your top layer settings, save them as part of your default profile. There’s no real downside to having 5+ top layers and decent infill — the extra material cost is minimal, and the print time increase is usually just a few minutes.
I’ve been running 6 top layers, 20% gyroid infill, and full cooling on all my PLA profiles for over a year now, and pillowing is essentially a non-issue. The occasional super-large flat top surface might need ironing for a truly mirror finish, but day-to-day prints come out smooth every time.
Got a specific case of pillowing that won’t go away? Drop a comment below with your slicer settings and I’ll take a look. Sometimes it takes a fresh pair of eyes to spot what’s going wrong.