3D Print Poor Layer Adhesion: Why Your Layers Split and How to Fix It
When Layers Don’t Bond
Layer adhesion is what makes the difference between a solid functional part and a fragile decoration that snaps the first time you apply any force. Poor layer adhesion — sometimes called delamination or layer splitting — means the bond between printed layers is weak. Parts crack along layer lines, walls separate when stressed, and structural prints fail at a fraction of their expected strength.
This is one of the most consequential problems in FDM printing because it directly affects whether your prints can actually be used for anything beyond shelf decoration. A print with perfect surface quality but poor layer adhesion is fundamentally weaker than an ugly print with great bonding.
The good news is that layer adhesion is almost entirely within your control. Let’s fix it.
How to Tell If You Have Poor Layer Adhesion
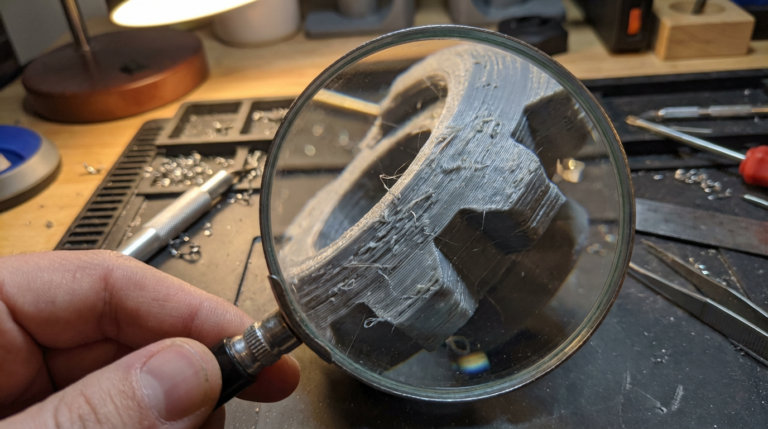
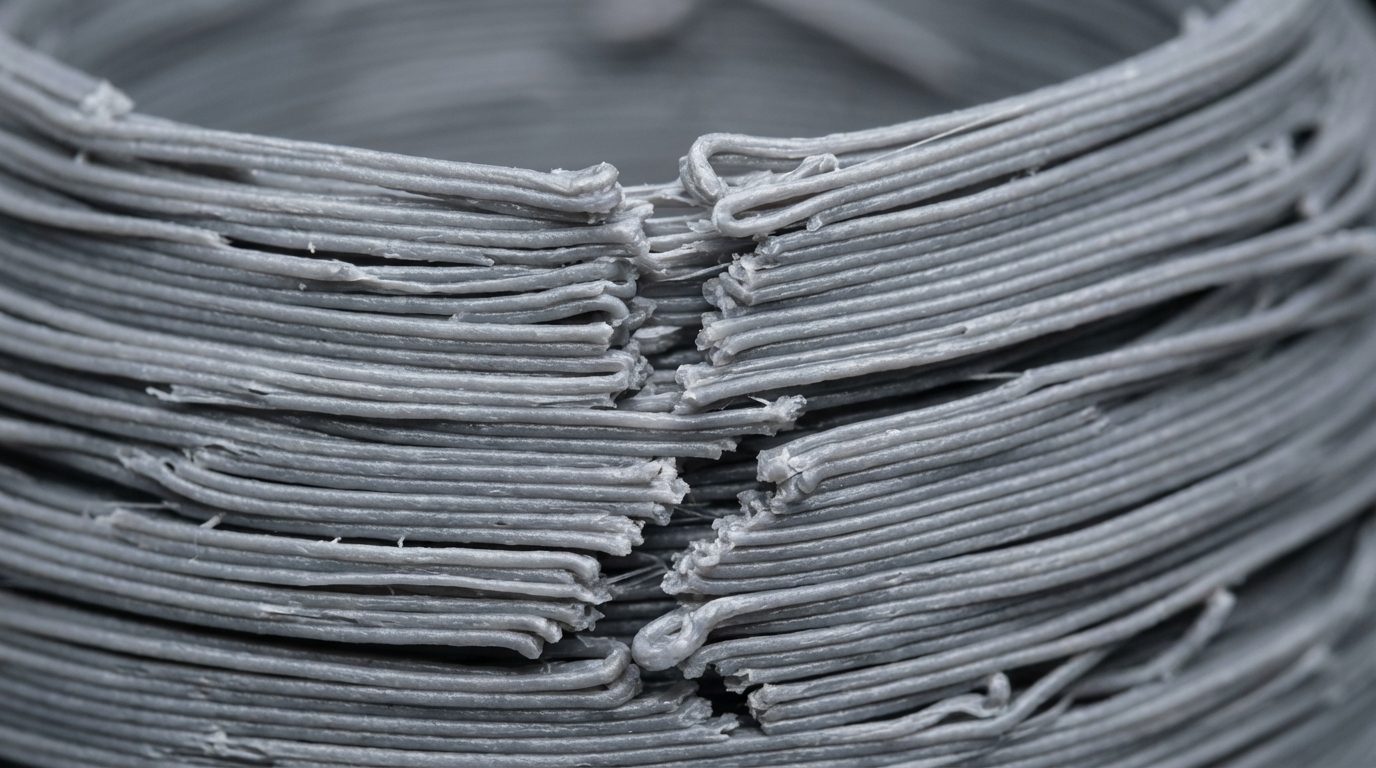
The obvious sign is layers visibly separating — you can see gaps between layers or peel them apart with your fingernail. But poor adhesion isn’t always that dramatic. Here’s what to look for:
- Parts snap along layer lines. If a part breaks cleanly between layers rather than fracturing through the layer itself, adhesion is the weak point
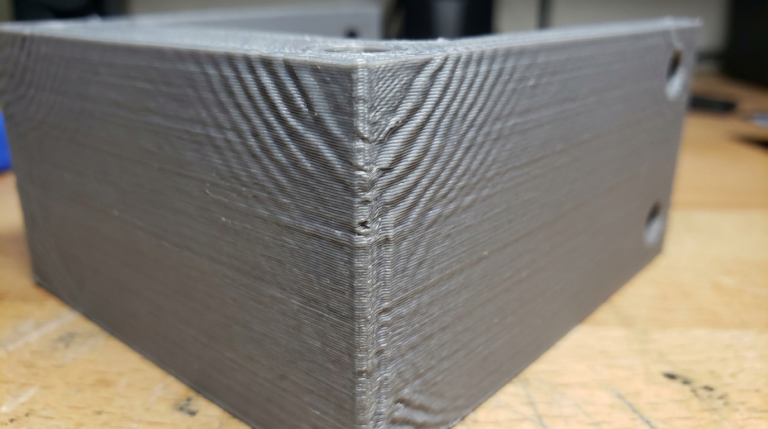
- Visible layer separation lines. Horizontal cracks or gaps, especially on tall prints or near temperature-sensitive areas
- Layers peel apart easily. You shouldn’t be able to separate layers with your fingers on a well-bonded print
- Reduced part strength. Parts that should be sturdy feel fragile when you flex them along the Z-axis
- Delamination during printing. Layers lifting or curling up mid-print, especially on overhangs or near cooling fans
Causes and Fixes
1. Printing Temperature Too Low
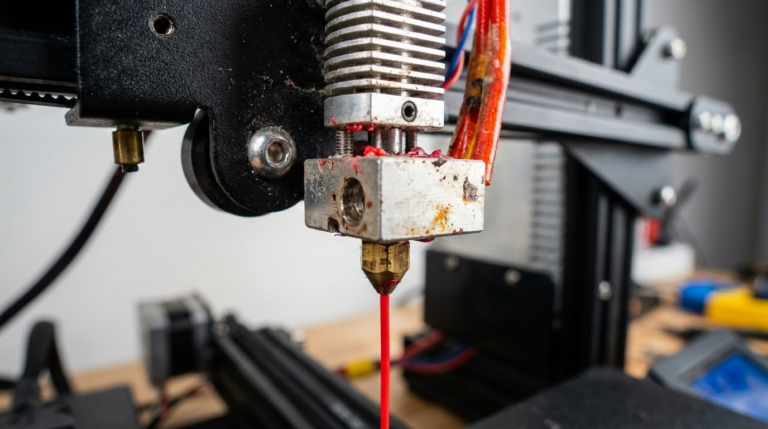
This is the single most common cause of poor layer adhesion. When the extruded plastic isn’t hot enough, it doesn’t properly fuse with the layer below. The new layer cools and solidifies before it can form a molecular bond with the previous layer.
How to fix:
- Increase nozzle temperature by 5-10°C increments
- Print a temperature tower to find the optimal temperature for layer bonding
- For PLA: try 215-220°C instead of the typical 200°C. Higher temps hurt bridging but improve adhesion
- For PETG: 235-245°C usually gives the best layer bonding
- For ABS: 240-250°C in an enclosed printer
The trade-off: Higher temperatures improve adhesion but increase stringing and may cause drooping on overhangs. Find the balance that works for your specific use case — structural parts should be printed hotter than decorative ones.
2. Cooling Fan Too Strong
Part cooling fans are essential for overhangs and bridging, but they directly fight layer adhesion. A powerful fan cools the freshly extruded plastic so quickly that it can’t bond properly with the layer below.
How to fix:
- Reduce fan speed, especially for the first 5-10 layers
- For PLA: try 50-70% instead of 100% if layer adhesion matters more than surface quality
- For PETG: 30-50% fan or even 0% for maximum adhesion
- For ABS: minimal or no part cooling (use enclosure instead)
- Use variable fan speed — lower for solid sections, higher for overhangs
3. Layer Height Too Tall
There’s a physical limit to how well layers bond based on height. Taller layers have less surface area relative to their volume in contact with the previous layer, and they cool differently. Layers above 0.3mm (with a 0.4mm nozzle) generally show reduced adhesion compared to 0.2mm layers.
How to fix:
- Keep layer height between 25-75% of your nozzle diameter
- For structural parts, prefer 0.16-0.2mm layers with a 0.4mm nozzle
- If you need thick layers for speed, increase temperature to compensate
4. Print Speed Too Fast
When you print fast, each layer has less time to bond with the previous one before the nozzle moves on. The extruded plastic is also under more pressure, which can cause inconsistent layer deposition.
How to fix:
- Slow down to 40-50mm/s for parts that need strong layer adhesion
- Reduce speed specifically for outer walls and structural sections
- If you want to maintain speed, increase temperature by 5-10°C to compensate
5. Under-Extrusion
If you’re not putting down enough plastic, layers can’t bond properly. There simply isn’t enough material to create a strong connection between layers. Under-extrusion creates visible gaps and thin spots that become weak points.
How to fix:
- Calibrate your e-steps (extruder steps per millimeter)
- Increase flow rate by 2-5% if walls aren’t fully touching
- Check for partial clogs that restrict flow
- Verify filament diameter is accurate in your slicer settings
6. Wet Filament
Moisture in filament creates steam bubbles during extrusion. These bubbles create micro-voids between layers — tiny pockets of air that weaken the bond. The effect is cumulative: slightly wet filament might reduce adhesion by 20-30%, while very wet filament can cut it in half.
How to fix:
- Dry filament before printing: PLA at 45°C for 4-6 hours, PETG at 65°C for 4-6 hours, Nylon at 70°C for 12 hours
- Print from a dry box for moisture-sensitive materials
- Store filament in sealed containers with desiccant
7. Drafts and Temperature Fluctuations
Ambient temperature changes — open windows, AC vents, people walking by the printer — cause uneven cooling. One side of the print cools faster than the other, creating internal stress that weakens layer bonds and can cause delamination.
How to fix:
- Print in an enclosed area away from drafts
- Use a printer enclosure (even a simple cardboard box helps)
- For ABS and other warp-prone materials, a heated enclosure is strongly recommended
- Don’t place your printer near windows or HVAC vents
8. Extrusion Width Too Narrow
If your extrusion width is set narrower than optimal, each line has less overlap with adjacent lines and less squish against the previous layer. This reduces the contact area and weakens bonds.
How to fix:
- Set extrusion width to 100-120% of your nozzle diameter (e.g., 0.4-0.48mm for a 0.4mm nozzle)
- Wider extrusion creates more squish, which presses the new layer harder against the old one
Material-Specific Adhesion Tips
PLA
PLA actually has decent layer adhesion when printed at the right temperature. The common mistake is printing too cool (190-200°C). For maximum adhesion, bump it to 215-220°C and reduce cooling fan to 50-70%. The print won’t look quite as crisp, but it’ll be significantly stronger.
PETG
PETG naturally has good layer adhesion — it’s one of its strengths. If your PETG prints have poor adhesion, temperature is almost certainly the issue. PETG needs 230-245°C and minimal cooling (30-50% max). Printing PETG in a cold room can also cause problems.
ABS / ASA
ABS is notorious for delamination because it shrinks as it cools. The shrinkage creates internal stress that pulls layers apart. The solution is always the same: enclosed printer, heated bed at 100-110°C, minimal cooling fan, and print temperature of 240-250°C. There’s no shortcut with ABS — you need proper temperature management.
Nylon
Nylon absorbs moisture like a sponge, and wet nylon has terrible layer adhesion. Dry it thoroughly (70°C for 12+ hours) and print from a dry box. When properly dried and printed at 250-260°C, nylon has excellent layer bonding.
Testing Layer Adhesion
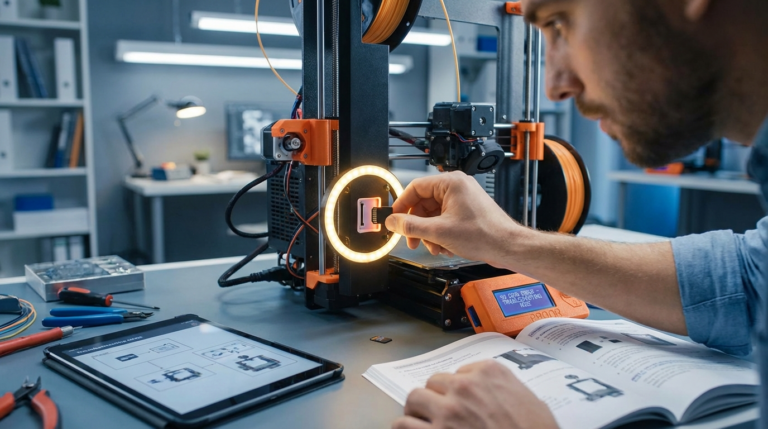
Don’t just eyeball it. Print a layer adhesion test to quantify improvements:
- Hook test: Print a hook shape and hang increasing weights from it until it fails. Note whether it breaks through layers or between them
- Snap test: Print a thin bar (2mm × 10mm × 100mm, printed vertically) and bend it. A well-bonded print bends before snapping; a poorly bonded one cracks cleanly between layers
- Twist test: Print a cylinder and try to twist it. Layer adhesion failures show as spiral cracks along layer lines
The 80/20 Fix
If you just want to improve layer adhesion quickly without going through every possible cause, do these three things:
- Raise temperature 10°C above what you’re currently using
- Reduce cooling fan to 50% (or lower for non-PLA materials)
- Dry your filament even if you think it’s fine
These three changes address the most common causes and will noticeably improve adhesion in most cases. Fine-tune from there based on your specific situation.