3D Print Stuck to Bed? How to Remove It Safely and Prevent Over-Adhesion
You’ve just finished a beautiful 10-hour print, and now it’s welded to the bed. You can’t pry it off without risking damage to the print, the bed surface, or your fingers. Sound familiar? Prints sticking too strongly to the build plate is one of the most frustrating 3D printing problems because it usually happens after a successful print — turning a win into a potential disaster. Let’s fix this.
Why Prints Get Stuck: Understanding the Problem
Excessive bed adhesion happens when the combination of temperature, surface preparation, and first layer settings creates a bond stronger than intended. Several factors contribute:
Bed temperature too high. Higher temperatures make filament flow more readily into the surface texture of your build plate, creating a stronger mechanical bond. PLA on a bed heated to 70°C will stick dramatically harder than at 50°C.
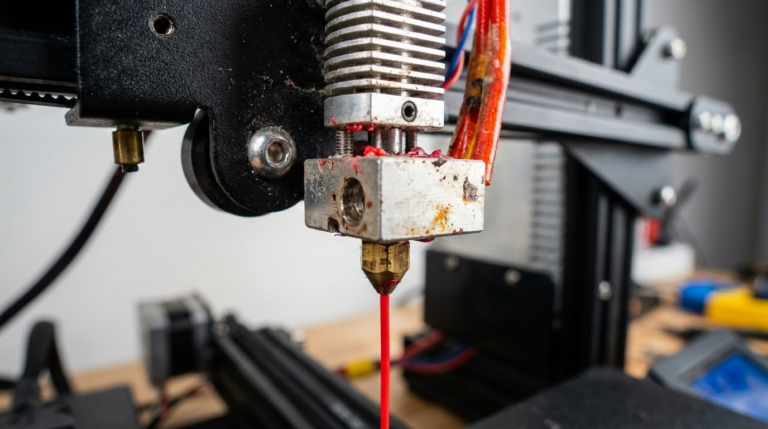
Nozzle too close to bed. When the first layer is squished too flat, the filament is literally pressed into the bed surface. This creates maximum surface contact and an extremely strong bond. A first layer that’s 0.05mm too close can turn “good adhesion” into “welded permanently.”
Too much adhesive. Glue stick, hairspray, or other adhesion aids work great for helping prints stick — but applying too much creates an overly strong bond. A thin, even coat is all you need.
Prevention: Settings That Give Perfect Adhesion Without Over-Sticking
Optimize Your Bed Temperature
The right bed temperature provides adhesion during printing but allows easy removal when cooled. Here are the sweet spots:
- PLA: 50-55°C (not the 60-70°C many profiles default to)
- PETG: 70-75°C (PETG bonds aggressively to some surfaces — see the PETG section below)
- ABS: 100-110°C (needs high temp for warping prevention)
- TPU: 40-50°C (or room temperature on textured PEI)
If prints stick too hard, try reducing bed temperature by 5°C increments until you find the balance between “sticks during printing” and “releases when cooled.”
First Layer Height and Z-Offset
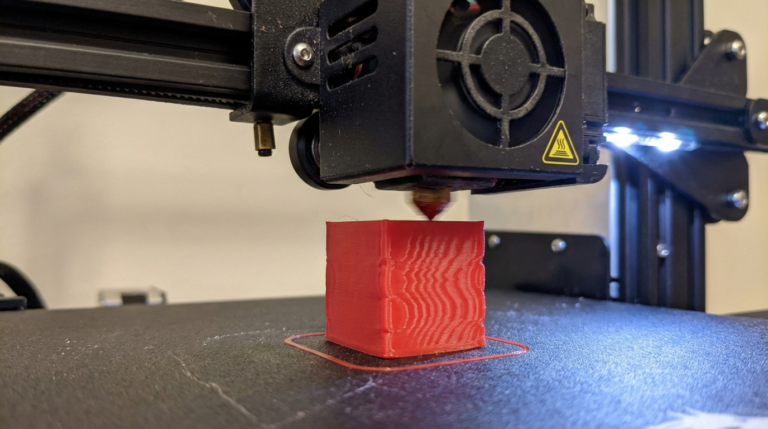
Your first layer should be slightly squished — not pancake flat. A good first layer shows individual lines that are slightly wider than your nozzle diameter but still have visible separation. If your first layer looks like a solid sheet with no line definition, your nozzle is too close.
Increase your Z-offset by 0.02mm increments until the first layer has clean, defined lines with slight squish. Use a first layer test print (a single-layer square) to dial this in without wasting a long print.
The Right Bed Surface for Your Filament
Different bed surfaces have different release characteristics:
- Smooth PEI: Excellent adhesion during printing, good release when cool. Can over-stick with PETG — use a release agent.
- Textured PEI: Best all-around option. Good adhesion when hot, prints pop off when cool. Handles most filaments without adhesion aids.
- Glass: Consistent surface. Prints usually release on their own when fully cooled. Can be too slippery for some filaments.
- BuildTak/magnetic sheets: Good adhesion but can be damaged by prints that stick too hard.
The PETG Problem: Special Considerations
PETG deserves its own section because it bonds chemically to PEI surfaces, not just mechanically. This means PETG can literally fuse to smooth PEI sheets, tearing chunks out of the surface when you try to remove the print.
Solutions for PETG on PEI:
- Use textured PEI instead of smooth — the texture prevents chemical bonding.
- Apply a thin layer of glue stick as a release agent (yes, the same glue that helps other filaments stick actually prevents PETG from bonding too strongly).
- Use Windex or a light mist of hairspray as a separation layer.
- Lower the bed temperature to 65-70°C.
- Increase first layer Z-offset slightly.
How to Remove a Stuck Print Without Damage
Method 1: Let It Cool Completely
This is the first thing to try and often the only thing needed. Most bed surfaces are designed to release prints when fully cooled to room temperature. Don’t try to pry the print off a warm bed. Turn off the heated bed and wait 15-20 minutes. For glass beds, you might hear the print “pop” off on its own as the glass contracts during cooling.
For extra-stubborn prints, put the entire build plate in the freezer for 10-15 minutes. The thermal contraction will break the bond. This works especially well with glass and PEI surfaces.
Method 2: The Flex and Pop
If you have a removable magnetic flex plate (spring steel with PEI), simply remove the plate from the printer and flex it. The slight bending is usually enough to break the adhesion bond and pop the print off cleanly. This is one of the biggest advantages of magnetic build systems.
Method 3: Dental Floss or Thin Wire
Slide a piece of dental floss or thin fishing line under one corner of the print and work it back and forth in a sawing motion. This gradually separates the print from the bed without the risk of gouging that comes with metal tools. This technique works particularly well on glass beds.
Method 4: Isopropyl Alcohol Soak
Apply isopropyl alcohol (90% or higher) around the edges of the stuck print. Capillary action will draw the alcohol under the print, weakening the adhesion bond. Wait 5-10 minutes and try again. This works best when adhesion aids (glue, hairspray) are causing the over-adhesion.
Method 5: Print Removal Tool (Last Resort)
A thin, sharp paint scraper or dedicated print removal spatula can work, but use it carefully. Approach from a low angle to avoid gouging the bed surface. Never use a box cutter or razor blade — the risk of injury is too high and they can damage build surfaces. A plastic razor blade is a safer alternative.
When the Print Is Truly Welded
If none of the above methods work, the print may be chemically bonded to the bed surface (common with PETG on smooth PEI). In this case:
- Accept that some bed surface damage may occur.
- Heat the bed to printing temperature, then use a thin metal spatula to work under the print while warm.
- Work slowly, rotating around the print’s perimeter.
- After removal, clean any remaining material with acetone (for PEI) or isopropyl alcohol (for glass).
- If the PEI surface is damaged, sand with 1500-2000 grit sandpaper to restore it.
Preventive Measures Going Forward
Once you’ve freed your stuck print, take these steps to prevent it from happening again:
- Run a bed adhesion test. Print a 50x50mm single-layer square and check that it peels off easily when cool.
- Calibrate your Z-offset properly. Use a piece of paper (0.1mm gap) or a feeler gauge for consistent results.
- Clean your bed surface correctly. Use isopropyl alcohol before each print. Avoid touching the bed with bare hands — finger oils create inconsistent adhesion.
- Use the right amount of adhesion aid. A thin, even coat of glue stick is enough. If you can see it clearly, you’ve applied too much.
- Add a raft or brim only when needed. Rafts provide a sacrificial layer between your print and the bed, making removal easier for problematic filaments.
Final Thoughts
A print sticking too well to the bed is a much better problem than not sticking at all — it means your adhesion fundamentals are solid. The fix is usually as simple as lowering bed temperature by 5-10°C, increasing Z-offset slightly, or switching to a textured PEI surface. For PETG, always use a release agent on smooth PEI. And remember: patience is your best tool. Let the bed cool completely before trying to remove anything. Your prints (and your fingers) will thank you.