3D Print Tolerance and Clearance Guide for Perfect Assemblies
Why Tolerance and Clearance Matter in 3D Printing
If you’ve ever printed two parts that were supposed to snap together — and they didn’t — you already know the pain of poor tolerances. 3D printing isn’t injection molding. Your printer has quirks, your filament has quirks, and the laws of thermodynamics aren’t exactly on your side. Understanding tolerance and clearance is the difference between functional assemblies and a pile of plastic that almost works.
In this guide, I’ll walk you through everything you need to know about designing parts that actually fit together. We’ll cover the fundamentals, practical clearance values for different fit types, and how to calibrate your specific printer so your assemblies come out right the first time.
Tolerance vs. Clearance: What’s the Difference?
Tolerance is the acceptable range of deviation from a nominal dimension. If you design a peg at 10mm diameter with a tolerance of ±0.2mm, any peg between 9.8mm and 10.2mm is considered acceptable.
Clearance is the intentional gap between two mating parts. If your hole is 10.4mm and your peg is 10mm, you have 0.4mm of clearance (0.2mm per side).
These two concepts work together. Your tolerance determines how consistently you can hit a target dimension, and your clearance accounts for that inconsistency plus any functional requirements like sliding, pressing, or rotating.
Typical FDM Printer Tolerances
Most well-calibrated FDM printers achieve dimensional accuracy within ±0.1mm to ±0.3mm on the XY axes. The Z-axis is typically more accurate since it’s controlled by the stepper motor directly, usually within ±0.05mm per layer.
However, several factors affect your actual tolerance:
- Nozzle diameter: A 0.4mm nozzle produces extrusion widths around 0.42-0.48mm, which affects minimum feature size
- Material shrinkage: PLA shrinks about 0.3-0.5%, PETG about 0.5-1%, and ABS about 1-2%
- Print orientation: Parts are generally more accurate in XY than Z due to layer stacking
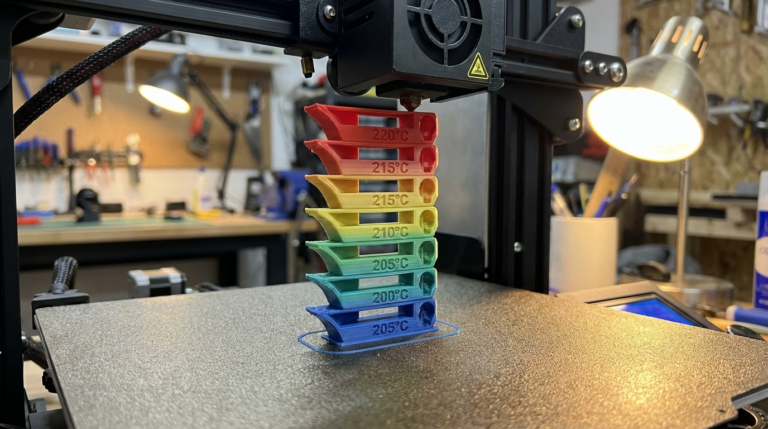
- Temperature: Higher temps mean more oozing and slight dimensional changes
- First layer squish: The bottom of your part is almost always slightly wider than designed
Clearance Values for Different Fit Types
After years of printing functional parts, here are the clearance values I’ve found work reliably across most FDM printers:
Press Fit (Interference Fit)
Use -0.1mm to 0.0mm clearance. The parts should require force to assemble and stay put without adhesive. This works best with PLA and PETG. For a 10mm peg, make the hole 9.9-10.0mm.
Snug Fit (Transition Fit)
Use 0.1mm to 0.2mm clearance per side. Parts slide together with gentle pressure and hold position through friction. Great for removable covers and alignment pins.
Sliding Fit (Clearance Fit)
Use 0.2mm to 0.3mm clearance per side. Parts move freely against each other. This is what you want for pistons, drawer slides, and rotating joints.
Loose Fit
Use 0.3mm to 0.5mm clearance per side. Parts have visible gaps and move freely with play. Useful for parts that need to accommodate thermal expansion or minor misalignment.
How to Calibrate Your Printer’s Tolerances
Every printer is different, so the clearance values above are starting points. Here’s how to dial in your specific machine:
Step 1: Print a Calibration Cube
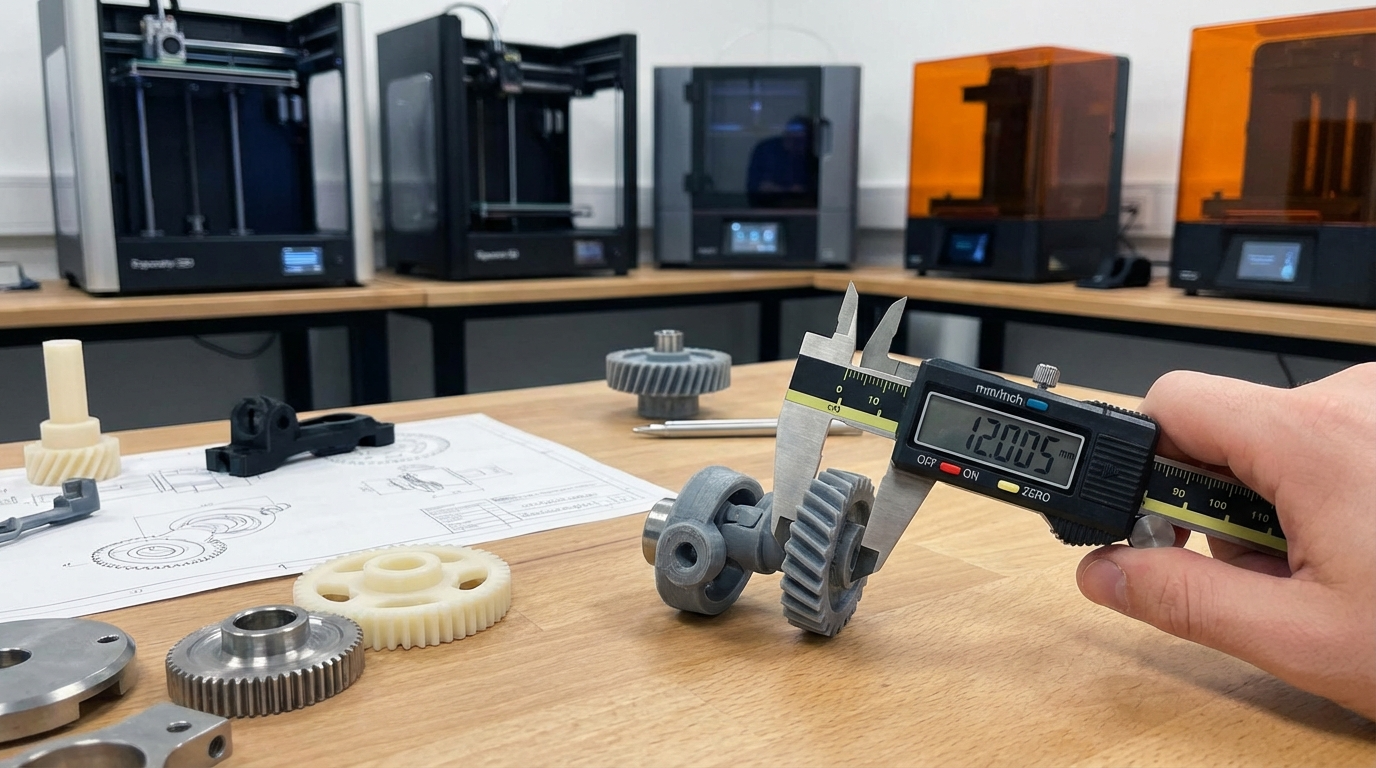
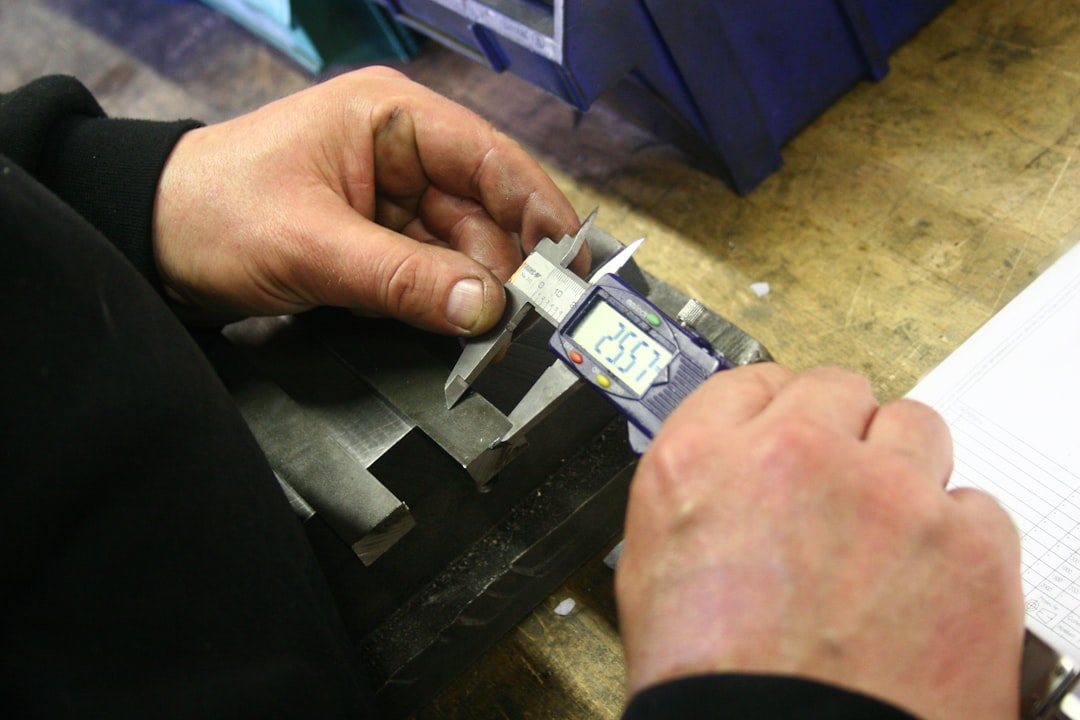
Print a 20mm calibration cube and measure all three axes with digital calipers. Note the deviation from 20mm on each axis. If your X measures 20.15mm, your printer is over-extruding or your flow rate is too high on that axis.
Step 2: Print a Tolerance Test
There are several tolerance test models available on Thingiverse and Printables. The most common one features a series of pegs and holes with different clearance values from 0.1mm to 0.5mm. Print one and see which pairs snap together, slide, or are too tight.
Step 3: Calibrate E-Steps and Flow Rate
Before blaming your design, make sure your printer is extruding the right amount of plastic. Calibrate your e-steps first, then fine-tune flow rate using a single-wall cube method. A flow rate that’s off by even 5% can ruin your tolerances.
Step 4: Account for Elephant’s Foot
The first layer or two of any print tend to squish outward, creating a wider base than designed. This is especially problematic for parts that need to fit into other parts. Use your slicer’s elephant foot compensation feature (usually 0.1-0.2mm) or simply add a small chamfer to the bottom edges of your design.
Design Tips for Better Assemblies
Beyond getting your clearances right, there are several design strategies that make your printed assemblies more reliable:
- Add chamfers or fillets to mating edges. A 0.5mm chamfer on a peg makes insertion much easier and reduces the chance of cracking
- Orient parts to minimize support contact on mating surfaces. Supported surfaces are rougher and less dimensionally accurate
- Use test prints. Before committing to a 12-hour print, print just the mating section to verify fit
- Design for post-processing. If you know you’ll need to sand or file a surface, leave an extra 0.1-0.2mm of material
- Consider print orientation. Holes printed vertically (in the Z direction) are more accurate than holes printed horizontally
- Use horizontal hole compensation. Holes printed along the XY plane tend to be slightly smaller due to the bridging effect at the top. Oversize them by 0.2-0.4mm
Material-Specific Considerations
Different filaments behave differently when it comes to tolerances:
PLA: The most dimensionally accurate common filament. Low shrinkage, predictable behavior. Great for tight-tolerance assemblies. However, it’s brittle — press-fit joints can crack if forced.
PETG: Slightly more shrinkage than PLA and tends to string, which can affect surface finish on mating surfaces. Add 0.05mm extra clearance compared to PLA. More forgiving for press fits due to its flexibility.
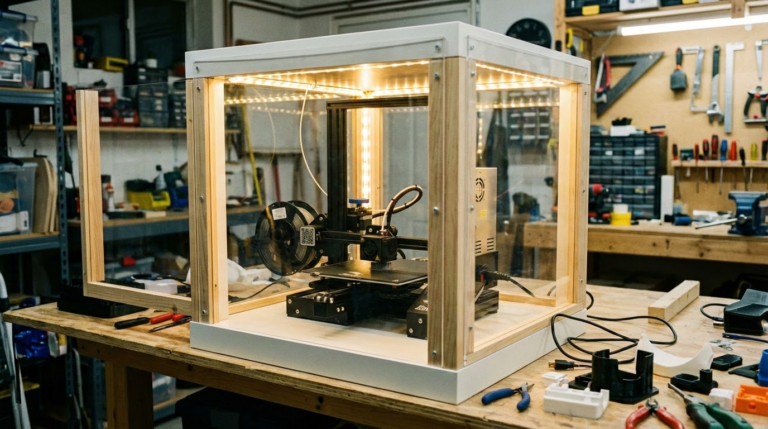
ABS: Significant shrinkage (1-2%) means you need to account for it in your design. Parts will physically shrink as they cool. Consider scaling your model up by 1-1.5% or adjusting clearances accordingly. An enclosure helps maintain dimensional consistency.
TPU: Flexible filaments are a whole different game. Traditional tolerance rules don’t apply well because the material deforms under pressure. Use generous clearances (0.5mm+) and design for the flexibility.
Common Mistakes to Avoid
After reviewing hundreds of assembly designs from the 3D printing community, these are the mistakes I see most often:
- Not testing before the full print. Always print a small test section of your joint or assembly first
- Using the same clearance for all materials. ABS needs more clearance than PLA due to higher shrinkage
- Ignoring print orientation effects. A feature that works perfectly when printed on its side might fail when printed vertically
- Forgetting about elephant’s foot. The bottom of your part is not the same dimension as the rest
- Not accounting for slicer settings. Different layer heights, speeds, and temperatures all affect dimensional accuracy
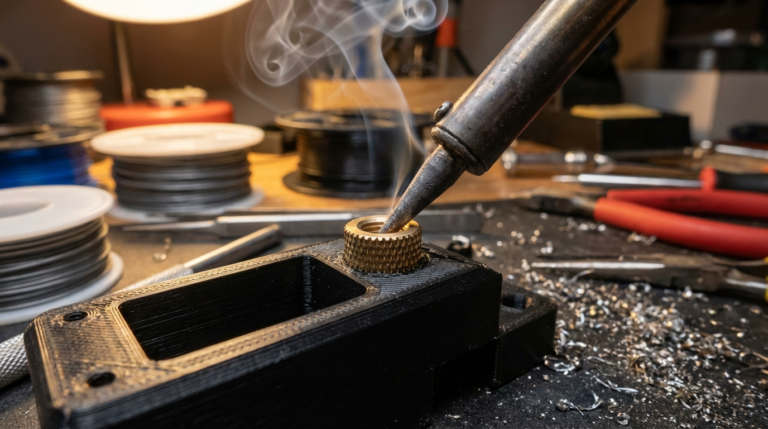
When to Use Heat-Set Inserts Instead
Sometimes the best tolerance strategy is to avoid plastic-to-plastic fits entirely. Heat-set threaded inserts provide reliable, repeatable connections that don’t depend on your printer’s dimensional accuracy. Use them when:
- You need to assemble and disassemble multiple times
- The joint needs to bear significant load
- You want consistency across multiple copies of a part
Final Thoughts
Getting tolerances right is one of those skills that separates hobby prints from functional engineering. Start with the clearance values in this guide, print a tolerance test on your specific printer, and keep notes on what works. Over time, you’ll develop an intuition for how much clearance your machine needs — and your assemblies will start fitting together like they were designed to.
The single most important takeaway: always test your fits before committing to a full print. A 10-minute test peg can save you hours of reprinting and frustration.