3D Printer Dry Run Test: How to Verify Your Print Before Wasting Filament
You’ve sliced your model, loaded the filament, and you’re ready to hit print. But should you? A dry run — moving through the print motions without actually extruding — is one of the most underused tools in a 3D printer operator’s toolkit. It catches problems that would otherwise waste hours of print time and meters of filament.
This guide explains what a dry run is, when you should do one, and exactly how to set it up on any FDM 3D printer.
What Is a 3D Printer Dry Run?
A dry run is exactly what it sounds like: your printer executes the motion commands from a G-code file without heating the nozzle or extruding filament. The printhead moves through the exact paths it would follow during a real print, but nothing comes out.
Think of it as a dress rehearsal. You’re checking that the choreography works before the actual performance.
A dry run can catch:
- Toolpath collisions with clips, binder clips, or bed leveling hardware
- Print exceeding the physical build volume (crashing into frame or endstops)
- Cable snags at extreme positions
- Unexpected travel moves or strange patterns from slicer bugs
- Mechanical issues like binding, grinding, or belt skip under rapid moves
- Timing — how long will this print actually take at these speeds?
When Should You Dry Run?
You don’t need to dry run every print. For a standard benchy or a quick prototype on a printer you know well, just hit print. But there are situations where a dry run saves you real headaches:
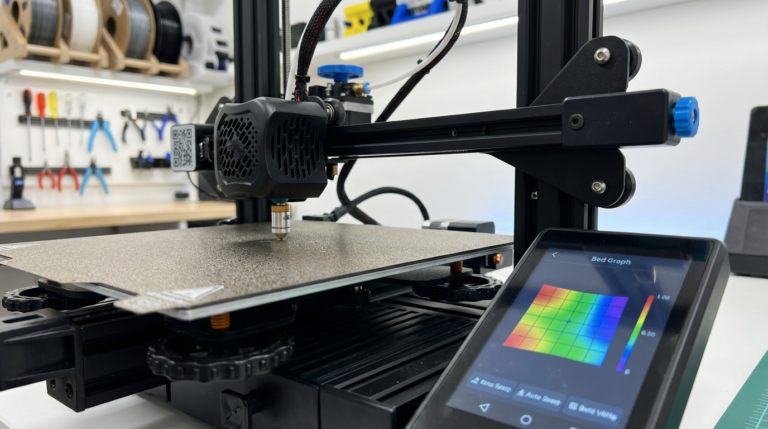
Large Prints That Use the Full Build Volume
When your model fills most of the available build area, even small miscalculations in origin position or slicer build volume settings can cause the nozzle to crash into the frame. A 30-second dry run at the first layer is much cheaper than discovering this 8 hours into a print.
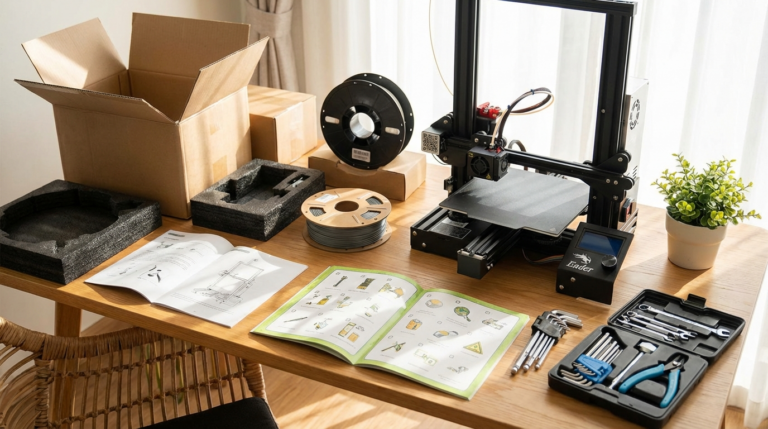
New Printer or New Firmware
After assembling a new printer, flashing new firmware, or making significant mechanical changes, a dry run confirms that the motion system works correctly before you commit to heating elements and filament.
Multi-Part Bed Layouts
When you’ve arranged multiple parts across the build plate, travel moves between parts can be surprisingly aggressive. Dry running the first few layers confirms that nothing clips the bed edges or collides with hold-down hardware.
After Slicer Updates
Slicer software updates occasionally introduce bugs in toolpath generation. If you’ve just updated Cura, PrusaSlicer, or OrcaSlicer and something feels off in the preview, a quick dry run provides real-world confirmation.
Method 1: The Quick and Simple Approach
The easiest way to dry run is to simply not heat anything:
- Load your G-code file as normal (SD card, USB, or network)
- Start the print from the printer’s menu
- Immediately set nozzle temperature to 0 using the printer’s temperature controls
- Set bed temperature to 0 as well
- Watch the motion — the printer will execute all movement commands without extruding (since cold filament won’t flow)
On most printers, the G-code starts with heating commands (M104/M109 for the nozzle, M140/M190 for the bed). By overriding these to 0, the printer skips the heating wait and goes straight to motion. Some printers will wait for temperature regardless — in that case, use Method 2.
Method 2: Edit the G-Code
For a proper dry run, modify the G-code file before loading it:
- Open the .gcode file in a text editor (Notepad++, VS Code, or any plain text editor)
- Find and delete or comment out all heating commands:
M104andM109— nozzle heatingM140andM190— bed heating
Comment out by adding a semicolon at the start:
;M109 S210 - Find and delete all extrusion commands — search for lines containing
Evalues in G1 moves. Or simpler: use a script to strip the E parameter from all G1 commands. - Save as a new file (e.g.,
model_dryrun.gcode) and load it
This approach gives you a true dry run where the printer moves through every toolpath at full speed without any extrusion or heating. It’s the cleanest method but requires a bit of G-code editing comfort.
Method 3: Use Your Slicer’s Preview
Modern slicers have excellent G-code preview tools that serve as a virtual dry run:
In Cura: After slicing, use the layer view slider to scrub through every layer. Enable “Travel” visibility to see non-printing moves. Look for moves that extend beyond the build plate boundaries.
In PrusaSlicer/OrcaSlicer: The G-code preview shows toolpaths color-coded by type (perimeter, infill, travel, support). Use the layer slider and the vertical scroll to review the entire print.
The slicer preview catches most geometry and toolpath issues, but it can’t detect physical problems like cable snags, loose belts, or mechanical binding. For physical confirmation, you still need an actual dry run.
Method 4: Air Print with Raised Z-Offset
This hybrid approach is useful when you want to test the full heating and extrusion sequence without actually printing on the bed:
- Set your Z-offset 5–10mm higher than normal (through firmware or slicer)
- Start the print normally
- The printer heats up, starts extruding, and moves through all toolpaths — but 5mm above the bed surface
- Filament extrudes into air and falls away harmlessly
This tests the complete printing process including extrusion, temperature stability, and retraction behavior, while being easy to abort and clean up.
What to Watch For During a Dry Run
Don’t just start the dry run and walk away. Pay attention to:
- Listen for unusual sounds — clicking (skipped steps), grinding (binding), or resonance (loose components)
- Watch the first layer boundary — does the nozzle come dangerously close to bed clips or edges?
- Note the travel moves — are there long sweeping moves across the bed that might snag on anything?
- Check the Z-axis at layer changes — smooth, consistent movements or jerky/inconsistent lifts?
- Time it — if your slicer estimates 6 hours but the dry run motion (minus heating time) seems much faster or slower, there might be a settings mismatch
Pro Tip: First-Layer-Only Dry Run
Most print failures happen in the first few layers. Instead of dry-running the entire print (which can take a long time), dry run just the first 2–3 layers:
- In your slicer, set the print to stop after layer 3 (PrusaSlicer has a “stop printing at height” option, or you can insert M0 at the appropriate line in G-code)
- Run this shortened G-code as a dry run
- Confirm the first layer fits the bed, avoids clips, and the brim/skirt/raft generates where expected
- Then print the full file with confidence
Dry Runs for Multi-Material and Tool-Changing Printers
If you’re running a printer with multiple extruders or a tool-changing system (like the Prusa XL or custom tool changers), dry runs become even more critical. Tool change movements are aggressive and can collide with printed parts, purge towers, or the tool dock itself. Running a dry version of the first 10–20 layers catches tool change collision issues before they wreck your print or damage the tool-changing mechanism.
The 60-Second Rule
Here’s a practical guideline: if the print will take longer than 4 hours, spend 60 seconds watching the first layer of a dry run. The time investment is trivial compared to the time you’ll lose if the print fails at hour 3.
For quick prints under an hour, skip the dry run — the cost of a failure is low enough that direct printing makes more sense. For anything large, expensive, or time-sensitive, that 60-second dry run is the cheapest insurance you’ll ever buy.
It’s not glamorous. It won’t make your Instagram feed. But the dry run is one of those boring, practical habits that separates people who consistently get good prints from people who consistently waste filament.