3D Printer Filament Grinding: Causes, Fixes, and Prevention
3D Printer Filament Grinding: Causes, Fixes, and Prevention
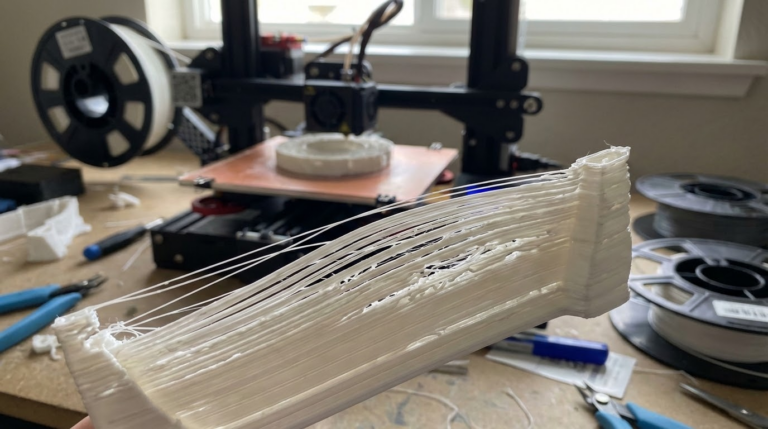
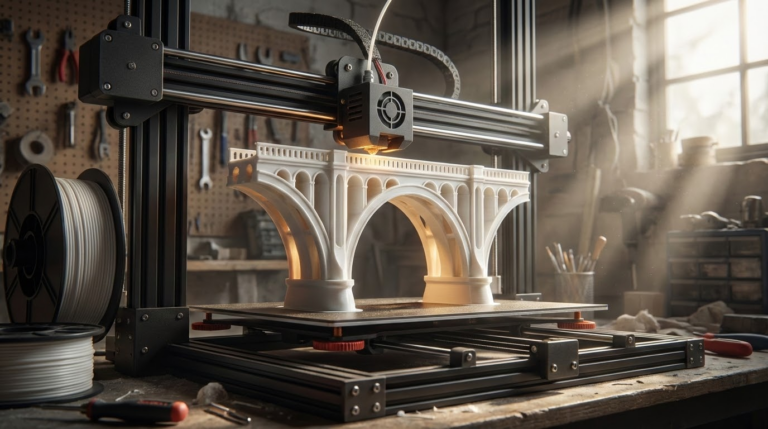
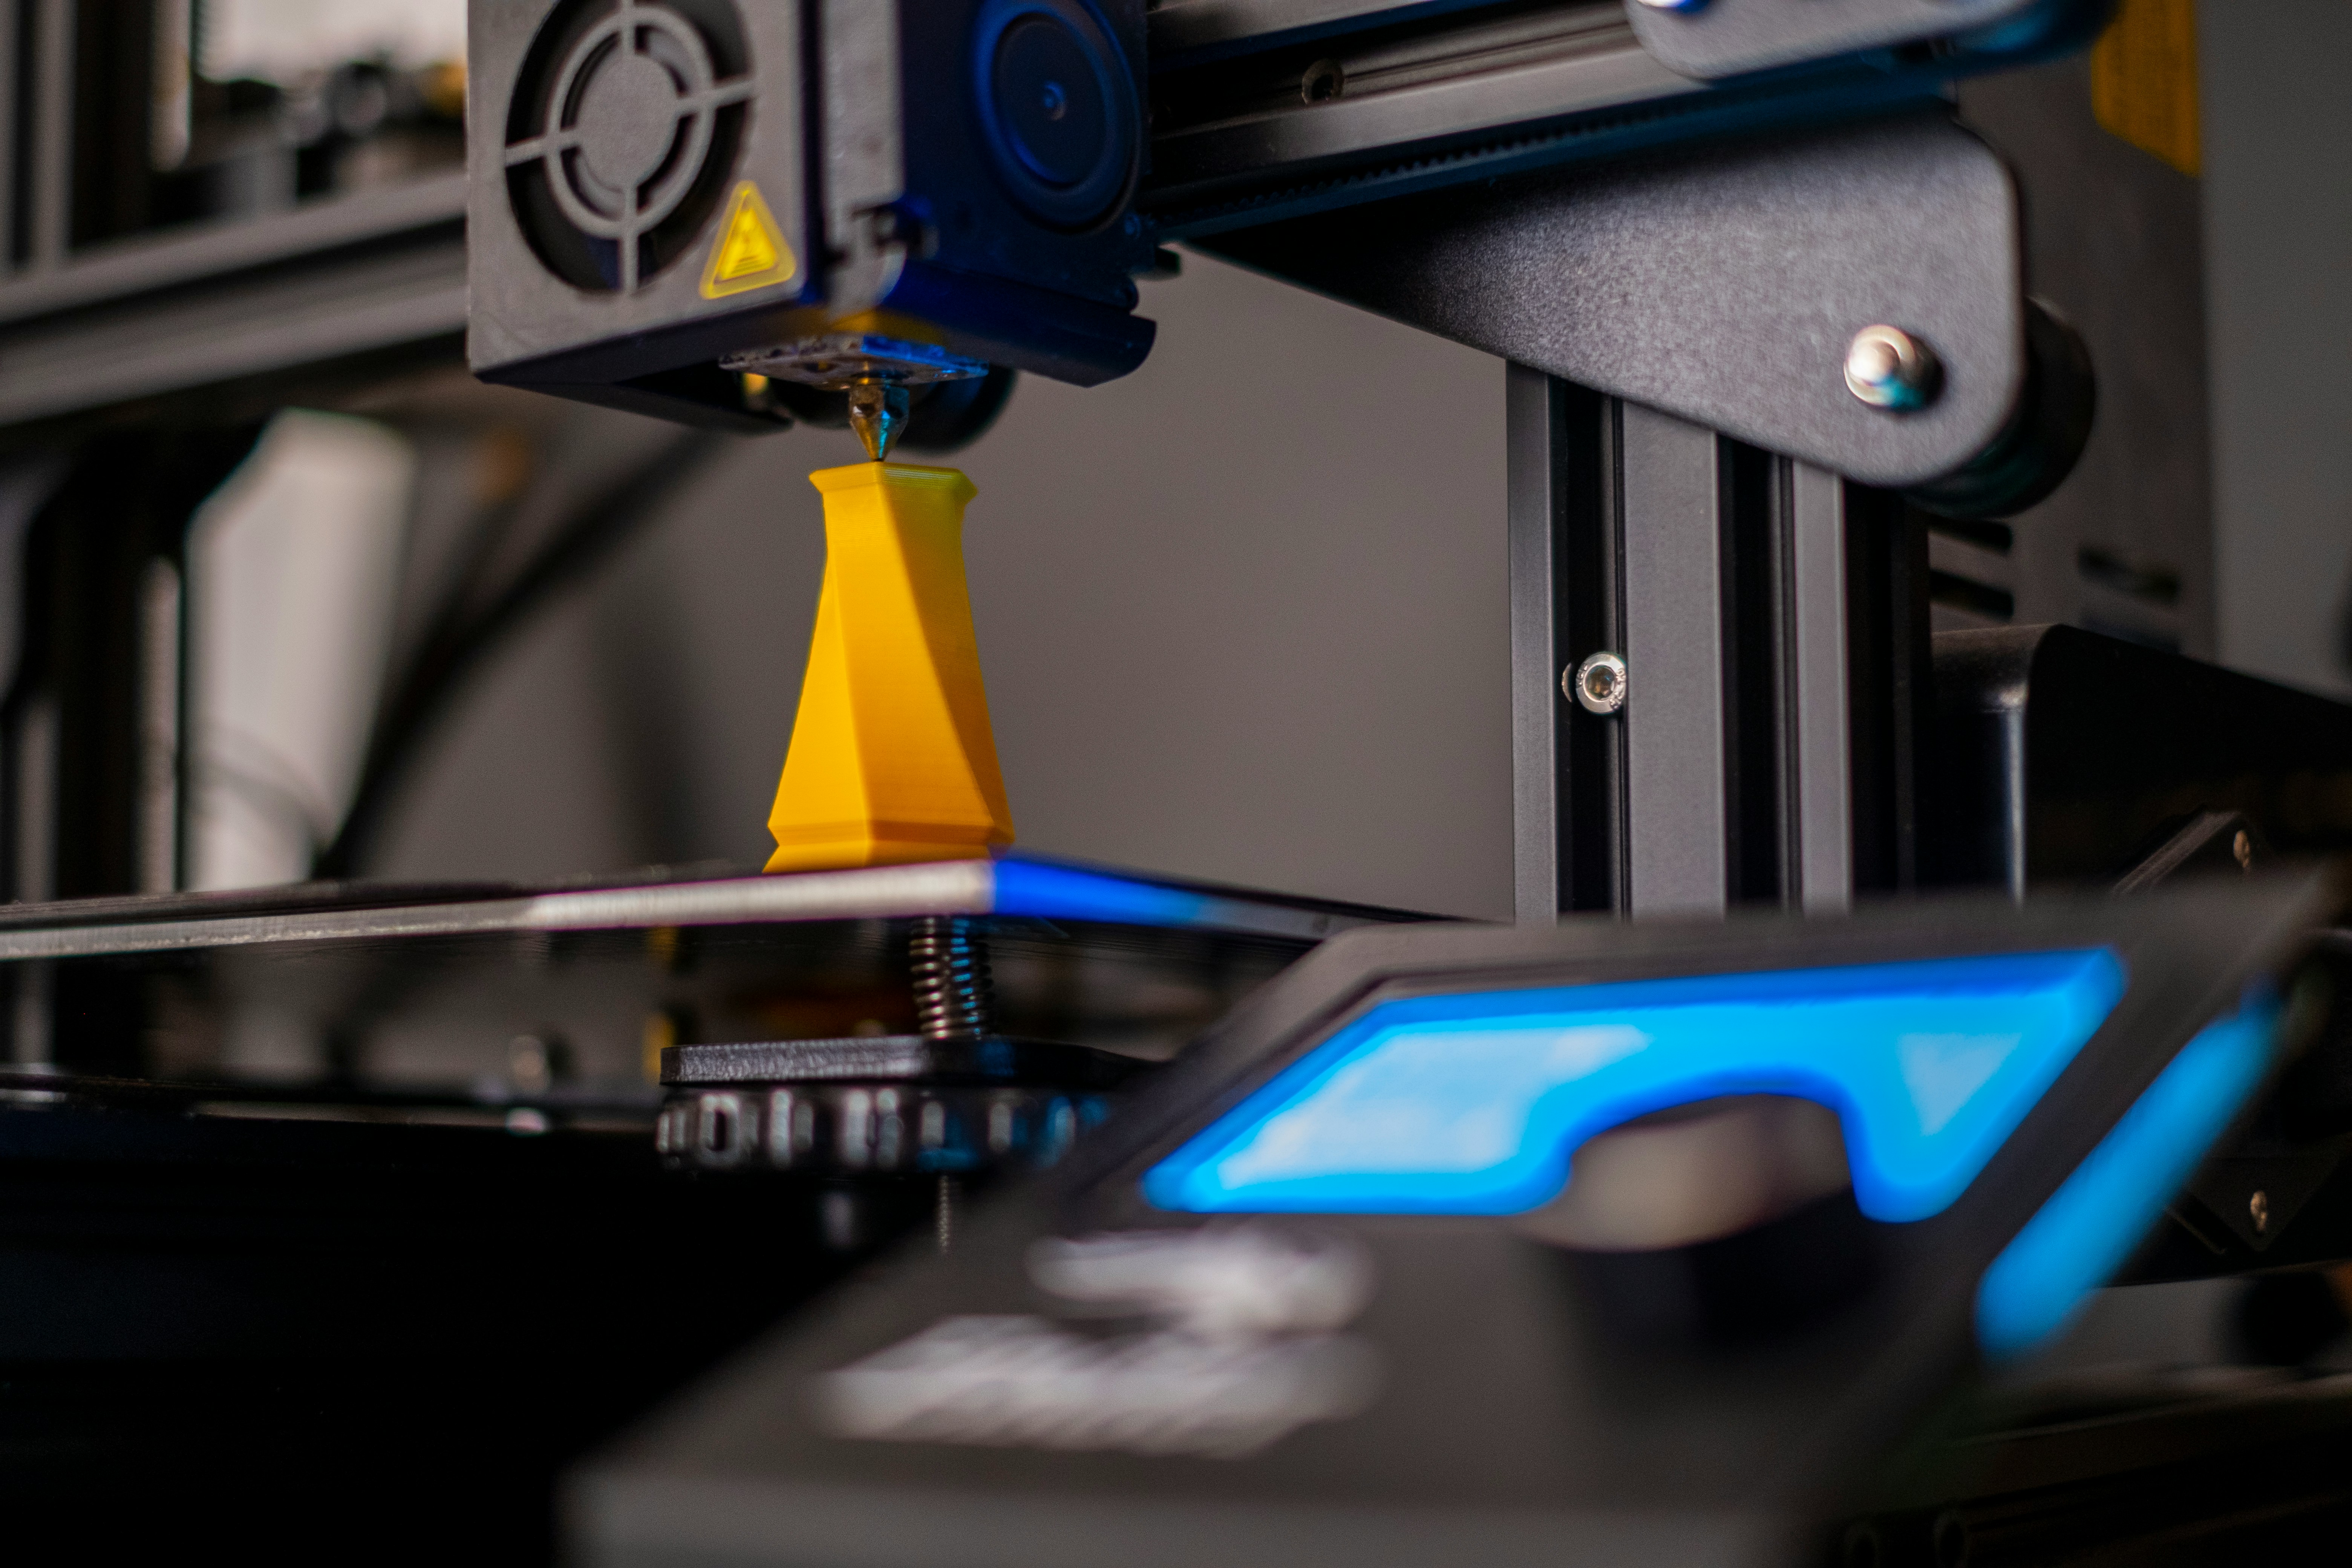
When you find chewed-up filament dust near the extruder, you’re dealing with grinding. I’m Mike Reynolds, and grinding is one of the most common “hidden” failure modes in FDM printing. The printer looks like it’s running, but the filament is being crushed instead of fed. The result is under-extrusion, weak layers, and occasional complete stalls.
This guide explains why grinding happens, how to fix it without guesswork, and how to keep it from returning. If you’ve ever pulled filament out with a divot that looks like a beaver got to it, this is your checklist.
Why Grinding Happens
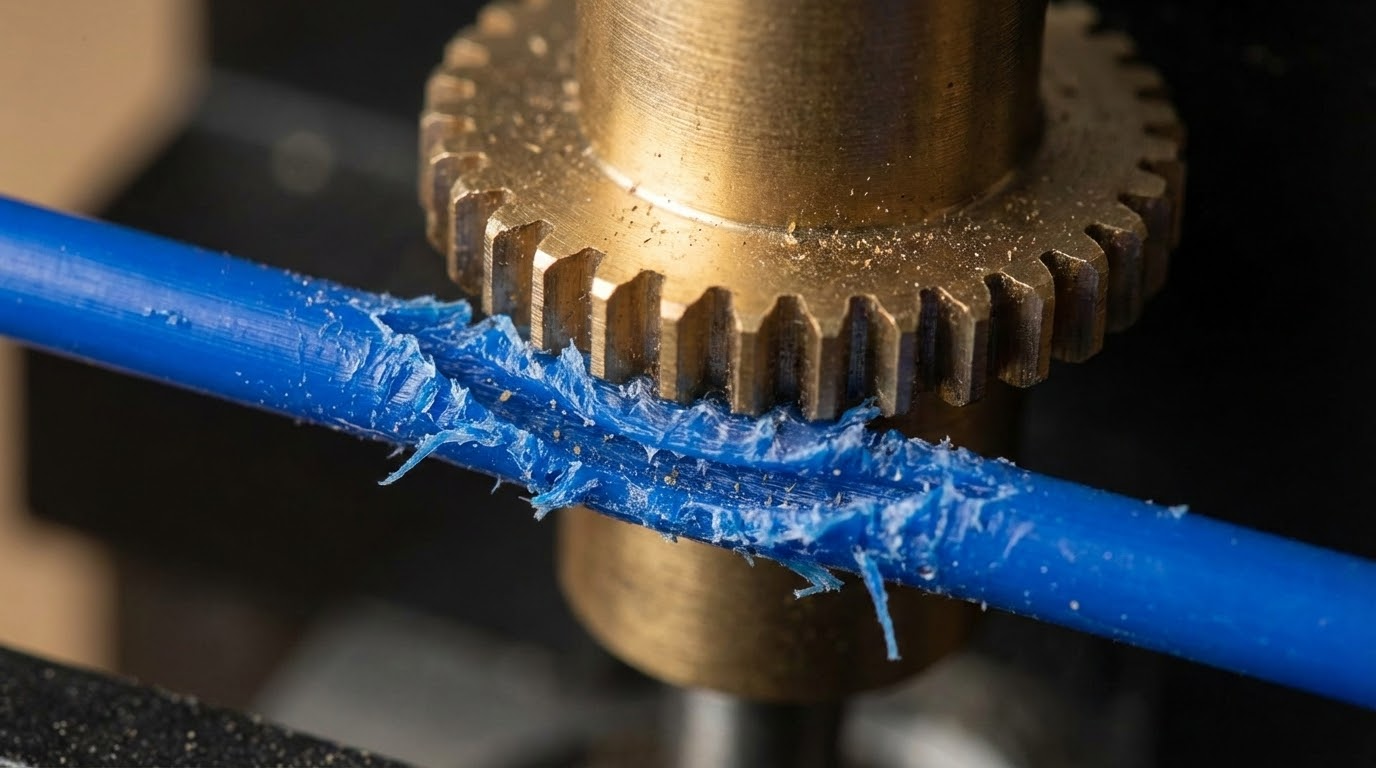
Grinding is a traction problem. The drive gear is trying to push filament, but the resistance ahead is higher than the filament can handle. So the gear chews it instead. Common causes include:
- Partial clogs or a dirty nozzle
- Excessive retraction or speed
- Incorrect extruder tension
- Filament path friction (Bowden tube issues)
- Heat creep softening filament before the hotend
Step 1: Clear the Nozzle and Hotend Path
Grinding almost always indicates excess back pressure. Start by clearing the hotend:
- Heat the nozzle to printing temperature.
- Perform a cold pull to remove debris and burnt plastic.
- Remove the nozzle and inspect for buildup if cold pulls don’t help.
If you find black bits or a lumpy plug on the filament, that’s a partial clog. Clear it before moving on.
Step 2: Set Extruder Tension Correctly
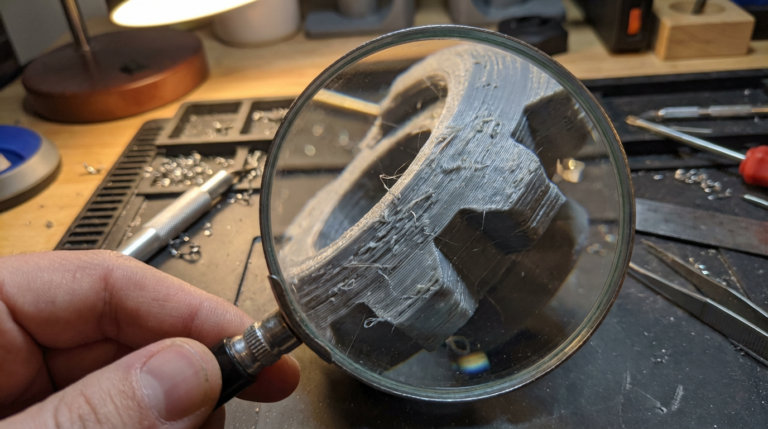
Too tight and you crush filament; too loose and the gear slips. The correct tension produces clean gear marks without flattening the filament. Try this:
- Back off the tension screw slightly.
- Extrude 100 mm at slow speed.
- Inspect the filament for light, even tooth marks.
If you see deep grooves or powdered plastic, tension is too high.
Step 3: Reduce Speed and Flow Demand
Grinding often shows up when the printer can’t keep up with the requested flow rate. Reduce the stress:
- Drop print speed by 20%.
- Lower layer height to reduce volumetric flow.
- Reduce line width to near nozzle diameter.
Think of it like a pump: asking too much flow causes stall.
Step 4: Check the Filament Path (Especially Bowden)
Bowden printers are more prone to grinding because the filament must travel farther. Check for:
- Sharp bends or kinks in the tube
- Worn PTFE tube with internal roughness
- Loose fittings causing the tube to pull away from the nozzle
Replace the tube if it feels sticky or rough inside.
Step 5: Fix Heat Creep
If grinding starts after 30–60 minutes, heat creep is likely. The filament softens too early and expands in the heat break. Fix it by:
- Ensuring the hotend fan runs continuously
- Cleaning dust from the heatsink
- Lowering retraction length (less hot plastic pulled upward)
Baseline Settings That Reduce Grinding
These are conservative settings that protect the extruder:
- PLA: 205–215°C, 35–45 mm/s, retraction 1–1.5 mm (direct drive) or 4–6 mm (Bowden)
- PETG: 230–245°C, 30–40 mm/s, retraction slightly shorter than PLA
- ABS: 235–250°C, 35–45 mm/s, stable enclosure if possible
Signs You’re Grinding (Even If You Can’t Hear It)
Not all grinding is loud. Watch for:
- Random under-extrusion mid-print
- Filament dust around the extruder
- Deep tooth marks on unloaded filament
- Extrusion that starts fine then fades
Preventive Maintenance
Grinding tends to return if you don’t maintain the system:
- Clean the drive gear monthly to remove plastic dust.
- Replace PTFE tubes that have visible wear or heat damage.
- Dry filament in humid environments to reduce swelling.
- Keep a spare nozzle and swap it on a schedule.
Common Mistakes That Cause Grinding
- Printing too cold to “reduce stringing”
- Setting high retraction speeds that pull softened filament upward
- Running very fast prints on stock hotends
- Over-tightening the extruder tension screw
Direct Drive vs Bowden: Different Failure Patterns
On direct drive systems, grinding usually traces back to temperature or retraction. The filament path is short, so back pressure builds quickly when the nozzle can’t melt fast enough. On Bowden machines, grinding is often a path-friction issue: long tubes, sharp bends, and worn PTFE inserts add drag. That means a Bowden printer may grind even at reasonable speeds if the tube is old or the spool path is tight.
Translation: if you’re Bowden, check the tube first. If you’re direct drive, check temperature and retraction first.
Mid-Print Recovery: Can You Save the Job?
Sometimes grinding starts halfway through a long print and you don’t want to lose the job. Try this quick rescue sequence:
- Pause the print and raise the nozzle 10–20 mm.
- Increase nozzle temperature by 10°C.
- Manually extrude 10–20 mm of filament to confirm flow.
- Reduce print speed by 20% before resuming.
If the filament is badly chewed, cut it above the gear, reinsert, and prime the nozzle. This won’t fix a clogged hotend, but it often saves a print that’s grinding due to borderline settings.
Diagnostic Checklist
Use this list to isolate the cause:
- Grinding immediately after starting: Temp too low, nozzle partially clogged, or first-layer flow too high.
- Grinding after 30–60 minutes: Heat creep or a gradually clogging nozzle.
- Grinding only on fast infill: Volumetric flow too high for the hotend.
- Grinding with certain filaments only: Filament diameter or moisture content issues.
Step-by-Step Calibration Sequence
If you want a methodical process, use this sequence:
- Clean the nozzle and do a cold pull.
- Set a conservative temperature (PLA 210°C, PETG 240°C).
- Set speed to 40 mm/s and print a small cube.
- Adjust extruder tension until the filament has light gear marks.
- Increase speed by 10 mm/s and repeat until grinding appears.
This reveals the realistic flow limit of your hotend. Once you know that limit, you can tune higher without triggering grinding.
Material-Specific Notes
- PLA: Grinding often means temperature is too low or the nozzle is partially clogged.
- PETG: Heat creep and overly long retractions are the usual culprits.
- ABS: Grinding appears if the hotend can’t keep up with higher temps; reduce speed slightly.
Case Study: The “It Prints PLA Fine” Trap
A common scenario: PLA prints fine for months, then PETG grinds constantly. The root cause is usually temperature and retraction. PETG likes higher temps and shorter retractions to avoid heat creep. The PLA profile can look “close enough” but still starve the nozzle under PETG’s higher viscosity. In those cases, simply raising temp 10°C and reducing retraction by 1–2 mm eliminates the grinding without any hardware changes.
Quick FAQ
Can grinding damage the filament permanently? Yes. Once a section is chewed, it won’t feed properly. Cut it off and reinsert cleanly.
Why does grinding happen only on long prints? Heat creep builds over time and softens filament in the heat break. The longer the print, the higher the chance of a plug forming.
Does a dual-gear extruder prevent grinding? It helps, but it doesn’t remove the root causes. A dual-gear system has better grip, which actually makes clogs show up faster if the hotend can’t keep up.
Symptom-to-Fix Map
Use this quick map when you see grinding in the wild:
- Grinding at the start: nozzle too cold or first-layer flow too high.
- Grinding only on infill: volumetric flow too high—reduce speed or line width.
- Grinding after retractions: retraction distance too long; reduce by 20–30%.
- Grinding after spool change: filament diameter or moisture issue.
This quick mapping helps you diagnose the failure without tearing down the printer.
Preventive Habits That Keep Grinding Away
Grinding often comes back because the underlying habits don’t change. A few small routines make a big difference:
- Unload filament at print temperature so the tip stays clean.
- Trim the filament end before every new load.
- Run a quick cold pull every few spools.
- Keep a log of your best temperatures per brand.
These habits reduce friction and keep the hotend flowing smoothly, so the extruder isn’t forced to grind.
One-Page Grinding Checklist
If you want a printable cheat sheet, this is it:
- Temp up +10°C test
- Speed down -20% test
- Retraction distance -30%
- Cold pull + nozzle inspection
- Clean drive gear + set tension
- Check filament path for drag
Final Thoughts
Filament grinding is a symptom, not the root cause. It tells you the extruder is losing the battle against resistance. Reduce that resistance—clear the hotend, fix the filament path, dial in temperature and speed—and the grinding stops.
If you’re unsure where to start, go in this order: temperature, nozzle cleaning, tension, then flow rate. That sequence solves the majority of grinding cases without replacing hardware.
Once your profile is stable, save it and reuse it. Grinding usually returns when settings drift or when a new filament brand behaves differently.
A simple habit: label each spool with the temperature range that worked. That small note prevents future grinding when you revisit the same material months later.