3D Printer Guide: The Complete Beginner’s Handbook for 2026
What Is a 3D Printer and How Does It Actually Work?
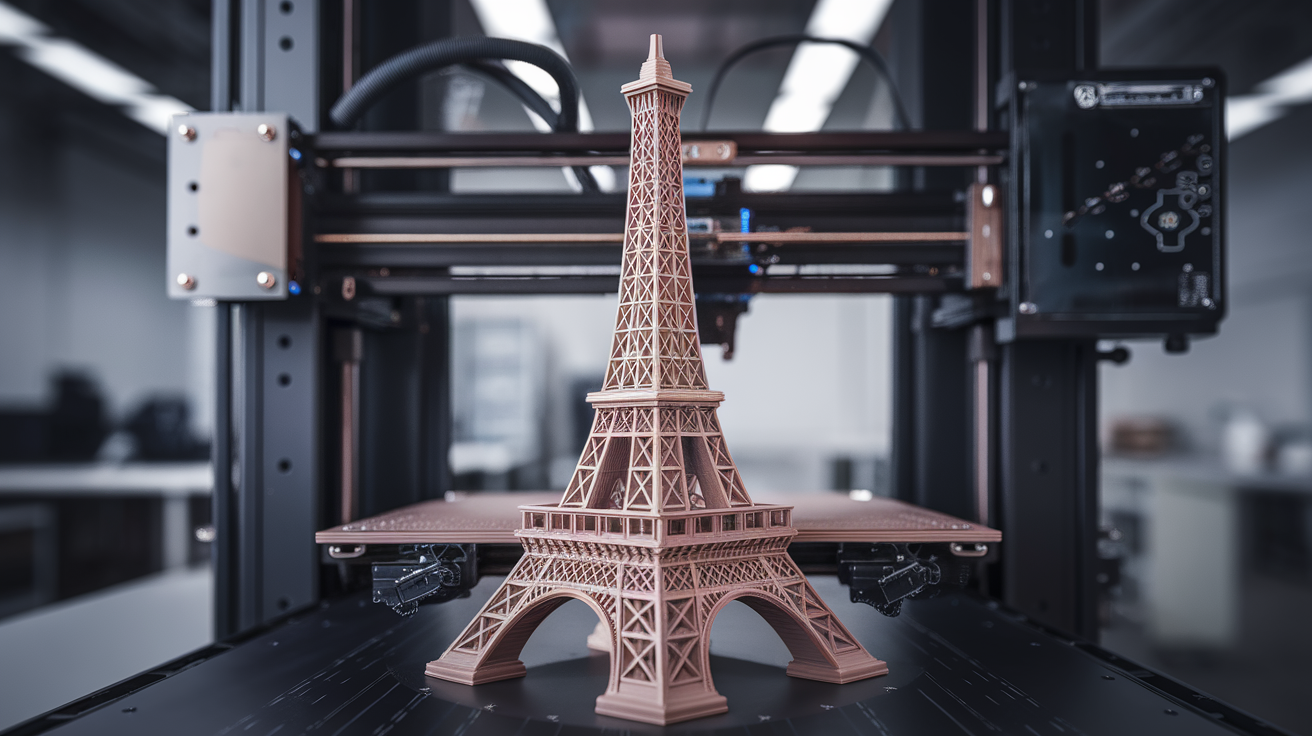
A 3D printer is a machine that builds physical objects layer by layer from a digital model. Instead of cutting or molding, it adds material—usually plastic—in precisely placed thin cross-sections. Stack enough layers on top of each other and a solid three-dimensional object emerges from nothing. The technical name for this is “additive manufacturing,” and while it sounds space-age, the core idea has been around commercially since the late 1980s. What changed in the last decade is cost: a machine that used to cost $30,000 now costs $200.
For home and hobby users, two technologies dominate. FDM (Fused Deposition Modeling) melts plastic filament through a heated nozzle and traces each layer onto a build platform. It’s the machine you see on YouTube with a spool of plastic on top. Resin printing (MSLA/SLA) cures liquid photopolymer with UV light, one thin slice at a time, by shining a masked LCD screen through the resin tank. Resin wins on detail and smoothness; FDM wins on material cost, safety, and size. Most beginners start with FDM, and this guide focuses primarily there.
Is 3D Printing Right for You?
Before spending a dollar, be honest about what you want to make. 3D printing excels at custom objects that don’t exist commercially: a replacement knob for an old appliance, a bracket sized precisely for your guitar amp, a costume prop, a custom phone stand, tabletop gaming miniatures, organizers for a weirdly-shaped drawer. It’s less good at things that already exist cheaply at Target—you will not save money printing coat hooks.
Time commitment is real. A first print takes maybe 30 minutes to an hour once the machine is set up. Setup itself takes a few hours the first time. Debugging your first failed print takes another few hours. By month two you’re comfortable. By month six you’re designing your own parts in Fusion 360 or Onshape. If that sounds fun, you’ll love 3D printing. If it sounds like yet another chore, buy things instead.
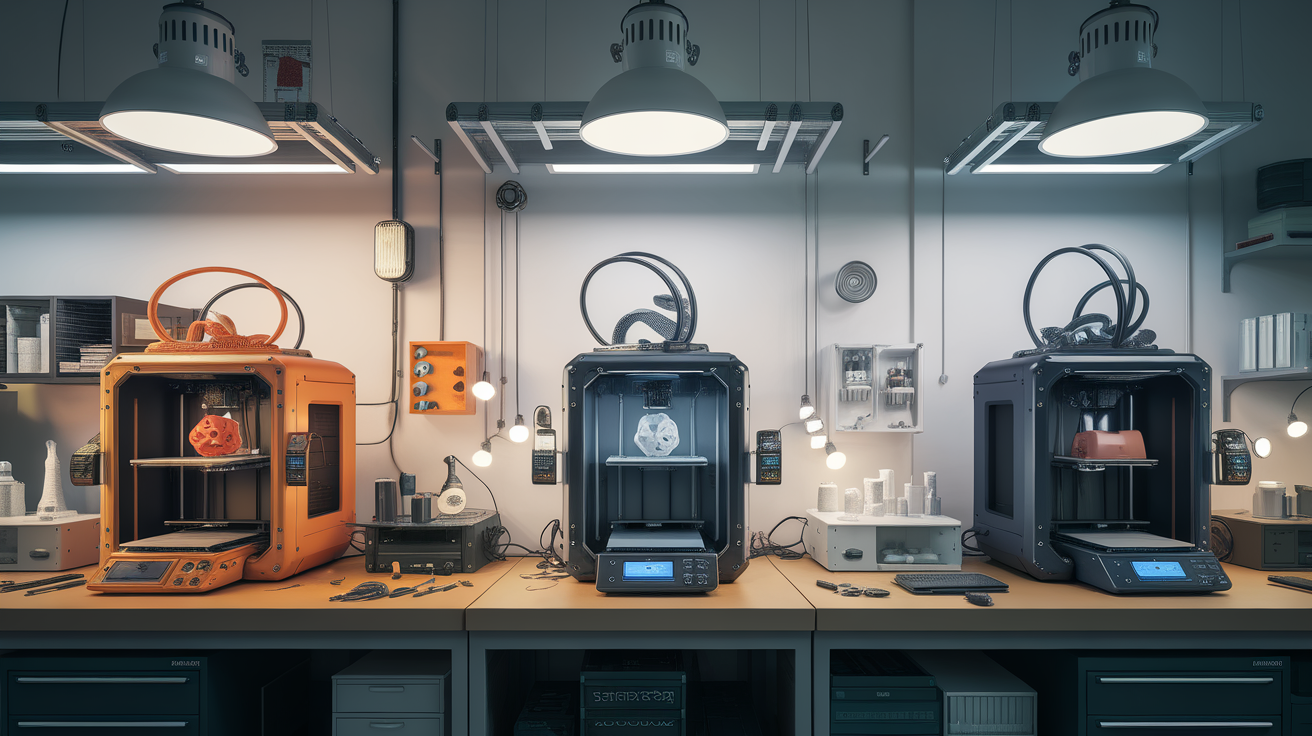
Choosing Your First 3D Printer
As of April 2026, three price tiers cover the vast majority of beginners:
Under $300 — Entry Level
- Bambu Lab A1 Mini ($259): Closest thing to a “just works” experience under $300. Auto-calibration, excellent slicer, 180 × 180 × 180 mm build volume. Small learning curve. Best for absolute beginners.
- Creality Ender 3 V3 SE ($199): The classic pick. Larger build volume, open design, huge community, endless upgrade paths. More tinkering required; expect to tune things.
$300-$700 — Serious Hobbyist
- Bambu Lab A1 ($459): Larger build volume than the Mini, same smooth experience, supports multi-color with AMS Lite.
- Prusa MK4S ($799 assembled, $599 kit): The reference-quality open-source machine. Longer setup but rock-solid reliability and documentation that sets the standard.
- Elegoo Neptune 4 Pro ($319): Fast (250 mm/s), Klipper-based, great value for makers who like to tinker.
$700+ — Enthusiast and Pro
- Bambu Lab P1S ($699) or X1C ($1,199): Enclosed, CoreXY, excellent for ABS/ASA/PA and fast high-quality work.
- Creality K2 Plus ($1,499): Large 350mm cube with multi-material support.
For a first printer, start with the A1 Mini or Ender 3 V3 SE. Don’t overthink it—you’ll learn what you actually want after a few months of use, and both machines hold their resale value reasonably well.
Understanding Filament: The Four Plastics You’ll Meet First
- PLA (Polylactic Acid): Corn-based, biodegradable (in industrial composting, not your backyard), easy to print, 200-215°C nozzle, 50-60°C bed. The default beginner filament. Stiff but brittle; not heat-resistant (softens at 60°C so don’t leave prints in your car).
- PETG (Polyethylene Terephthalate Glycol): Tougher and more heat-tolerant than PLA (75-80°C). Prints at 230-245°C with 70-80°C bed. Slightly harder to dial in—prone to stringing—but the default “functional parts” filament.
- ABS (Acrylonitrile Butadiene Styrene): The LEGO plastic. Strong, heat-resistant (95°C+), but it warps unless printed in an enclosure, and it releases styrene fumes you should ventilate. Not a beginner filament.
- TPU (Thermoplastic Polyurethane): Flexible, rubbery filament. Prints slowly (20-30 mm/s) but makes things like phone cases, shoe insoles, and dampers. Beginner-capable once your machine is dialed in.
Expect to pay $18-25 per kilogram for quality PLA or PETG. Avoid the $10/kg no-name filament until you know what good filament looks like—it’s a false economy when it clogs your nozzle or produces inconsistent diameter prints.
The Software Pipeline: From Idea to Print
Step 1: Get a Model
Download from Printables (our favorite, curated by Prusa), Thingiverse (huge older library), MakerWorld (Bambu’s repository with automatic slicer integration), or Thangs. All free. For paid miniatures, check MyMiniFactory and Cults3D.
Step 2: Slice It
A slicer converts the 3D model (STL or 3MF) into a series of machine instructions (G-code) your printer understands. The three main slicers:
- OrcaSlicer (free, open-source): Our top recommendation. Supports every major printer, has the best calibration suite, and active development. Start here.
- Bambu Studio (free): If you own a Bambu printer, use this—it integrates cloud printing and AMS color assignment seamlessly.
- PrusaSlicer (free, open-source): The reference that OrcaSlicer forked from. Excellent for Prusa machines.
Step 3: Send to Printer
Options: SD card / USB stick (universal), Wi-Fi through the slicer (Bambu, modern Prusa, Creality K-series), or a network gateway like OctoPrint on a Raspberry Pi.
Your First Print: A Step-by-Step Walkthrough
- Unbox and assemble your printer per the manual. Do not skip the paper-level check on beds without auto-leveling.
- Load filament. Heat the nozzle to your filament’s recommended temperature first, then push the filament until a clean, consistent extrusion comes out the nozzle.
- Auto-level the bed (or manually level if your printer lacks a probe). Most 2026-era printers auto-level at the start of each print.
- Download a benchmark model. The 3DBenchy (a small tugboat) is the canonical first print. It takes under an hour and tests overhangs, bridging, small details, and surface quality all at once.
- Slice with defaults for your printer and material. Don’t tweak settings for your first print—use the profile the slicer provides.
- Start the print and watch the first layer closely. If the filament isn’t sticking, pause and adjust Z-offset (either on the printer or in the slicer). First layer is everything.
- Let it finish, then pop the print off the bed. Don’t pry with a knife; flex the magnetic build sheet (if equipped) or wait for it to cool fully.
The Beginner’s Troubleshooting Cheat Sheet
- Print not sticking to bed: Z-offset too high, bed dirty (clean with IPA), or bed temperature too low. Also try a brim.
- Stringing (hairs between features): Increase retraction distance by 0.5mm increments, decrease print temperature by 5°C, or clean up the filament if it’s been sitting humid (dry at 45°C for 6 hours).
- Layer shifting (print offset mid-way): Check belt tension. A loose X or Y belt is the usual culprit. Also verify the stepper driver temperature—overheated drivers skip steps.
- Blobs and zits on surface: Enable “Outer Wall First” in slicer, reduce retraction pressure, or tune coasting.
- Warping (corners lifting): Increase bed temperature 5°C, add a brim, use PEI-coated bed, or enclose the printer for ABS/ASA.
- Underextrusion (thin/missing walls): Clean nozzle with a cold pull, calibrate E-steps, or increase flow rate 3-5%.
- Elephant foot (squished first layer): Lower bed temperature 5°C after the first 3 layers, or enable “Elephant Foot Compensation” at 0.2mm.
Maintenance You Actually Need to Do
- Weekly: Clean build plate with IPA. Inspect nozzle tip for residue.
- Monthly: Lubricate Z lead screws with PTFE grease. Check belt tension. Clean dust off the PCB fans.
- Every 200 hours: Replace nozzle if printing abrasive filaments (carbon fiber, glow, glitter, wood). Brass nozzles printing only PLA last much longer.
- Every 500 hours: Check PTFE tube if you have a Bowden setup; replace if clogged or kinked. Inspect hotend heater block for loose thermistor.
- Yearly: Full belt tension recheck, full firmware update, deep-clean gears and extruder.
Designing Your Own Parts: Where to Start
Three CAD programs dominate hobby 3D design:
- Fusion 360 — Free for personal use. Industry-standard parametric CAD. Steep learning curve but unlimited ceiling.
- Onshape — Fully browser-based, also free for public projects. My pick if you don’t want to install heavy software.
- Tinkercad — Drag-and-drop primitive shapes. Perfect for kids and total beginners. Limited but friendly.
Start with Tinkercad for your first custom print (a simple organizer or nameplate), then graduate to Fusion or Onshape when you want parametric constraints and proper drawings.
What Comes Next After Your First Month
Once you’re comfortable with default prints, the natural progression: learn to tune input shaping (reduces ringing and lets you print faster), calibrate pressure advance (sharpens corners and reduces over-extrusion), try a new material (PETG after PLA, then TPU or PC), and install an enclosure if you want to print ABS, ASA, or nylon. After that: multi-color printing with an AMS or Palette, or jumping to a resin printer for miniatures. The hobby has infinite depth—pace yourself.
Safety Considerations Most Guides Skip
3D printers are generally safe for home use, but they’re not appliances. A few rules you should internalize from day one:
- Never leave a print fully unattended for the first run of a new filament or nozzle setup. Once you’ve verified first-layer success, you can walk away. But the first 10-15 minutes demand eyes on the machine.
- Fire safety: The nozzle reaches 200-300°C and the bed 60-110°C. Keep flammable materials (paper, fabric, aerosol cans) at least 50 cm away. A small ABC fire extinguisher nearby is cheap insurance.
- Smoke and UFP: All FDM printing releases ultrafine particles. PLA is the cleanest; ABS and nylon release more. An enclosed printer with carbon filter in a ventilated room is the safe baseline.
- Electrical: Cheap 3D printers have had well-publicized MOSFET failures that cause thermal runaways. Modern firmware (Marlin 2.0+, Klipper) includes thermal runaway protection—never disable it. If you get a “thermal runaway” error, do not bypass it; diagnose the thermistor or heater.
- Children and pets: Locate the printer somewhere hands and paws can’t reach the hot nozzle or moving parts.
Understanding Slicer Quality Settings: Layer Height and Speed
The two settings that matter most for print quality are layer height and print speed. Here’s how to think about them:
- Layer height = surface detail. 0.08mm gives mirror-smooth walls at the cost of print time. 0.2mm is the “invisible to 2-meter viewing” default. 0.28mm is fast for drafts and structural parts where appearance doesn’t matter.
- Print speed = layer adhesion and quality. Fast speeds can melt filament faster than it bonds, creating weak layers. 50 mm/s is the safe default on older machines; 200-300 mm/s is safe on modern Bambu/Prusa/Klipper machines with tuned input shaping and pressure advance.
- Infill percentage = strength vs print time. 15% is enough for decorative prints, 30-40% for functional parts, 80%+ for maximum strength pieces. Higher infill doesn’t make prints stronger linearly past 50%—you hit diminishing returns.
- Wall count (perimeters) = real strength driver. 3-4 walls matter more than 100% infill for most functional prints. Increase wall count for parts that need to resist bending.
A Glossary of Terms You’ll Encounter
- STL: A common 3D file format. Represents the surface of a 3D object as triangles.
- G-code: Machine instructions. The output of a slicer, the input to a printer.
- Slicer: Software that converts a 3D model into G-code.
- Z-offset: Distance from nozzle to bed at the start of printing. Too low crushes the first layer; too high and it doesn’t stick.
- Brim: A flat ring printed around the first layer to improve adhesion for parts with small bed contact.
- Raft: A thicker multi-layer foundation printed before the real part—rarely used on modern machines.
- Support: Structures the slicer adds under overhangs so they don’t sag. Removable after printing.
- Extruder: The motorized mechanism that pushes filament into the hotend.
- Hotend: The heated nozzle assembly that melts filament.
- Bowden vs Direct Drive: Bowden mounts the extruder on the frame and pushes filament through a PTFE tube to the hotend. Direct drive mounts the extruder directly on the hotend. Direct drive is better for flexible filaments.
- CoreXY vs Bed Slinger: Motion systems. CoreXY moves the hotend in X and Y; the bed only moves in Z. Bed slinger moves the hotend in X and Z, and the bed in Y. CoreXY is faster and better for tall prints.