3D Printer Not Extruding at Start of Print: Causes and Fixes
When Your Printer Moves But Nothing Comes Out
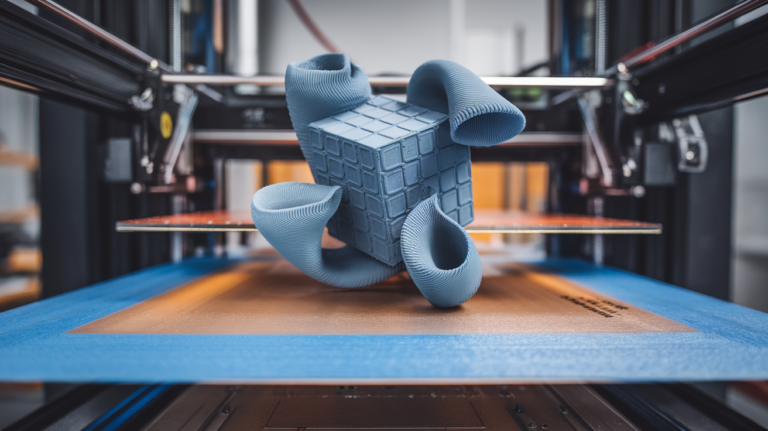
You start a print, the bed heats up, the nozzle reaches temperature, and the printer begins its first layer… but no plastic comes out. The nozzle traces patterns in the air while your build plate stays empty. Or worse, you get a thin, inconsistent dribble for the first few centimeters before the flow kicks in.
This “no extrusion at start” problem is incredibly common and has a handful of causes that are easy to diagnose once you know what to look for. Let’s run through them from most likely to least.
Cause #1: Nozzle Ooze During Preheat
This is the most common reason by far. While your printer heats up, the filament in the nozzle melts and drips out due to gravity. By the time the print starts, there’s a small air gap at the nozzle tip — the filament has retracted slightly because the melted portion oozed away.
The Fix
Add a priming routine to your start G-code. Most good slicer profiles include a skirt or brim that serves as a prime line, but adding an explicit prime helps ensure consistent first-layer starts:
- Print a skirt: Set skirt distance to 5-10mm with 2-3 loops. This gives the nozzle time to build pressure before reaching your actual print.
- Add a prime line: Many printer profiles include a “purge line” at the edge of the bed before printing starts. If yours doesn’t, add one to your start G-code. Ender 3 users: the Cura default profile includes this — make sure you haven’t removed it.
- Manual extrude before printing: On your printer’s LCD, use “Move → Extruder → 10mm” to push some filament through right before starting. This refills the melt zone.
Cause #2: Nozzle Too Close to Bed
If your nozzle is literally pressing against the build plate, plastic physically can’t come out. The opening is blocked by the bed surface. You’ll hear the extruder motor clicking or grinding as it tries to push filament against the blockage.
The Fix
Re-level your bed. Use the paper test: slide a piece of regular printer paper between the nozzle and bed. You should feel slight friction — the paper should move but with drag. If it’s pinched tight, you’re too close. If it slides freely, you’re too far.
If you’re using a Z offset, try increasing it by 0.02-0.05mm increments until filament flows. Many people set their Z offset for perfect first layer adhesion and accidentally go too tight, especially after changing build surfaces.
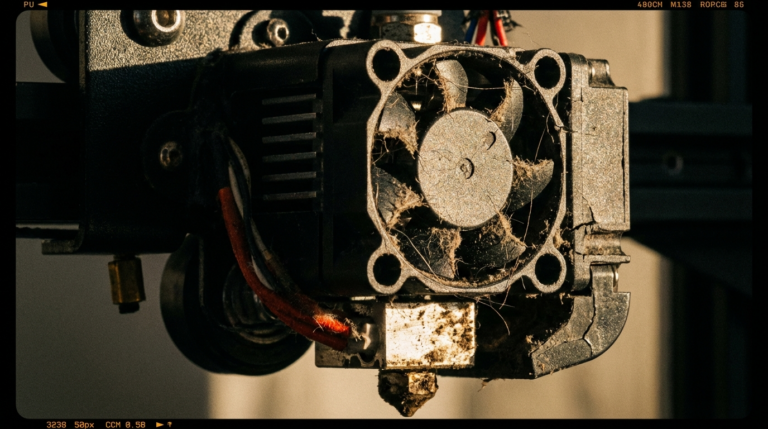
Cause #3: Partial Clog
A partially clogged nozzle might extrude under manual pressure but struggle with the initial start of a print. The reduced flow path means it takes higher pressure to begin extrusion — pressure that builds as the extruder gear pushes filament, but isn’t there at the very start.
The Fix
Perform a cold pull (also called an atomic pull):
- Heat nozzle to printing temperature
- Push filament through manually until it extrudes cleanly
- Set temperature to 90°C (for PLA) and wait for it to drop
- When the temperature hits target, firmly pull the filament straight up and out
- Check the tip — it should show the shape of the nozzle interior, possibly with dark debris
- Repeat 2-3 times until the pulled tip comes out clean
If cold pulls don’t help, try a cleaning needle (the acupuncture-style needle that came with your printer) or replace the nozzle entirely. Brass nozzles cost about $0.50 each — don’t spend an hour trying to save one.
Cause #4: Extruder Gear Issues
The extruder gear (the toothed wheel that grips and pushes the filament) can have several problems:
- Tension too loose: The spring-loaded arm that presses filament against the gear needs enough tension to grip. If the screw is too loose, the gear spins without pushing filament.
- Gear teeth clogged: Filament shavings build up between the teeth, reducing grip. Clean the gear with a wire brush or compressed air.
- Gear worn out: After thousands of hours, the teeth wear smooth. The gear is cheap to replace.
- Set screw loose: The small grub screw that locks the gear to the motor shaft can loosen over time. If the gear spins on the shaft, tighten it and make sure it sits on the flat of the motor shaft.
Cause #5: Bowden Tube Gap
On Bowden-style printers (where the extruder motor is separate from the hotend), a gap between the Bowden tube and the nozzle creates a pocket where molten filament accumulates. This causes inconsistent pressure that’s worst at the start of prints.
The Fix
Remove the nozzle, remove the Bowden tube, clean both, and reassemble with the tube firmly seated against the nozzle. The Luke Hatfield fix (cutting the tube end perfectly flat with a tube cutter) prevents gaps from forming. Some hotends like the Creality Spider or all-metal upgrades eliminate this problem entirely.
Cause #6: Cold Filament End
If you turned off your printer with the nozzle hot, the filament tip solidified inside the cold zone above the melt zone. When reheating, this solidified plug can initially block flow until enough heat conducts up to soften it. The result: a 1-2 minute delay before extrusion starts normally.
The Fix
Wait an extra 30-60 seconds after the nozzle reaches temperature before starting a print. This gives heat time to conduct through the solid plug. Better yet, add a dwell time to your start G-code: G4 S30 (wait 30 seconds) after the heating command.
Cause #7: Filament Tangle or Snag
Sometimes the filament is tangled on the spool or caught on something, preventing it from feeding. The printer starts, the extruder tries to pull filament, but it can’t. Check that:
- The spool spins freely on its holder
- The filament path from spool to extruder is clear
- There are no knots or tangles (these happen if the filament end was ever released and slipped under another loop)
- The spool holder isn’t generating too much friction
Prevention: Start G-Code Best Practices
A good start G-code sequence prevents most first-extrusion problems. Here’s a proven sequence:
- Home all axes
- Heat bed to target temperature
- Heat nozzle to target temperature
- Wait 30 seconds for heat soak (G4 S30)
- Run bed leveling probe if using ABL
- Move to prime position (front-left corner)
- Extrude a 100mm prime line along the bed edge
- Wipe nozzle and begin print
With this sequence, your printer consistently has fresh, pressurized filament at the nozzle tip when the actual print begins. The prime line catches any initial inconsistency so it doesn’t affect your first layer.
If you’ve tried everything above and still have problems, consider the age of your Bowden tube (they degrade over time, especially with PTFE at high temps), check that your hotend thermistor is reading correctly (a thermistor offset means the nozzle isn’t actually as hot as displayed), and ensure your extruder stepper motor is getting enough current from the mainboard.