3D Printer Stepper Motor Overheating: Causes and Fixes
What Are 3D Printer Stepper Motors and Why Do They Overheat?
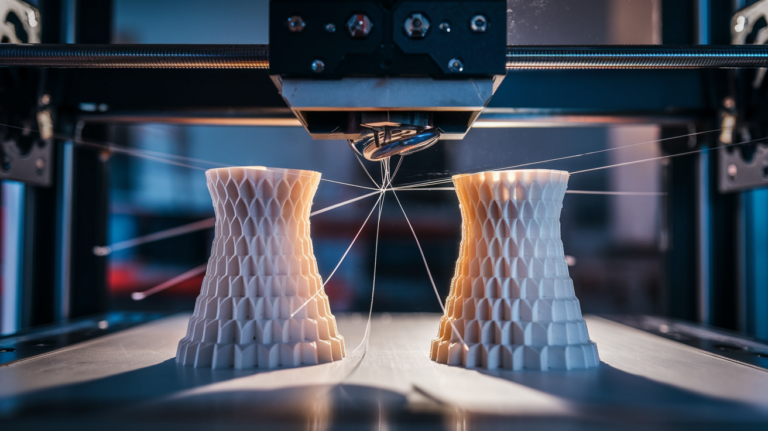
Stepper motors are the muscles of your 3D printer. They control every movement — X, Y, Z axes and the extruder. When they overheat, prints fail in ways that are often misdiagnosed: layer shifts, missed steps, grinding filament, or the printer simply stopping mid-print with a thermal error.
Stepper motor overheating is more common than you might think, especially on budget printers or heavily modified machines. This guide covers why it happens, how to diagnose it, and proven fixes that actually work.
Normal vs. Dangerous Temperatures
First, let’s calibrate expectations. Stepper motors are supposed to run warm. A completely cool stepper motor during a print usually means it’s not getting enough current (which causes its own problems).
Temperature guidelines:
- Normal: 40-60°C (warm to the touch, comfortable to hold briefly)
- Warm but okay: 60-80°C (hot to touch, can hold for 1-2 seconds)
- Too hot: 80-100°C (can’t touch for more than a moment, may smell hot)
- Dangerous: 100°C+ (risk of demagnetization, motor damage, melting printed parts)
If you can comfortably rest your hand on the stepper motor during printing, it’s fine. If it burns on contact, you have a problem.
Common Causes of Stepper Motor Overheating
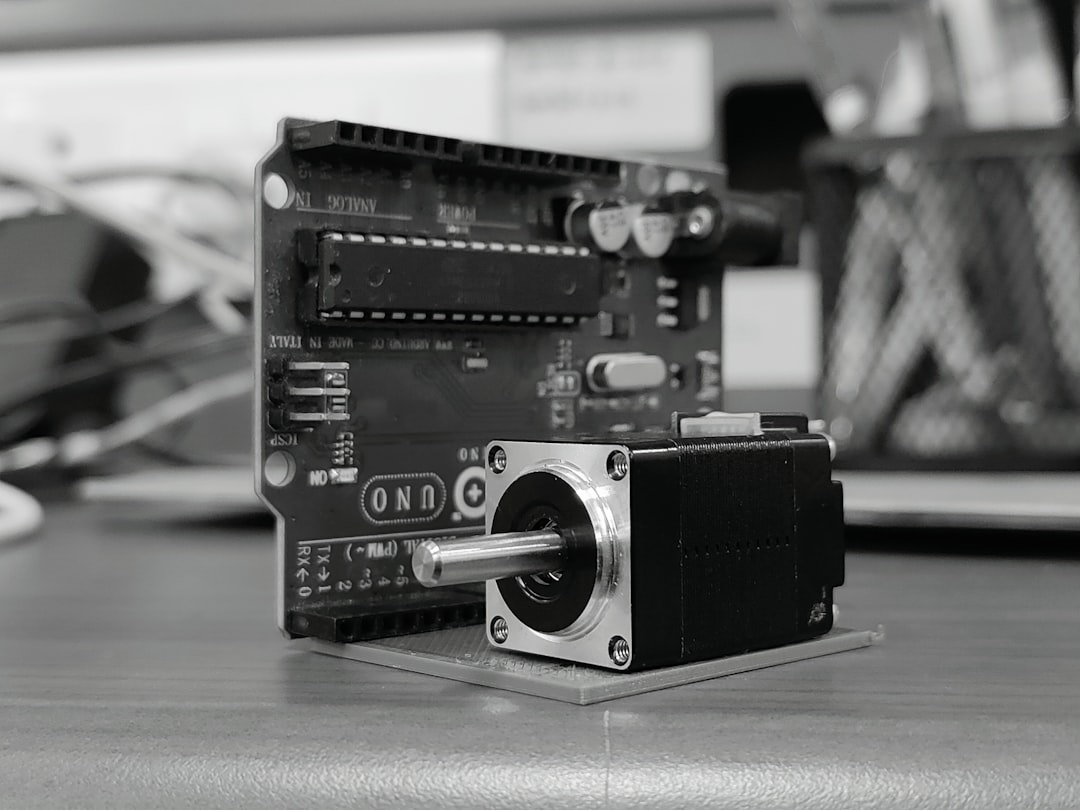
1. Stepper Driver Current Too High
This is the number one cause by far. The stepper driver (the small chip on your control board) regulates how much current flows to the motor. Too much current = too much heat.
Many budget printers ship with stepper drivers set to maximum current as a “safe default” to prevent missed steps. But this dumps way more power into the motors than they need, turning them into space heaters.
How to check and adjust:
- For TMC2208/2209 drivers (most common): Check VREF voltage with a multimeter. It should be 0.6-0.9V for most NEMA 17 motors
- For A4988/DRV8825 drivers: Adjust the tiny potentiometer on the driver board. Turn clockwise to increase current, counterclockwise to decrease
- For Klipper users: Set
run_currentin your printer.cfg. Typical values: 0.4-0.7A for X/Y, 0.4-0.6A for Z, 0.5-0.7A for extruder
The golden rule: Use the lowest current that doesn’t cause missed steps. Start low and increase only if you see skipped layers or layer shifts.
2. Poor Ventilation Around Motors
Stepper motors on enclosed printers or printers with aftermarket enclosures can overheat simply because there’s no airflow to carry heat away. The motors are designed to operate in open air, not inside a heated chamber.
Fixes:
- Add small 40mm fans blowing on stepper motors that run hot
- If using an enclosure, consider mounting motors outside the heated zone (common on Voron builds)
- Ensure the printer’s electronics compartment has adequate ventilation
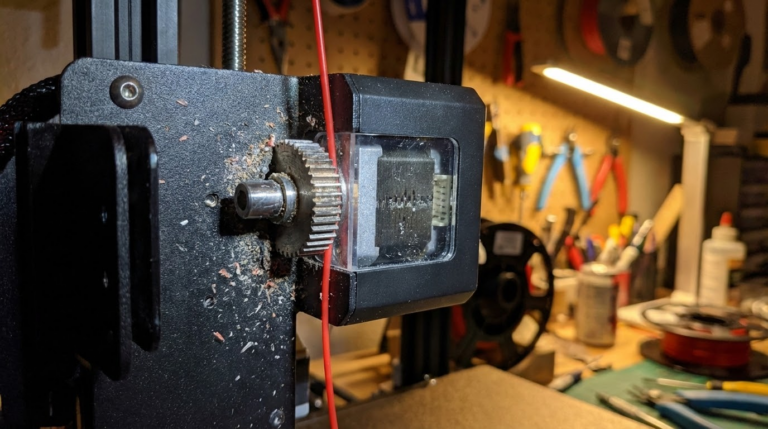
3. Mechanical Binding
If an axis is binding or has excessive friction, the stepper motor works harder to move it, generating more heat. Common sources of binding:
- Eccentric nuts too tight: V-slot wheels (Ender 3 style) have eccentric nuts that adjust tension. Over-tightening causes binding
- Bent lead screw: A bent Z-axis lead screw creates periodic binding that makes the Z motor run hot
- Dry linear rails: Linear rails need periodic lubrication. Dry rails increase friction significantly
- Misaligned gantry: If your X gantry isn’t square to the frame, the Z motors fight each other
Diagnosis: With the printer powered off, try moving each axis by hand. Smooth, easy movement = good. Grinding, clicking, or stiff spots = binding that’s making your motors work too hard.
4. Holding Current Issues
Stepper motors draw current even when standing still — this is called “holding current” or “idle current.” If your firmware doesn’t reduce current during idle periods, the motors sit there cooking themselves while doing nothing useful.
Fixes:
- TMC drivers: Enable StealthChop mode, which automatically reduces power during holding
- Klipper: Set
hold_currentto 50-60% ofrun_current. Example:run_current: 0.6,hold_current: 0.3 - Marlin: Enable
#define DISABLE_IDLE_X(and Y, Z, E) to cut power to motors when idle. Note: this means axes can move when powered off (Z may drop on some printers)
5. Microstepping Set Too Low
Lower microstepping values (1/8 or 1/4 stepping) send chunkier current pulses to the motor, which can cause more heating than higher microstepping (1/16 or 1/32). Most modern setups use 1/16 microstepping as a good balance.
Adding Heat Sinks to Stepper Motors
Heat sinks are a simple, cheap, and effective solution for stepper motors that run warm. They won’t fix a fundamentally overdriven motor, but they provide meaningful cooling for motors in the 60-80°C range.
What to buy:
- NEMA 17 stepper motor heat sinks (available on Amazon for $5-10 for a pack of 4-5)
- Size: 40x40x11mm is the standard NEMA 17 size
- Material: Aluminum is most common. Copper is better but more expensive
Installation:
- Clean the motor surface with isopropyl alcohol
- Apply thermal adhesive tape (included with most heat sink kits) or use thermal epoxy
- Press the heat sink firmly onto the flat face of the motor
- Allow adhesive to cure for 24 hours before printing
Heat sinks alone typically reduce motor temperature by 10-15°C. Combined with a small fan, the reduction can be 20-30°C.
Upgrading Stepper Drivers
If your printer uses A4988 or DRV8825 stepper drivers, upgrading to TMC2208 or TMC2209 drivers is one of the best mods you can make — not just for noise, but for heat management.
Why TMC drivers run cooler:
- StealthChop mode uses sophisticated current regulation that’s more efficient than the chopper drivers used by A4988/DRV8825
- Automatic current reduction when motors are stationary
- Better microstepping interpolation means smoother motor movement with less wasted energy
TMC2209 vs TMC2208: The 2209 adds sensorless homing and StallGuard, but for pure heat/noise reduction, both perform similarly. TMC2209 is the better choice if your board supports UART communication.
Cost: About $5-8 per driver, so $20-32 for a full set of 4. This is one of the highest-value upgrades you can make on a budget printer.
Firmware Adjustments for Cooler Operation
Beyond driver current, several firmware settings affect motor temperature:
Klipper settings:
run_current: Start at 0.5A and increase only if neededhold_current: Set to 50-60% of run_currentstealthchop_threshold: Set to 999999 for always-on StealthChop (cooler but slightly less torque at high speeds)idle_timeout: Reduces current after a period of inactivity
Marlin settings:
#define X_CURRENT: Set motor current in milliamps (e.g., 580mA)#define X_HOLD_MULTIPLIER 0.5: Reduces holding current to 50%#define HYBRID_THRESHOLD: Sets speed threshold for switching between StealthChop and SpreadCycle
When Overheating Indicates a Bigger Problem
Sometimes a hot stepper motor is a symptom of something more serious:
- Failing motor: Internal short circuits cause excessive current draw and heat. If one motor is dramatically hotter than others with the same settings, the motor itself may be failing
- Wrong motor specifications: Replacement motors with different impedance than the originals will run at the wrong current. Always match the motor’s rated current to the driver setting
- Board damage: A damaged stepper driver can send unregulated current to the motor. If adjusting VREF has no effect, the driver may be dead
- Wiring issues: Loose connections or damaged cables increase resistance, which generates heat at the connector (check for melted plastic around motor plugs)
Practical Diagnostic Steps
If you suspect stepper motor overheating, here’s a systematic approach:
- Identify which motor: Touch each motor briefly after a 30-minute print. Compare temperatures. One significantly hotter motor = localized issue
- Check for binding: Power off, move axes by hand. Any resistance?
- Measure VREF: Use a multimeter on each stepper driver’s VREF pin. Compare to recommended values for your motor
- Reduce current by 20%: Lower VREF or firmware current setting. Print a test. If no missed steps occur and the motor is cooler, you were overdriving it
- Check driver temperature: The driver chip should be warm but not burning hot. If the driver is hotter than the motor, the driver may be failing
- Monitor during print: Use an infrared thermometer to track temperature over time. Motors that gradually climb past 80°C need attention
Summary: Quick Fixes in Priority Order
- Reduce stepper driver current — free, biggest impact (fixes 60% of cases)
- Fix mechanical binding — free, check eccentric nuts, lubricate rails
- Add heat sinks — $5-10, easy install, 10-15°C reduction
- Add cooling fans — $5-15, combined with heat sinks for best results
- Enable StealthChop/hold current reduction — free firmware change
- Upgrade to TMC2208/2209 drivers — $20-32, major improvement for older boards
Most overheating issues are solved by step 1 alone. Stepper motors are remarkably tolerant of heat — they’re rated for 80°C+ in many cases — but running them cooler extends their life and prevents the cascading failures (layer shifts, thermal shutdowns) that ruin prints.
If you’re seeing layer shifts only during long prints, overheating steppers should be your prime suspect. A motor that works fine for the first hour may start skipping steps after two hours as it heats up and loses torque. This thermal creep effect catches many people off guard.