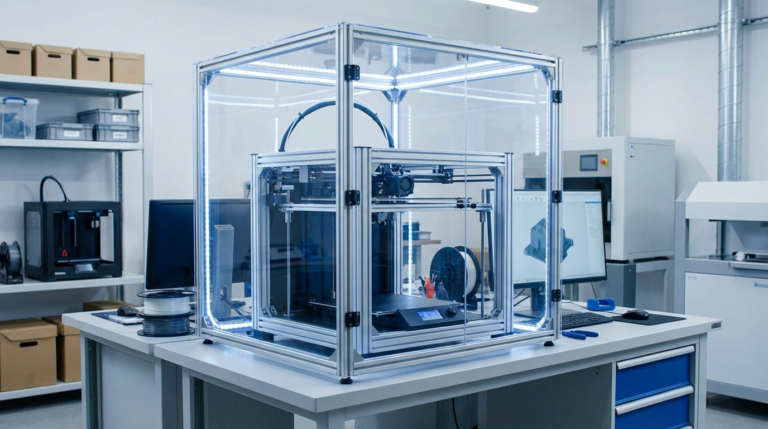
3D Printing Batch Production: How to Print Multiple Parts Efficiently
Whether you’re running a small Etsy shop, fulfilling prototype orders, or just need 50 identical widgets for a project, printing multiple parts efficiently on a single build plate is a skill that separates casual hobbyists from productive makers. Done right, batch printing saves enormous amounts of time — you set it and forget it while your printer cranks out part after part. Done wrong, you wake up to spaghetti and wasted filament.
I’ve spent the past few years optimizing batch workflows for both personal projects and small-scale production. Here’s everything I’ve learned about making multi-part prints reliable, efficient, and actually worth the effort.
Why Batch Printing Matters
The math is simple but powerful. Every print has overhead: bed heating, nozzle warm-up, first-layer calibration, bed adhesion settling time, and post-print cooldown. If each part takes 45 minutes to print and you have 30 seconds of overhead, printing 10 parts individually means you’re spending 5 minutes just on setup/teardown cycles. But the real cost is your time — removing finished parts, starting new prints, checking first layers.
Batch printing lets you load a plate of parts, hit start, and walk away for hours. One setup, one first layer, one removal session at the end. The efficiency gains compound quickly.
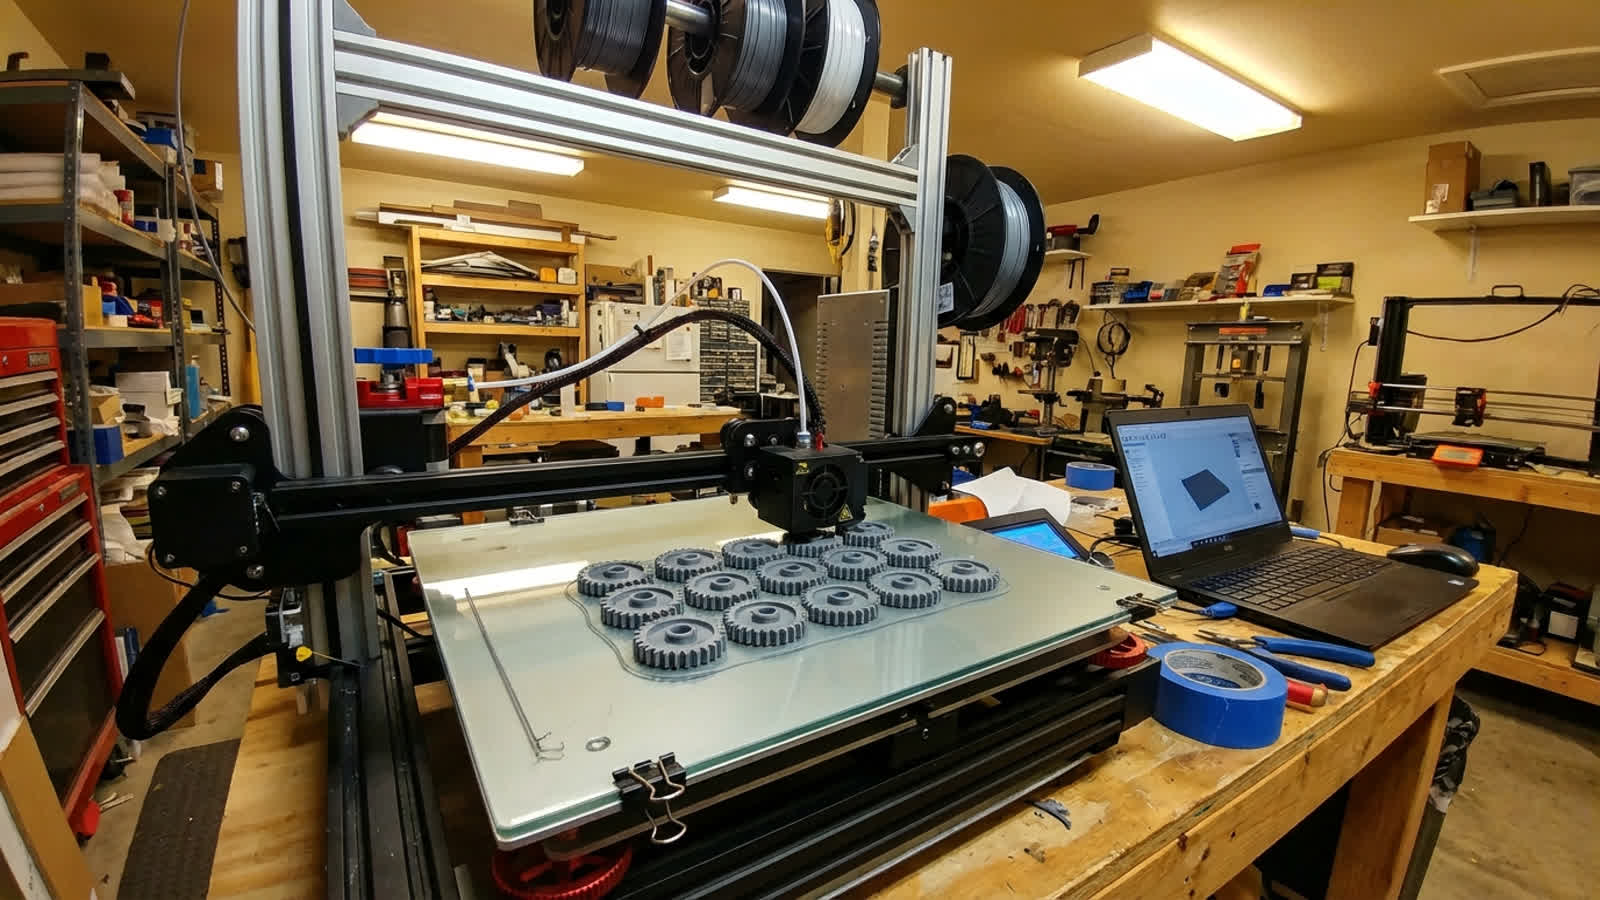
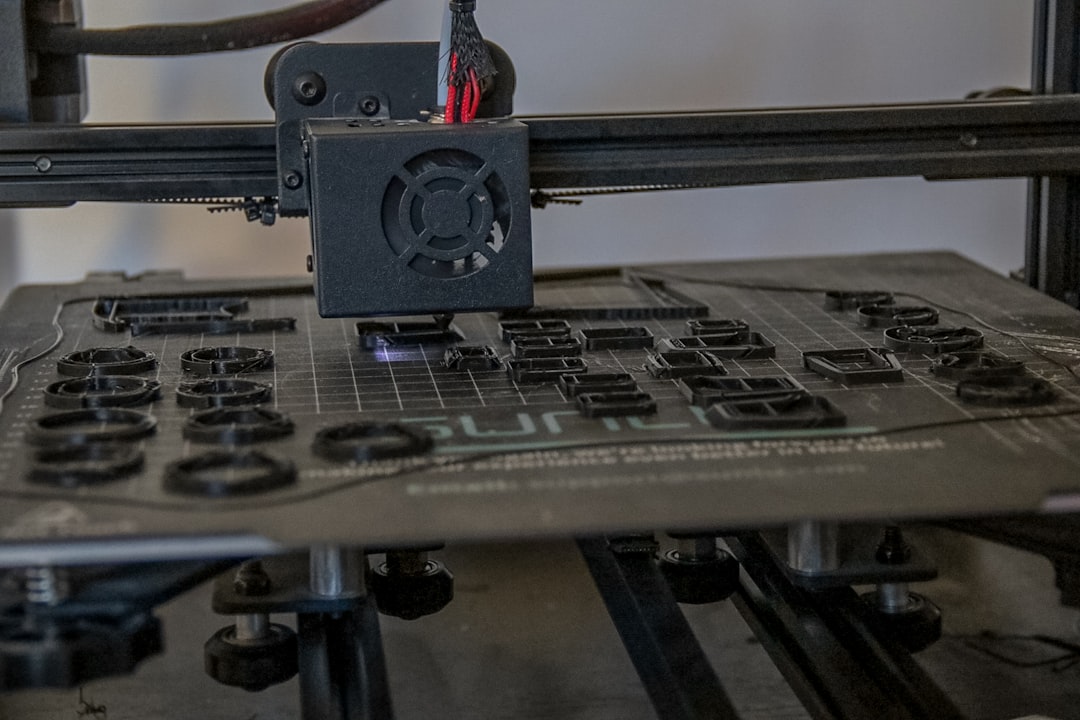
Arranging Parts on the Build Plate
Part placement isn’t just about fitting as many pieces as possible. Strategic arrangement affects print quality, success rate, and speed.
Spacing Between Parts
Leave at least 5-10mm between parts. This gives several benefits:
- Travel moves don’t drag across parts. When the nozzle moves between objects, it passes over empty space rather than risking knocking into a finished section.
- Better cooling. Air can circulate around each part, preventing heat buildup that causes deformation on small features.
- Easier removal. You can get a spatula between parts without accidentally damaging neighbors.
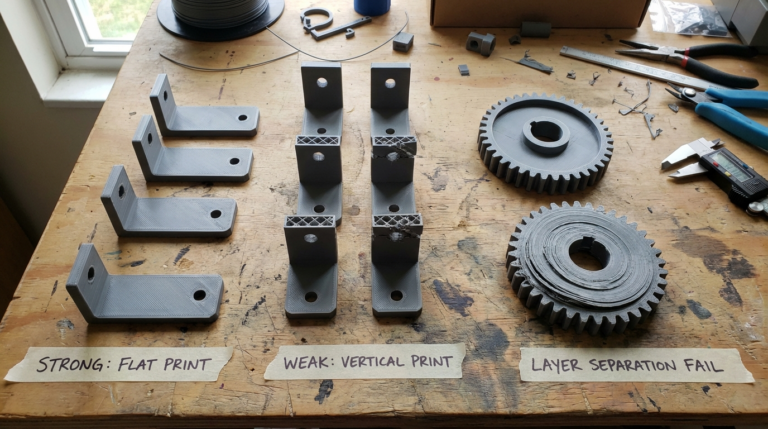
Center of Gravity Matters
On bed-slinger printers (where the bed moves on the Y axis), heavy prints at the edges cause more vibration and ringing. Place your densest or tallest parts near the center of the bed, and lighter/shorter parts toward the edges. On CoreXY machines, this matters less since the bed doesn’t move horizontally.
Orientation Strategy
When printing multiple copies of the same part, resist the urge to rotate some copies for better packing. Keep all copies in the same orientation — this ensures they all have identical layer line directions, support structures, and surface finishes. Consistency matters more than squeezing one extra part onto the plate.
Sequential vs. Simultaneous Printing
Most slicers offer two approaches for multi-part prints, and choosing the right one dramatically affects reliability.
Simultaneous (Default)
The printer completes each layer across ALL parts before moving to the next layer. Layer 1 on part A, then layer 1 on part B, then layer 1 on part C, then layer 2 on part A, and so on.
Pros:
- No height restrictions — parts can be as tall as your Z axis allows
- Better cooling per part since the nozzle spends time away from each object between layers
- If one part fails and detaches, the others usually continue printing fine
Cons:
- Lots of travel moves between parts, increasing print time and stringing risk
- If one part fails catastrophically (spaghetti), it can interfere with other parts
- More retractions mean more chances for extruder issues on long prints
Sequential (One at a Time)
The printer fully completes part A before moving to part B. Each part is printed from bottom to top independently.
Pros:
- Minimal stringing between parts (no travel moves across the plate)
- If a later part fails, earlier parts are already complete
- Faster overall — less time wasted on travel moves
Cons:
- Height is limited by your gantry clearance — the printhead and carriage must clear already-finished parts
- Parts must be spaced far enough apart that the printhead assembly doesn’t collide with finished objects
- Typically limited to shorter parts (under 30-50mm depending on your printer)
My recommendation: Use sequential printing whenever your parts are short enough to allow it. The reliability improvement is significant. For tall parts, stick with simultaneous printing but pay extra attention to retraction settings and travel speed.
Slicer Settings for Batch Success
Certain slicer settings become more important when printing multiples:
Travel Settings
- Combing/Avoid Crossing Perimeters: Enable this. It routes travel moves through the interior of parts rather than jumping across open space, reducing stringing between objects.
- Z-Hop: Enable with 0.2-0.4mm lift. This prevents the nozzle from dragging across the tops of parts during travel moves.
- Travel Speed: Increase to 150-200mm/s if your printer handles it. Faster travel means less time for filament to ooze during moves between parts.
Retraction Tuning
Multi-part prints involve dramatically more retractions than single-part prints. Make sure your retraction settings are dialed in — a retraction tower test is worth the 20 minutes it takes. For Bowden setups, consider reducing retraction distance slightly (by 0.5-1mm) and enabling “retraction extra prime amount” at 0.05-0.1mm³ to compensate for any filament that leaks during travel.
First Layer is Everything
When you’re printing 10 parts, a bad first layer doesn’t just ruin one part — it can cascade into a plate-wide failure. Take the time to:
- Clean your build surface before every batch (IPA wipe minimum)
- Use a fresh layer of adhesive if you’re using glue stick or hairspray
- Consider running a brim on parts, especially small ones — the extra adhesion is cheap insurance
- Watch the first layer complete on all parts before walking away
Optimizing Print Time for Batches
When you’re printing 20+ parts, even small per-part time savings add up fast.
- Increase layer height. If surface quality isn’t critical, jumping from 0.2mm to 0.28mm layers saves 25-30% time per part.
- Reduce infill intelligently. Most functional parts are fine at 15-20% infill with 3-4 walls. The walls provide most of the strength anyway.
- Use faster infill patterns. Grid and lines are the fastest infill patterns. Gyroid and cubic are stronger but take noticeably longer.
- Skip unnecessary features. Do you really need ironing on 50 identical parts? Probably not. Save the premium settings for display pieces.
- Print draft quality. For functional parts, 0.28mm layers at 80-100mm/s is perfectly acceptable and dramatically faster than 0.12mm layers at 40mm/s.
Failure Recovery Strategies
On a 12-hour batch print, a failure at hour 10 is devastating. Here’s how to minimize the risk and impact:
- Monitor remotely. Use OctoPrint, Mainsail, or your printer’s built-in camera to check on long prints. Set up failure detection if your software supports it (OctoPrint’s Spaghetti Detective plugin is excellent).
- Filament runout sensor. If your printer has one, make sure it’s enabled. If it doesn’t have one, add one — they’re $5-10 and save entire print jobs.
- Break mega-batches into smaller plates. Instead of cramming 20 parts onto one plate for a 24-hour print, do two plates of 10 for 12 hours each. The failure risk per plate is much lower, and you lose less if something goes wrong.
- Keep spare nozzles on hand. If a nozzle clogs mid-batch, being able to swap in a fresh one in 5 minutes (rather than spending 30 minutes trying to clear a clog) can save an entire print job.
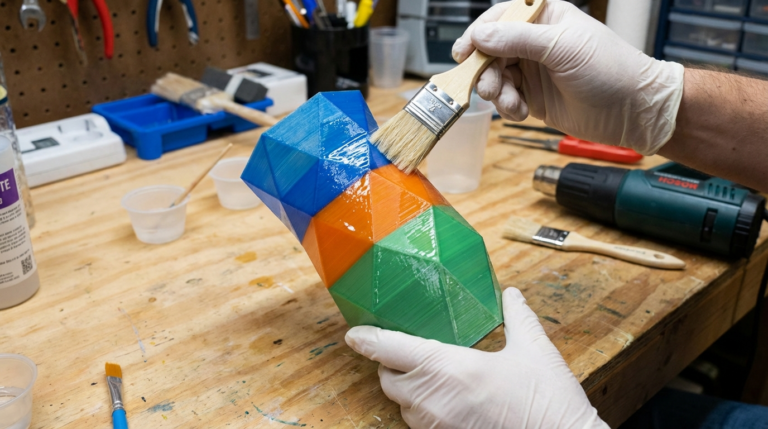
Post-Processing Multiple Parts
After a successful batch, efficient post-processing keeps your workflow moving:
- Remove parts while the bed is still warm (but not hot). Most parts pop off PEI spring steel plates easily when the bed cools to 35-40°C.
- Set up a deburring station. A flush cutter for brims/supports, a deburring tool for edges, and fine sandpaper (220-400 grit) for any rough spots.
- Use bins for sorting. “Needs cleanup,” “Ready for assembly,” and “Rejected” bins keep things organized when you’re processing dozens of parts.
- Document your print parameters. When you find settings that work reliably for a batch, save them as a named profile in your slicer. Future you will be grateful.
Scaling Up: When One Printer Isn’t Enough
If you consistently need more parts than a single printer can produce, here’s the natural progression:
- Optimize your existing printer first. Make sure you’re actually running it efficiently before adding more machines.
- Add a second identical printer. Same model means same profiles, same parts, same maintenance knowledge. Don’t complicate your life with mixed fleets.
- Use print farm management software. Tools like Repetier-Server, OctoPrint with multiple instances, or SimplyPrint help manage multiple machines from one interface.
- Standardize your workflow. Same filament brands, same slicer profiles, same post-processing steps across all machines.
Batch production on a desktop 3D printer isn’t going to replace injection molding for 10,000-unit runs, but for quantities of 5 to 500, it’s an incredibly powerful and cost-effective approach. Master the basics outlined here, and you’ll be surprised at how much you can produce from a single machine sitting on your desk.