3D Printing for Cosplay: From Concept to Convention-Ready Props and Armor
Why Cosplayers Are Embracing 3D Printing
3D printing has revolutionized cosplay in ways that foam crafting and Bondo sculpting never could. A decade ago, creating a screen-accurate helmet required hundreds of hours of manual shaping, and complex mechanical props were reserved for professional prop shops. Today, anyone with a $200 printer and free STL files can produce pieces that rival Hollywood props.
The technology isn’t just about convenience—it enables geometries that are impossible to achieve with traditional methods. Intricate filigree patterns, interlocking mechanical parts, precise symmetry, and faithful recreations of video game weapons with complex curves are all straightforward with 3D modeling and printing. For cosplayers who attend multiple conventions, 3D printing also means reproducibility: if a prop breaks, you can print another one overnight instead of spending weeks rebuilding.
Choosing the Right Printer for Cosplay
Not all 3D printers are equal when it comes to cosplay work. Here’s what matters:
Build Volume Is King
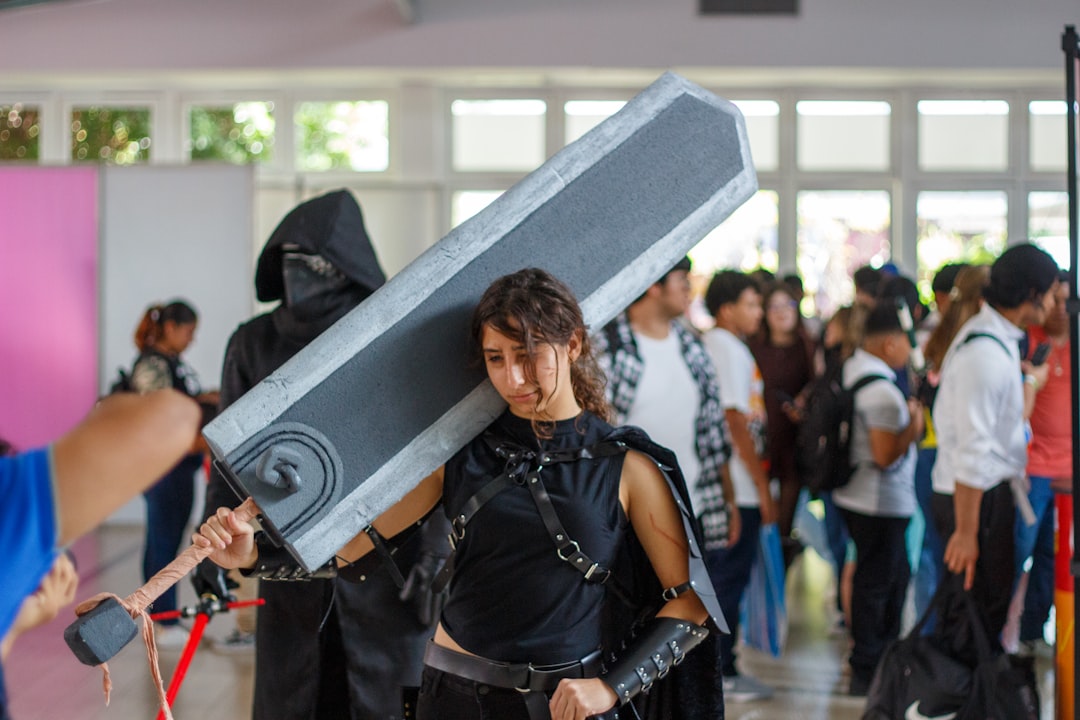
Cosplay pieces are large. A helmet is typically 250-300mm tall, armor pauldrons can be 350mm wide, and a full sword might be 800mm+ long. While you can always split models and glue them together, fewer pieces means less seam work and a stronger final product.
- Budget large-format: Creality Ender 3 S1 Plus (300x300x300mm) or Neptune 4 Max (420x420x480mm) — $250-400
- Mid-range: Bambu Lab P1S (256x256x256mm, but extremely fast) or Prusa MK4 (250x210x220mm) — $500-700
- Large format: Bambu Lab X1E (256x256x256mm with AMS), or Creality K1 Max (300x300x300mm) — $700-1200
- Maximum size: Elegoo Neptune 4 Max or CR-M4 (450x450x470mm) for printing helmets in one piece — $400-800
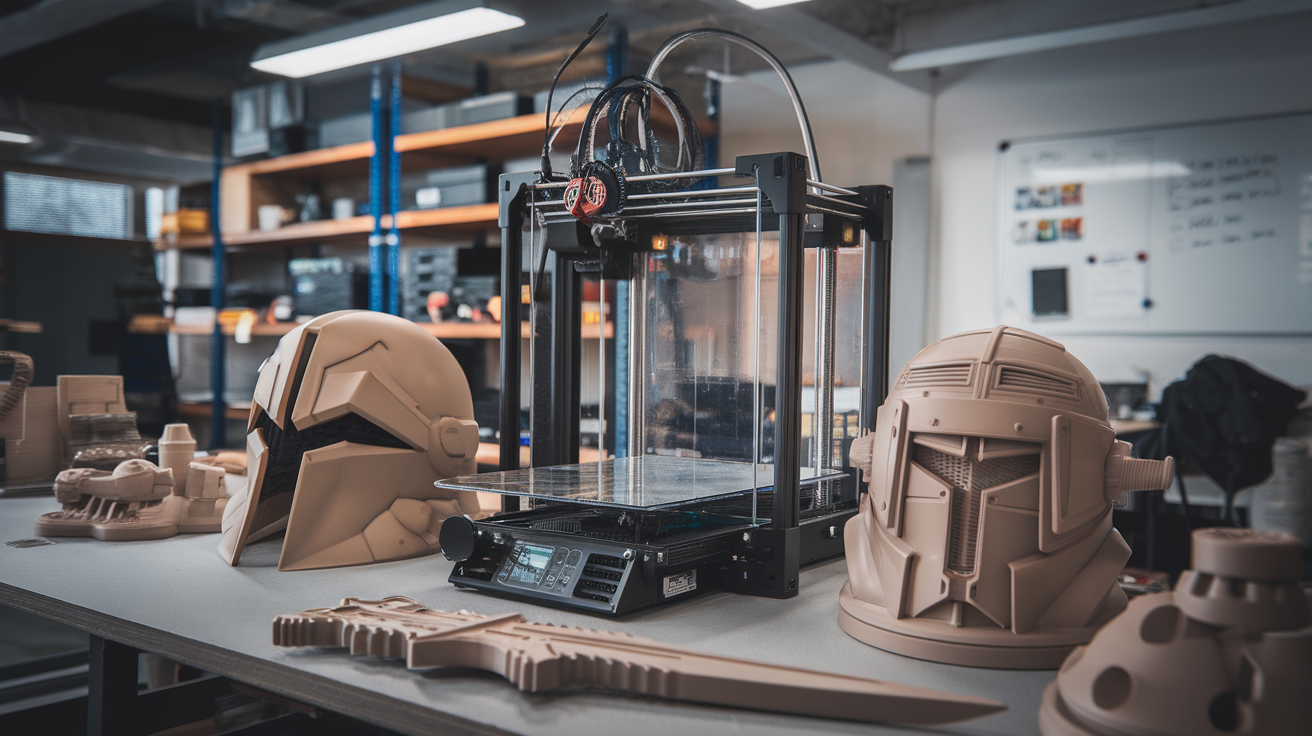
FDM vs. Resin for Cosplay
FDM (filament) is the standard for large structural pieces: helmets, armor plates, shields, sword blades. Layer lines are visible but can be sanded smooth. Prints are strong enough to survive convention wear and tear.
Resin (SLA/MSLA) excels at small, highly detailed pieces: ornamental gems, belt buckles, earrings, small emblems, and face masks where surface quality matters. Resin parts are more brittle and expensive to scale up, so they’re best used as accents on an FDM build.
Best Materials for Cosplay Printing
Material choice affects weight, durability, finish quality, and post-processing ease:
- PLA / PLA+: The default cosplay material. Easy to print, easy to sand, accepts primer beautifully. Lightweight. The downside: PLA softens at ~55°C, so leaving props in a hot car or wearing dark armor in direct sunlight can cause warping. For outdoor summer cons, consider PETG or ASA instead.
- PETG: More heat-resistant (~75°C) and slightly flexible, making it better for armor that needs to flex slightly without cracking. Harder to sand than PLA but more durable.
- ASA: UV-resistant and heat-resistant (~95°C). Ideal for outdoor photoshoots and summer conventions. Requires an enclosure to print well.
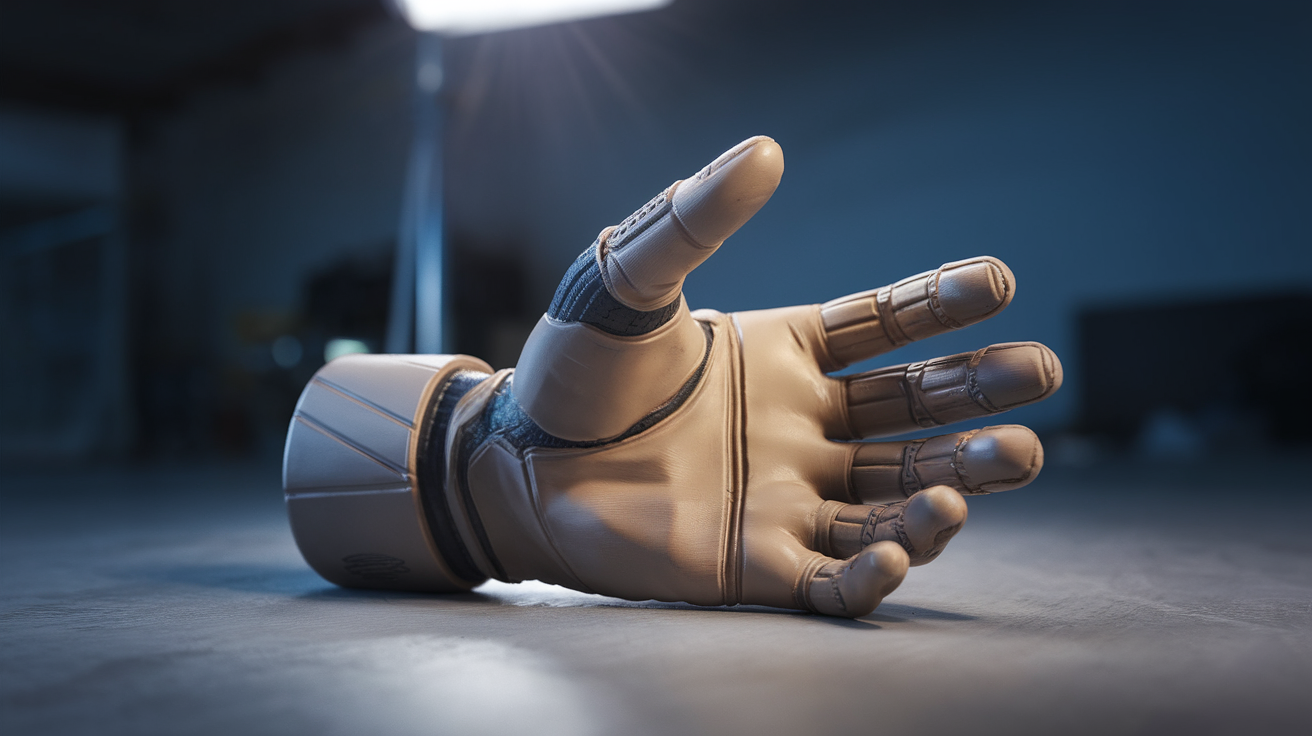
- TPU (Flexible): Perfect for undersuit details, flexible straps, gaskets, and parts that need to bend. Often used for boot soles, glove details, and articulating joints.
- ABS: Acetone-smoothable for a glass-like finish. Popular for smooth helmets and visors. Requires ventilation and enclosure.
Slicing and Printing Settings for Cosplay Parts
Cosplay prints have unique requirements compared to functional or decorative prints. Here are optimized settings:
Layer Height
Use 0.2mm for structural pieces you’ll sand and paint (helmets, armor). Drop to 0.12mm for detailed pieces where you want crisp surface patterns without heavy sanding. Use 0.28-0.32mm for interior structures or pieces that will be fully covered.
Wall Count and Infill
Cosplay parts need to be strong but light. The sweet spot:
- Walls: 3-4 perimeters (1.2-1.6mm wall thickness)
- Infill: 10-15% gyroid or cubic for helmets and armor. This provides crash resistance without excessive weight. A full helmet at 15% infill in PLA typically weighs 400-600g.
- Top/bottom layers: 4-5 layers for a solid surface that sands well
Support Strategy
Cosplay models often have complex curves and overhangs. Use tree supports for organic shapes—they use less material, are easier to remove, and leave fewer marks. For helmets, orient the model upside-down (opening on top) to minimize supports on the visible exterior surface. Some cosplayers print helmets in two halves (left/right split) to eliminate supports entirely.
Post-Processing: From Printed Part to Prop
The secret to professional-looking cosplay isn’t the printer—it’s the finishing. Raw 3D prints look like 3D prints. Finished ones look like movie props. Here’s the workflow the pros use:
Step 1: Sanding (The Most Important Step)
Start with 80-grit sandpaper to knock down visible layer lines, then progress through 120, 220, 400 grit. For PLA, wet sanding at 400-600 grit gives a smooth-enough surface for primer. Orbital sanders save enormous amounts of time on large flat areas. For curved surfaces, use sanding sponges.
Step 2: Filling
After initial sanding, apply automotive filler primer (Rust-Oleum Filler Primer is the cosplay community standard). Spray 2-3 coats, letting each dry fully. This fills micro-scratches and remaining layer lines. Sand the primer with 320-400 grit. For deep gaps between printed sections, use Bondo spot putty or epoxy filler.
Step 3: Priming and Painting
Apply 2-3 coats of regular primer (gray for most colors, white for bright colors). Then paint with either:
- Spray paint: Fastest for large pieces. Metallic Rust-Oleum paints are surprisingly convincing for armor.
- Airbrush: Best for gradients, weathering effects, and detail work. Invest in a $50-100 airbrush kit if you’re serious about cosplay.
- Brush painting: Acrylics (Citadel, Vallejo, Army Painter) for small details and weathering washes.
Step 4: Weathering and Clear Coat
New-looking props rarely look realistic. Dry brushing with metallic paint on edges simulates wear. Black wash (thinned black acrylic) in recesses adds depth. Brown and orange washes simulate rust. Finish with 2-3 coats of clear coat—matte for fabric/leather looks, satin for worn metal, gloss for polished surfaces.
Where to Find Cosplay 3D Models
You don’t need to be a 3D modeler to make amazing cosplay props. The community is incredibly generous with files:
- Thingiverse — Free, massive library but search is poor. Filter by “makes” to find well-tested models.
- MyMiniFactory — Curated library with many paid cosplay-specific models from professional designers.
- Cults3D — Mix of free and paid. Strong cosplay section with armor sets and props.
- Etsy — Many professional prop makers sell STL files for $5-30. Quality is generally high because sellers have reputations to maintain.
- The RPF (Replica Prop Forum) — Community-driven forum where modelers share files and build logs. Best for screen-accurate replicas.
- Nikko Industries — Premium cosplay files (Halo, Mass Effect, Star Wars) with detailed assembly instructions. $20-80 per set.
Common Cosplay Printing Mistakes and How to Avoid Them
Mistake: Not scaling the model to your body.
Always measure your head circumference, shoulder width, arm length, etc. before printing. Scale the model in your slicer to match. A helmet that’s 5% too small won’t fit over your ears; 5% too large looks comically oversized.
Mistake: Printing everything at once.
Start with a small test piece—a single armor segment or visor—to verify fit, material choice, and settings before committing 200+ hours to a full suit.
Mistake: Skipping the filling primer step.
Paint cannot hide layer lines. No matter how many coats you spray, the texture shows through. Filling primer is what makes a print look injection-molded.
Mistake: Using superglue for structural joints.
Superglue (CA glue) is brittle and fails under impact. For PLA, use 2-part epoxy or specialized 3D printing adhesives. For ABS, acetone welding creates molecular-level bonds. For PETG, a combination of epoxy and mechanical fasteners (bolts, magnets) is most reliable.
Mistake: Ignoring comfort and wearability.
Nobody cares how accurate your armor is if you can’t move, see, or breathe in it. Add EVA foam padding inside helmets, install PC fans for ventilation, design articulating joints, and include quick-release fasteners so you can remove pieces easily at conventions.