How to 3D Print in Batch: Production Mode Tips for Maximum Efficiency
Why Batch Printing Changes Everything
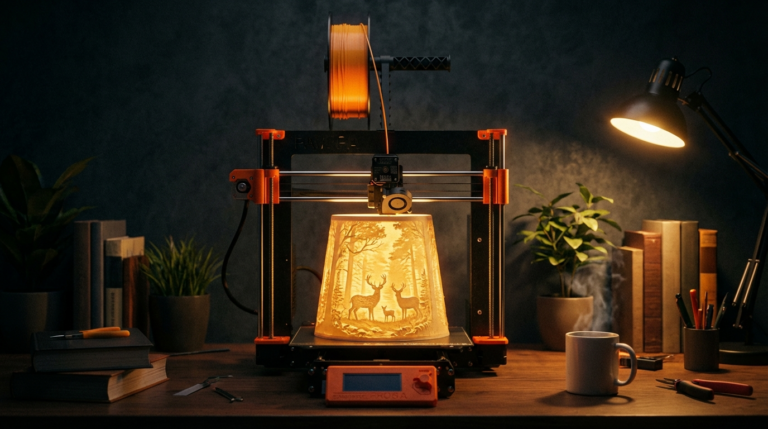
If you’ve ever spent a weekend printing the same part twenty times — starting each print individually, removing it, re-leveling the bed, and starting again — you already know the pain. Batch printing lets you fill the entire build plate with multiple copies (or multiple different parts) and walk away while the printer does its thing. It’s the difference between a hobby printer and a production tool.
Whether you’re running a small Etsy shop, printing parts for a robotics project, or just trying to get through a pile of gifts before the holidays, batch printing can save you dozens of hours per week. Here’s how to do it right without sacrificing quality.
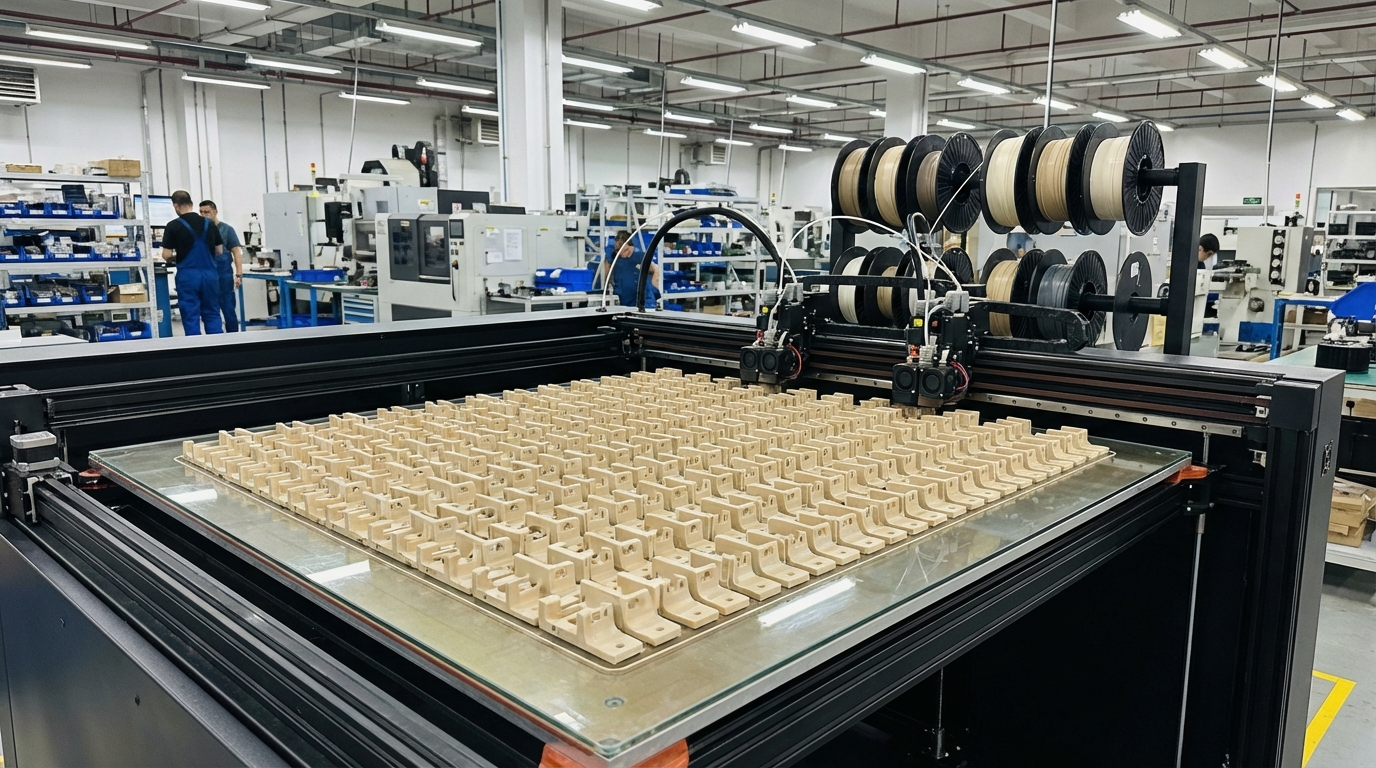
Method 1: Filling the Build Plate
The simplest batch printing method is loading multiple copies of a part onto the same build plate in your slicer. Every modern slicer supports this, and it’s just a matter of knowing the limits.
Spacing and Layout
The most common mistake is packing parts too close together. Here’s what you need to know:
- Minimum gap: Leave at least 5mm between parts, and 10mm if you’re printing with materials prone to stringing (like PETG).
- Avoid the edges: Keep parts at least 10-15mm from the edge of your build plate. Bed temperature drops off near the edges on most heated beds, leading to adhesion problems.
- Consider travel moves: The more spread out your parts are, the longer the nozzle spends traveling between them, which increases stringing risk and print time.
Sequential vs Simultaneous Printing
Slicers offer two approaches for multi-part prints:
Simultaneous (default): The printer completes one layer across ALL parts before moving to the next layer. This is the standard behavior when you place multiple objects on the build plate.
- Pros: No risk of the printhead hitting completed parts. Works with any part height.
- Cons: Lots of travel moves between parts (more stringing). If one part fails and detaches, it can knock other parts off too.
Sequential (one-at-a-time): The printer completes each part fully before moving to the next one. In Cura, this is called “Print One at a Time.” In PrusaSlicer, it’s under “Complete individual objects.”
- Pros: Less stringing. One failed part doesn’t ruin others. Better surface quality since there’s less ooze between retraction-travel-prime cycles.
- Cons: Parts must be short enough that the gantry/X-carriage can clear completed parts. On an Ender 3, this limits part height to about 30-40mm depending on your setup.
When to Use Sequential Printing
Sequential printing is ideal when:
- Parts are relatively short (under 40mm for most bed slingers)
- You’re printing in PETG or other stringy materials
- Surface quality matters (cosmetic parts)
- You want to minimize waste from failures
Method 2: Print Farms — Multiple Printers Working Together
Once you outgrow what a single build plate can handle, the next step is running multiple printers simultaneously. This doesn’t have to mean buying ten identical machines — even two printers doubles your output.
Software for Managing Multiple Printers
- OctoPrint + OctoFarm: OctoFarm is a free dashboard that manages multiple OctoPrint instances from a single interface. You can monitor, start/stop, and manage all your printers from one browser tab.
- Repetier Server: Commercial option that supports multiple printers on one Raspberry Pi. Offers better scheduling than OctoPrint for production workflows.
- 3DPrinterOS: Cloud-based management for printer fleets. Free for up to 3 printers.
- Bambu Handy / Bambu Studio: If you’re running Bambu Lab printers, their ecosystem makes multi-printer management painless with cloud-based queueing and monitoring.
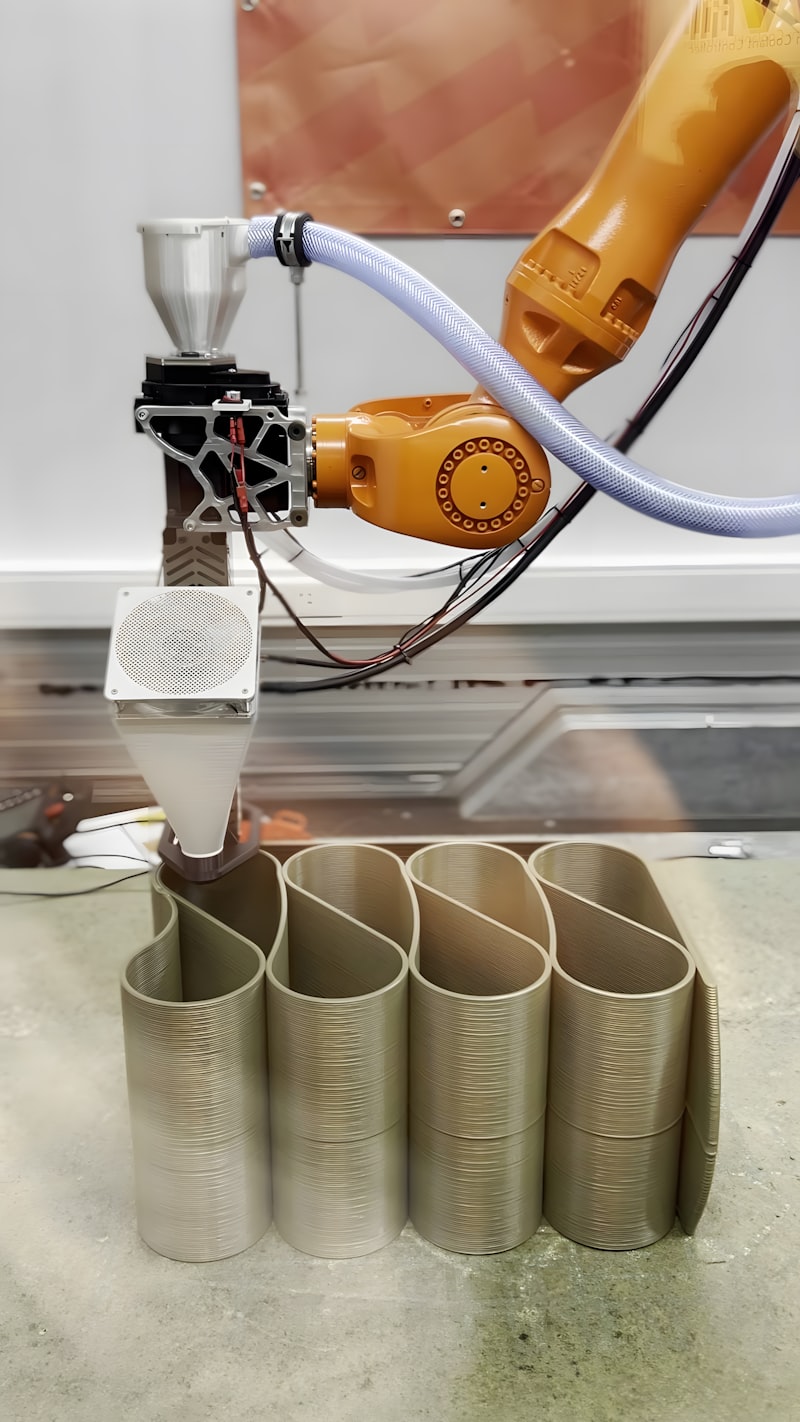
Method 3: Continuous Belt Printing
Belt printers like the Creality CR-30 use a conveyor belt instead of a fixed build plate. Parts roll off the end of the belt as they complete, and the printer immediately starts the next one. This is true unattended batch production.
Pros of Belt Printing
- Infinite Z-axis — parts can be as long as you want
- Automatic part removal — finished parts fall off into a bin
- True continuous production — queue hundreds of parts
Cons of Belt Printing
- 45-degree angle printing requires different model orientation
- Surface finish on the belt side is rougher
- Limited material compatibility (PLA and PETG work best)
- Belt replacement is a consumable cost
Optimizing Print Settings for Batch Runs
When you’re printing dozens of the same part, small efficiency gains add up fast. Here are the settings I’d tweak for production runs:
Speed
For batch production, you can usually push speeds 10-20% higher than your quality settings because:
- Parts are identical, so you’ve already validated the geometry
- Small cosmetic imperfections are acceptable when producing functional parts
- The time savings compound — 10% faster on a 2-hour print saves 12 minutes, but across 50 parts that’s 10 hours saved
Infill
Most functional parts don’t need 20% infill. For batch runs, test your part at 10% or even 5% infill first. If it passes your strength requirements, every percentage point of infill you remove saves material and time. On a 50-part run, going from 20% to 10% infill can save an entire spool of filament.
Supports
Every support you print is material wasted and time spent on post-processing. Before committing to a batch run:
- Rotate the model to minimize supports
- Split the model into support-free pieces if possible
- Use tree supports if you must — they use less material and are easier to remove
Post-Processing at Scale
Removing parts from the build plate, cleaning up support marks, and doing any finishing work gets tedious at scale. Some tips for streamlining:
- Flexible build plates: PEI spring steel sheets let you pop parts off by flexing the plate instead of scraping. This alone can save 5 minutes per batch.
- Batch deburring: Collect all parts and do a single deburring session with a deburring tool or craft knife rather than finishing each part individually.
- Templates and jigs: For parts that need holes drilled or inserts pressed in, 3D print a jig that holds the part in the correct position. This speeds up repetitive post-processing enormously.
Managing Filament Consumption
Batch printing burns through filament fast. A few practices to keep costs under control:
- Track usage: Your slicer estimates filament usage per print. Multiply by your batch size and compare against what’s left on the spool. Nothing ruins a batch run like running out of filament at 80% completion.
- Use a filament runout sensor: If your printer supports it, this pauses the print when the spool runs out so you can swap in a new one.
- Buy in bulk: When you know you’re doing production runs, buying 5-10 spools at once saves 15-20% versus single spool pricing from most manufacturers.
- Consistent material: Stick to one brand and color per batch. Different brands have slightly different diameters and properties that can cause inconsistencies across a run.
Quality Control for Batch Prints
When you’re making one part, you can inspect it carefully. When you’re making fifty, you need a system:
- First article inspection: Print one part first, measure it, test its fit, verify quality before starting the batch run.
- Spot checks: Pull every 5th or 10th part for measurement during the run.
- Go/no-go gauges: For parts with critical dimensions, print a gauge that tells you instantly whether the part is within tolerance.
- Weight checks: Consistent weight indicates consistent infill and wall thickness. A kitchen scale accurate to 0.1g works perfectly.
Common Batch Printing Failures
Some problems are unique to batch printing:
- One part detaches and ruins others: Use brims on batch prints for extra adhesion insurance. The small amount of extra post-processing is worth avoiding a cascading failure.
- Stringing between parts: Increase retraction by 0.5-1mm and enable “combing” mode to keep travel moves within part boundaries when possible.
- Heat creep on long prints: Batch prints can run for many hours. Ensure your hotend cooling fan is working properly and your ambient temperature isn’t too high.
- Filament tangle: On long runs, check your spool periodically. A tangle partway through a 12-hour batch is devastating.
Putting It All Together
Batch printing isn’t complicated, but it requires a shift in thinking from “print one part perfectly” to “print many parts consistently.” Start by filling a single build plate with duplicates, optimize your settings on a test part first, and gradually scale up as you develop confidence in your machine’s reliability. Whether you’re running one printer or ten, the principles are the same: consistent material, validated settings, and systematic quality control. Get those three things right and you can produce parts at a pace that would have been unimaginable a few years ago on a desktop machine.