3D Printer First Print Checklist: Complete Beginner Setup Guide
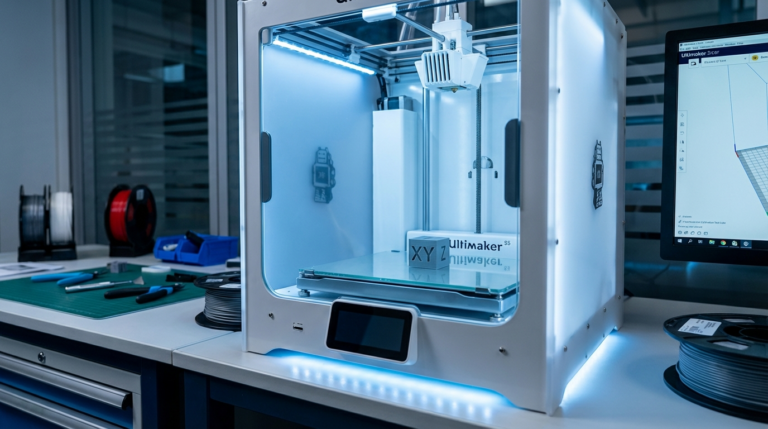
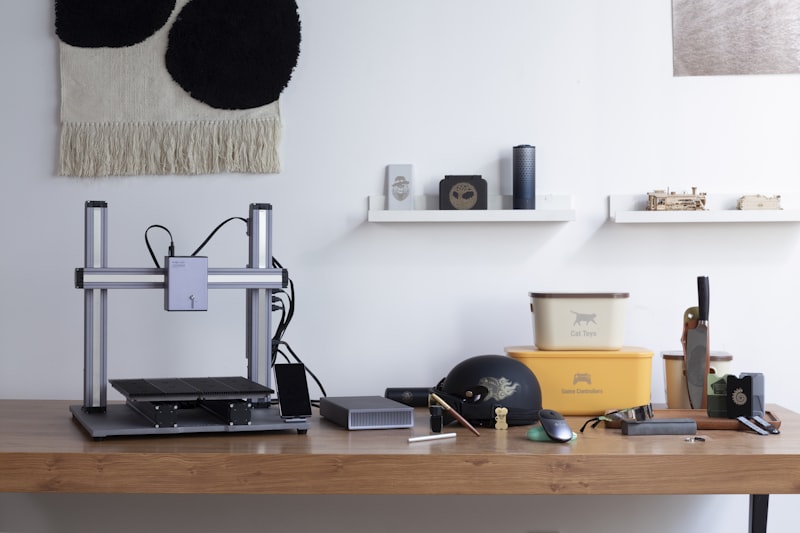
You just unboxed your first 3D printer. The frame is assembled, the spool is loaded, and you’re staring at a blank build plate wondering what comes next. Don’t worry — nearly everyone feels overwhelmed at this stage. The truth is, getting a perfect first print is less about skill and more about following a systematic checklist that covers every critical step.
This guide is everything I wish someone had handed me when I started. Follow it step by step, and you’ll go from unboxing to a successful print without the frustrating trial-and-error phase most beginners suffer through.
Before You Print: Hardware Checklist
Step 1: Verify Frame Assembly
If your printer arrived partially assembled (most do), double-check every bolt and connection. The most common assembly mistake is leaving the gantry slightly crooked — the X-axis beam should be perfectly level with the frame on both sides.
Quick test: Measure the distance from the top of each vertical frame rail to the X-axis gantry. Both sides should be identical (within 1mm). If they’re off, loosen the gantry bolts, square it up, and retighten.
Step 2: Check Belt Tension
Both X and Y axis belts should be taut but not guitar-string tight. When you pluck the belt with your finger, it should twang slightly — not flap loosely or feel rigid. Most new printers ship with belts that are too loose rather than too tight.
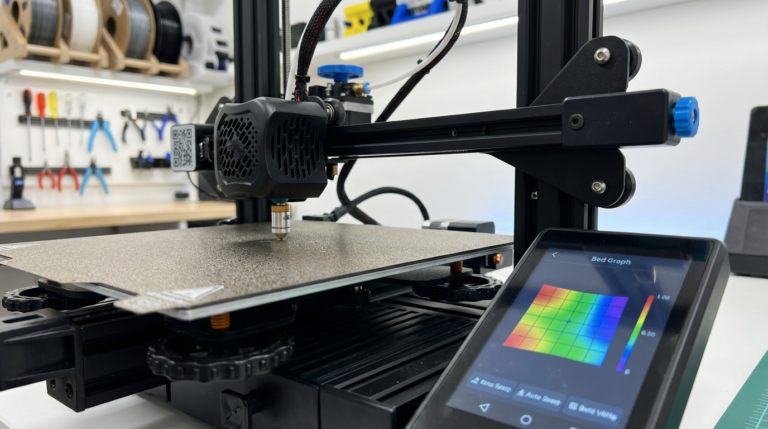
Step 3: Level the Bed
This is the single most important step for beginners. An unlevel bed means your first layer won’t stick uniformly, and everything builds on the first layer.
Manual leveling process:
- Preheat the bed to your target temperature (60°C for PLA) — beds warp slightly when heated.
- Home all axes.
- Disable steppers so you can move the printhead freely.
- Place a piece of standard printer paper (0.1mm thick) between the nozzle and bed.
- Move the printhead to each corner and adjust the leveling knob until the paper slides with slight resistance — you should feel a gentle drag, not a hard stop.
- Repeat the circuit at least twice, because adjusting one corner affects the others.
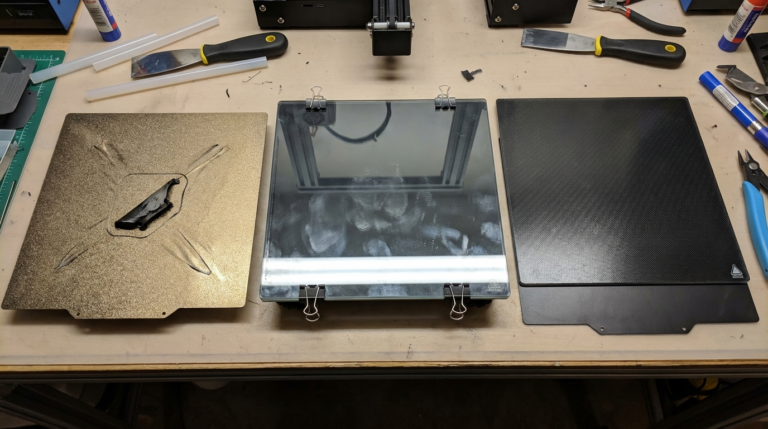
- Check the center point last. If it’s noticeably different from the corners, your bed may have a warp (common on glass and flexible steel beds).
If your printer has automatic bed leveling (BLTouch, CR Touch, inductive probe), run the probe calibration first, then fine-tune the Z-offset using the paper method. Auto leveling compensates for bed variation but still needs a correct starting Z height.
Step 4: Load Filament Properly
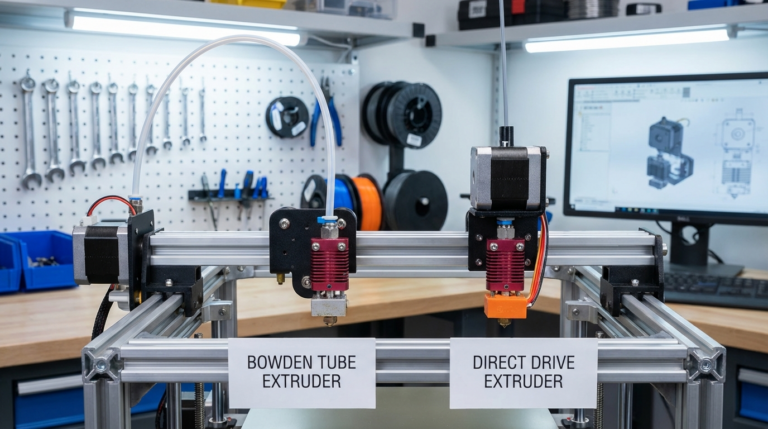
Cut the filament end at a 45-degree angle with flush cutters — this makes it slide into the extruder gear and PTFE tube without catching. Feed it through until you feel slight resistance at the hotend, then use the printer’s “Load Filament” function (or manually extrude 50-100mm) until material flows cleanly from the nozzle.
The extruded filament should come out in a smooth, consistent stream and curl naturally downward. If it curls to one side or comes out with bubbles, there may be a partial clog from shipping debris — extrude another 100mm to clear it.
Software Setup Checklist
Step 5: Install and Configure Your Slicer
Your slicer converts 3D models into instructions (G-code) that your printer understands. The three most popular free slicers are:
- Cura — Most beginner-friendly, huge profile library for popular printers
- PrusaSlicer — Excellent defaults, great for fine-tuning
- OrcaSlicer — Best for Bambu Lab printers, but works with any printer
When you first launch the slicer, select your exact printer model from the built-in profiles. These profiles contain pre-tuned settings that work well out of the box. Resist the urge to change settings before your first print — the defaults are there for a reason.
Step 6: Choose Your First Print File
Most printers include a test file on the SD card. It’s usually a simple model designed to print successfully with the default settings. Use it. This isn’t the time for ambition — your first print should be small (under 2 hours), use default settings, and serve as a baseline to confirm everything works.
If you need a test model, download the classic 3DBenchy from Printables.com. It tests bridging, overhangs, small details, and retraction in a single compact print that takes about 90 minutes.
Step 7: Set the Right Temperature
Check the label on your filament spool for the recommended temperature range. For PLA — by far the best beginner material — typical settings are:
- Nozzle temperature: 200-210°C
- Bed temperature: 60°C
- Print speed: 50mm/s (or whatever the profile default is)
Start in the middle of the recommended range. You can fine-tune later with temperature towers.
During Your First Print
Step 8: Watch the First Layer Like a Hawk
The first layer determines whether your print succeeds or fails. Stay and watch it go down completely. Here’s what to look for:
- Good first layer: Lines are slightly squished, touching each other with no gaps, uniform width across the bed
- Nozzle too high: Lines are round, not squished, and don’t stick. They may peel up or drag with the nozzle.
- Nozzle too low: Lines are transparent thin, filament doesn’t flow smoothly, nozzle may scrape the bed
If the first layer looks wrong, stop the print and adjust your Z-offset. Most printers let you do this live through the menu — lower the offset by 0.02mm increments if lines are too round, raise it if they’re too flat.
Step 9: Don’t Touch Anything (Seriously)
Once the first layer looks good and the print is building up, walk away. The biggest beginner mistake is constantly fidgeting with settings mid-print. Let it run. Check back every 30-60 minutes to make sure nothing has gone wrong, but resist the urge to adjust temperatures, speeds, or fan settings while the print is running.
After Your First Print
Step 10: Remove the Print Properly
Let the bed cool down before removing the print. On flexible magnetic build plates (PEI sheets), the print often pops off by itself as the plate contracts. On glass beds, wait until the bed reaches room temperature, then use a thin spatula or scraper at a shallow angle.
Never pry prints off a hot bed — you risk damaging both the print and the bed surface.
Step 11: Inspect and Learn
Examine your first print critically:
- Is the bottom smooth and uniform? If not, re-level your bed.
- Any stringing between features? You may need retraction tuning (but that’s a second-print problem).
- Elephant foot (first layer wider than the rest)? Slightly raise Z-offset or lower bed temperature by 5°C.
- Good dimensional accuracy? Measure critical dimensions with calipers and compare to the model.
Essential First-Week Calibration Prints
After your first successful print, tackle these calibration tests in order:
- Temperature Tower — Find the best nozzle temperature for your specific filament
- Retraction Tower — Eliminate stringing with optimized retraction settings
- Flow Rate Test — Ensure you’re extruding exactly the right amount of plastic
- XYZ Calibration Cube — Verify dimensional accuracy on all three axes
Each of these tests takes 30-60 minutes and will improve your print quality significantly. Do them once for each new filament roll or material type, and your printer will reward you with consistently clean results.
Common First-Print Mistakes to Avoid
- Printing too fast — Stick to 50mm/s or lower until you’re comfortable
- Skipping bed leveling — It takes 5 minutes and prevents 90% of first-layer failures
- Using old or wet filament — If the spool has been open for months, dry it first
- Printing in a drafty room — Air currents cause warping. Close windows and doors.
- Starting with a complex model — Simple shapes first. Work up to that full-size helmet later.
You’re Ready
3D printing has a learning curve, but it’s not as steep as it seems when you approach it systematically. Level your bed, use good filament, start with default settings, and watch that first layer. Everything else is optimization — and that’s the fun part.
Print something simple today. Print something ambitious tomorrow. Before you know it, you’ll be the one writing guides for the next beginner.