How to Fix Missing Layers and Skipped Layers on Your 3D Printer
You check on your print after a few hours and notice something wrong: certain layers are missing entirely, leaving visible gaps or bands in the wall where the printer simply skipped a layer or two. This defect — often called missing layers, skipped layers, or layer gaps — is distinct from under-extrusion because the issue isn’t about too little plastic. It’s about certain layers having virtually no extrusion at all while others print fine.
It’s one of the trickier 3D printing problems to diagnose because it’s almost always intermittent. The fix depends on identifying which of several root causes is at play. Let’s work through them systematically.
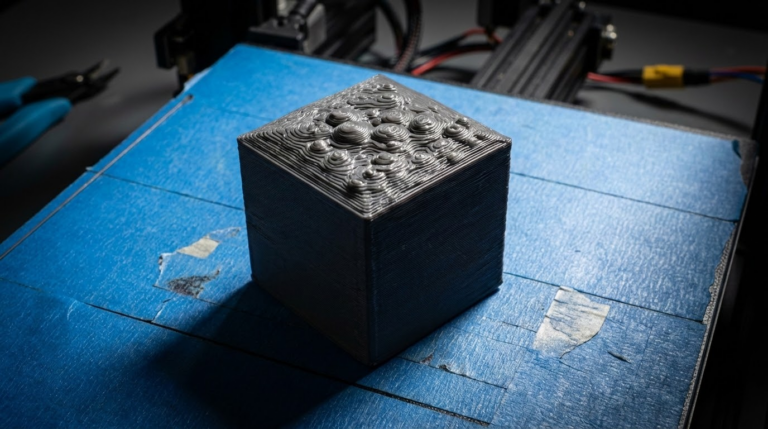
What Missing Layers Actually Look Like
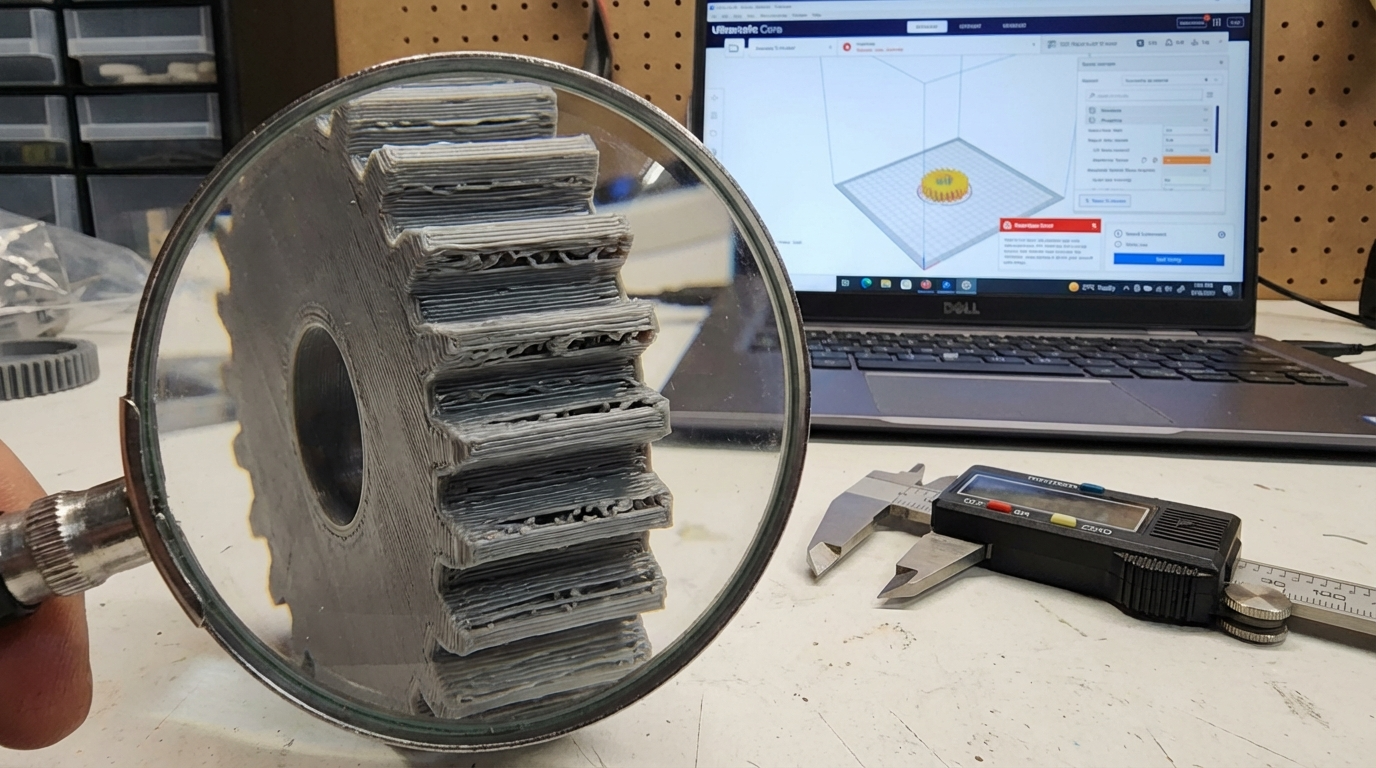
Missing layers show up as horizontal bands or grooves in the wall of your print where material is clearly absent. They may appear at random heights, at regular intervals, or only on certain parts of the print. The layers immediately above and below the gap are usually normal, which is what distinguishes this from general under-extrusion or layer adhesion problems.
Cause 1: Inconsistent Filament Diameter
Budget filament often has diameter variations that exceed ±0.05mm. When the filament passes through a thin spot, the extruder gear loses grip momentarily, and you get a layer with significantly less (or zero) extrusion.
Diagnosis: Measure your filament at multiple points with digital calipers. Standard 1.75mm filament should be 1.73-1.77mm consistently. Variations beyond ±0.05mm can cause missing layers.
Fix: Switch to higher-quality filament with documented tight tolerances. Brands like Prusament (±0.02mm), Polymaker, and Hatchbox maintain consistent diameters. It’s a small cost increase that eliminates a whole category of problems.
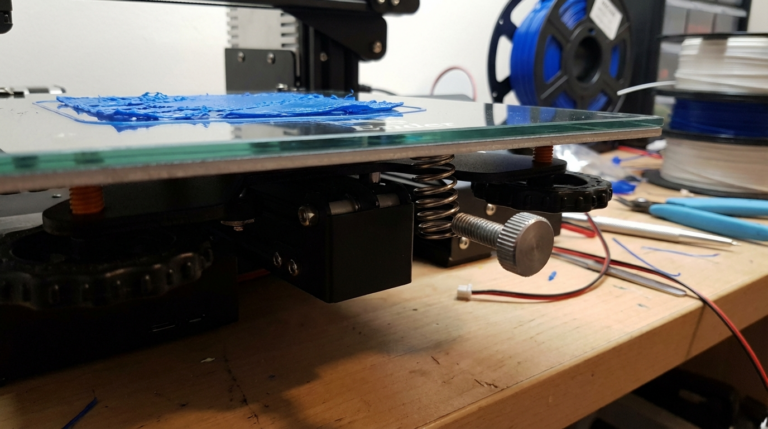
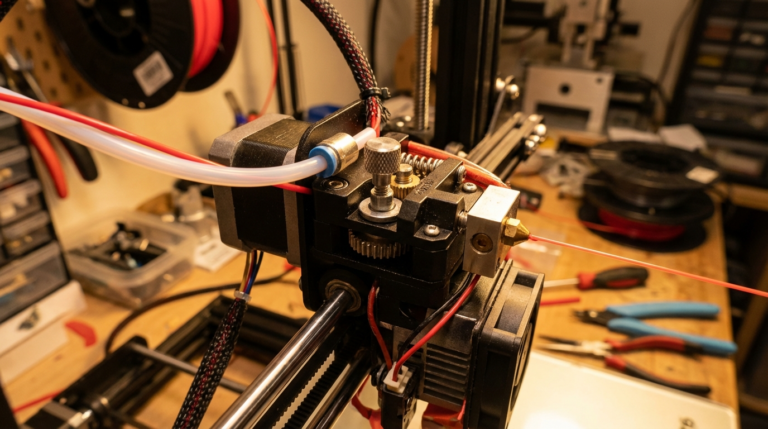
Cause 2: Z-Axis Mechanical Issues
The Z-axis is responsible for raising the printhead (or lowering the bed) by exactly one layer height between each layer. If the leadscrew is binding, the coupler is loose, or the anti-backlash nut is worn, the Z-axis may occasionally fail to move the correct distance — or skip a step entirely.
Diagnosis: With the printer off, manually turn the leadscrew by hand. It should rotate smoothly with no tight spots or grinding sensations. Check the brass leadscrew nut for visible wear. Wobble the leadscrew — there should be no lateral play.
Fix:
- Clean and lubricate the leadscrew with PTFE-based or lithium grease (not WD-40)
- Check the coupler between the stepper motor and leadscrew — tighten the set screws and ensure one grub screw sits on the flat of the motor shaft
- Replace the brass nut if worn (POM anti-backlash nuts are a good upgrade)
- If your printer has dual Z-axis (two leadscrews), make sure both sides are synchronized
Cause 3: Extruder Gear Slipping
If the extruder gear periodically loses grip on the filament — due to tension issues, debris on the gear teeth, or a worn gear — you’ll see layers where extrusion drops to near zero. This is different from consistent under-extrusion because it happens intermittently.
Diagnosis: Mark the filament with a marker at the extruder entry point and watch it during printing. If the marks stop moving for brief periods, the gear is slipping. You may also hear clicking sounds.
Fix: Clean the drive gear teeth, adjust tension, and inspect the gear for worn teeth. If the gear is smooth where it should be toothed, replace it. Upgrade to a dual-gear extruder for more reliable grip — the BMG clone extruders are affordable and excellent.
Cause 4: Partial Nozzle Clog
A partial clog restricts flow without blocking it entirely. During high-demand layers (fast moves, many direction changes), the restriction causes brief moments of zero extrusion. During slower sections, enough material pushes through to look normal.
Diagnosis: Missing layers are more common on layers with lots of travel moves or complex geometry. Manually extruding filament requires more force than usual.
Fix: Perform cold pulls until they come out clean. If the problem persists, remove and inspect the nozzle. For stubborn clogs, soak the nozzle in acetone (for PLA residue) or heat it with a torch to burn out carbonized material. When in doubt, swap in a fresh nozzle — they’re cheap.
Cause 5: Slicer Issues
Sometimes the problem isn’t mechanical at all. Certain slicer settings can produce G-code that results in missing or extremely thin layers:
- Variable layer height bugs: If you’re using adaptive or variable layer heights, check if the gaps correspond to layer height transitions in the slicer preview.
- Minimum layer time: Some slicers will skip or rush layers that complete too quickly (small cross-section layers). Check your “minimum layer time” and “slow down if layer time is below” settings.
- Coasting: Aggressive coasting settings (stopping extrusion before the end of a path) can leave the very end of layer paths unfilled.
Fix: Preview your G-code layer by layer in the slicer. If you can see the missing layers in the preview, the problem is in your settings. Disable variable layer height, reduce coasting, and check minimum layer time settings.
Cause 6: Temperature Fluctuations
If your hotend temperature drops during printing — even briefly by 10-15°C — the filament flow can stall or stop. This creates a layer or two with minimal extrusion before the heater catches up.
Diagnosis: Watch the temperature readout on your printer’s display during a print. Drops of more than ±3°C from the target indicate a PID tuning issue or a failing heater/thermistor.
Fix: Run PID autotune (available in Marlin and Klipper firmware). If temperature swings persist after tuning, check the heater cartridge and thermistor connections — loose wires cause intermittent contact. A silicone sock on the heater block helps maintain stable temperatures by blocking drafts.
Cause 7: Bowden Tube Gaps
On Bowden-style printers, a gap between the PTFE tube and the nozzle creates a small chamber where molten filament accumulates. During retractions, this pool of melted filament takes time to re-pressurize, leading to the start of each new layer being under-extruded or empty.
Diagnosis: Missing layers tend to occur right after travel moves (when retraction happens). The first extrusion path after a retraction is thin or absent.
Fix: Remove the nozzle, pull out the PTFE tube, and cut a fresh square end. Reinstall by inserting the tube all the way to the nozzle while the nozzle is loosened, then tighten the nozzle against the tube. This eliminates the gap. A Capricorn tube upgrade helps maintain tighter tolerances over time.
Cause 8: Stepper Motor or Driver Issues
Less common, but worth checking if nothing else works. If the Z-axis stepper motor is overheating (due to too much current), it can thermally protect and skip steps. Similarly, a failing stepper driver chip on the mainboard may intermittently lose steps.
Diagnosis: Touch the Z-axis stepper motor during a long print. If it’s too hot to hold your finger on (above ~60°C), the current is too high. Missing layers at consistent intervals may indicate a driver issue.
Fix: Reduce stepper motor current in firmware (Klipper) or via the driver potentiometer (Marlin/TMC2208). Add a small heatsink to the stepper driver chip if it’s running hot. If a driver is failing, replacing the mainboard or adding an external driver module is the ultimate fix.
Systematic Diagnosis Approach
Here’s a quick decision tree to narrow down the cause:
- Preview the G-code — If missing layers appear in the slicer preview, it’s a software issue.
- Check if gaps are evenly spaced — Regular spacing points to Z-axis mechanics (leadscrew issues create patterns).
- Listen for clicking — Clicking = extruder gear slipping = tension, clog, or temperature problem.
- Check temperature stability — Fluctuations over ±5°C need PID tuning or hardware inspection.
- Test with different filament — If the problem goes away, your original spool has diameter issues.
Prevention
The best fix is never having the problem in the first place. These habits prevent the vast majority of missing layer issues:
- Use quality filament from reputable brands
- Clean and lubricate the leadscrew every 200 print hours
- Maintain proper extruder tension and clean drive gears monthly
- Replace nozzles every 500-1000 print hours (or sooner with abrasive filaments)
- Run PID tuning after any hotend maintenance
- Keep PTFE tube ends square and pneumatic fittings tight
Missing layers are annoying, but they’re almost always traceable to one of the causes above. Work through the list, fix what you find, and your prints will come out solid and gap-free.