How to Print TPU Flexible Filament: Tips From 200+ Prints
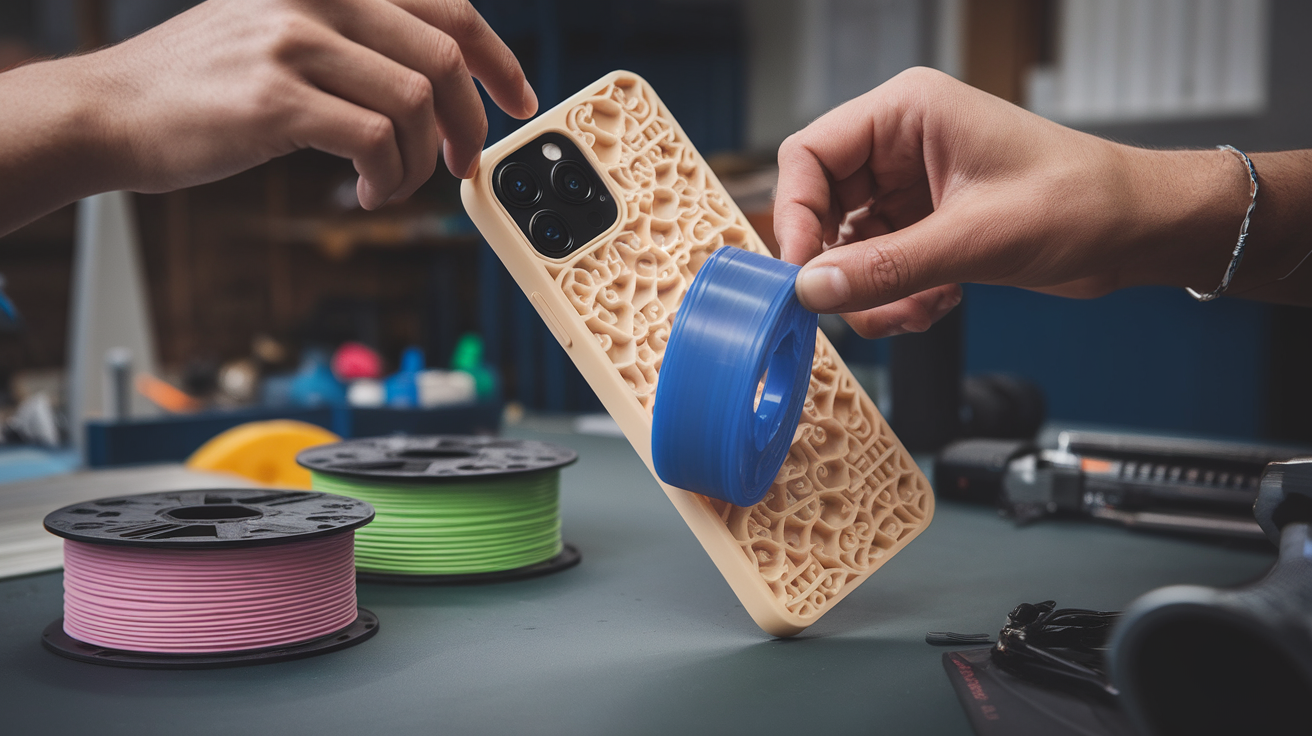
TPU was the filament that almost made me quit 3D printing. My first attempt ended with a tangled blob of rubbery spaghetti wrapped around the extruder gears. My second attempt wasn’t much better. But once I figured out the quirks of printing flexible filaments, it became one of my favorite materials. Phone cases, drone bumpers, shoe insoles, gaskets — TPU opens up a whole category of prints that rigid plastics just can’t handle.
Here’s everything I’ve learned about printing TPU successfully, from hardware requirements to slicer settings to the little tricks that make the difference between a perfect print and a gummy mess.
What Is TPU and Why Is It Tricky?
TPU (Thermoplastic Polyurethane) is a flexible, rubber-like filament. It comes in different hardness levels measured on the Shore A scale. Most common TPU filaments are 95A — firm enough to print reasonably well but flexible enough to bend and stretch. Softer options like 85A exist, but they’re exponentially harder to print.
The reason TPU is difficult comes down to its flexibility. In a standard extruder, filament gets pushed through a constrained path. Rigid filament like PLA acts like a solid rod — push from one end, it comes out the other. TPU is more like pushing a rope. Any gap, any play in the extruder mechanism, and the filament buckles, coils, and jams.
Hardware: Direct Drive vs. Bowden
Let me be direct: if you have a Bowden setup (like a stock Ender 3), printing TPU is possible but painful. The long tube between the extruder and hotend gives the filament too much room to flex and bind. It’s like trying to push wet spaghetti through a straw.
Direct drive extruders are massively better for TPU. The short, constrained filament path minimizes the chance of buckling. If you’re serious about flexible filament printing, a direct drive upgrade (or a printer that comes with one) is the single best investment you can make.
That said, I did print TPU on my Bowden Ender 3 for months before upgrading. It’s doable — you just have to print much slower and be more careful with settings.
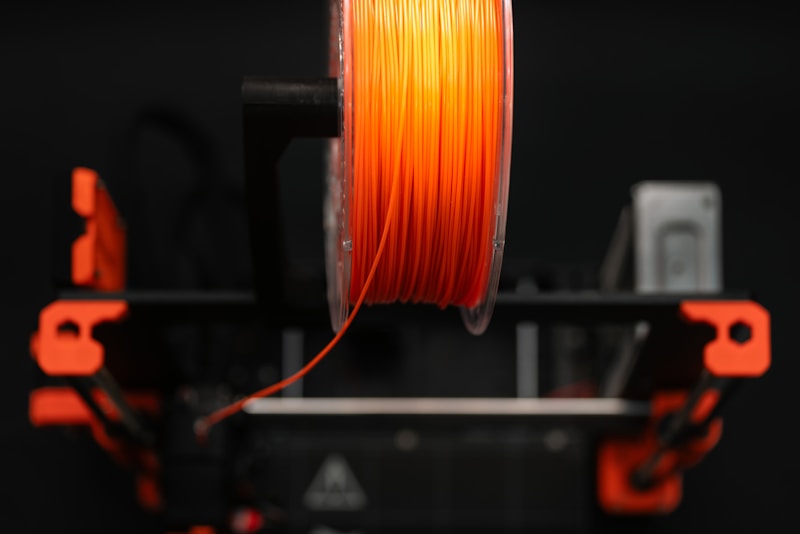
Photo by Jakub Żerdzicki on Unsplash
Essential Slicer Settings for TPU
Print Speed: 20-30 mm/s
This is the most critical setting. You need to go slow. Really slow. With a direct drive, you might push 30-35 mm/s on a 95A TPU. With Bowden, stick to 15-20 mm/s. I know it’s painful watching a print crawl along, but faster speeds are where jams happen.
Set travel speed to 100-120 mm/s — travel moves don’t push filament, so speed is fine there. But anything involving extrusion: slow.
Temperature: 220-235°C Nozzle / 50°C Bed
TPU likes it hot. I usually start at 225°C and adjust from there. Too cold and the filament won’t flow consistently. Too hot and you’ll get excessive stringing (TPU strings like crazy regardless, but high temps make it worse).
Bed temperature of 50°C works well. TPU sticks to most surfaces extremely well — almost too well. I’ve damaged build surfaces pulling TPU parts off. A bit of blue painter’s tape can act as a release layer if adhesion is too aggressive.
Retraction: Minimal or Off
Here’s where TPU breaks the normal rules. With a Bowden setup, I run retraction at 3-4mm distance and 25 mm/s speed. With direct drive, 0.5-1mm at 25 mm/s. Some people disable retraction entirely for TPU, which works but you’ll get more stringing.
The issue is that retracting flexible filament through a constrained path can cause it to buckle and jam. Less retraction means more stringing but fewer jams. I’ll take strings over a jammed extruder any day — you can clean up strings with a heat gun after the print.
Cooling Fan: 50-100%
TPU benefits from cooling, unlike ABS. I run the fan at 50% for the first few layers, then 100% for the rest. Good cooling helps with bridging and overhangs, and TPU does both surprisingly well when cooled properly.
Infill: 10-20%
For flexible parts, less infill means more flex. I typically use 10-15% for things like phone cases where I want maximum flexibility. For parts that need some structure (like drone bumpers), 20% works well. Gyroid infill pattern is my go-to for TPU — it flexes evenly in all directions.
Layer Height: 0.2mm
Standard 0.2mm works fine. You can go to 0.28mm for faster prints without much quality loss since TPU’s flexibility hides layer lines pretty well. Going below 0.16mm doesn’t add much benefit and dramatically increases print time.
Flow Rate: 100-105%
TPU sometimes needs a slight flow bump to fill properly. Start at 100% and if you’re seeing gaps in walls, bump to 103-105%. Don’t go too high or you’ll get over-extrusion blobs.
Preparing Your Printer
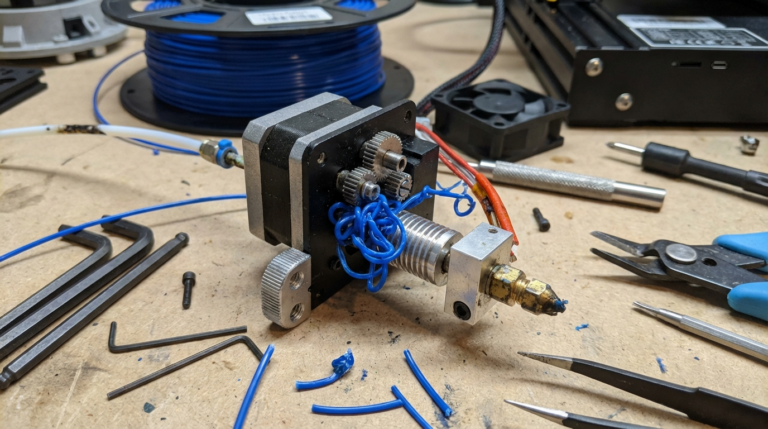
Check the Extruder Path
Before loading TPU, look at your extruder gear mechanism. Are there any gaps where filament could escape sideways? The stock Ender 3 plastic extruder is terrible for this — the filament can pop out between the gear and the entry to the Bowden tube. A metal extruder upgrade ($10) helps, but even better is one with a fully constrained filament path.
If you see a gap anywhere between the drive gear and the PTFE tube, that’s where your TPU will try to escape. Some people 3D print small guides or spacers to fill these gaps. There are dozens of designs on Thingiverse for this — search for “Ender 3 TPU extruder guide.”
Disable the Filament Runout Sensor
If your printer has a filament runout sensor, the additional drag and the gap at the sensor housing can cause TPU to jam. I always bypass the sensor when printing flexibles. Route the filament directly from the spool to the extruder.
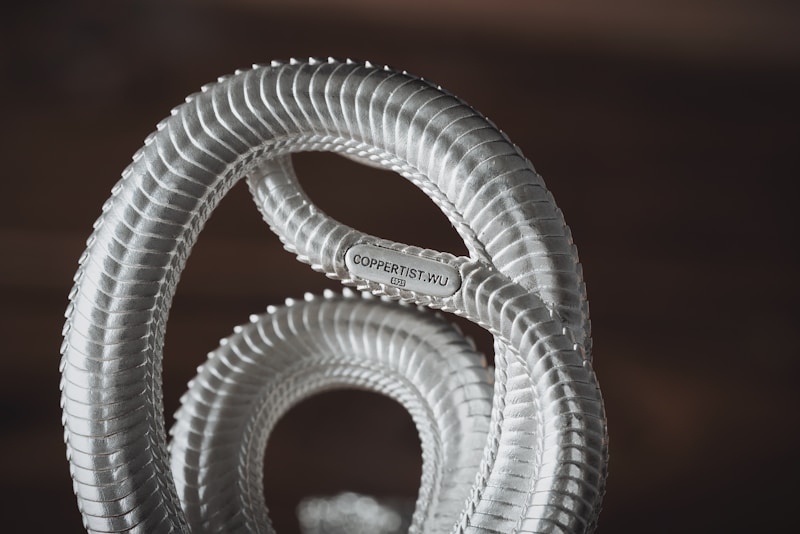
Photo by COPPERTIST WU on Unsplash
Dry Your Filament
TPU absorbs moisture from the air faster than PLA. Wet TPU pops, crackles, and produces a rough surface with tiny bubbles. If your TPU has been sitting out for more than a week, dry it before printing. 50°C for 4-6 hours in a filament dryer or a food dehydrator works. I keep my TPU in sealed bags with desiccant when not in use.
Printing Tips and Tricks
Manual Filament Loading
When loading TPU, feed it by hand through the extruder while the motor pulls. Don’t just jam it in and let the gears grab — guide it through gently. I cut the tip of the filament at a sharp 45° angle so it feeds into the PTFE tube smoothly. A flat-cut end can catch on the edge and cause an immediate jam.
No Z-Hop
Disable Z-hop (lift on retraction) for TPU. The retraction/de-retraction cycle combined with Z movements creates more opportunities for the filament to buckle. Keep the nozzle at layer height during travel moves.
Avoid Coasting
Coasting (stopping extrusion slightly before the end of a line) can leave gaps in TPU prints because the flexible filament doesn’t ooze the same way rigid plastics do. Keep coasting off.
Print One at a Time
Minimize travel moves by printing one object at a time rather than multiple copies. Each travel move is an opportunity for stringing and potential jams. Yes, it’s slower overall, but the success rate is much higher.
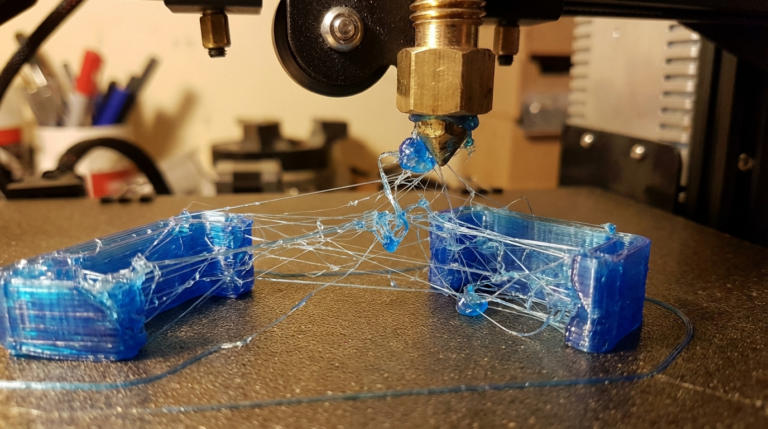
Dealing with Stringing
Even with perfect settings, TPU strings. It’s just the nature of the material. Here’s how I clean it up:
- Heat gun: A quick pass with a heat gun (not a hair dryer — you need more heat) melts strings right off. Keep it moving to avoid deforming the part.
- Lighter: A fast flick of a lighter works for small areas. Don’t linger.
- Scissors/flush cutters: For thicker strings, just snip them off.
Best TPU Filament Brands
Not all TPU is created equal. Here are the ones I’ve had the best luck with:
- NinjaTek NinjaFlex (85A): The original flexible filament. Very soft, very flexible, but harder to print. For experienced users.
- NinjaTek Cheetah (95A): Easier to print than NinjaFlex. My go-to TPU for most projects.
- Overture TPU (95A): Great budget option. Prints well and the tolerances are consistent. About half the price of NinjaTek.
- SainSmart TPU (95A): Another solid budget pick. Comes on a nice spool and feeds consistently.
- eSUN TPU (95A): Widely available, good quality. Slightly stiffer than some 95A options, which actually makes it easier to print.
TPU Project Ideas
Once you get the hang of TPU, the project possibilities are really fun:
- Custom phone cases (the classic TPU project)
- Vibration dampener feet for your 3D printer
- Drone bumpers and landing gear
- Watch bands
- Flexible hinges (living hinges work beautifully in TPU)
- Gaskets and seals
- Grip covers for tools
- Shoe insoles (surprisingly effective)
My TPU Cheat Sheet
Quick reference for 95A TPU on a direct drive printer:
- Print speed: 25 mm/s
- Nozzle temp: 225°C
- Bed temp: 50°C
- Retraction: 1mm at 25 mm/s
- Fan: 50% layers 1-3, then 100%
- Infill: 15% gyroid
- Layer height: 0.2mm
- Flow: 102%
- No Z-hop, no coasting
For Bowden: cut speed to 15 mm/s, increase retraction to 3-4mm, and pray a little.
TPU takes patience to dial in, but once you do, it’s one of the most versatile and satisfying materials to print. The key is going slow, keeping the filament path clean and constrained, and accepting that some stringing is just part of the deal. Happy flexing.