How to Post-Cure Resin 3D Prints: UV Settings, Times, and Methods That Actually Work
Why Post-Curing Matters for Resin 3D Prints
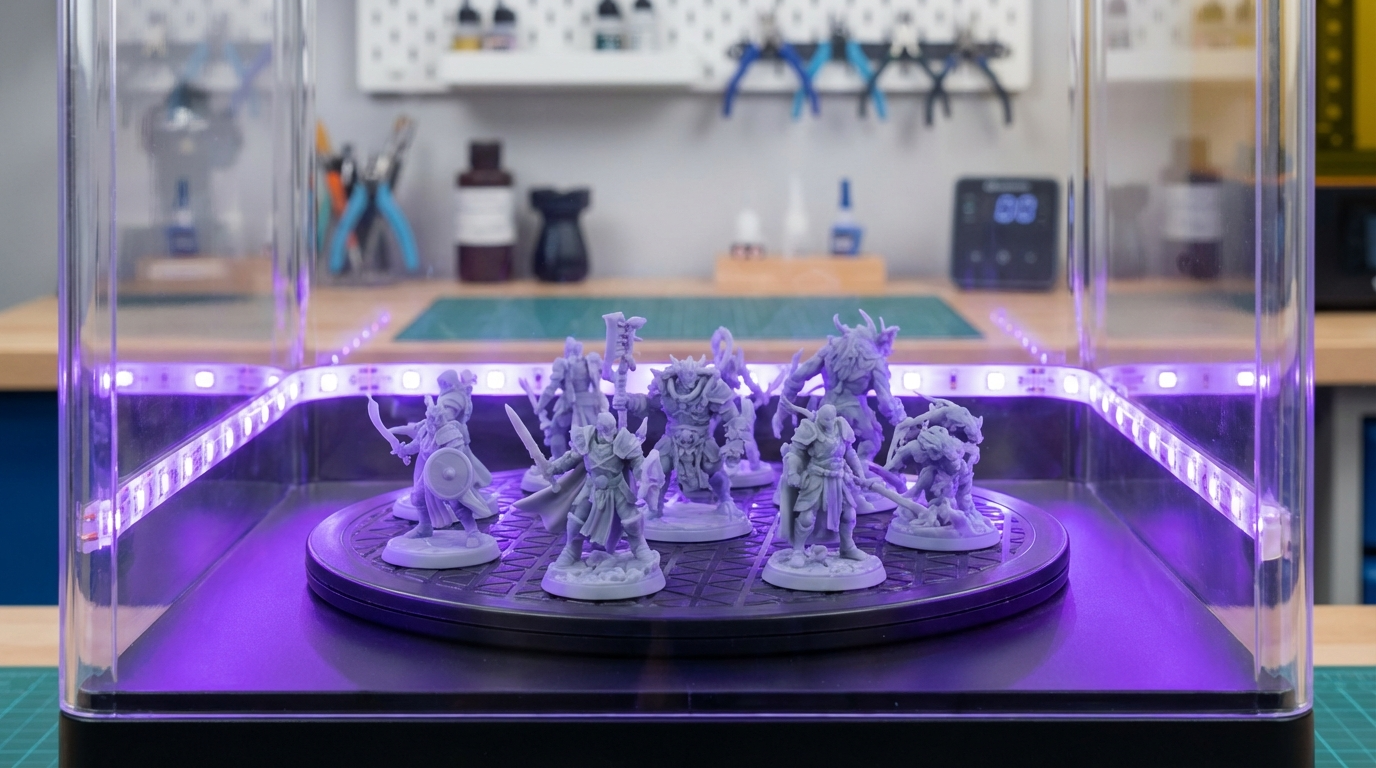
If you’ve ever pulled a resin 3D print off the build plate and thought it was done, you’re not alone — but you’re also not finished. Fresh resin prints are only partially polymerized, which means they’re softer, weaker, and more prone to warping than they should be. Post-curing is the critical step that transforms your fragile green-state print into a fully hardened, dimensionally stable part.
UV post-curing completes the polymerization process that your printer’s LCD screen started. Without it, your prints will remain tacky, bend under stress, and yellow prematurely. Whether you’re printing miniatures, functional prototypes, or dental models, proper curing is non-negotiable.
Understanding the Curing Process
Resin 3D printing uses photopolymer resins — liquid plastics that harden when exposed to specific wavelengths of UV light, typically around 385–405 nm. During printing, each layer receives just enough UV exposure to solidify and bond to the previous layer. But this initial exposure only cures about 60–70% of the available photoinitiators in the resin.
Post-curing floods the entire print with UV light, reaching areas that the printer’s screen couldn’t fully penetrate. This drives the remaining photoinitiators to react, cross-linking the polymer chains throughout the part. The result is dramatically improved mechanical properties — we’re talking 2–3x increases in tensile strength and stiffness for many resins.
Green State vs. Fully Cured Properties
The difference between a green-state print and a fully cured one isn’t subtle. Here’s what changes:
- Hardness: Shore D hardness can increase by 20–40 points after proper curing
- Tensile strength: Most standard resins see 2–3x improvement
- Heat deflection temperature: Can increase by 15–30°C
- Surface tackiness: Disappears completely with adequate curing
- Dimensional stability: Parts stop warping and creeping under load
Cleaning Before Curing: Getting It Right
Before any UV light touches your print, it needs to be properly cleaned. Uncured resin left on the surface will cure in place, creating a rough, cloudy finish that ruins fine details. This is the most commonly botched step in the entire resin printing workflow.
IPA Wash Method
Isopropyl alcohol (IPA) at 90% or higher concentration is the industry standard for cleaning resin prints. The process is straightforward:
- Remove the print from the build plate (carefully — green-state prints are fragile)
- First wash: submerge in IPA for 2–3 minutes with gentle agitation
- Second wash: transfer to a fresh container of IPA for another 1–2 minutes
- Remove and let the IPA evaporate completely — this takes 10–15 minutes in open air
- Inspect for any remaining uncured resin, especially in recessed areas
Critical tip: Never cure a print that still has IPA on the surface. Alcohol trapped under a cured outer layer creates white, frosted patches that can’t be removed. Wait until the surface is completely dry and matte before curing.
Water-Washable Resin Considerations
Water-washable resins simplify the cleaning step but come with their own caveats. Wash in warm water (not hot) for 1–3 minutes, and don’t leave prints soaking — prolonged water exposure causes swelling and brittleness. Dry thoroughly with compressed air or paper towels, paying special attention to hollow areas where water likes to hide.
UV Curing Stations: Dedicated vs. DIY
Commercial Curing Stations
Dedicated curing stations like the Anycubic Wash & Cure, Elegoo Mercury Plus, or Formlabs Form Cure offer consistent, repeatable results. They typically feature:
- 405 nm LED arrays: Wavelength-matched to standard resin photoinitiators
- Rotating turntable: Ensures even exposure on all sides
- Timer controls: Precise exposure time management
- Reflective interior: Maximizes light distribution
The Anycubic Wash & Cure Plus ($80–100) handles most hobbyist needs. For professional work or large prints, the Formlabs Form Cure ($750) delivers laboratory-grade consistency with temperature-controlled curing.
DIY Curing Setups That Actually Work
You don’t need expensive equipment to get good results. Here are proven DIY approaches:
UV LED strip box: Line a cardboard box or plastic container with 405 nm LED strips (available on Amazon for $10–15). Add aluminum foil to the interior walls for reflection. Place a small turntable inside (a kitchen lazy Susan works great). This setup costs under $25 and delivers results comparable to commercial stations.
Sunlight curing: Direct sunlight works but is unpredictable. UV intensity varies with time of day, season, cloud cover, and latitude. A cloudy winter day in Seattle delivers a fraction of the UV that a sunny summer day in Arizona does. If you go this route, expect curing times of 30 minutes to several hours, and rotate your prints every 10–15 minutes.
UV nail lamp: Those 36W UV nail curing lamps your local beauty supply sells for $20? They work. The wavelength is right (typically 365–405 nm), and the enclosed design provides decent coverage for small prints. Limited interior space is the main drawback.
Optimal Curing Settings by Resin Type
This is where most guides fail you — they give a single “cure for 5 minutes” recommendation and call it a day. Reality is more nuanced. Curing time depends on resin type, part thickness, UV intensity, and even the color of the resin.
Standard Resins (Basic/Rapid/ABS-Like)
Standard resins are the most forgiving. With a commercial curing station:
- Light colors (white, grey, clear): 3–5 minutes
- Dark colors (black, dark blue): 5–8 minutes
- Transparent/clear: 2–4 minutes (over-curing causes yellowing)
Tough/Engineering Resins
These formulations need more energy to reach full cure:
- ABS-like tough resins: 8–15 minutes
- High-temp resins: 15–30 minutes, often with heat (60–80°C recommended)
- Flexible resins: 5–10 minutes (over-curing makes them brittle)
Specialty Resins
- Dental/biocompatible: Follow manufacturer specifications exactly — these are regulated
- Castable/burnout: 5–10 minutes, avoid over-curing which adds ash
- Water-washable: 5–8 minutes — these tend to be more brittle, so don’t overdo it
The Over-Curing Problem
More is not better. Over-cured resin prints become excessively brittle, yellow (especially clear resins), and can develop surface cracking. If your prints are snapping instead of flexing, you’re probably over-curing. Cut your time in half and test again.
Heat-Assisted Curing
Adding heat during UV curing significantly improves results for engineering resins. Heat increases molecular mobility, allowing polymer chains to cross-link more completely. The Formlabs Form Cure supports temperatures up to 80°C for this exact reason.
For DIY setups, a simple approach is to cure prints inside a container placed in warm sunlight, or use a small ceramic heater near your curing box. Aim for 50–60°C for standard resins and up to 80°C for high-temp formulations.
Warning: Don’t heat green-state prints before UV curing — they’ll warp. Always start UV exposure at room temperature and add heat during the curing cycle, not before.
Curing Hollow Prints and Complex Geometries
Hollow prints with drain holes present a challenge: the UV light can’t reach the interior walls. Uncured resin trapped inside will slowly seep out through drain holes, creating a sticky mess, or pressurize over time and crack the shell.
The solution: Drain and flush hollow prints thoroughly during the wash step. Then cure with drain holes pointed downward (so any remaining liquid drains away from the shell). For critical parts, consider a two-stage cure — first with drain holes down, then rotated 180° to expose the interior walls through the drain holes.
For prints with deep pockets or internal channels, consider adding additional drain holes during the design phase. A 2–3 mm hole in an inconspicuous location makes cleaning and curing dramatically easier.
Testing If Your Prints Are Fully Cured
There’s no universal “done” indicator for resin curing, but several practical tests help:
- Fingernail test: Press your fingernail into a non-visible surface. A fully cured print leaves no mark. A soft print dents.
- Tackiness test: Run your finger across the surface. Any stickiness means more curing is needed.
- Flex test: For thin features, gently flex them. Green-state prints flex like rubber; cured prints are rigid (or snap, if over-cured).
- Color consistency: Uneven curing shows as color variations — lighter areas on dark prints, or yellowish patches on clear prints.
Common Post-Curing Mistakes to Avoid
- Curing wet prints: IPA or water on the surface creates white frosting that’s permanent
- Using the wrong wavelength: Standard resins need 405 nm, not generic UV-A (365 nm)
- Ignoring shadows: Any side facing away from the light won’t cure — use a turntable
- Same time for all resins: Black resin needs 2x the time of white resin for the same cure depth
- Curing supports in place: Remove supports before curing — they create shadowed areas underneath
- Sunlight through glass: Regular glass blocks significant UV. Use a window with UV-transparent glass, or cure outside
Post-Curing Workflow Summary
Here’s the complete process, start to finish:
- Remove print from build plate
- Clean in IPA (two-stage wash) or water (for water-washable resin)
- Remove supports while still slightly soft (easier, cleaner breaks)
- Dry completely — 10–15 minutes air dry, or use compressed air
- Inspect for leftover uncured resin
- Place in curing station on turntable
- Set time based on resin type and color (see table above)
- Cure, rotate if needed, test for completeness
- Optional: light sanding and secondary cure for a glass-smooth finish
Final Thoughts
Post-curing isn’t an optional finishing step — it’s an integral part of the resin printing process. A print that skips this stage is like a cake pulled from the oven ten minutes early: it might look right, but it won’t hold up. Invest in a proper curing setup (even a $20 DIY box), learn your resin’s requirements, and your prints will reward you with the strength, detail, and longevity that makes resin printing worth the messier workflow.
The good news? Once you nail your curing routine, it becomes automatic. Clean, dry, cure, done. Five to ten minutes of hands-off time that makes the difference between a mediocre print and a professional one.