How to Use an AMS for Multi-Material 3D Printing: Complete Setup and Troubleshooting Guide
Multi-color 3D printing used to mean pausing your print, swapping filament, and hoping everything lined up. That changed with Automatic Material Systems — AMS units that sit alongside your printer, store multiple filament spools, and feed the right color at the right time. No more babysitting. No more filament swaps at 3 AM.
In this guide, I’ll cover everything you need to know about using an AMS for multi-material 3D printing — from how these systems work to practical tips for getting clean color changes and avoiding the most common problems.
What Is an AMS and How Does It Work?
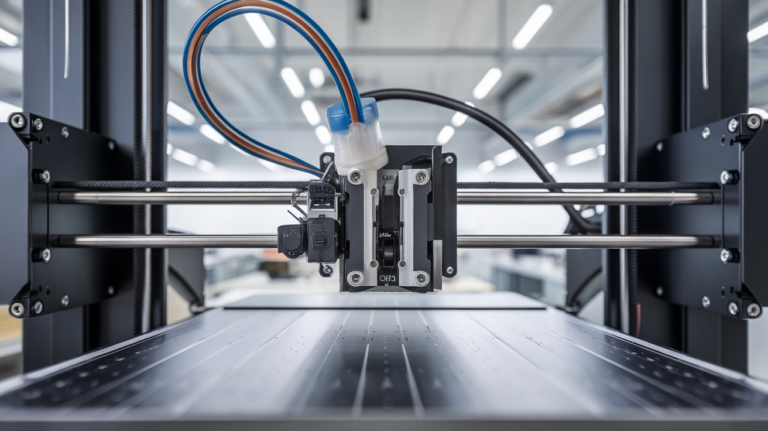
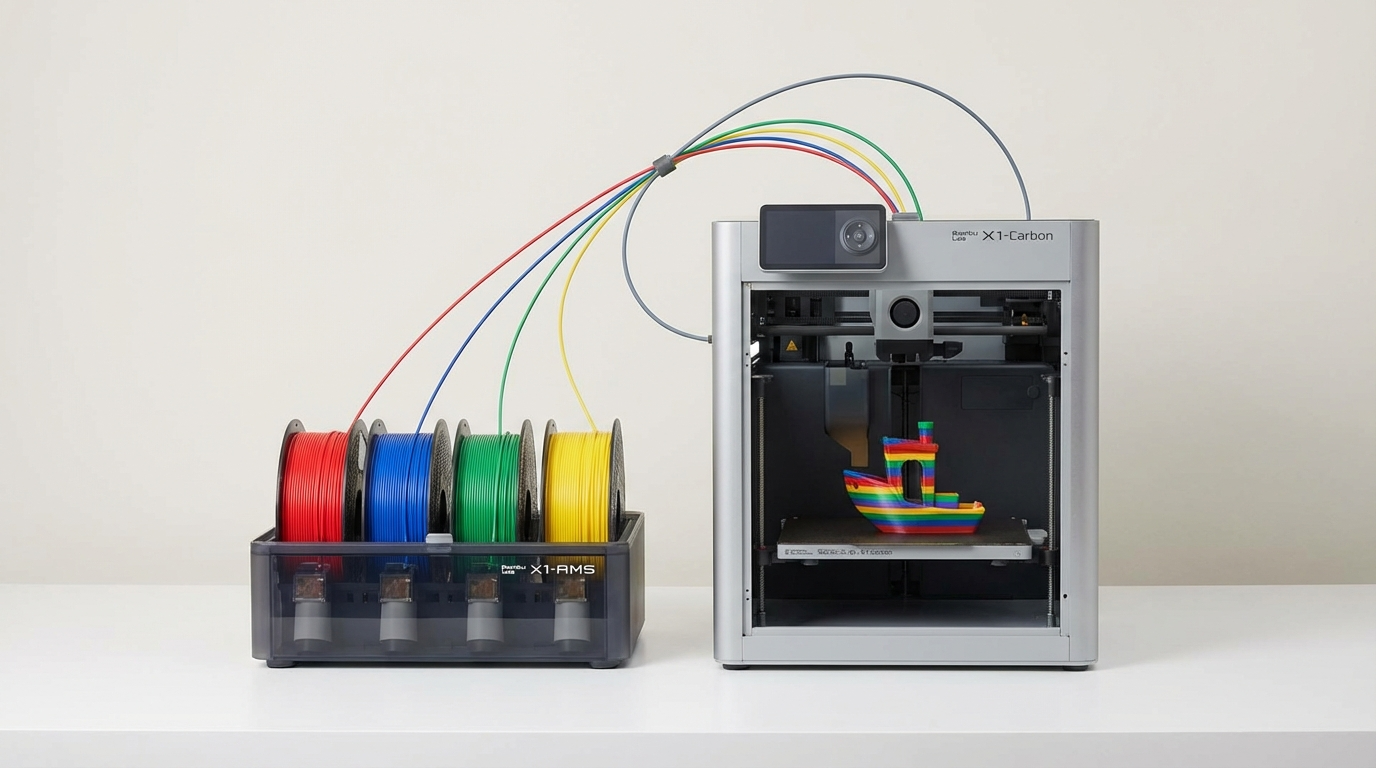
An Automatic Material System is essentially a smart filament feeder that connects to your 3D printer. It holds multiple spools (typically 4 per unit, stackable up to 16), detects which filament to load, feeds it into the extruder at the right time, and retracts it when a color or material change is needed.
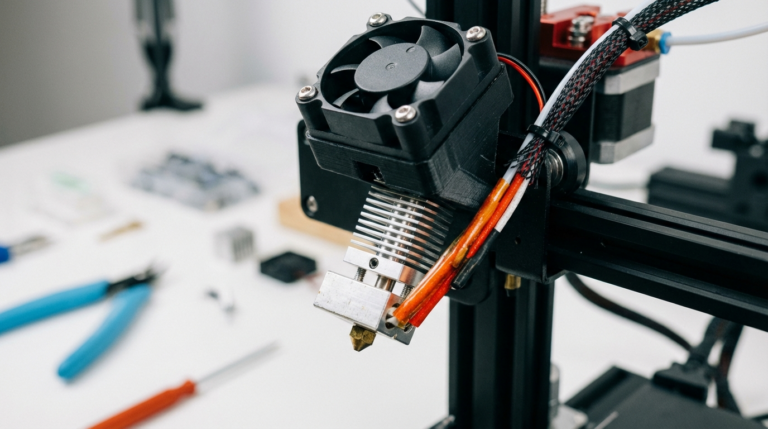
The process works like this: when your slicer generates a tool change command (switching from filament 1 to filament 2), the printer pauses extrusion, retracts the current filament back into the AMS, advances the new filament from its slot, and feeds it through a PTFE tube into the hotend. The old color is purged into a waste tower or purge bucket, and printing resumes with the new material.
Popular AMS Systems in 2026
Bambu Lab AMS (and AMS Lite)
The most popular option by far. Bambu Lab’s AMS holds 4 spools in an enclosed, humidity-controlled unit. It connects to Bambu Lab printers (X1 Carbon, P1S, P1P, A1) via a proprietary connector. The AMS Lite is a stripped-down version for the A1 series — same basic function, fewer bells and whistles, and lower price.
Key features: RFID filament detection (with Bambu-branded spools), humidity monitoring, filament runout detection, up to 4 units (16 colors) stackable, seamless integration with Bambu Studio slicer.
Limitations: Only works with Bambu Lab printers, RFID features limited to Bambu-brand filament, TPU requires the AMS Lite (standard AMS can’t handle flexible filament reliably).
Prusa MMU3 (Multi Material Upgrade 3)
Prusa’s latest multi-material solution is a significant improvement over the notoriously finicky MMU2S. The MMU3 connects to the Prusa MK4 and supports 5 filament inputs. It uses a more reliable loading mechanism with better filament tip shaping and a redesigned selector.
Key features: 5 filament inputs, improved reliability over MMU2S, open-source design, works with third-party filament, integrated with PrusaSlicer.
Limitations: Only works with Prusa MK4, still requires careful calibration, slower tool changes than Bambu AMS.
ERCF (Enraged Rabbit Carrot Feeder)
The open-source option for Voron and Klipper-based printers. ERCF is a community-designed multi-material unit that supports 6–12 filament inputs. It requires self-sourcing of parts and assembly, but it’s the most flexible option for custom printer builds.
Key features: Open-source, highly customizable, supports many printers, active community development.
Limitations: Requires significant assembly and tuning, not beginner-friendly, reliability depends on build quality.
Setting Up Your AMS for Success
Filament Selection and Preparation
Not all filaments behave equally in an AMS. Here’s what works and what doesn’t:
PLA: The gold standard for AMS printing. It retracts cleanly, doesn’t string excessively, and produces sharp filament tips that feed reliably. Use PLA for your first multi-color prints.
PETG: Trickier. PETG tends to string, and those strings can cause jams in the PTFE tube between the AMS and the printer. Reduce nozzle temperature by 5–10°C from your usual single-material settings, and increase retraction slightly.
TPU: Most AMS systems can’t handle TPU due to its flexibility. Bambu’s AMS Lite can manage it with the right settings, but expect more failures. If possible, load TPU directly into the printer’s extruder and use the AMS for rigid materials only.
ABS/ASA: These work well in enclosed AMS units but can be problematic in open ones. The filament can absorb moisture sitting in the AMS, leading to popping and poor surface quality. If you print ABS regularly, consider adding desiccant packs to each AMS slot.
Slicer Configuration
Your slicer needs to know about each filament in the AMS. Here’s a general workflow:
- Assign materials to AMS slots — in your slicer, map each filament type and color to its corresponding AMS position
- Paint your model — use the multi-material painting tools to assign colors to different faces, regions, or objects in your print
- Configure purge settings — set the purge volume (how much filament is extruded to clear the old color). Start with 70mm³ for similar colors and up to 300mm³ for dark-to-light transitions
- Choose a purge method — purge towers are the standard, but purge-into-infill saves material by hiding color transitions inside the part
- Set filament-specific temperatures — each AMS slot should have the correct nozzle temperature for its material

Common AMS Problems and Solutions
Problem: Filament Not Loading
The most common AMS issue. The filament tip fails to reach the extruder, and the printer either retries endlessly or reports an error.
Fixes:
- Cut a clean, angled tip on your filament before loading — a blunt or frayed tip catches on PTFE tube connections
- Check the PTFE tube for kinks, bends, or debris — even a small obstruction can prevent loading
- Ensure the filament path is as straight as possible — sharp bends increase friction
- Clean the extruder gears — accumulated filament dust reduces grip
- In Bambu AMS: enable “Long retraction” in printer settings if standard loading fails
Problem: Color Contamination (Bleed)
You see traces of the previous color in the new filament — light colors printed after dark ones are especially affected.
Fixes:
- Increase purge volume for problematic transitions — dark-to-light needs 200–300mm³
- Order colors strategically — print light colors first where possible
- Use purge-to-infill — hides contamination inside the part rather than wasting it in a tower
- Consider a “flush multiplier” in your slicer — some slicers let you set per-transition purge volumes
Problem: Stringing Between Color Regions
Fine strings appear at color boundaries, especially visible on multi-color prints where colors meet on the outer surface.
Fixes:
- Lower nozzle temperature by 5°C — less ooze during tool changes
- Increase retraction at tool change — 2–3mm more than your single-material retraction
- Enable “wipe on retract” or “ramming” in your slicer — these shape the filament tip to prevent ooze
- Use Z-hop during tool changes — lifts the nozzle to prevent dragging
Problem: Purge Tower Failures
The purge tower — the little pillar printed alongside your model to flush old filament — can fall over, warp, or detach from the bed, ruining the entire print.
Fixes:
- Increase purge tower size — a wider base is more stable
- Place the purge tower near the center of the bed — less likely to warp than at edges
- Use a brim around the purge tower — better adhesion
- Switch to purge-to-infill when possible — eliminates the tower entirely
Advanced Tips for Multi-Material Printing
Minimize Color Changes
Every tool change adds time — typically 20–40 seconds per swap, plus purge material. A model with 500 color changes can add 3+ hours to print time and consume 50+ grams of purge waste. Design your models to minimize transitions: use thick color regions rather than fine details, and consolidate similar colors.
Use Transition Towers Wisely
If you’re printing multiple copies of the same multi-color model, slice them together. The slicer can use a single purge tower for all copies, dramatically reducing waste per part.
Material Combinations
Some material combinations work better than others in a single print:
- PLA + PVA: Excellent for soluble supports on complex geometries
- PLA + PLA: Different colors of the same material — the easiest and most reliable
- PETG + PVA: Works but requires careful temperature management
- ABS + HIPS: HIPS dissolves in limonene, providing soluble supports for ABS
- Avoid mixing: PLA + ABS, PLA + PETG (different temperatures cause poor adhesion between materials)
Humidity Control
Filament sitting in an AMS for hours (or days) absorbs moisture. This is especially problematic for hygroscopic materials like Nylon, PETG, and PVA. If your AMS doesn’t have built-in humidity control, add silica gel desiccant packs to each spool slot and replace them weekly.
Is an AMS Worth the Investment?
If you print single-color parts 95% of the time, probably not. An AMS shines when you regularly produce multi-color prints, functional parts with different material properties (like a rigid body with flexible grips), or when you want automatic filament switching for convenience — like queuing prints with different materials overnight.
The Bambu Lab AMS is the easiest to use and most reliable option if you’re in the Bambu ecosystem. The Prusa MMU3 is the best choice for open-source enthusiasts who want repairability and customization. And the ERCF is for makers who enjoy the build process as much as the printing.
Final Thoughts
Multi-material 3D printing in 2026 is dramatically more accessible than it was even two years ago. Modern AMS systems have turned what used to be a frustrating, failure-prone process into something genuinely practical. The key is patience during setup, good filament management, and understanding that purge waste is the cost of color.
Start with PLA, master your purge settings, and work your way up to mixed-material prints. Your multi-color prints will look incredible — and you won’t have to stand over the printer manually swapping spools at 2 AM.
Want to learn more about multi-color printing techniques? Check out our guide on how to change filament color mid-print for manual methods that work on any printer.