Brim vs Raft in 3D Printing: When to Use Each (With Settings)
Every 3D printing beginner eventually faces this question: should I use a brim, a raft, or a skirt? These build plate adhesion helpers serve different purposes, and choosing the wrong one can waste filament, add cleanup time, or fail to solve your adhesion problems altogether.
After years of printing, I’ve developed a clear framework for when to use each option. In this guide, I’ll break down the differences, show you exactly when each one shines, and help you make the right call for every print.
Understanding the Three Adhesion Types
Before we compare them, let’s make sure we’re on the same page about what each one actually does.
Skirt
A skirt is a line (or several lines) printed around your model without touching it. It doesn’t provide any adhesion benefit. Its purpose is purely practical: it primes the nozzle, gets filament flowing evenly, and lets you visually verify that your first layer is looking good before the actual print starts.
Think of a skirt as a warm-up lap. The nozzle might have some residual filament or a slight gap in flow. The skirt bleeds that out so your actual print starts clean. Most experienced printers use a 2-3 line skirt as their default setting.
Brim
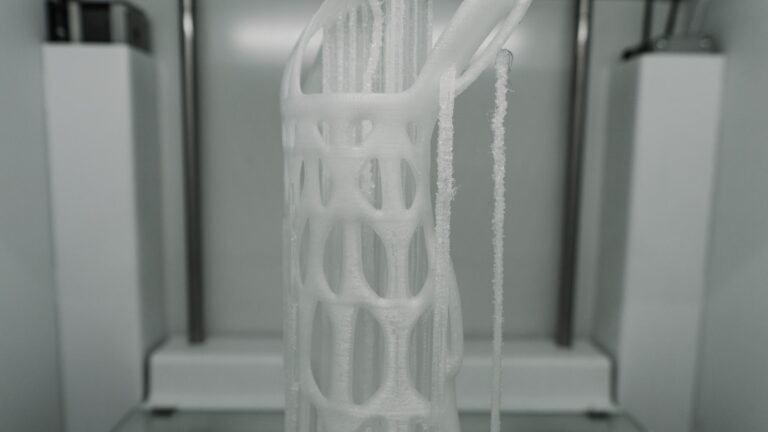
A brim is a single-layer extension that radiates outward from the base of your model, like the brim of a hat. It’s physically connected to your print’s first layer, dramatically increasing the surface area gripping the build plate.
A typical brim adds 5-15mm of extra material around the perimeter. Because it’s only one layer thick, it’s easy to remove — you can usually peel it off by hand or trim it with a craft knife. The tradeoff is some cleanup work and potentially visible marks where the brim meets the model.
Raft
A raft is a thick, multi-layer platform printed underneath your entire model. Your print sits on top of the raft rather than directly on the build plate. Rafts typically consist of 2-4 layers with a deliberately weakened interface between the top of the raft and the bottom of your model.
Rafts provide the strongest adhesion and the best protection against an uneven bed. However, they use significantly more filament, add print time, and can leave a rough bottom surface on your model. They’re the nuclear option of adhesion helpers.

When to Use a Brim
A brim is the right choice in most situations where you need extra adhesion. Use it when:
Large, flat prints are warping at the corners. This is the classic brim use case. The extra surface area at the edges counteracts the thermal stress that causes corner lifting. For a print with a 100mm × 100mm base, a 10mm brim roughly doubles the effective adhesion area at the critical edge zone.
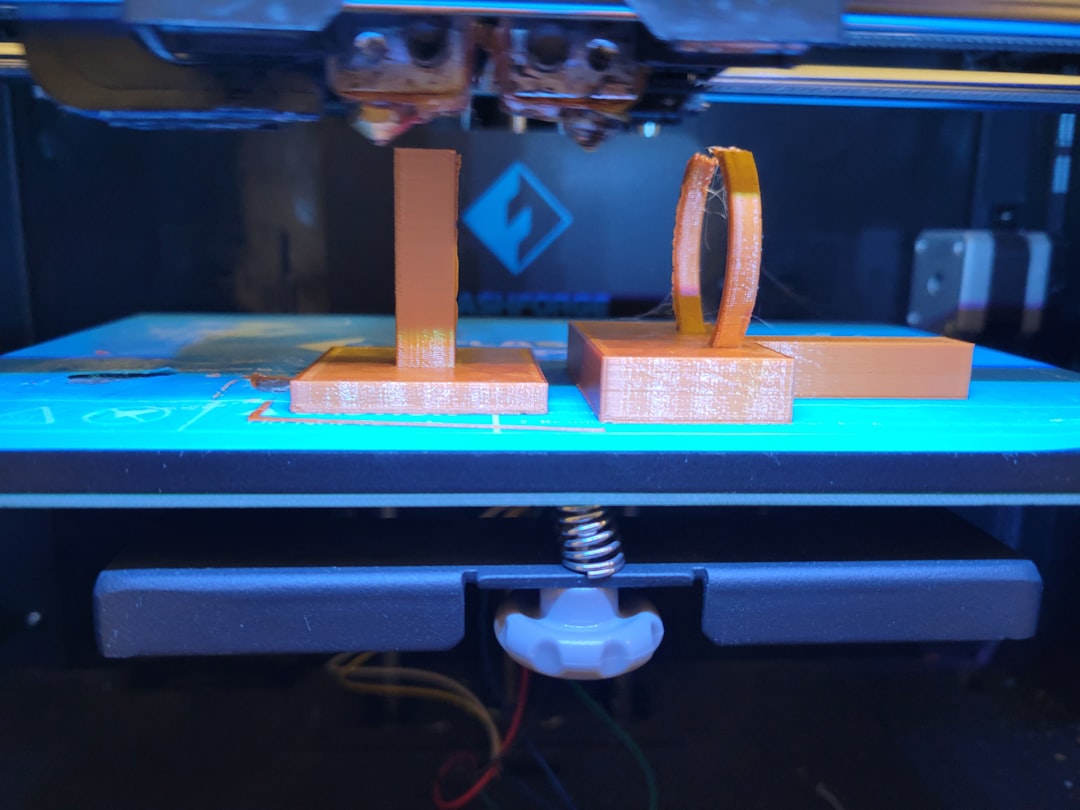
Your model has a small footprint relative to its height. Tall, narrow prints are prone to tipping or getting knocked off the bed by the nozzle. A brim adds stability without the material cost of a raft. Think of it as adding training wheels.
You’re printing with PETG or ABS. Both materials are more prone to warping than PLA. A brim is usually sufficient for PETG, while ABS might need a brim plus an enclosure for best results.
The bottom surface quality matters. Since the brim only touches the edges of your first layer, the center of the bottom surface remains unaffected. You get better surface finish than with a raft.
Optimal Brim Settings
Here’s what I’ve found works best through extensive testing:
- Brim width: 5mm for mild warping, 8-10mm for moderate, 15mm+ for stubborn cases
- Brim line count: Alternatively, set by line count — 10-20 lines is typical
- Brim only on outside: Enable this in Cura to prevent brim from forming inside holes and cavities
- Brim gap: Some slicers let you add a tiny gap (0.1-0.2mm) between the brim and the model, making removal easier while maintaining most of the adhesion benefit
When to Use a Raft
Rafts are heavier-duty and come with more tradeoffs. Use them when:
Your bed is not perfectly level. This is the #1 reason to use a raft. The thick base layers of a raft can absorb minor bed imperfections that would ruin a first layer printed directly on the surface. If you haven’t dialed in your bed leveling yet, a raft is your safety net.
Your model has very small contact points with the bed. Models with thin legs, spikes, or other tiny first-layer contact areas don’t give a brim enough to grip. A raft provides a solid platform that the small features can sit on securely.
You’re printing ABS without an enclosure. ABS warps aggressively in open air. A raft, combined with high bed temperature, can sometimes compensate for the lack of an enclosure. It’s not ideal — an enclosure is always better — but it works in a pinch.
The bottom surface doesn’t need to be smooth. Rafts leave a textured bottom surface on your print where the interface layers separate. If the bottom of your model will be hidden or doesn’t need to look good, this isn’t a problem. But for visible surfaces, it’s a significant drawback.
Optimal Raft Settings
- Raft air gap: 0.15-0.25mm. This is the gap between the top of the raft and the bottom of your print. Larger gaps make removal easier but can cause a rougher bottom surface. Start at 0.2mm and adjust.
- Raft top layers: 2-3 layers. More top layers give a smoother interface but use more material and time.
- Raft base layers: 1-2 layers with thick lines (0.8mm) for strong bed adhesion.
- Raft margin: 5-10mm beyond the model footprint.
When to Use a Skirt (or Nothing)
A skirt should be your default setting. Use it when:
You have good bed adhesion already. If your bed is properly leveled, your surface is clean, and you’re printing with an easy material like PLA on PEI, you don’t need a brim or raft. A skirt just primes the nozzle.
You’re printing small to medium parts. Small parts with a reasonable footprint generally don’t warp enough to need extra adhesion. Save the brim for when you actually need it.
Bottom surface finish is critical. If you need a perfectly clean bottom surface with no marks or artifacts, print with just a skirt. No brim residue, no raft texture — just your model directly on the bed surface.
You can also skip the skirt entirely if you’re confident your first layer is tuned and you want to save the small amount of filament and time. I still use a 2-line skirt on most prints just as a visual check, but it’s not strictly necessary.
Head-to-Head Comparison
Let’s compare all three options across the factors that matter most:
Adhesion strength: Raft > Brim > Skirt. Rafts win hands down because your entire model sits on a pre-adhered platform. Brims add significant edge adhesion. Skirts add nothing.
Material usage: Skirt < Brim < Raft. A skirt uses almost nothing. A brim adds maybe 1-3g depending on size. A raft can use 10-30g or more — it's printing an entire extra platform.
Print time added: Skirt (30 seconds) < Brim (2-5 minutes) < Raft (10-30 minutes). Rafts are slow because they're printing multiple full layers across the entire footprint.
Bottom surface quality: Skirt (perfect) > Brim (good, minor edge marks) > Raft (rough texture). This is the raft’s biggest weakness.
Ease of removal: Skirt (nothing to remove) > Brim (peel/trim) > Raft (pry apart). Rafts can sometimes be tricky to separate, especially if the air gap is too small.
Tolerance for bad leveling: Raft (very forgiving) > Brim (slightly forgiving) > Skirt (no help). If your bed is warped or poorly leveled, only a raft can compensate meaningfully.
Advanced Tips
Brim ears: Some slicers (Cura has a plugin) support “brim ears” — small brim patches placed only at sharp corners rather than around the entire perimeter. This gives you targeted adhesion where warping starts while minimizing cleanup. It’s the best of both worlds for parts with acute angles.
Raft alternatives: If you need raft-level adhesion but want better bottom surface quality, try using a very thick brim (20mm+) combined with a thicker first layer (0.3mm). This can provide comparable holding force with less bottom surface damage.
Material-specific defaults: Set up printer profiles with appropriate defaults. My PLA profile uses a skirt. My PETG profile defaults to a brim (5mm). My ABS profile defaults to a 10mm brim. This way I don’t have to think about it for every print.
Multi-material considerations: If you’re printing with supports in a different material (like PVA), a brim connecting both the model and support material can help ensure nothing shifts during the print. Make sure the brim is in the main material, not the support material.
My Recommendation
For most printers with a reasonably tuned setup, here’s my decision flowchart:
- Start with a skirt as your default
- If corners lift or the part has a small footprint → switch to a brim (start at 5mm, increase if needed)
- If the bed is uneven, the part has tiny contact points, or brims aren’t enough → use a raft
- If you’re printing ABS without an enclosure → use a brim (minimum 10mm) or raft
Most of my prints use either a skirt or a brim. I reach for a raft maybe once every 50 prints, usually when I’m printing something with unusual geometry that doesn’t sit well on the bed.
The key takeaway: brims are the workhorse. They solve 90% of adhesion problems with minimal downsides. Rafts are the backup plan when brims can’t cut it. And skirts are the default when everything is working well. Match the tool to the problem, and you’ll waste less filament, spend less time on cleanup, and get better results overall.