Brim vs Raft in 3D Printing: When to Use Each One
What Are Brims and Rafts?
Before we get into when to use each one, let’s make sure we’re on the same page about what these features actually do.
I’m Mike Reynolds, and I’ve been 3D printing for over six years now. In that time, I’ve probably used brims and rafts on thousands of prints, and I’ve developed a pretty strong opinion about when each one makes sense — and when neither is necessary.
A brim is a flat, single-layer border that extends outward from the base of your print. Think of it like the brim of a hat — it adds width to the bottom of your print without adding any height. Brims are typically 5–15mm wide and are attached to the outer edge of your first layer.
A raft is a multi-layer platform printed underneath your entire model. It consists of a thick base layer, one or more interface layers, and a separation gap that lets you peel your print off after it’s done. Rafts add 1–2mm to the bottom of your print and cover the entire footprint plus some margin.

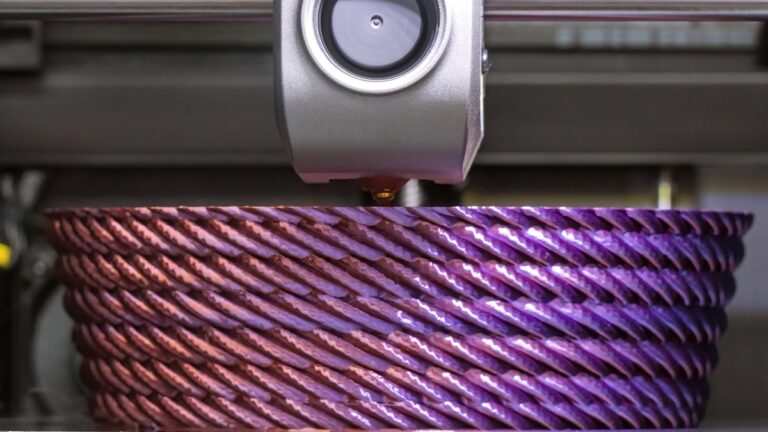
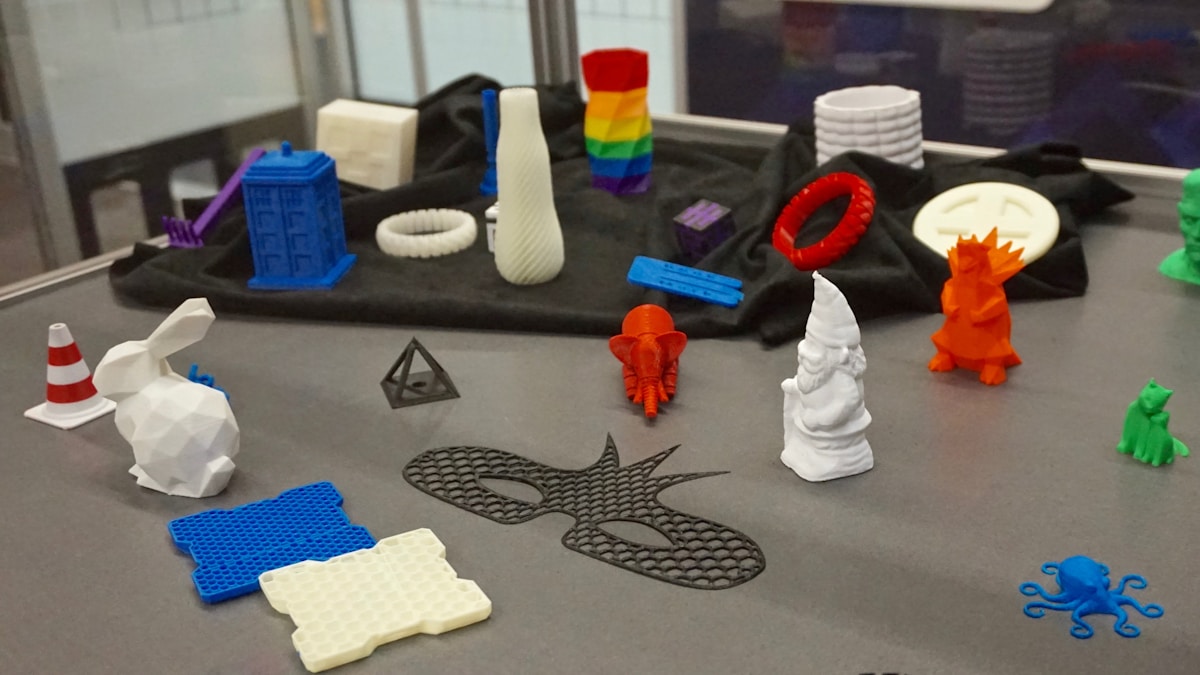
Photo by Haripriya K on Unsplash
When to Use a Brim
Brims are my default choice for adhesion assistance. They’re quick to print, easy to remove, and solve the majority of adhesion problems without affecting print quality. Here’s when I reach for a brim:
Small Contact Area
If your print has a tiny footprint relative to its height — think of a tall, narrow vase or a figurine standing on small feet — a brim gives it the extra grip it needs to stay put. Without one, the peeling forces from cooling can easily overcome the adhesion of such a small base.
Corner Lifting on Large Prints
Large, flat prints with sharp corners are prime candidates for corner lifting. A 10mm brim around the perimeter holds those corners down during the critical first several layers as the print builds up internal thermal stress.
Tall and Thin Models
Any model where the height-to-width ratio exceeds about 3:1 benefits from a brim. The taller and thinner the model, the more leverage it has to peel itself off the bed if something bumps the printer or the bed adhesion is marginal.
New Filament Rolls
When I’m testing a new brand or type of filament, I’ll often add a 5mm brim just as insurance. Different filaments have different shrinkage characteristics, and a brim costs almost nothing in time or material while providing a safety net while I dial in settings.
When to Use a Raft
Rafts are the heavy artillery of bed adhesion. They solve problems that brims can’t, but they come with significant downsides. Here’s when a raft is actually justified:
Badly Warped or Unleveled Beds
If your bed has warps, dips, or high spots that you can’t compensate for with mesh bed leveling, a raft can bridge over those imperfections. The raft’s thick base layer conforms to the bed surface irregularities, and the top surface of the raft is relatively flat, giving your print a level surface to build on.
This is honestly the number one reason to use a raft. If your bed is flat and properly leveled, you almost never need one.
ABS and High-Warp Materials Without an Enclosure
If you’re printing ABS on an open-frame printer and you don’t have an enclosure, a raft provides a much more reliable adhesion base than a brim. The multiple layers of the raft stay warm and pliable, reducing the thermal shock between the hot print and the cooler ambient air.
That said, the real solution here is to get an enclosure. A raft is a bandaid for an environmental problem.
Models With Very Thin First Layers
Some models have intricate details or thin features on the bottom layer that don’t adhere well on their own. A raft gives these delicate features a stable base to print on. Think of models with lattice structures or organic shapes that touch the bed in many thin lines rather than a solid surface.
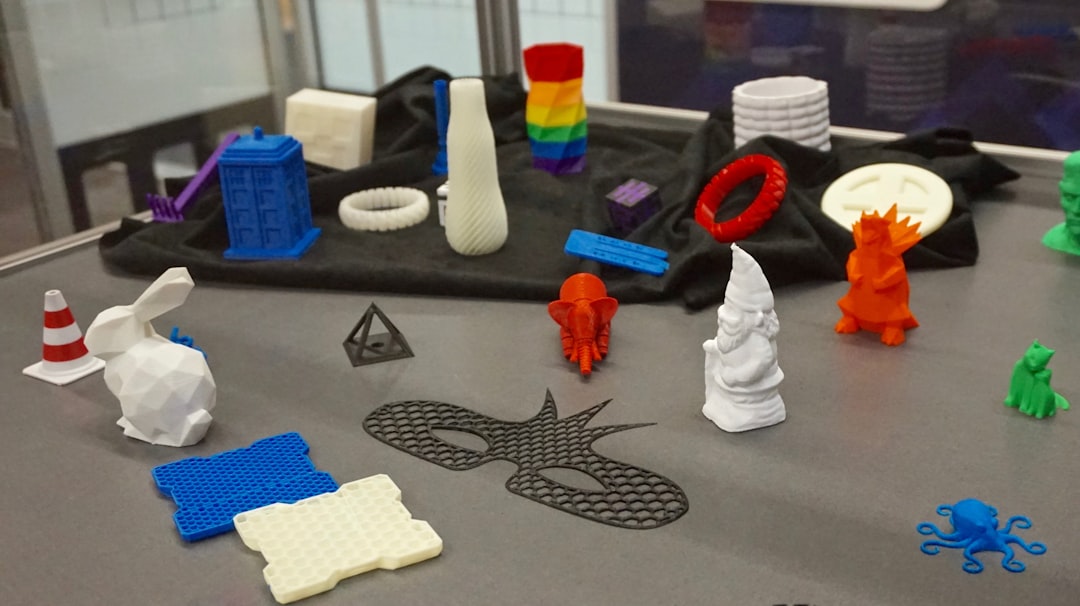
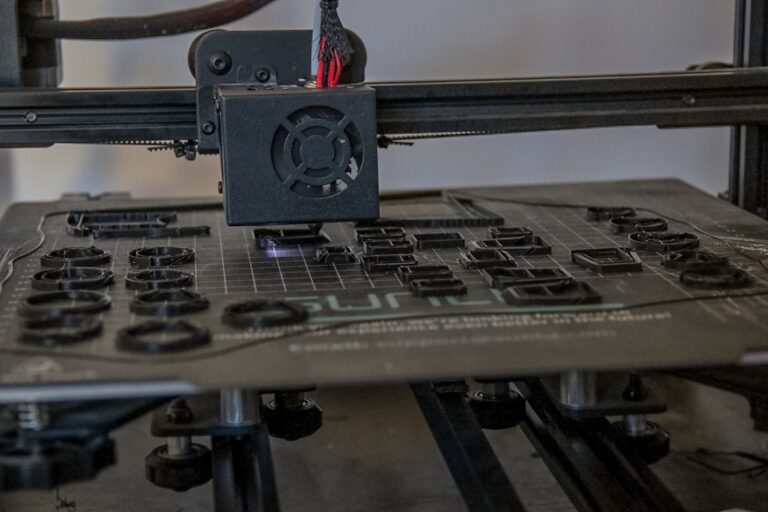
Photo by Locanam 3D Printing on Unsplash
The Downsides of Rafts
I want to be upfront: I avoid rafts whenever possible. Here’s why:
Wasted Material and Time
A raft uses significantly more filament than a brim. On a typical print, the raft might add 10–20g of material and 15–30 minutes of print time. For a brim, we’re talking about 1–3g and 2–5 minutes. Over dozens of prints, that adds up fast.
Rough Bottom Surface
The bottom of a raft-printed part will never be as smooth as a part printed directly on a glass or PEI bed. The separation layer between the raft and the print leaves a textured, slightly rough surface. If the bottom appearance matters for your project, a raft is a poor choice.
Difficult Removal
Getting a raft off cleanly can be tricky. If the air gap between the raft and the print is too small, the raft bonds to the print and tears when you try to remove it. If the gap is too large, the first layer of the actual print doesn’t adhere well to the raft, and you get a rough, poorly formed bottom.
Finding the sweet spot requires experimentation with your specific filament and printer. In Cura, the Raft Air Gap setting (default 0.3mm) is the critical parameter. I usually tweak it between 0.2mm and 0.35mm depending on the material.
Dimensional Accuracy
The air gap and separation layer between the raft and your part can introduce slight dimensional inaccuracies on the bottom of the print. For functional parts where the bottom surface needs to be precisely sized, this can be a real problem.
Brim vs Raft: A Direct Comparison
Let’s break this down into a straightforward comparison:
Material usage: Brim uses roughly 1–3g; raft uses 10–20g or more depending on print size.
Print time overhead: Brim adds 2–5 minutes; raft adds 15–30+ minutes.
Bottom surface quality: Brim has no effect on bottom surface; raft leaves a textured finish.
Adhesion strength: Brim provides moderate adhesion improvement; raft provides maximum adhesion.
Removal difficulty: Brim peels off easily (finger or knife); raft can be stubborn.
Bed leveling tolerance: Brim requires a level bed; raft compensates for uneven beds.
Dimensional accuracy: Brim has no effect; raft may reduce bottom accuracy slightly.
Setting Up Brims in Your Slicer
The brim settings are pretty consistent across slicers. Here’s what matters:
Cura
Go to Build Plate Adhesion Type → Brim. The key settings are:
- Brim Width: 8mm is my default. Go wider (12–15mm) for large prints or high-warp materials.
- Brim Line Count: Alternative way to set brim size. 8–15 lines works for most situations.
- Brim Only on Outside: Enable this to avoid brim inside holes and internal features, which can be a pain to remove.
PrusaSlicer / OrcaSlicer
Under Print Settings → Skirt and Brim:
- Brim Type: Choose outer only, inner only, or both.
- Brim Width: Set in millimeters, same recommendations as above.
Setting Up Rafts in Your Slicer
If you do need a raft, here are the settings worth tweaking:
Cura Raft Settings
- Raft Air Gap: 0.3mm default. Reduce to 0.2mm for better adhesion to the raft, increase to 0.35mm for easier removal.
- Raft Top Layers: 2 is usually fine. More layers = smoother top surface of the raft but more time and material.
- Raft Extra Margin: How far the raft extends beyond the print. 5–10mm is typical.
- Raft Base Layer Speed: Keep this slow (10–15 mm/s) for maximum adhesion to the bed.
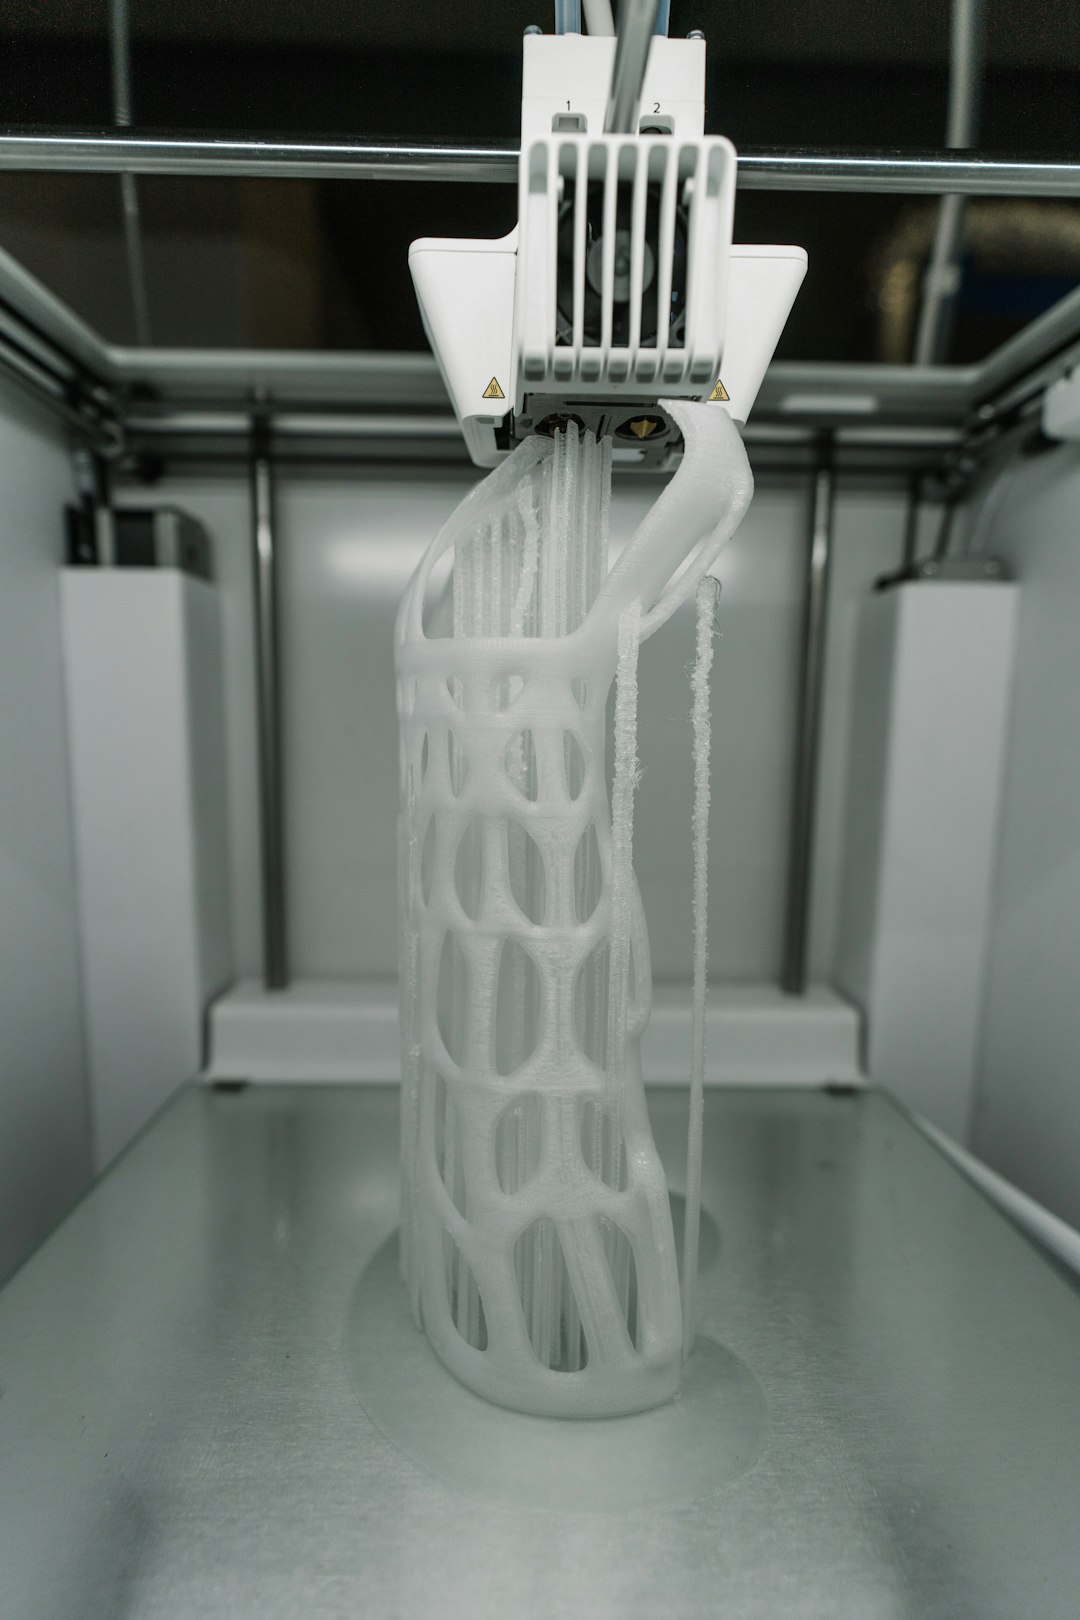
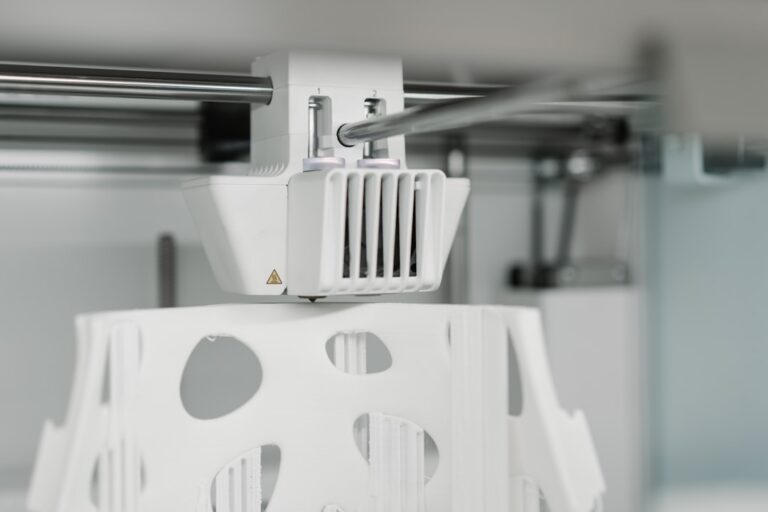
Photo by Tom Claes on Unsplash
What About Skirts?
While we’re on the topic, let’s quickly cover skirts. A skirt is a line (or several lines) printed around the perimeter of your print but not attached to it. Skirts serve two purposes:
- Priming the nozzle: The skirt gets filament flowing consistently before the actual print begins, purging any old material or air bubbles.
- Visual leveling check: By watching the skirt print, you can see if the first layer is too high, too low, or uneven before the printer starts on the actual part.
Skirts do NOT help with adhesion. They’re purely a priming and inspection tool. I always print at least 2 skirt lines on every print, even when I’m also using a brim or raft.
The “No Adhesion” Option
For completeness: many experienced printers run without any adhesion aid at all. With a properly leveled bed, clean PEI surface, and well-tuned first layer settings, PLA and PETG will stick perfectly without a brim or raft.
I print about 70% of my PLA prints with no brim and no raft. The time savings add up, and the bottom finish is cleaner. I only add a brim when the geometry demands it or when I’m working with a material that’s prone to lifting.
My Decision Framework
Here’s the simple flowchart I use when deciding between brim, raft, or nothing:
- Is my bed flat and level? If no → use a raft until you fix the bed.
- Is the model’s footprint large enough relative to its height? If yes → try printing without any adhesion aid.
- Are corners lifting or is the model likely to detach? If yes → add a brim (8mm for PLA, 12mm for PETG/ABS).
- Is the brim not solving the adhesion problem? If still failing → switch to a raft, but also investigate the root cause (temperature, drafts, contaminated bed).
In my experience, about 70% of prints need nothing, 25% benefit from a brim, and only about 5% truly require a raft. If you’re using rafts regularly, there’s probably an underlying issue with your bed leveling or bed surface that’s worth addressing.
Pro Tips From the Print Farm
A few things I’ve learned from running multiple printers at scale:
- Brims stick to PETG like glue. PETG brims can be really hard to remove cleanly. Use “Brim Only on Outside” and consider a slightly wider nozzle gap for the brim lines.
- Raft removal is easier when warm. Remove rafts while the print is still warm (not hot, just warm). The slight flexibility of warm plastic makes separation much cleaner.
- Mouse ears beat brims for appearance. If you only have lifting at specific corners, adding small circular pads (mouse ears) at those corners is more material-efficient and easier to clean up than a full brim.
- Consider your post-processing. If you’re going to sand and paint a print anyway, a raft’s rough bottom surface doesn’t matter. If the part goes straight into use, a brim or nothing is preferable.
Wrapping Up
The brim vs raft question comes down to matching the solution to the problem. Brims are cheap, fast, and effective for most adhesion challenges. Rafts are the nuclear option — they solve almost everything, but at a real cost in time, material, and surface quality.
Start with good bed leveling and a clean print surface. Add a brim when you need a little extra adhesion. Reserve rafts for when nothing else works or your bed surface just isn’t cooperating. And remember — if you’re reaching for a raft on every print, that’s a sign to fix something more fundamental about your setup.