ABS Warping Solutions: Why You Need an Enclosure
Why ABS Warps So Much
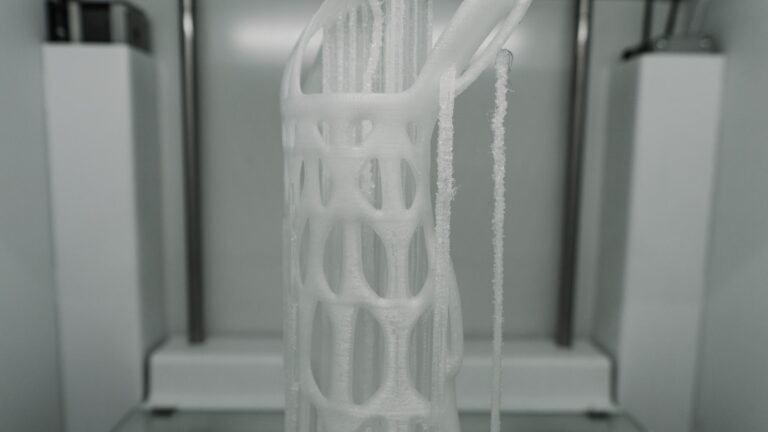
Let’s start with the root cause, because understanding the problem is half the battle. ABS (Acrylonitrile Butadiene Styrene) has a significantly higher coefficient of thermal expansion than PLA or PETG. When ABS cools from its extrusion temperature (~240°C) to room temperature, it shrinks by approximately 0.7–0.8%. That might sound small, but on a 200mm print, that’s over 1.5mm of contraction.
I’m Mike Reynolds, and I spent my first year of 3D printing thinking ABS was impossible to print reliably. Turns out, I was just missing one critical piece of equipment: an enclosure. Once I added one, ABS went from my most frustrating material to one of my most reliable.
The warping happens because this contraction doesn’t occur uniformly. The bottom layers, held warm by the heated bed, stay relatively stable. But the upper layers cool faster because they’re exposed to ambient air. This differential contraction creates internal stresses that literally pull the corners of the print upward off the bed.
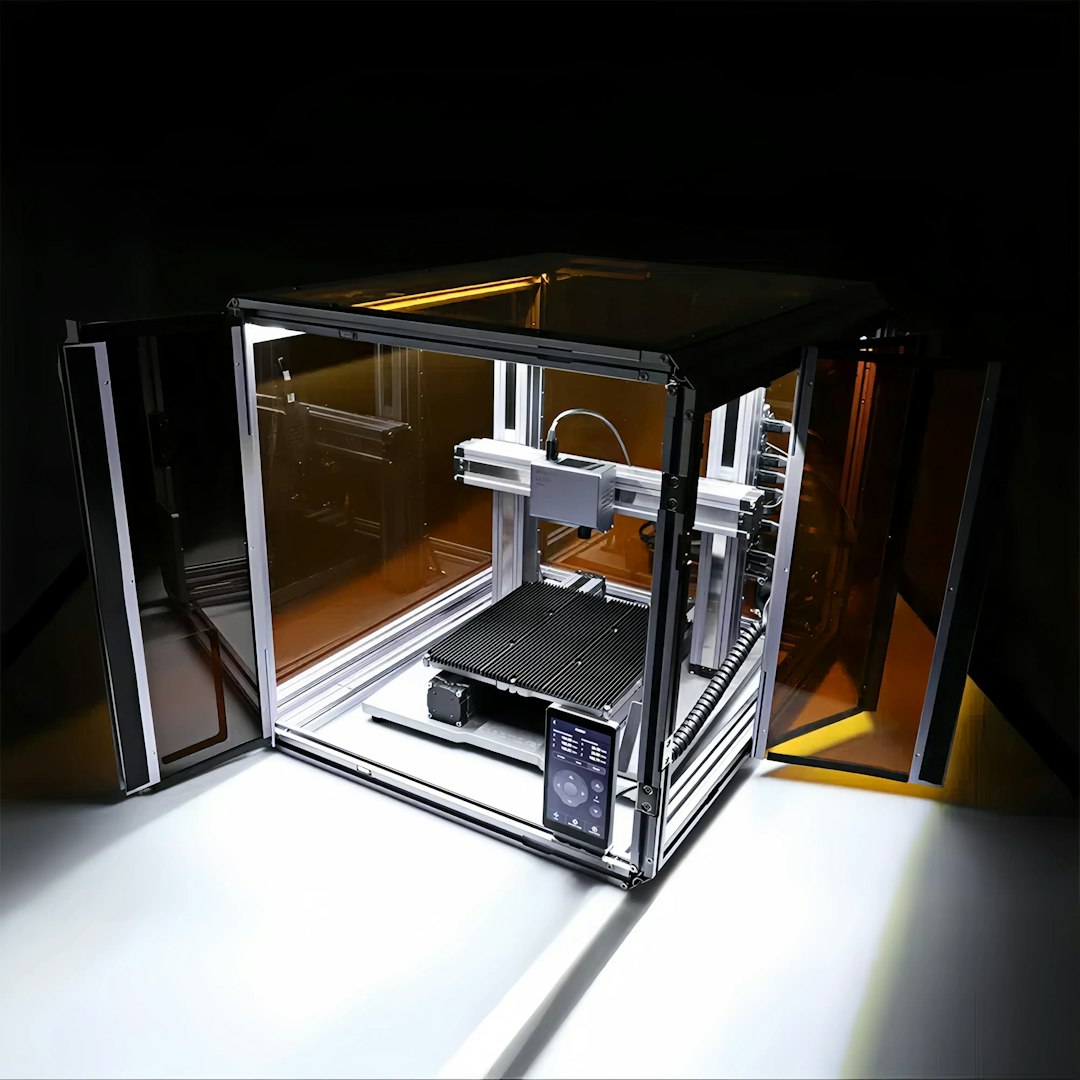
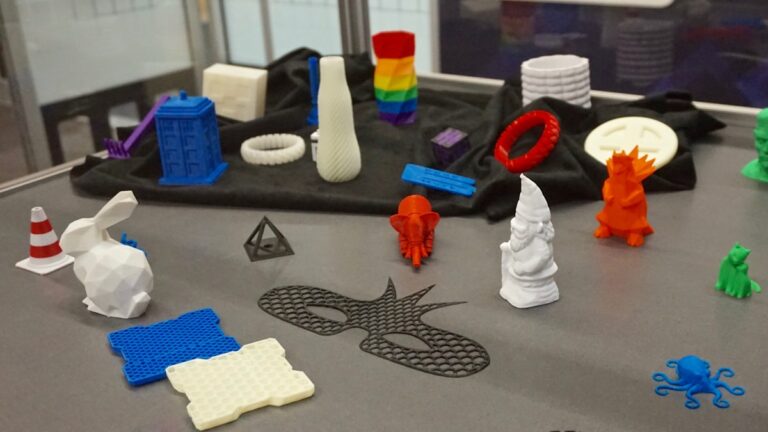
Photo by Snapmaker 3D Printer on Unsplash
The Enclosure: Your Single Best Investment for ABS
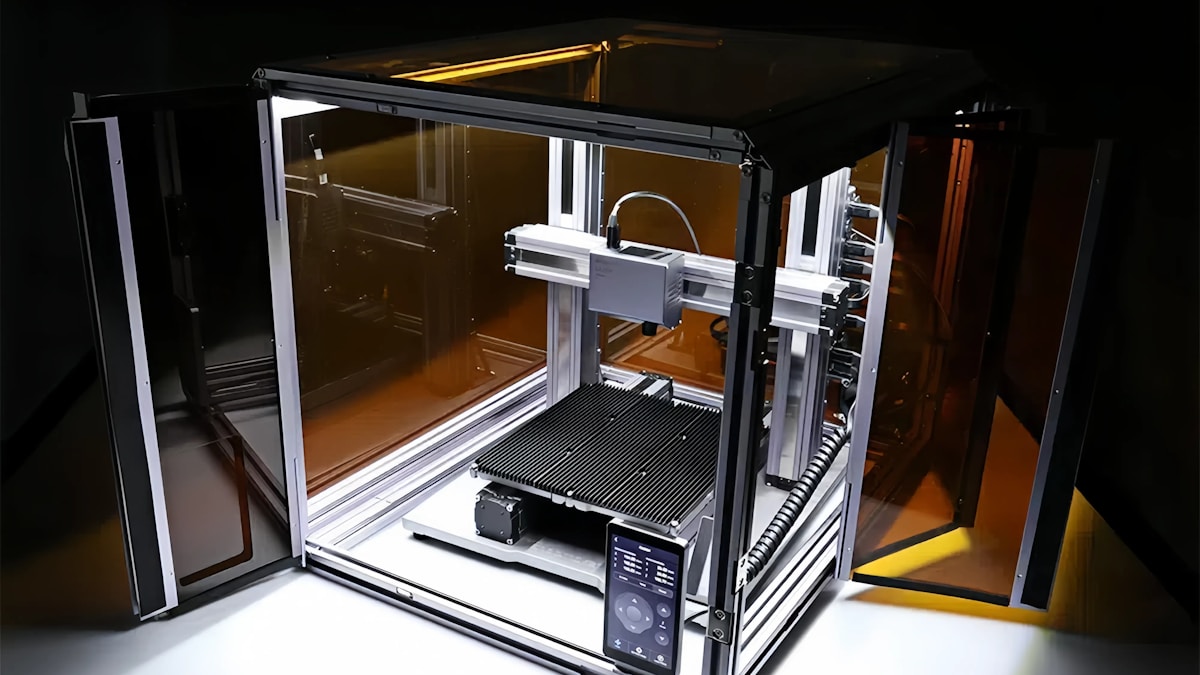
An enclosure is, without exaggeration, the most effective single solution for ABS warping. By maintaining a stable, elevated ambient temperature around the print, you dramatically reduce the temperature differential between layers — and with it, the internal stresses that cause warping.
A good enclosure for ABS printing keeps the chamber temperature between 35°C and 55°C. You don’t need industrial-grade heated chambers (though those are nice). Even a basic enclosure that just blocks drafts and traps the heat from the heated bed makes a massive difference.
Types of Enclosures
The IKEA LACK Enclosure: This is the most popular DIY option in the 3D printing community, and for good reason. Two IKEA LACK tables ($10 each), stacked and enclosed with acrylic panels or foam board, create a surprisingly effective enclosure. Total cost: $30–50. I’ve printed hundreds of ABS parts in LACK enclosures with excellent results.
Commercial Enclosures: Companies like Creality, Comgrow, and others sell fabric or polycarbonate enclosures designed for specific printer models. These typically run $50–150 and offer a good balance of convenience and effectiveness. They’re not as rigid as DIY builds but they block drafts and retain heat well enough for most ABS printing.
Cardboard Box: Don’t laugh. In a pinch, a large cardboard box placed over your printer works surprisingly well. I’ve done this on travel setups and it cut warping by 80% or more. Just make sure there’s some ventilation and keep the electronics ventilated.
Custom Builds: If you’re handy, you can build a proper enclosure from aluminum extrusion and polycarbonate panels. This gives you the best structural rigidity, the ability to add features like lighting, filtration, and camera mounts, and it looks professional. Cost is $80–200 depending on materials and features.
Enclosure Design Considerations
Not all enclosures are created equal. Here are the factors that actually matter for ABS warping prevention:
Draft Prevention
This is the enclosure’s primary job. Even small air currents cause uneven cooling, which causes warping. Your enclosure needs to be reasonably sealed — not airtight (you still need some ventilation for fumes), but tight enough that random air movement from HVAC, open doors, or people walking by doesn’t reach the print.
Heat Retention
The heated bed generates a significant amount of thermal energy. A good enclosure traps this heat, raising the ambient temperature inside. For a typical Ender 3 with a 60W heated bed, a well-insulated enclosure can reach 40–50°C chamber temperature with the bed at 100°C — more than enough for warp-free ABS.
Electronics Protection
This is where people get into trouble. Stepper motor drivers, mainboards, and power supplies are rated for specific temperature ranges, and an enclosed chamber can push them beyond their limits. Solutions include:
- Mount the electronics outside the enclosure (many DIY builds do this)
- Add ventilation specifically for the electronics bay
- Install small fans to pull cool air over the control board
- Monitor driver temperatures — if they’re above 60°C, you need better cooling
Bowden Tube Concerns
PTFE-lined Bowden tubes start to degrade above 240°C and release toxic fumes above 260°C. In an enclosed chamber, the temperature around the hotend can be higher than in open air. If you’re running a Bowden setup inside an enclosure with ABS temperatures, strongly consider upgrading to an all-metal hotend (like a Micro Swiss or the E3D V6). It’s a $30–50 upgrade that eliminates the safety concern entirely.
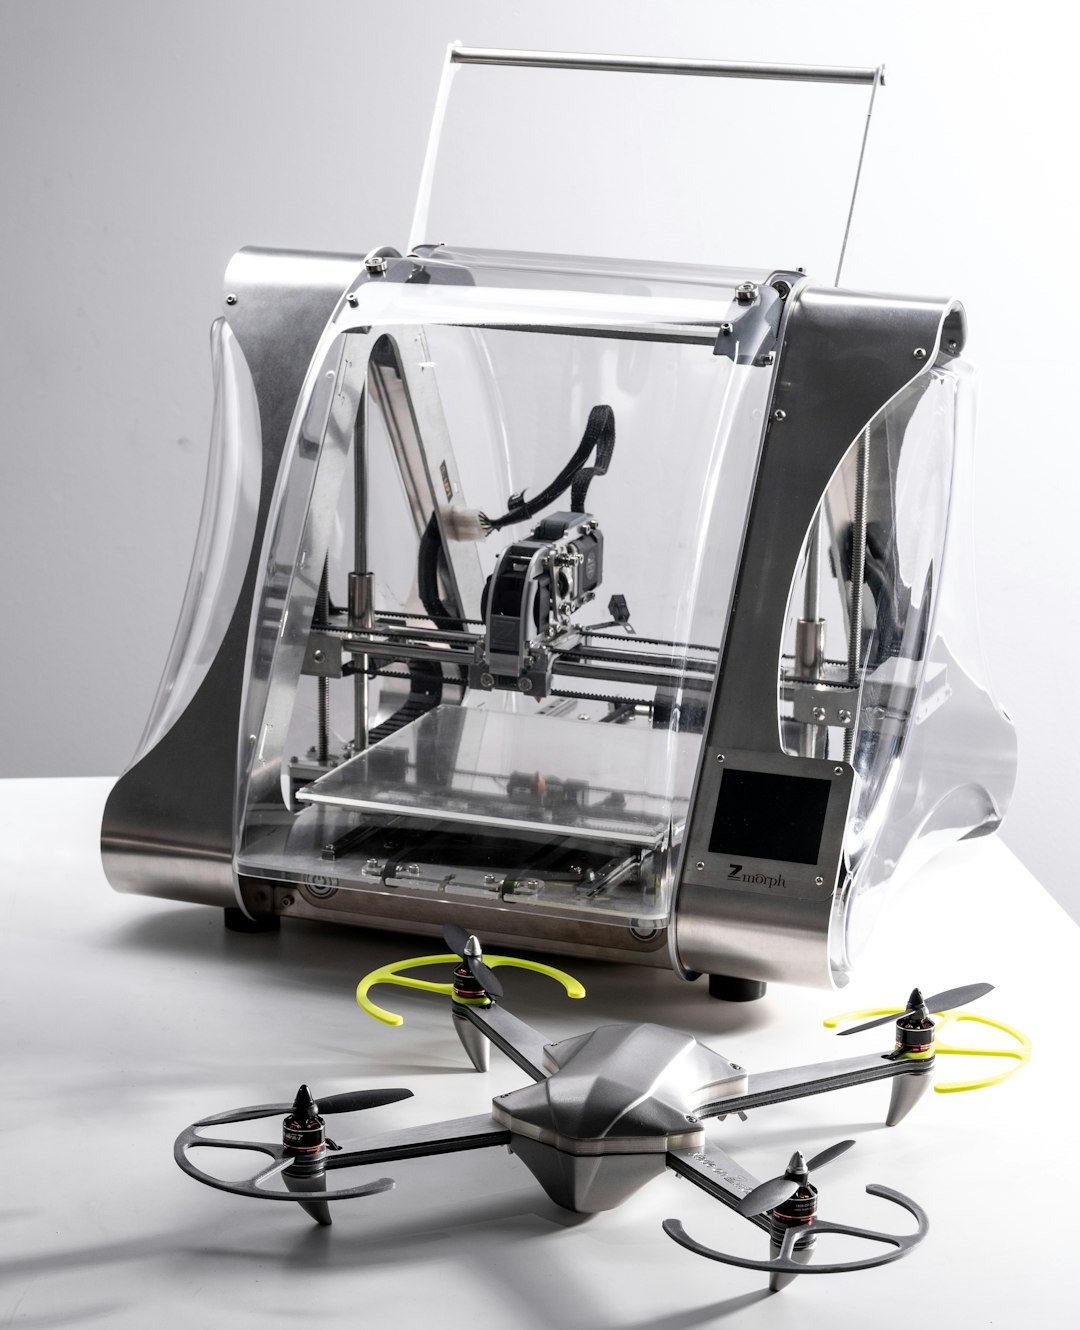
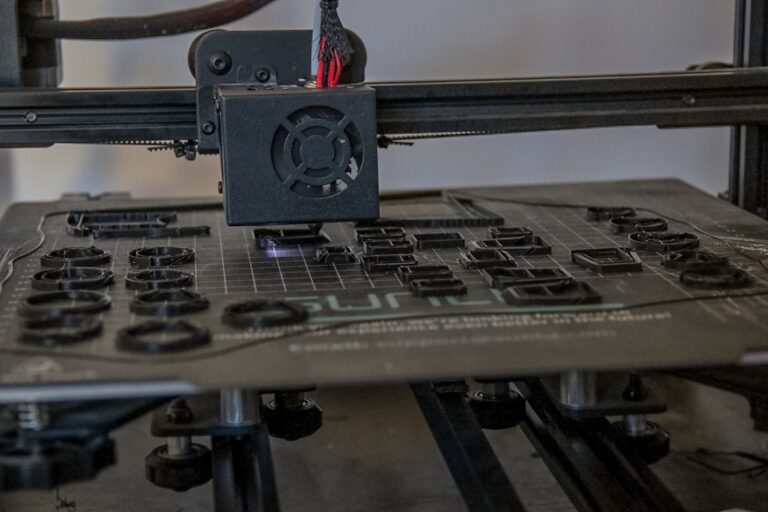
Photo by ZMorph All-in-One 3D Printers on Unsplash
Optimal ABS Print Settings to Reduce Warping
An enclosure alone won’t guarantee perfect ABS prints. You also need to dial in your slicer settings specifically for ABS. Here’s what works for me:
Temperature Settings
- Nozzle temperature: 235–250°C. I typically run 240°C. Going too low causes poor layer adhesion; going too high causes stringing and oozing.
- Bed temperature: 100–110°C. This is non-negotiable for ABS. Below 95°C, adhesion drops off dramatically. I run 105°C for the first layer and 100°C for the rest.
- Chamber temperature: 35–55°C. You don’t control this directly unless you have active heating — the enclosure handles it passively from the heated bed.
Cooling Settings
This is where ABS differs most from PLA. Turn off the part cooling fan. Seriously. ABS prints best with zero active cooling. The fan creates exactly the kind of uneven, rapid cooling that causes warping.
The only exception is bridging — if you have long unsupported bridges, a brief burst of fan (20–30%) during the bridge helps with sag. Most slicers can apply bridge-specific fan settings automatically.
Speed Settings
- First layer speed: 20 mm/s. Slow and steady for maximum adhesion.
- Print speed: 40–50 mm/s. ABS can print faster, but slower speeds mean less vibration and more consistent layer bonds.
- Travel speed: 150–200 mm/s. Fast travels reduce oozing and stringing.
Adhesion Settings
- Brim: 10–15mm for most ABS prints. The extra adhesion area is worth the 2 minutes of print time it adds.
- First layer height: 0.3mm (or 150% of normal layer height). Squish that first layer firmly onto the bed.
- First layer flow: 105–110%. A slight over-extrusion on the first layer dramatically improves adhesion.
Bed Surface Options for ABS
The bed surface makes a huge difference for ABS adhesion. Here’s what I’ve tested:
ABS Slurry (The Best Option)
Dissolve scraps of ABS filament in acetone until you get a thin, milky liquid. Apply a thin coat to your bed surface with a brush and let it dry. This creates a chemical bond between the bed coating and the ABS print that’s incredibly strong. It’s basically welding the print to the bed.
Recipe: Drop 20cm of ABS filament into 30ml of acetone. Let it dissolve for a few hours, stirring occasionally. Apply thinly — too thick and your print will be impossible to remove.
PEI Sheet
PEI provides good adhesion for ABS when properly heated (100°C+). Clean it with acetone periodically — ABS leaves residue that reduces adhesion over time. PEI is my choice for convenience since it doesn’t require reapplication like slurry.
Kapton Tape
The classic ABS surface. Apply strips to a glass bed, clean with acetone, and print. Adhesion is good and consistent. The downside is replacing worn tape periodically. Combined with ABS slurry, Kapton tape is bombproof.
Glass with Glue Stick
Works reasonably well. Apply a thin layer of glue stick (PVA-based) to clean glass. The advantage is that parts pop off easily when the bed cools. The disadvantage is you need to reapply frequently.
Environmental Control Beyond the Enclosure
Even with an enclosure, there are additional environmental factors worth managing:
Preheat the Chamber
Before starting an ABS print, turn on the heated bed and let the enclosure warm up for 10–15 minutes. This brings the chamber temperature up before the print begins, giving the first layers a consistent thermal environment from the start.
Keep the Door Closed
Every time you open the enclosure during a print, you dump all that warm air and introduce a cold draft. If you need to check on the print, use a camera inside the enclosure or a transparent panel.
Room Temperature
If your workspace is particularly cold (below 18°C/65°F), the enclosure has to work harder to maintain temperature. In winter, I’ve noticed a clear difference in ABS print quality between my heated workshop and my garage. If possible, keep the room reasonably warm.

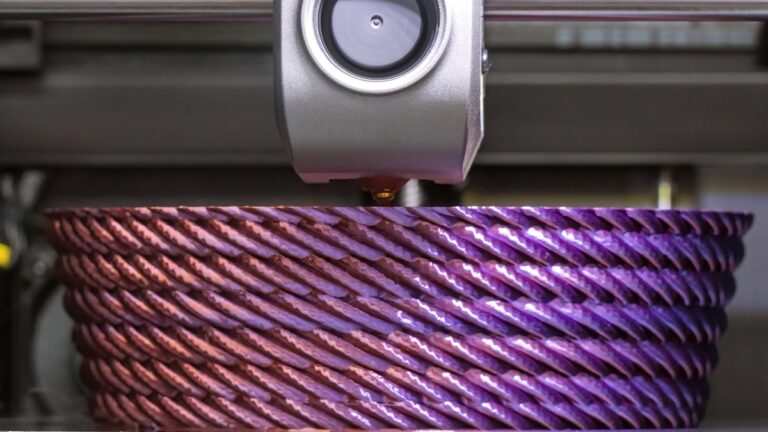
Photo by Tom Claes on Unsplash
Fume Management
ABS produces styrene fumes during printing, and these aren’t great for your health. An enclosure actually makes fume management easier, not harder, because you can add targeted filtration:
- Activated carbon filter: Mount a small fan with an activated carbon filter on the enclosure exhaust. This absorbs most of the volatile organic compounds (VOCs) from ABS.
- HEPA filter: For ultrafine particle filtration, add a HEPA filter after the carbon filter. Especially important if the printer is in a living space.
- Ventilation: The simplest approach — run a duct from the enclosure to a window. Not always practical, but very effective.
Don’t skip fume management just because you can’t smell the ABS. The most harmful compounds are often odorless at concentrations that still affect air quality over long exposure periods.
Consider ASA as an Alternative
Before we wrap up, I want to mention ASA (Acrylonitrile Styrene Acrylate). ASA is essentially the outdoor-rated cousin of ABS. It offers similar mechanical properties — good strength, heat resistance, and impact resistance — but with better UV stability and, critically, less warping tendency.
ASA prints at similar temperatures to ABS (nozzle 240–260°C, bed 95–110°C), and it still benefits from an enclosure. But in my testing, ASA warps about 30–40% less than ABS under identical conditions. If you’re fighting ABS warping and don’t specifically need ABS for vapor smoothing or other ABS-specific properties, give ASA a try.
Troubleshooting Persistent ABS Warping
If you’ve got an enclosure, dialed settings, and a proper bed surface but you’re still seeing warping, check these less obvious causes:
- Filament quality: Cheap ABS with inconsistent diameter or moisture content warps more. Dry your filament (80°C for 4–6 hours) and try a reputable brand.
- Nozzle too far from bed: Even 0.05mm too high can reduce first layer adhesion enough to cause lifting.
- Bed contamination: Fingerprints, old adhesive residue, or dust can create local weak spots. Clean thoroughly with acetone.
- Slicer cooling bugs: Some slicer profiles have fan speed set above 0% by default. Double-check that your fan is truly off.
- Model geometry: Very large, flat parts (300mm+) will warp even in perfect conditions. Consider splitting the model or adding stress-relief features to the design.
- Enclosure leaks: Check for gaps around door edges, cable pass-throughs, or spool feed holes. Seal them with weather stripping or foam tape.
Putting It All Together
ABS warping isn’t an unsolvable mystery — it’s a thermal management problem with a clear solution. The recipe for reliable ABS printing is:
- Build or buy an enclosure (even a basic one helps enormously)
- Set bed temperature to 100–110°C
- Turn off part cooling fan
- Use ABS slurry or a properly heated PEI bed
- Add a 10–15mm brim
- Preheat the chamber before printing
- Keep the enclosure closed during printing
Follow these steps, and you’ll find that ABS goes from “impossible to print” to “reliable workhorse material.” The enclosure is the single biggest factor — if you do nothing else on this list, build an enclosure and you’ll see dramatic improvement.