Heated Bed Temperature Guide for PLA, PETG, and ABS
Why Bed Temperature Matters
The heated bed on your 3D printer serves one primary purpose: keeping the bottom layers of your print warm enough that they don’t contract and peel away from the build surface. Different filament materials have different glass transition temperatures, melting points, and shrinkage rates, which means each one needs a different bed temperature to stick properly.
I’m Mike Reynolds, and I’ve spent years testing bed temperatures across dozens of filament brands and types. What I’m sharing here isn’t theory — it’s the result of hundreds of test prints and plenty of failures. These numbers work on my printers, and they should work on yours.
Get the bed temperature wrong, and you’ll face one of two problems: too low, and the print lifts off the bed (especially at corners); too high, and you get elephant’s foot on the first layer, difficulty removing the print after cooling, or in extreme cases, the filament stays too soft at the base and deforms under the weight of layers above.
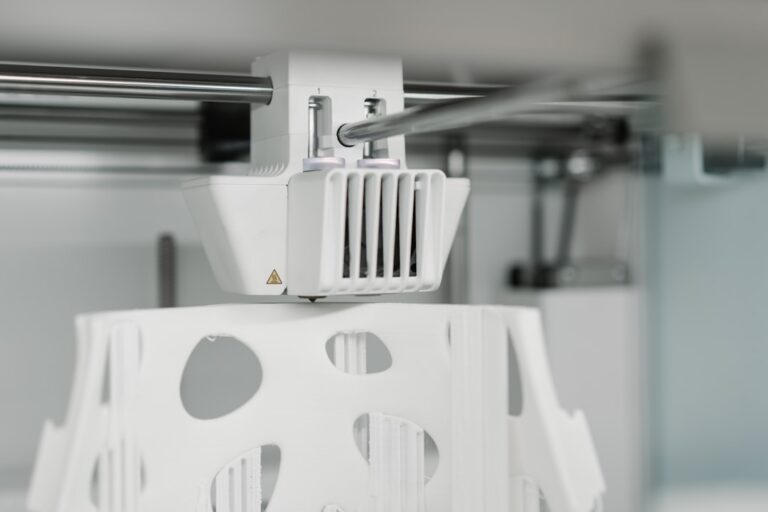
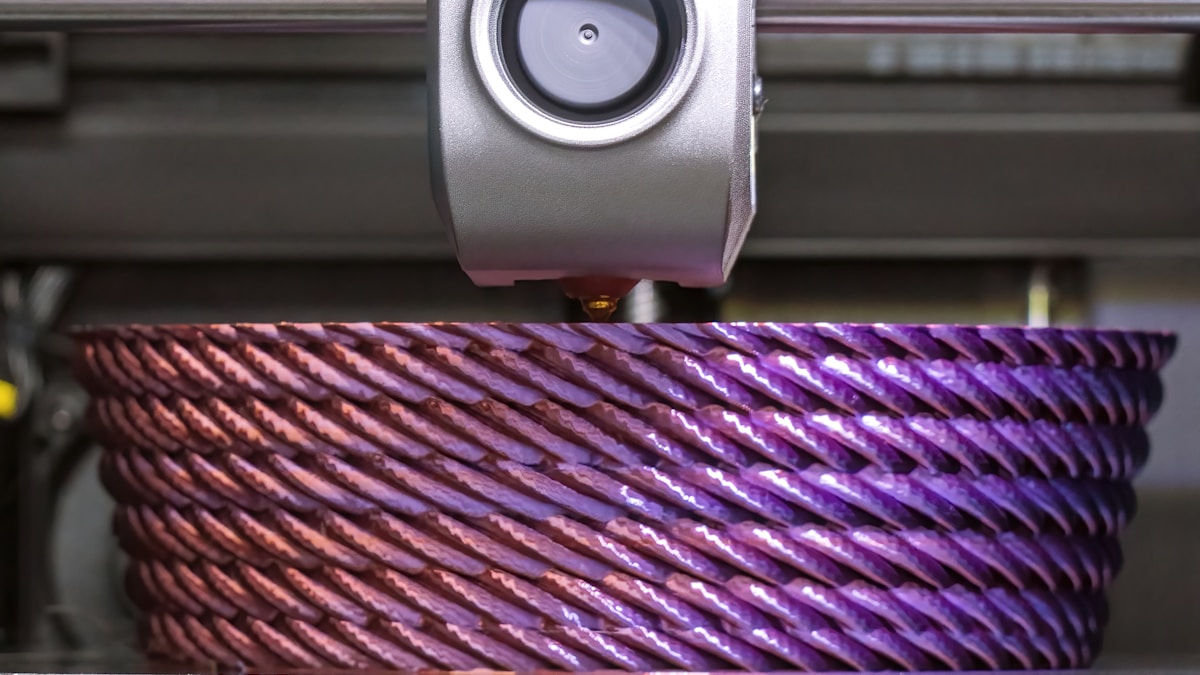
Photo by Snapmaker 3D Printer on Unsplash
PLA Bed Temperature Guide
PLA (Polylactic Acid) is the most forgiving filament when it comes to bed temperature. It has a low glass transition temperature (around 60°C) and minimal thermal shrinkage, which means it doesn’t really want to warp. Some people print PLA without a heated bed at all, and for small prints that’s totally fine.
Recommended Range: 50–65°C
Here’s how I break it down:
- Small prints (under 80mm footprint): 50–55°C, or even no heat if your bed surface has good adhesion.
- Medium prints (80–150mm footprint): 55–60°C. This is the sweet spot for most PLA printing.
- Large prints (150mm+ footprint): 60–65°C. Larger prints need a bit more heat to prevent corner lifting.
- PLA+ or “tough” PLA: 60–65°C. These modified PLAs have slightly different thermal properties and benefit from a touch more heat.
One common mistake with PLA is running the bed too hot. Above 65°C, PLA can get soft enough at the base that it deforms — you’ll see a wider, squished first layer (elephant’s foot) and the print may be difficult to remove from the bed. If you’re seeing elephant’s foot on PLA prints, drop the bed temp 5°C before adjusting anything else.
PLA First Layer Tips
For the first layer, I sometimes bump the bed temperature up by 5°C, then drop it back down after layers 3–4. In Cura, you can do this with the “Build Plate Temperature Initial Layer” setting. This gives you extra adhesion during the critical early stages without the downsides of running hot throughout the entire print.
PETG Bed Temperature Guide
PETG (Polyethylene Terephthalate Glycol-modified) is the material that most often trips people up with bed temperature. It needs more heat than PLA but is also notorious for bonding TOO well to certain bed surfaces — particularly bare PEI and glass.
Recommended Range: 70–85°C
- Standard PETG prints: 75–80°C. This is where I run 90% of my PETG.
- Large prints or high-warp situations: 80–85°C.
- On textured PEI: 70–75°C. Textured PEI provides mechanical grip, so you need less thermal adhesion.
- On smooth PEI or glass: 80–85°C, with a glue stick. The glue acts as both an adhesive and a release agent.
The PETG Adhesion Paradox
PETG at the right temperature sticks almost too well to smooth PEI sheets. I’ve pulled chunks of PEI coating off my build plate trying to remove PETG prints that bonded too aggressively. The solution is to use a thin layer of glue stick (PVA-based) on smooth PEI. The glue provides adhesion during printing but creates a barrier that prevents PETG from fusing with the PEI surface.
Alternatively, use a textured PEI sheet. The texture provides mechanical grip without the chemical bonding issue, and PETG releases easily when the bed cools. If you print a lot of PETG, a textured PEI sheet is one of the best investments you can make.
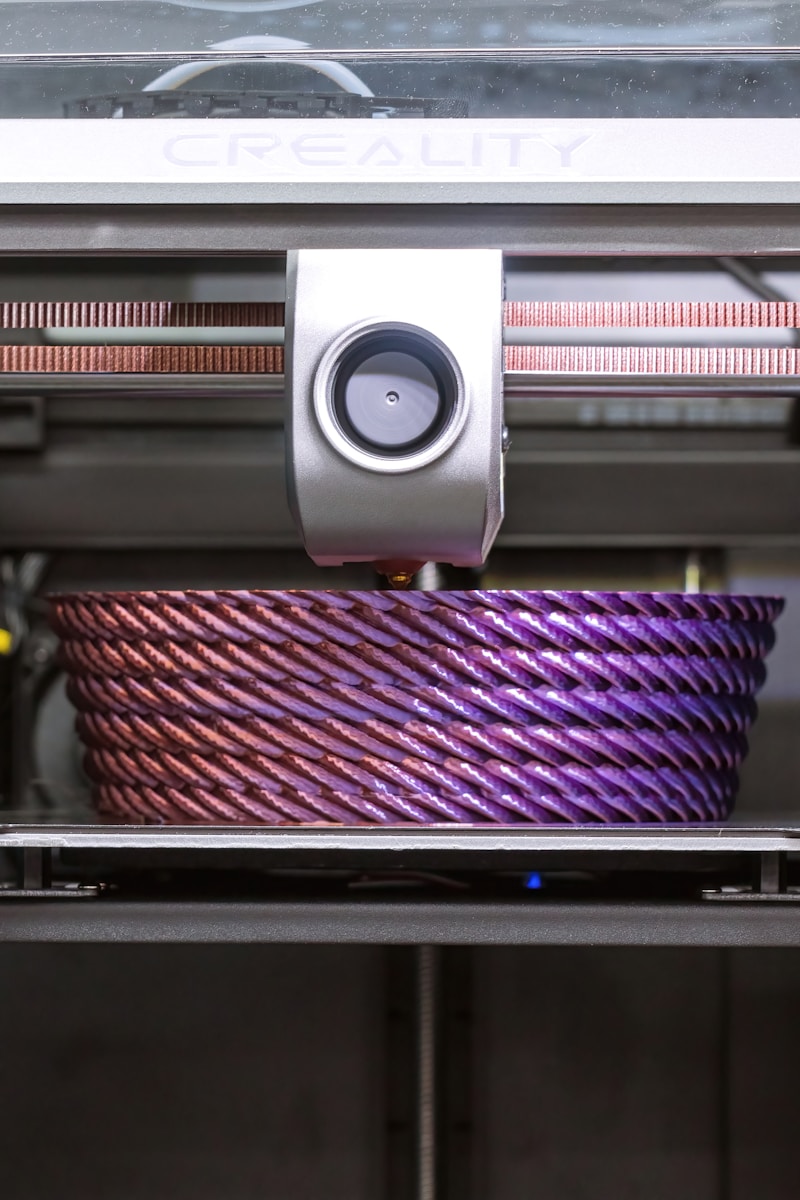
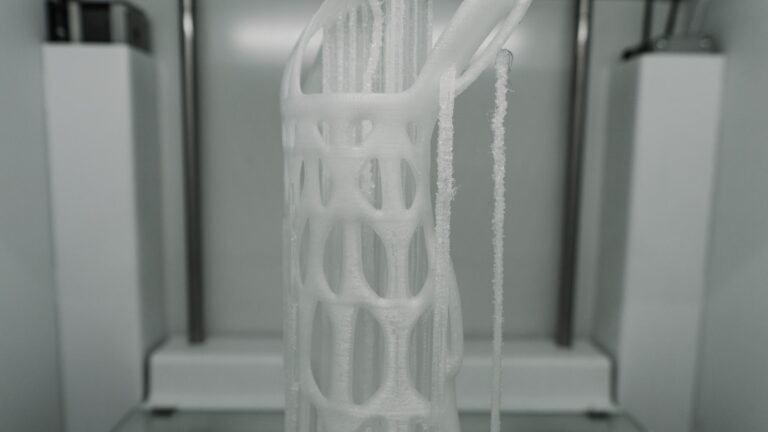
Photo by David Clode on Unsplash
ABS Bed Temperature Guide
ABS is the most demanding of the common filament types when it comes to bed temperature. Its high glass transition temperature (around 105°C) and significant thermal shrinkage mean it needs serious heat to stay stuck to the bed.
Recommended Range: 95–110°C
- Minimum viable temperature: 95°C. Below this, ABS simply won’t stick reliably regardless of bed surface.
- Standard ABS printing: 100–105°C. This is my go-to range.
- Large prints or cold environments: 105–110°C.
- First layer: I typically set the initial bed temp 5°C above my standard, so 110°C for the first 3 layers, then down to 105°C.
ABS Requires an Enclosure
I need to emphasize this: bed temperature alone won’t prevent ABS warping on most printers. ABS needs an enclosure to maintain a warm ambient temperature around the print. The heated bed keeps the bottom stuck; the enclosure keeps the middle and upper layers from cooling too fast and pulling on the base.
Without an enclosure, even a perfect bed temperature of 110°C will still result in warping on most ABS prints larger than about 50mm. The bed heats the bottom, but the exposed sides cool rapidly, creating exactly the thermal gradient that causes warping.
Bed Surface for ABS
ABS on a bare PEI sheet at 100°C works reasonably well. For maximum adhesion, use ABS slurry (ABS scraps dissolved in acetone) applied in a thin layer to the bed. This creates a chemical bond that’s extremely resistant to warping forces. Kapton tape on glass is the old-school approach and still works well.
Other Materials: Quick Reference
Beyond the big three, here are bed temperatures for other common filament types:
TPU (Flexible Filament)
Recommended: 45–60°C
TPU doesn’t warp much, but it benefits from a warm bed for adhesion. Too hot and it becomes difficult to remove — TPU is already sticky by nature. On PEI, 50°C is my standard. Use a glue stick on smooth PEI to prevent bonding issues.
ASA
Recommended: 95–110°C
ASA prints very similarly to ABS. Same bed temperature range, same need for an enclosure (though ASA is slightly less warp-prone). The advantage of ASA over ABS is UV resistance, so it’s the better choice for outdoor parts.
Nylon (PA)
Recommended: 70–90°C
Nylon is extremely hygroscopic (absorbs moisture from the air), which affects adhesion more than bed temperature does. Make sure your Nylon is bone dry before printing. Use a glue stick on PEI, and consider a Garolite build plate for the best results — Nylon bonds exceptionally well to Garolite.
Polycarbonate (PC)
Recommended: 110–120°C
PC demands the highest bed temperatures of common 3D printing materials. You absolutely need an enclosure, an all-metal hotend, and a bed capable of reaching and maintaining 110°C+. PC is not a beginner material, but the mechanical properties are excellent for functional parts.
HIPS
Recommended: 90–100°C
HIPS (High Impact Polystyrene) is commonly used as a support material for ABS because it dissolves in limonene. It prints at similar temperatures to ABS and benefits from the same enclosure setup.
How Bed Surface Affects Temperature Choice
The ideal bed temperature isn’t just about the filament — it also depends on your bed surface. Different surfaces provide different levels of mechanical and chemical adhesion, which changes how much thermal assistance you need.
Smooth PEI
Provides excellent chemical adhesion when warm. You can often run 5°C lower than the recommended range because the PEI’s surface chemistry grips the filament so well. Clean it with IPA before every print.
Textured PEI
Provides mechanical grip through surface texture. Generally needs the full recommended temperature range. The advantage is easier release when cooled and less risk of damaging the surface with overly-adhesive materials like PETG.
Glass (Borosilicate)
Smooth glass on its own has moderate adhesion. Usually needs the upper end of the temperature range plus an adhesion aid (glue stick, hairspray). The upside is a perfectly flat surface and a very smooth first layer.
Spring Steel with BuildTak/Magnetic Surface
BuildTak and similar surfaces provide good adhesion across a wide temperature range. They tend to be more forgiving of temperature variations. Use the middle of the recommended range as a starting point.

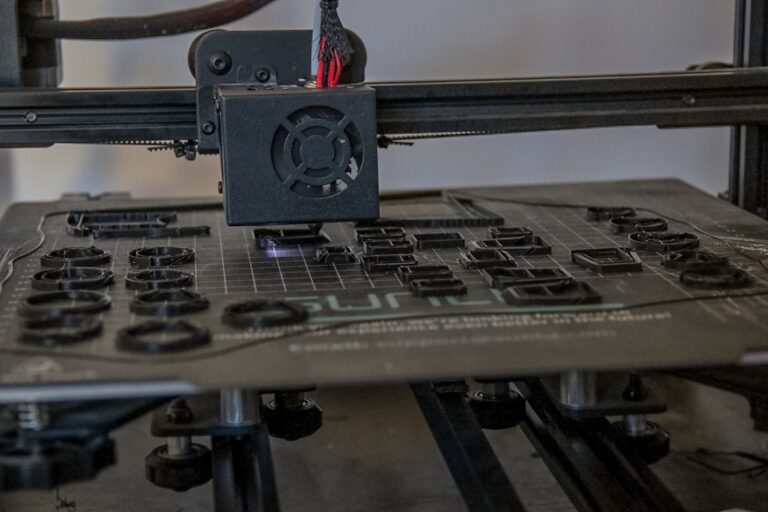
Photo by Haripriya K on Unsplash
Common Bed Temperature Mistakes
Over the years, I’ve seen (and made) these mistakes repeatedly:
Running Too Hot for PLA
PLA at 70°C+ causes elephant’s foot, difficult removal, and can actually reduce adhesion as the base gets too soft to hold its shape. If your PLA first layer looks squished and wider than it should be, lower the bed temp before reducing Z-offset.
Not Waiting for Temperature Stabilization
When your slicer reports the bed has reached target temperature, the surface temperature may still be several degrees below the thermistor reading. This is because most thermistors are mounted under the bed, and it takes time for heat to conduct through the bed plate. Wait 2–3 minutes after reaching target temperature before starting the print, or add a preheat command to your start G-code.
Ignoring Temperature Uniformity
Most heated beds aren’t perfectly uniform. The center is typically hotter than the edges by 5–10°C. On large prints that span most of the bed, this means corners are cooler and more prone to lifting. Some solutions: use a bed with multiple heating zones (like the Prusa MK4), print in the center of the bed when possible, or add a 5°C bump to your bed temp for large prints.
Using the Same Temperature for Every Brand
Not all PLA (or PETG, or ABS) is the same. Different manufacturers use different formulations, additives, and base polymers. A PLA from Hatchbox might stick perfectly at 55°C, while a PLA from a different brand needs 62°C. Always check the manufacturer’s recommended settings as a starting point, then adjust based on your results.
Bed Temperature and Print Quality
Beyond just adhesion, bed temperature affects several aspects of print quality:
First layer accuracy: Too hot, and the first layer spreads wider than designed (elephant’s foot). Too cool, and the first layer doesn’t bond well, leading to rough edges and poor dimensional accuracy.
Print removal: Parts printed on a heated bed should release naturally when the bed cools to room temperature. If you’re fighting to remove parts, your bed temp is probably too high or the wrong adhesion surface is being used for that material.
Bottom surface finish: Bed temperature affects how the first layer flows and settles. The ideal temperature gives you a smooth, flat first layer with no gaps between lines and no elephant’s foot.
Warping and layer adhesion: Proper bed temperature keeps the base layers from contracting and pulling away, while also ensuring the first few layers bond tightly to each other.
Quick Reference Chart
Here’s the summary of everything above in one place:
- PLA: 50–65°C (sweet spot: 60°C)
- PLA+: 60–65°C
- PETG: 70–85°C (sweet spot: 80°C)
- ABS: 95–110°C (sweet spot: 105°C, needs enclosure)
- ASA: 95–110°C (sweet spot: 100°C, needs enclosure)
- TPU: 45–60°C (sweet spot: 50°C)
- Nylon: 70–90°C (sweet spot: 80°C, keep filament dry)
- Polycarbonate: 110–120°C (needs enclosure and all-metal hotend)
- HIPS: 90–100°C
Final Advice
Start with the middle of the recommended range for your filament and bed surface combination. Print a test cube or calibration square and observe the first layer. If corners lift, increase by 5°C. If you see elephant’s foot or the part is hard to remove, decrease by 5°C. Fine-tune in 2–3°C increments from there.
Remember that bed temperature is just one piece of the adhesion puzzle. A clean bed surface, proper Z-offset, appropriate first layer speed, and the right adhesion aid for your material all work together. Don’t crank the bed temperature to maximum as your first troubleshooting step — address the fundamentals first, and let temperature be the fine-tuning knob.