3D Printing Props: The Complete Guide to Movie, Display, and Tabletop Replicas
Why 3D Printing Is the Best Method for Custom Props
Props — the physical objects that bring fictional worlds to life — have historically been the domain of model-makers, foam carvers, and vacuum-formers. 3D printing changed that. Today, a solo maker can print a screen-accurate movie prop, a display-worthy museum replica, or a table-full of tabletop miniatures in days, not months, with a level of detail that rivals professional studio work.
This guide covers everything a prop-maker needs to know: materials, printers, scale strategies, sectioning large prints, finishing, and category-specific tips for film, display, and gaming props.

Defining “Prop”: Three Distinct Categories
Before picking a printer or material, define what kind of prop you are making:
- Film and cosplay props: Need to be light, handleable, and visually convincing from a few feet away. Durability matters if actors will handle them.
- Display and museum-style replicas: Must look perfect under close inspection. Weight and strength are less critical; surface finish is everything.
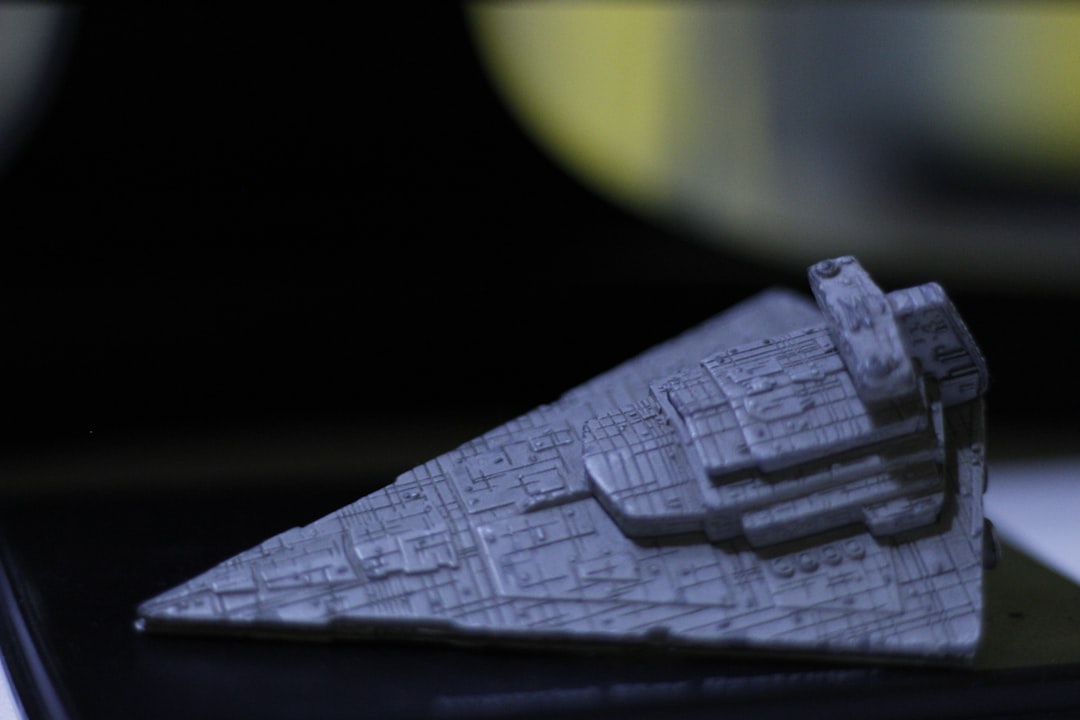
- Tabletop and gaming miniatures: Small scale, high detail. Often printed in resin for maximum fidelity.
Your category drives every downstream decision.
Choosing a Printer for Props
For film and cosplay props, large FDM printers win. The Bambu Lab X1C, Creality K1 Max, or Anycubic Kobra 2 Max all offer 300+ mm build volumes that let you print helmets, pauldrons, and gauntlets in fewer pieces. Expect to print most props at 0.3-0.4 mm nozzle diameter and 0.2-0.3 mm layer height for speed.
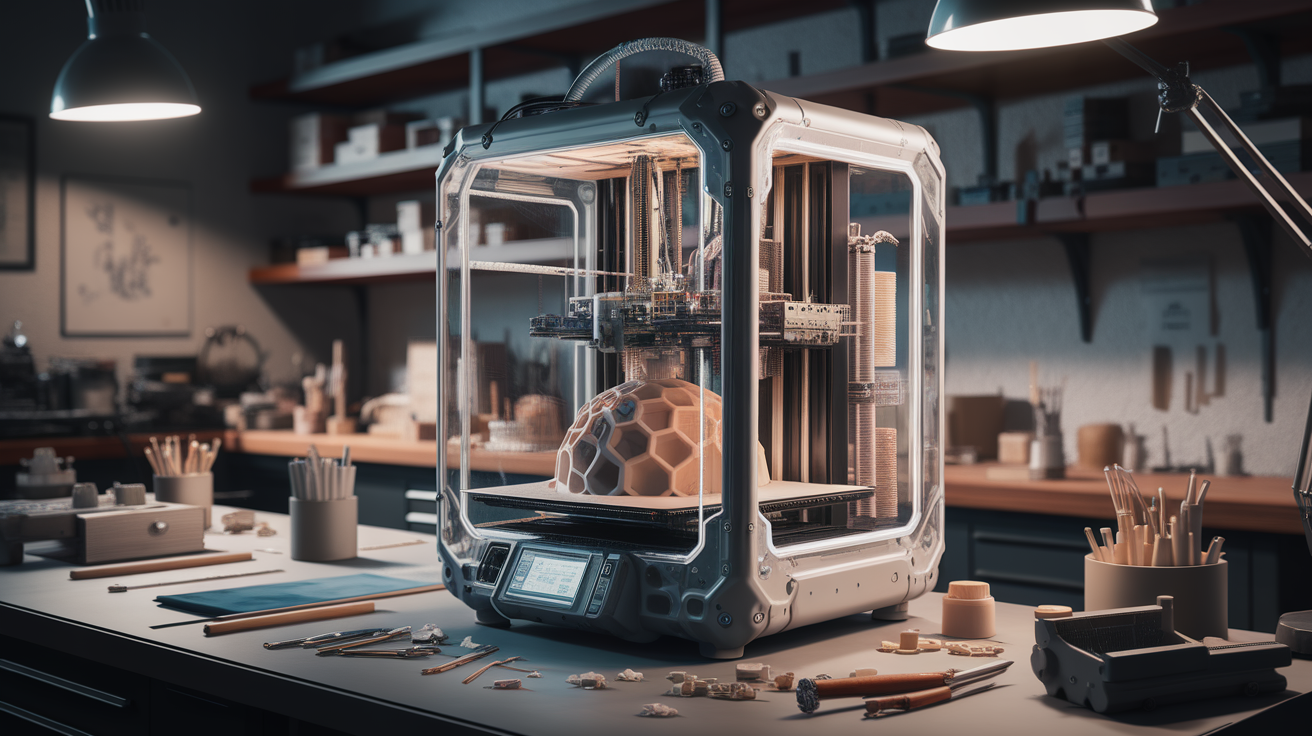
For display replicas where surface finish matters more than size, a mid-size printer in PLA or PETG works perfectly — the key is print tuning and post-processing, not the machine.
For tabletop miniatures, MSLA resin printers (Elegoo Mars 5, Anycubic Photon Mono M7) are essential. 8K displays now deliver sub-20-micron detail that FDM simply cannot match at this scale.
Best Filaments and Resins for Props
- PLA: Great for static display and cosplay props that will not see heat. Easy to sand, paint, and seal. A car dashboard on a hot day can deform PLA, so do not leave it in a vehicle.
- PLA+ / Tough PLA: Better impact resistance, same ease of printing. Good for handheld props.
- PETG: Tougher than PLA, better for props that get bumped. Slightly harder to sand.
- ABS: Acetone-smoothable for perfect finishes; requires an enclosure.
- ASA: UV-resistant, perfect for outdoor or garden display props.
- Resin: ABS-like, tough, or water-washable resins from Elegoo and Anycubic cover 90% of miniature needs.
Scale and Sectioning Large Props
Most iconic props are larger than any FDM build volume. The solution is sectioning — cutting the model into print-sized pieces in software, then gluing them back together. Best tools for this are PrusaSlicer’s built-in cut tool, Meshmixer (free), and Blender.
When sectioning, add alignment features: small pegs or dovetails that make reassembly perfectly aligned. Plan seam locations along natural panel lines or decorative details where they can be hidden during finishing.
Rule of thumb: orient sections for strongest layer adhesion in the direction of expected stress. For a sword, layers should run along the blade, not across it.
Layer Lines and Surface Finish
The biggest giveaway that a prop is 3D printed is visible layer lines. Eliminating them is a matter of sanding, priming, and painting. The workflow:
- Sand coarse: 120-220 grit to knock down major layer ridges
- Apply filler primer: Rustoleum 2x Filler Primer or Tamiya Surface Primer fill micro-gaps
- Sand fine: 400-600 grit once primed
- Second coat of primer: Thin, followed by 800-1000 grit wet sanding
- Base coat and details: Acrylic or enamel paints
- Clear coat: Matte or gloss to seal and protect
A well-finished PLA print can be indistinguishable from an injection-molded production prop at arm’s length.
Weathering and Detail
Film-accurate props rarely look new. Weathering techniques used in model kits apply directly to 3D-printed props:
- Washes: Thinned dark paint applied to recesses
- Dry brushing: Highlight raised details with a nearly dry brush
- Chipping: Sponge-applied paint for worn metal effects
- Pigments and pastels: Powder pigments for dust, rust, and grime
Electronics, Lighting, and Sound
Props with working lights or sound effects are increasingly common. Design cavities into your model for LEDs, batteries, buttons, and speakers. Arduino Nano, Adafruit Trinket, and ESP32-based controllers let you add reactive lighting and sound in a package smaller than a matchbox. Plan cable routing before you cut the model into printable pieces.
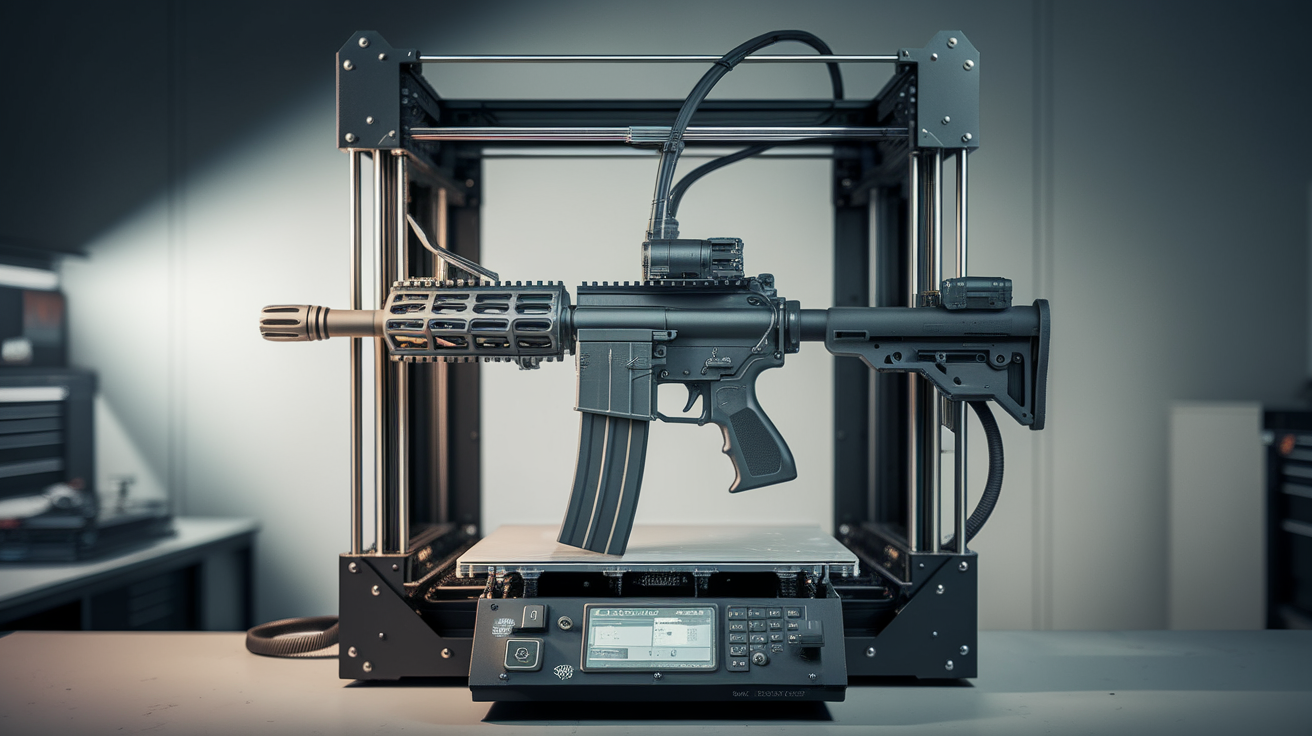
Safety and Legal Notes
Check local laws before building prop firearms or weapons — even clearly fictional blasters can create problems in public. Many events require props to be clearly fake (orange tips, no functional triggers). If you are selling props of copyrighted characters, understand that replicas may require licenses and cannot be marketed using studio trademarks.
Community and Files
Printables, MyMiniFactory, Cults3D, and Thingiverse host tens of thousands of free and paid prop files. Patreon creators produce high-quality sculpts of popular characters monthly, typically $5-15 per set. Always check licensing before printing for resale.
Start Small, Finish Well
The most common mistake new prop-makers make is starting with a massive, complex print and giving up during sanding. Start with a single small prop — a ray gun, a medallion, a charm — and take it through every step of the finishing pipeline. You will learn more from one fully completed small prop than from a half-built helmet gathering dust.
Final Thoughts
3D printing has turned prop-making from a specialist craft into an accessible hobby. With $300-500 of printer, $50 of filament and paint, and patient finishing technique, you can produce props that rival what studios paid thousands for a decade ago. Pick your category, plan your sections, and do not skip the priming step.