Do I Need to Grease My Lead Screw? 3D Printer Maintenance FAQ
The Short Answer: Yes, and Probably More Often Than You Think
A 3D printer lead screw needs proper lubrication to work correctly. It’s not optional and it’s not a nice-to-have—a dry lead screw causes Z-axis banding, layer inconsistency, stepper-motor skipping, accelerated wear on the brass nut, and in extreme cases can seize entirely. The good news is that lubricating a lead screw takes about three minutes, costs $8-15 for a lifetime supply of the right grease, and only needs to happen every 1-3 months for most hobbyist users. This guide answers every question about 3D printer lead screw maintenance: which lubricant to use, which to avoid, how often, how much, and what symptoms tell you it’s overdue.
What Exactly Is the Lead Screw and Why Does It Matter?
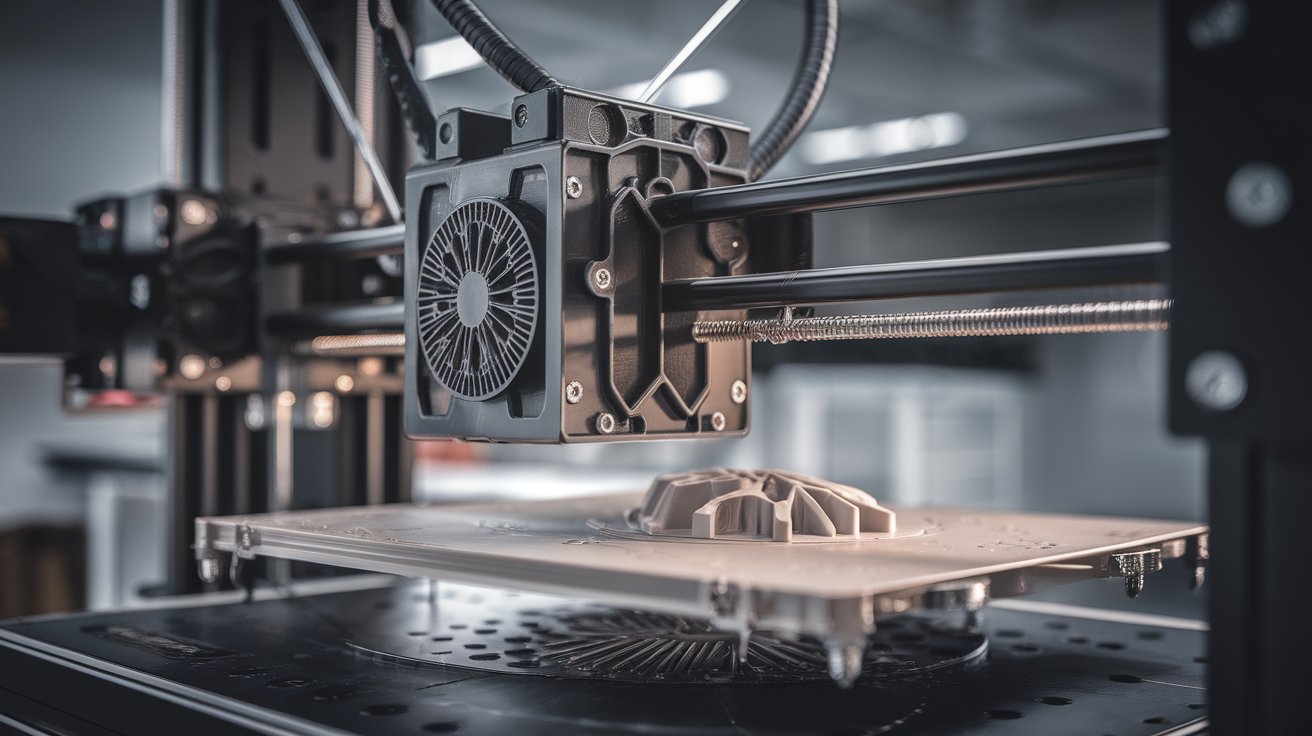
On most bed-slinger FDM printers (Ender 3, Creality K-series, many Neptunes), a vertical threaded rod drives the X-axis gantry up and down. It’s called a lead screw (more specifically an ACME trapezoidal thread) and it converts rotary motion from the Z-axis stepper motor into linear motion. The motor turns, the brass or POM nut attached to the gantry threads up or down, and your print grows layer by layer.
On printers with CoreXY kinematics (Bambu X1C, Voron), there are often four lead screws—one at each corner of the bed. On Prusa MK4S, two screws. The principle is the same regardless of count: metal-on-metal (or metal-on-plastic) sliding contact creates friction, and friction creates problems. Lubrication reduces that friction, smooths motion, and extends component life.
What Happens If You Don’t Grease Your Lead Screw?
Symptoms of a dry lead screw progress through stages:
- Stage 1: Noise. The screw starts making a high-pitched whine or chattering sound during Z moves. You can hear it during the print-start Z-axis homing and between layers.
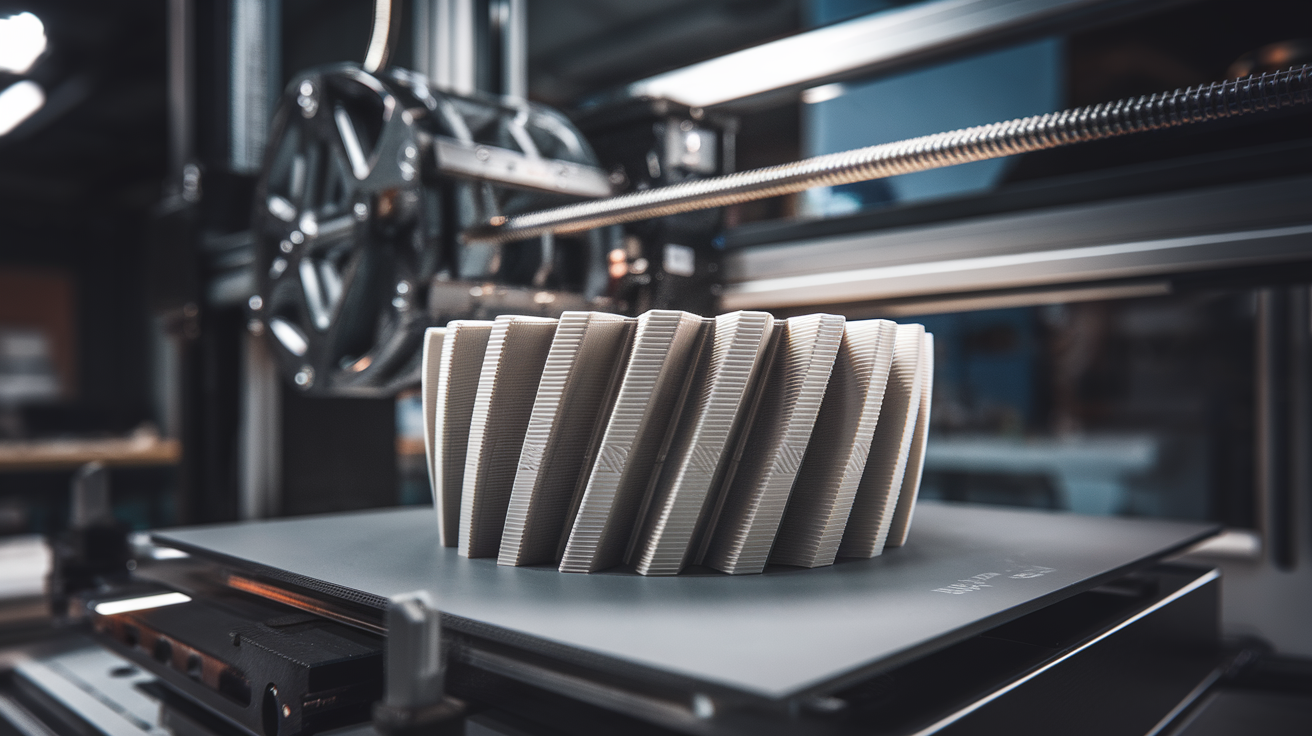
- Stage 2: Z-axis wobble. Visible layer lines on prints become uneven. Some layers are thicker than others because the screw is binding slightly at certain rotations.
- Stage 2b: Z-banding. Distinct horizontal bands appear in your prints at regular intervals matching the screw’s thread pitch (usually every 2-4mm). This is the classic “I need to grease my lead screw” symptom.
- Stage 3: Layer shifting on Z. The stepper motor skips steps because friction exceeds the motor’s torque. Your print gets stuck in a layer or misaligns.
- Stage 4: Wear and replacement. The brass nut wears prematurely, developing slop (backlash). You’ll need to replace the nut and possibly the screw.
Preventing Stage 3 or later saves you both print failures and parts. Regular lubrication is cheap insurance.
Which Lubricant Should You Use?
This is where most beginners make mistakes. The two acceptable lubricants for 3D printer lead screws are:
PTFE (Teflon) Grease — Our Top Choice
PTFE-based grease is specifically designed for plastic-on-metal interfaces. It won’t degrade POM or brass nuts, operates across a wide temperature range (-40°C to 200°C), and doesn’t attract dust like oil does. Products:
- Super Lube 21030 — The de facto standard in the 3D printing community. $10 for a tube that lasts years. PTFE-synthetic grease.
- Molykote PG-54 — Premium PTFE grease, used in industrial applications. $15-20 for a small tube. Excellent performance.
- CRC Syntheticum PTFE Grease — Good European alternative to Super Lube.
White Lithium Grease
A step down from PTFE but acceptable. White lithium grease is inexpensive, widely available, and works for most lead screws. It’s slightly tackier than PTFE (which can attract dust) and less temperature-stable but fine for room-temperature printing.
- WD-40 Specialist White Lithium Grease — Available at auto parts stores, $6-8/can (spray) or $4-6/tube (paste).
- Permatex Tube of White Lithium — Traditional paste, applies cleanly.
What NOT to Use on Your Lead Screw
- WD-40 (original penetrating spray): Not a lubricant. WD-40 displaces water and evaporates, leaving nothing behind. It’ll temporarily quiet your screw, then return dry within 24 hours.
- 3-in-One Oil or motor oil: Too thin. Oil runs off the screw, collects dust, and creates a gritty paste that grinds the brass nut. Never use liquid oil on a lead screw.
- Graphite powder: Works temporarily but creates conductive dust that can short electronics.
- Silicone grease (RTV, dielectric): Can swell POM plastic nuts over time.
- Petroleum jelly / Vaseline: Melts at elevated temperatures and attracts dust. Will gum up within a month.
- Bicycle chain lube: Often contains solvents that can attack plastic parts.
- Cooking oils: Will go rancid and gum up quickly.
How Often Should You Lubricate?
Typical intervals by usage pattern:
- Light user (1-5 prints/week): Every 3 months, or roughly every 200 print hours.
- Heavy hobbyist (daily prints): Every 6 weeks, or every 100 print hours.
- Print farm operator: Every 2-3 weeks, or every 50 print hours.
- New printer from box: Inspect immediately. Factory grease is often insufficient or inappropriate.
The easy rule: when you hear the screw making noise during Z moves, it’s overdue. You can also inspect visually—if the screw looks dry, dusty, or shows bare metal patches between thread tops, it needs attention.
How to Properly Lubricate a Lead Screw (Step by Step)
- Power off the printer and unplug it. Z-axis movement with your hands near the screw is a pinch hazard.
- Raise the gantry to a convenient working height by manually rotating the coupler or using the printer’s controls before powering down.
- Clean the screw with a paper towel or microfiber cloth. Wipe top to bottom, rotating the screw as you go if needed. Remove all old grease, dust, and debris.
- For heavy buildup, use a small amount of isopropyl alcohol on a cloth to dissolve old grease. Let it evaporate before applying new grease.
- Apply new grease. Squeeze a pea-sized amount (about 3mm × 20mm bead) onto the threads. Avoid over-application—excess grease flings off during operation and makes a mess on your build plate.
- Distribute the grease by manually raising and lowering the gantry through its full travel, or by powering on and running a Z-axis homing and a tall movement (move to Z=200 and back).
- Wipe off excess that has squeezed out of the nut. You want grease IN the threads, not on top of them.
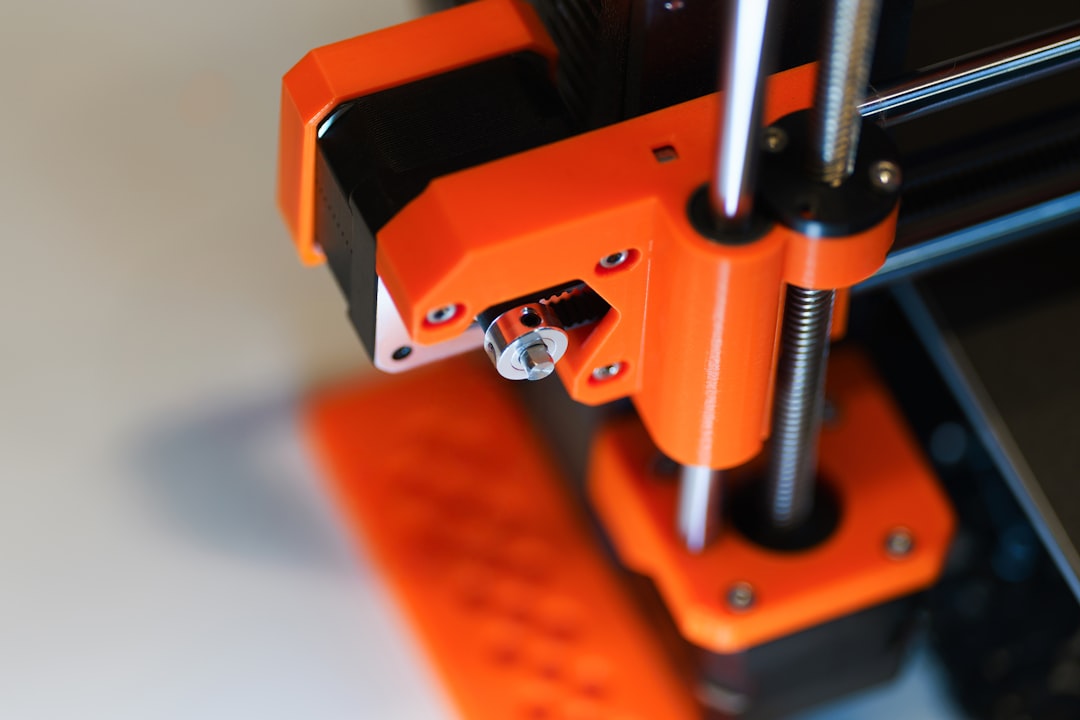
- Check the coupler between the stepper motor and lead screw. It should be centered and tight. Coupler slippage causes symptoms similar to dry lead screw.

Multi-Screw Setups and CoreXY Machines
If your printer has multiple Z-axis screws (Prusa MK4S, Bambu X1C, Voron, most CoreXY), lubricate all of them in one session. Same grease, same interval. Uneven lubrication can cause the bed or gantry to rack (tilt), producing uneven layers across the print bed.
Some CoreXY printers use linear rails for the Z-axis instead of lead screws. Linear rails use different lubrication—typically a thin lithium or synthetic oil, applied to the rail groove. Check your printer’s manual or the manufacturer’s maintenance guide. Don’t apply lead-screw grease to linear rails; it’s too thick and can bind the carriage.
Lead Screw vs. Belt-Driven Z-Axis
Some newer printers (Bambu A1, A1 Mini) use belt-driven Z-axes instead of lead screws. Belts don’t need grease—in fact, getting grease on a belt is bad news. If your printer is belt-driven Z-axis, you don’t have a lead screw to maintain. Check tension on the belt periodically (should deflect ~5mm with moderate finger pressure) and inspect for cracks or fraying.
When to Replace the Screw or Nut (Not Just Grease It)
Lubrication doesn’t fix mechanical wear. If you’ve been running for years or if the printer was abused before you got it, consider replacement when you see:
- Play in Z-direction: Push down on the gantry gently. If it moves more than 0.1mm, the brass nut has worn. Replace the nut (not the whole screw).
- Visible thread damage on the screw: Nicks, dents, or corrosion indicate the screw itself is compromised.
- Bent screw: Rotate the screw by hand with the motor disconnected. If the gantry oscillates vertically as you rotate, the screw is bent. Replace it.
- Nut backlash you can feel: Rotate the screw slightly back and forth. If the gantry doesn’t move for the first 5-10 degrees, the nut is worn.
Replacement nuts are $5-10; replacement lead screws $15-25. Both are user-serviceable in 15-30 minutes with basic tools.
Anti-Backlash Nuts: Are They Worth It?
An anti-backlash nut is a two-piece brass nut with a spring between them, pushing the two halves apart. As the nut wears, the spring compensates, eliminating play. Upgrade kits cost $15-25 and are popular on Ender 3 and Sovol machines. For heavy users or long prints where Z-precision matters, anti-backlash nuts do reduce banding artifacts. For casual hobbyists with a machine producing good prints, it’s optional.
Frequently Asked Questions
Can I use the same grease for my X and Y axis rods?
Yes, the same PTFE or lithium grease works on all smooth-rod linear bearings on your printer. Linear rails (MGN-style) prefer a thinner oil rather than thick grease—check the specific rail manufacturer’s recommendation.
Do I need to grease my printer if it’s brand new?
Inspect it first. Many printers ship with factory grease, but some (especially cheap clones) ship dry. If the screw is shiny and clean with no grease visible in the threads, add some before the first print.
How do I know which grease is PTFE-based?
The label will say “PTFE” or “Teflon” or “synthetic.” Super Lube 21030 is the easiest starting point.
Can I grease the motor shaft too?
No. The stepper motor shaft connects to the lead screw via a coupler and is dry by design. Grease on the coupler causes slippage.
My printer uses a trapezoidal screw with a POM nut. Is that different?
POM (Delrin/acetal) nuts are self-lubricating to a degree and require less grease than brass nuts. PTFE grease still works and extends nut life. Do NOT use silicone grease on POM—it can cause swelling over time.
What if the screw is making noise but looks well-greased?
Check the coupler (rigid or flexible) between motor and screw. A loose coupler mimics dry-screw symptoms. Also verify screw is straight (roll it on a flat surface disconnected from the printer).