3D Printing Cosplay Helmet Visors: Optical Clarity, Vacuum Forming and Fit (2026)
Why the Visor Is the Hardest Part of a 3D-Printed Helmet
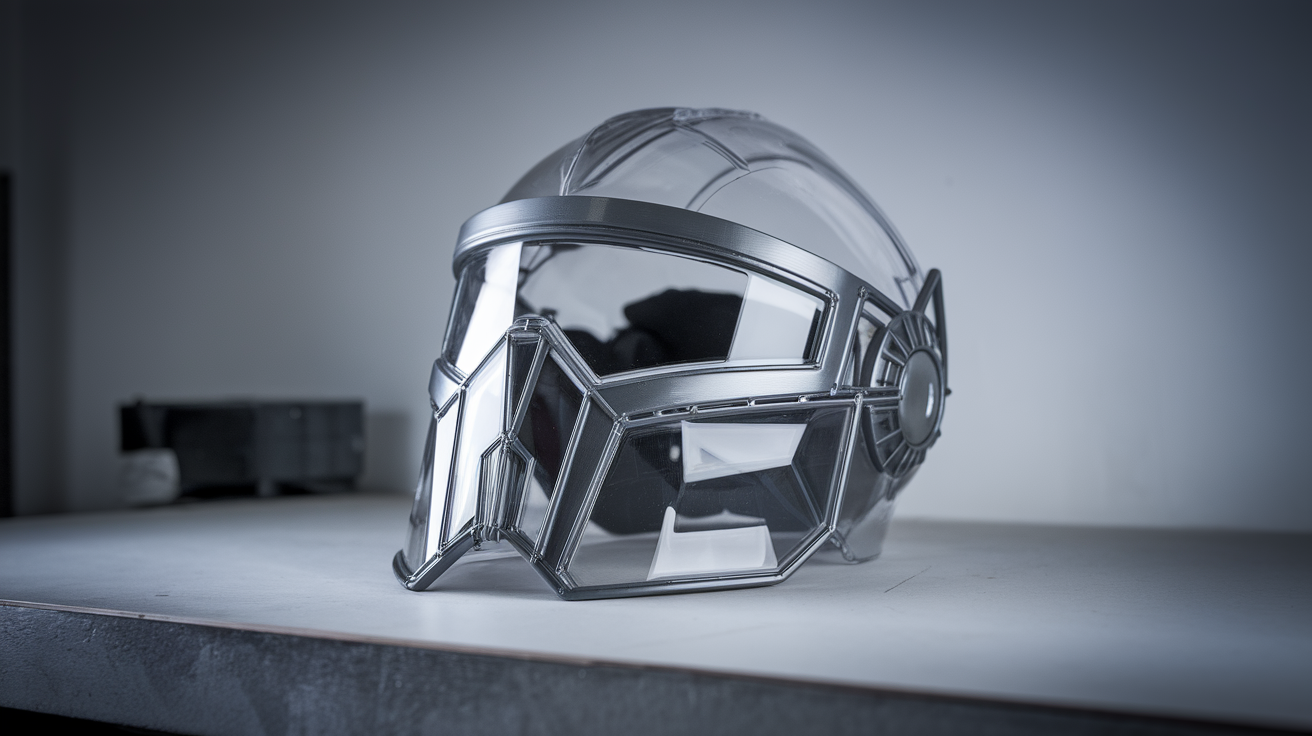
A printed cosplay helmet is mostly a shell problem. You can layer-line, sand, fill, and paint the dome until the seams disappear, and the result will read as a clean prop from across the convention floor. The visor refuses to play along. It has to be transparent enough to look like glass or polycarbonate from outside, opaque enough that the wearer’s eyes are not the focal point of every photo, and curved enough to match the helmet sweep without scratching the brow on long wear days. None of those properties come naturally from a fused-filament print, which is the source of nearly every “my Mandalorian helmet looks great but the visor ruins it” post on r/cosplay.
The 2026 reality is that there are three workable production paths for a wearable visor — vacuum forming, printed transparent panels, and laser-cut tinted acrylic — and they trade off on optical clarity, fit, and tool requirements in predictable ways. Picking the wrong one for your specific helmet geometry is the most common cause of an otherwise-good print ending up on a shelf instead of a head.
Vacuum Forming Over a 3D-Printed Buck
Vacuum forming is the path most accurate convention cosplayers default to for any visor that needs significant curvature. The workflow is straightforward in concept: print a positive “buck” in the visor’s exact shape, sand it smooth, place a sheet of clear PETG or polycarbonate over it, soften the sheet with heat, and pull air out underneath until the sheet conforms to the buck. The result is an optically clean transparent shell with the helmet’s exact curve and no layer lines, because the formed material was never printed at all.
The buck itself can be printed in PLA at 0.2 mm layer height. Surface finish matters less than people assume because the formed sheet contacts only the top of each layer ridge — a buck that has been sanded with 180 then 320 grit is already smoother than the final visor will appear from outside the helmet. The buck must be designed roughly 1.5 mm undersized on every wall in CAD to account for the formed sheet thickness, otherwise the visor will sit proud of the helmet opening.
The forming hardware does not have to be expensive. A toaster-oven-and-vacuum-cleaner home setup forms 12-inch PETG sheets reliably if the operator pre-heats both the sheet and the buck for an even pull. Commercial benchtop machines exist but are rarely justified for a single helmet build.
Printing the Visor Directly in Clear Material
Direct-printed clear visors became practical for the first time around 2024 with the spread of high-quality clear PETG and the wider availability of vase-mode-friendly slicers. The technique works only inside a narrow window. The visor must be modelled as a single-perimeter shell with zero infill, printed in spiral vase mode at 0.16 mm layer height or finer, with a layer-cooling fan limited to 30 percent so layer fusion remains intact, and oriented so the curved face points away from the bed.
The optical result is never as clean as a vacuum-formed sheet. Layer lines act as diffraction stripes that scatter incoming light, and most home prints show visible horizontal banding when held up to a window. That said, for helmets where the visor will be tinted dark or coated with a tint film, the diffraction effect actually helps — it scatters reflections that would otherwise highlight the wearer’s eyes in indoor lighting. For unbacked clear visors, this is a fallback method, not a primary one.
Optical Clarity: Materials, Surface Treatment, and Tints
Optical clarity is the single hardest spec to hit on a printed visor, and it lives almost entirely in the surface finish. PETG that has been vacuum formed over a sanded buck and left untouched looks foggy because the side of the sheet that was in contact with the buck inherits every 320-grit scratch. The fix is to flame-polish or chemically polish that side after forming. Flame polishing requires a small propane torch passed quickly across the surface — too slow and the sheet warps, too fast and nothing happens — and is the cleaner method for PETG. Polycarbonate sheets respond better to a methylene chloride wipe, but the chemical is regulated in several regions, and the process requires a fume hood.
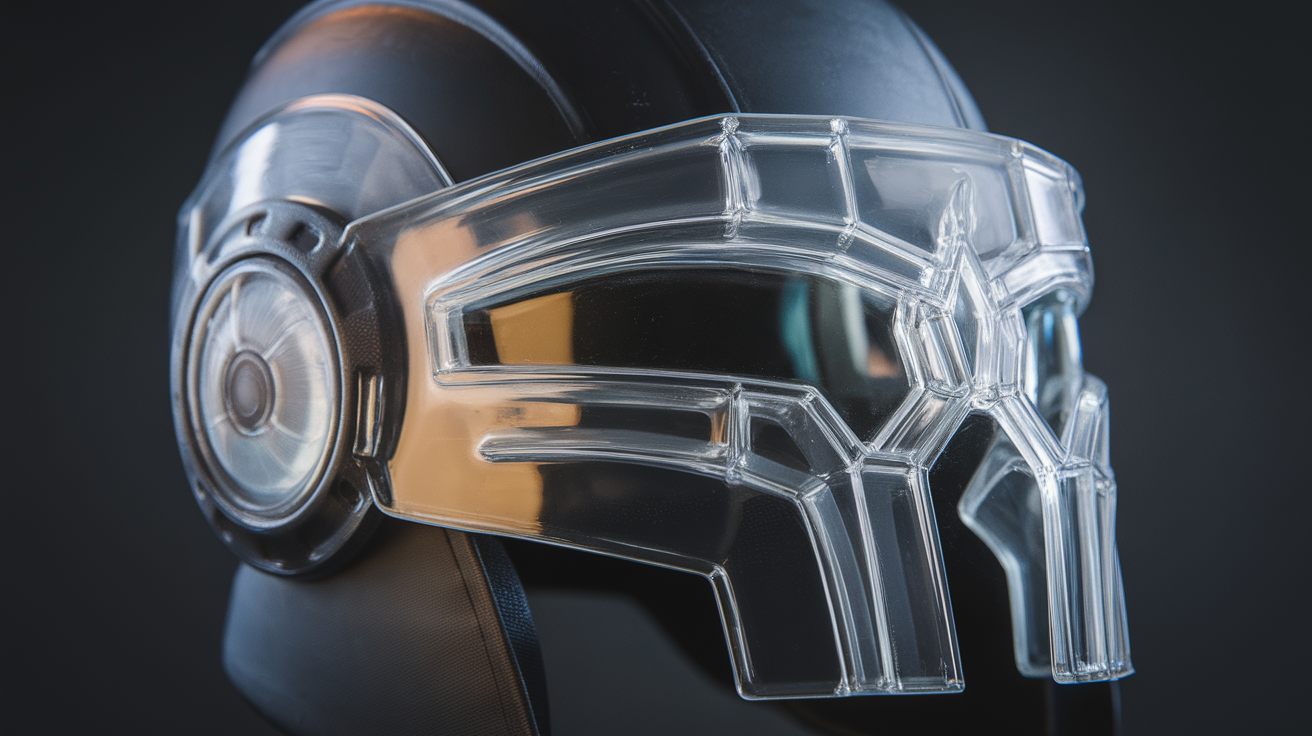
If full optical clarity is not the goal, a smoked or mirrored tint film applied to the inner face of the formed sheet hides minor surface defects and improves the wearer’s comfort by reducing inside reflections. Convention cosplayers tend to underestimate how much heat builds up inside an unvented helmet, and the side benefit of a mirrored film is that it bounces some of the radiated heat away from the face.
Helmet Sweep and Visor Fit
Even an optically perfect visor fails if it does not sit cleanly in the helmet opening. The most common failure mode is a visor that is too flat for the helmet sweep, which forces the wearer to mash it into place and leaves visible gaps at the corners. The fix happens at the modelling stage: the visor opening on the helmet should be a 3D scan or surface offset of the buck, not a rectangular hole cut into the dome.
For armoured-style helmets like Mandalorian or Iron Man designs, the visor sits below an upper brow ridge. The brow ridge needs a small recess on its inner face — typically 0.6 to 1.2 mm — for the visor edge to tuck into. This recess can be printed directly if the helmet shell is split horizontally at the brow line, which is the same split most builders already use for sanding access. A neoprene or EVA-foam gasket along the recess softens the contact and damps any sound the visor makes against the print at convention walking speed.
Field-Tested Settings: PETG Sheet Forming
For a 12-inch buck and 1.0 mm clear PETG sheet, the working oven settings on a standard toaster oven are 130-150 degrees Celsius for 90 to 120 seconds with the sheet held at the centre of the oven, not against the heating element. The sheet should sag visibly but not droop more than 30 mm before the pull begins. The vacuum source should be running before the heated sheet is placed on the buck — placing the sheet first and then switching on suction leaves the operator fumbling while the sheet stiffens. A simple frame made from MDF with a 6 mm hole array drilled in a grid pattern is sufficient for vacuum distribution.
1.0 mm sheet stock is the sweet spot. Thinner sheets pull cleaner but flex too much in the helmet opening; thicker stock holds shape but takes longer to heat and tends to “fish-eye” near small radii.
What to Print First If You Have Never Built a Helmet
Builders who have never combined a 3D-printed helmet with a formed visor underestimate the iteration cost. Plan on two test bucks before the production buck — one to verify the helmet opening fit, one to dial in oven timing. Print the bucks in cheap recycled PLA and treat them as consumables. The actual helmet shell can be printed once you have a known-good visor process; reversing that order is how builders end up with a finished helmet they cannot find a matching visor for.
Wearer Comfort: Fogging, Heat, and Sightline
Three comfort issues separate a visor that can be worn for a fifteen-minute photo session from one that can survive a full convention day. Fogging is the first: warm exhaled breath rising inside an enclosed helmet condenses on the cool inner face of the visor and reduces visibility to zero within ten minutes of wearing. The standard fix is a 1-2 mm gap between the visor edge and the helmet shell at the chin, hidden by the wearer’s chin strap or jaw line, that lets exhaled air escape downward rather than rising. Anti-fog spray applied to the inner visor surface helps but is not a substitute for the airflow path.
Heat is the second. An enclosed printed helmet with no ventilation pulls into the high 30s Celsius inside within twenty minutes under convention lighting. A small 40 mm computer fan mounted inside the helmet crown, powered by a 9-volt battery in the neck, moves enough air to keep the temperature within a few degrees of ambient and is invisible from outside. The fan needs to pull air from a vent above the brow ridge and exhaust it through small holes at the helmet base, otherwise it just recirculates hot air inside the dome.
Sightline is the third and most often missed. A visor that is correctly fitted to the helmet but positioned to follow the helmet’s external sweep usually puts the wearer’s eyes near the bottom edge of the visor area. Convention floors are full of low obstacles — tripod legs, children, bags — that disappear from the sightline of a wearer staring through the upper half of their visor. The fix is to position the visor cutout based on the wearer’s actual eye height with the helmet on, not on the helmet’s natural geometry. This usually means moving the cutout down by 15 to 20 mm relative to a “look right from outside” placement.