Loose Belt on 3D Printer – 7 Symptoms and How to Fix Them
Your 3D printer relies on timing belts to translate motor rotation into precise linear motion. When those belts get loose, the symptoms can be subtle at first — slightly rounded corners, faint ghosting on walls, or minor dimensional inaccuracies. But as the problem worsens, you’ll start seeing layer shifts, ringing artifacts, and prints that look like they went through an earthquake.
Knowing how to identify loose belt symptoms early saves you from failed prints and wasted filament. Here’s what to look for and how to fix it.
How Timing Belts Work in 3D Printers
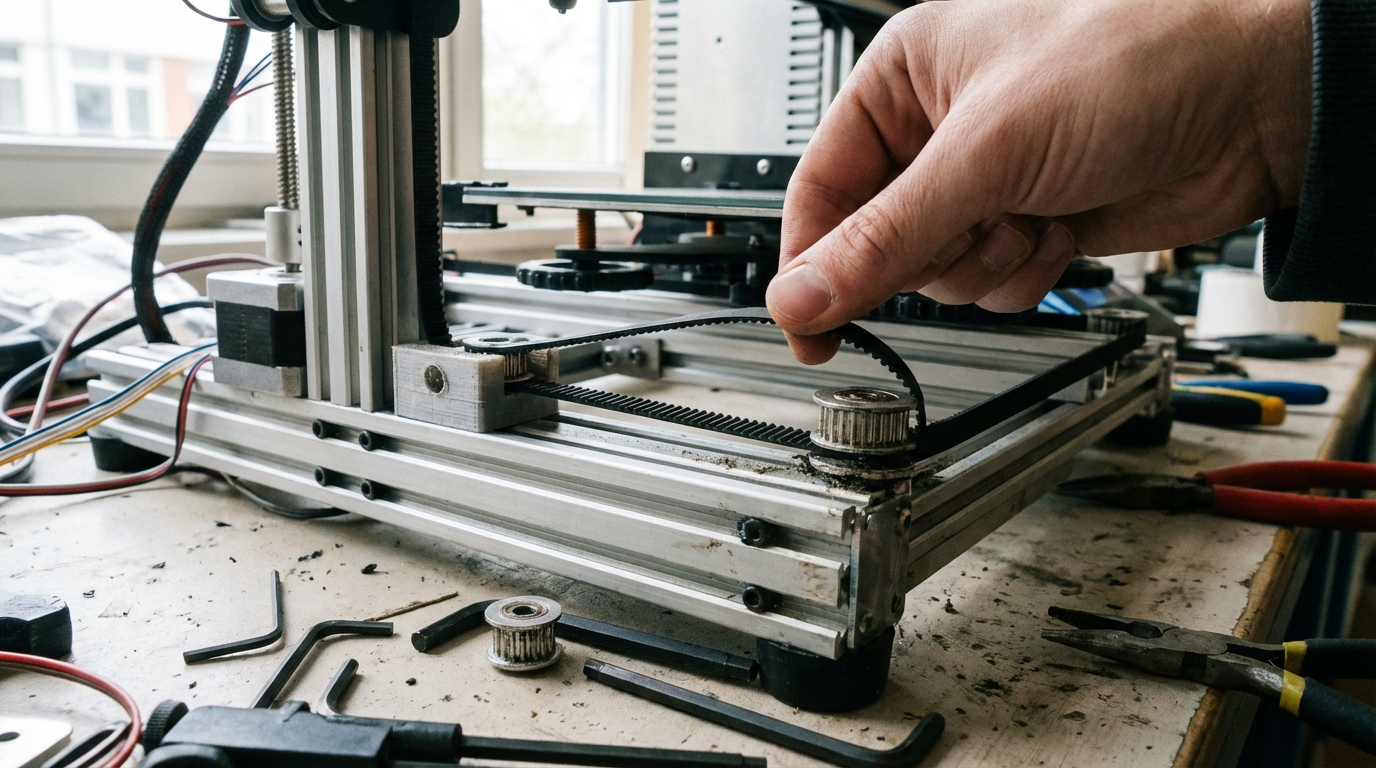
Most FDM printers use GT2 timing belts — rubber belts with small teeth spaced 2mm apart. These belts wrap around toothed pulleys connected to stepper motors. When the motor turns, the teeth on the belt mesh with the teeth on the pulley, creating positive engagement that transfers rotation to linear motion.
The system works because of this tooth-to-tooth engagement. But for the teeth to mesh properly, the belt needs adequate tension. A loose belt allows the teeth to skip or mesh partially, which means the motor turns but the carriage doesn’t move the expected distance. Since most 3D printers use open-loop stepper motors with no position feedback, the printer doesn’t know the carriage didn’t reach the right spot — it just keeps going as if everything is fine.
Symptom 1: Ringing and Ghosting
Ringing (also called ghosting or echoing) appears as a wavy pattern on flat surfaces, usually radiating outward from sharp corners or edges. It looks like the ghost of a feature is repeated several times across the surface.
On a properly tensioned printer, the printhead changes direction crisply at corners. With a loose belt, the change of direction causes the belt to flex slightly, allowing the printhead to oscillate back and forth before settling. Each oscillation deposits a tiny ridge of plastic, creating the ripple pattern.
How to tell if ringing is from belt tension vs. other causes:
- Ringing only on X-axis features (vertical lines parallel to Y): X belt is loose
- Ringing only on Y-axis features (vertical lines parallel to X): Y belt is loose
- Ringing on both axes equally: Could be belts, but also check if speed/acceleration is too high
Print a ringing test cube (a 40mm cube with flat walls works well) and examine each face. The direction of the ripples tells you which axis is the problem.
Symptom 2: Rounded Corners
Sharp corners in your 3D model should produce sharp corners in your print. If your corners come out rounded even when your model has 90-degree angles, a loose belt could be the cause.
When the printhead needs to make a sharp turn, the motors must decelerate on one axis and accelerate on the other. With a loose belt, the deceleration phase allows the belt to go slack momentarily, and the printhead overshoots the corner before the belt re-engages. The result is a rounded path instead of a crisp angle.
To confirm this is a belt issue rather than a slicer setting (like junction deviation or corner velocity), print a calibration cube and measure the corners. If one axis shows rounded corners and the other shows sharp ones, the rounded-corner axis likely has a loose belt.
Symptom 3: Dimensional Inaccuracy on One Axis
If your prints consistently measure slightly different from the intended dimensions, and the error is larger on one axis than the other, belt tension could be the cause. A loose belt doesn’t transfer motion as precisely — the teeth mesh loosely, allowing slight positional errors that accumulate over the length of a print.
Print a calibration cube (20mm × 20mm × 20mm) and measure each axis with calipers. If X measures 19.8mm but Y measures 20.05mm, for example, the X belt might be loose. Note that small deviations (±0.1mm) are normal for FDM printing, but larger deviations or significant differences between axes warrant investigation.
Important: dimensional inaccuracy can also come from incorrect steps/mm calibration. Before adjusting belt tension for dimensional issues, make sure your steps/mm are calibrated correctly. The default values for GT2 belts with standard pulleys (usually 80 steps/mm for 16-tooth pulleys with 1/16 microstepping) are mathematically determined and shouldn’t need adjustment if your hardware is standard.
Symptom 4: Layer Shifting
When belt tension gets bad enough, you’ll see outright layer shifts — sudden horizontal offsets that make the print look like it was cut and reassembled slightly off-center. This is the most severe belt tension symptom and usually means the belt is significantly loose or a pulley set screw has come undone.
Layer shifts from loose belts tend to happen during fast moves, especially infill where the printhead changes direction rapidly. The loose belt allows the teeth to skip over the pulley during aggressive acceleration, losing one or more steps worth of position.
If you’re seeing layer shifts only during high-speed infill but not during slower perimeter moves, belt tension is a prime suspect. See our detailed guide on fixing layer shifts for a complete troubleshooting approach.
Symptom 5: Clicking or Snapping Sounds
A properly tensioned belt operates silently (aside from stepper motor noise). If you hear a rhythmic clicking, tapping, or snapping sound during fast moves, it could be the belt teeth skipping on the pulley. This is the audible version of the missed steps that cause layer shifts.
Don’t confuse this with extruder clicking, which sounds different and comes from a different location. Belt skipping tends to be a lower-pitched “tick” and correlates with rapid direction changes rather than constant extrusion.
Listen carefully during a print — move your ear close to the X and Y motor areas. If you can identify which side the noise comes from, you’ve found your loose belt.
Symptom 6: Inconsistent Infill Patterns
Infill patterns require the printhead to make rapid back-and-forth movements over short distances. With a loose belt, these movements lose precision, creating infill that looks inconsistent — some lines are spaced evenly, others overlap or have gaps.
This symptom is easy to miss because most people don’t closely inspect infill. But if you slice a failed print in half (or print a test piece with visible infill), you may notice the pattern isn’t as uniform as it should be. Uneven infill can also reduce the structural integrity of the part, even if the exterior walls look fine.
Symptom 7: Backlash (Play in the Axis)
With the printer powered off, try pushing the printhead gently in the X direction, then in the Y direction (by moving the bed). There should be very little free play — the printhead should feel firmly connected to the belt and resist movement.
If you can move the printhead several millimeters before feeling the belt engage, the belt is too loose. This free play is called backlash, and it directly translates to positional inaccuracy during printing. Every direction change has to take up the slack before the printhead actually moves.
This is the simplest diagnostic test and should be your first check if you suspect belt issues.

How to Properly Tension Your Belts
Now that you’ve identified the problem, here’s how to fix it.
The Pluck Test
The easiest way to check belt tension is the pluck test. Pluck the belt like a guitar string and listen to the pitch. While there’s no universal “correct” frequency, you can compare your X and Y belts to each other — they should sound similar. A belt that sounds noticeably lower-pitched than the other is too loose.
Some users aim for approximately 40-60 Hz when plucked, though the exact frequency depends on belt length. Mobile apps like “Gates Carbon Drive” or generic guitar tuner apps can measure the frequency if you want to be precise.
The Deflection Test
Press the belt at its midpoint (the longest unsupported span) with moderate finger pressure. The belt should deflect about 1-2mm. If it moves more than 3mm with light pressure, it’s too loose. If it barely moves at all, it might be too tight.
Tensioning Methods by Printer
Ender 3 / Ender 3 V2: The stock tensioners are basic but functional. Loosen the two bolts holding the tensioner bracket, pull the bracket to tighten the belt, and re-tighten the bolts. Many users upgrade to printed or aluminum tensioners that provide finer adjustment.
Prusa MK3S/MK4: Uses U-bolts to tension the X belt and a printed tensioner for the Y belt. Prusa’s manual provides specific guidance on proper tension. The firmware also has a belt tension test that reports a numerical value — aim for 240-280 for both axes.
Bambu Lab X1/P1: Belt tension is set at the factory and typically doesn’t need adjustment during normal use. If you do need to adjust, the process involves loosening the motor mount and repositioning. Check Bambu’s wiki for model-specific instructions.
Voron / CoreXY: CoreXY belt routing is more complex, with two belts sharing responsibility for both axes. Tension must be equal between both belts. Unequal tension causes the toolhead to track at a slight angle, creating dimensional errors. Many Voron users use a frequency measurement approach to match the two belts precisely.
Too Tight Is Also a Problem
While this article focuses on loose belts, it’s worth noting that over-tensioned belts cause their own set of problems:
- Increased motor load: The stepper motors have to work harder against the tension, generating more heat and potentially missing steps in the opposite direction.
- Premature bearing wear: Excess tension loads the bearings and pulleys beyond their design spec, reducing their lifespan.
- Belt stretching: Over time, excessive tension permanently stretches the belt, making it harder to maintain proper tension.
- Resonance: Very tight belts can introduce high-frequency vibrations that show up as fine surface artifacts.
The goal is firm tension — not guitar-string tight. The belt should resist deflection but still have a tiny bit of give.
When to Replace Your Belts
GT2 belts do wear out over time. Signs that your belt needs replacement rather than just re-tensioning:
- Visible tooth wear — the teeth look rounded or flattened compared to a new belt
- Cracking or fraying along the edges
- The belt won’t hold tension — it stretches back to loose within a few prints
- You can see individual fiber strands pulling away from the belt body
- The rubber has hardened and lost its flexibility
Quality GT2 belts are inexpensive — typically $5–10 for a meter of belt with fiberglass reinforcement. Gates brand is considered the gold standard, but generic fiberglass-reinforced belts work well for most printers. Avoid the cheapest options with steel wire reinforcement, as they tend to be stiffer and harder to tension properly.
When replacing a belt, take the opportunity to clean the pulleys, check the set screws, and inspect the idler bearings. It’s preventive maintenance that takes a few extra minutes but can prevent future headaches.
Maintenance Schedule
To keep your belts in good shape and prevent tension-related issues:
- Monthly: Quick pluck test and visual inspection. Re-tension if needed.
- Every 3 months: Check pulley set screws, clean belt teeth, inspect for wear.
- Every 6-12 months: Consider replacement if you print frequently (several hours per day).
- After any maintenance: Always re-check belt tension. Moving the gantry or removing the bed often loosens belts.
Final Thoughts
Loose belts are one of the most common and most fixable problems in 3D printing. The symptoms can be subtle — a slight rounding of corners, barely visible ghosting on walls — or dramatic, like full layer shifts mid-print. Either way, the fix is usually just a few minutes of tensioning.
Make belt checks part of your regular maintenance routine, and you’ll catch problems before they ruin prints. It’s one of those small habits that separates frustrating printing experiences from consistently good ones.