Under Extrusion: Every Cause and How to Fix It
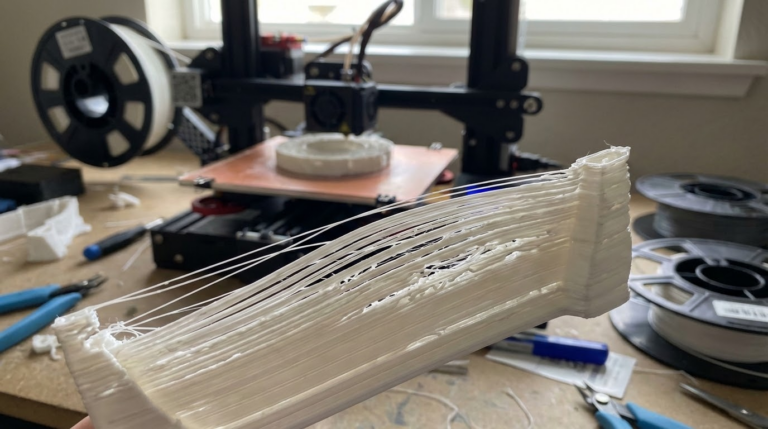
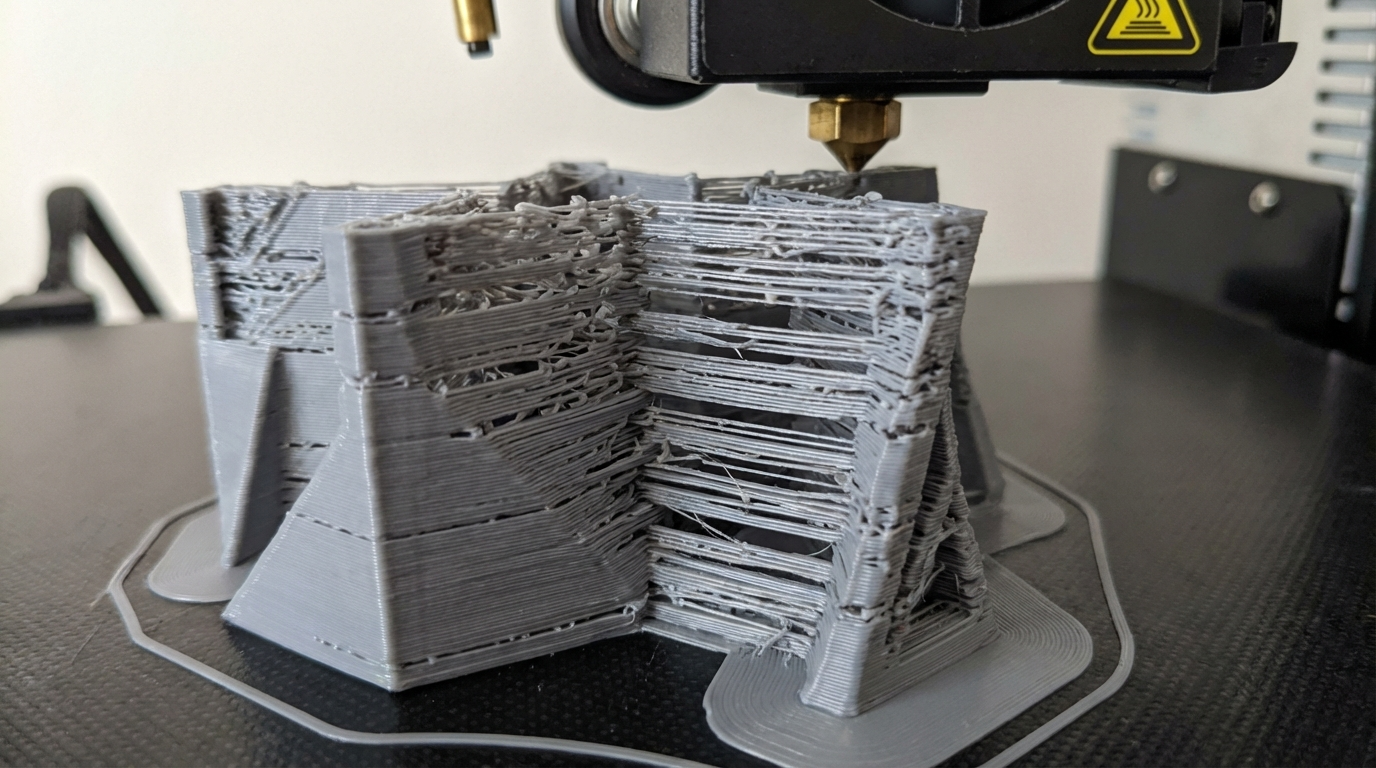
Under-extrusion is one of the most frustrating problems in 3D printing because it can show up in so many different ways — gaps between lines, thin walls, weak infill, missing layers, or surfaces that look like they’re barely holding together. At its core, under-extrusion means your printer isn’t pushing out enough filament. But figuring out why requires some detective work.
This guide covers every common cause of under-extrusion and the specific steps to fix each one. Whether you’re dealing with a sudden change in print quality or a chronic issue you can’t seem to solve, the answer is almost certainly in here.
Symptoms of Under-Extrusion
Before diving into causes, let’s make sure you’re actually dealing with under-extrusion and not something else. Here are the telltale signs:
- Gaps between perimeter lines — you can see light through the walls of your print
- Thin, wispy top layers — the top surface looks sparse with visible gaps
- Weak or missing infill — infill lines are thin, broken, or not connecting properly
- Poor layer adhesion — layers separate easily, the print is fragile
- Clicking from the extruder — the stepper motor skips because it can’t push filament through
- Grinding marks on filament — the drive gear chews into the filament without advancing it
- Inconsistent extrusion — some areas look fine while others are clearly under-extruded
If you’re seeing one or more of these symptoms, you’ve got an under-extrusion problem. Let’s find the cause.
Cause 1: Incorrect Flow Rate / Extrusion Multiplier
The simplest cause is also the most overlooked: your slicer might just not be telling the printer to extrude enough material.
How to Check and Fix
Print a single-wall (single-perimeter, 0% infill) calibration cube. Set your wall count to 1 in the slicer. After printing, measure the wall thickness with digital calipers at several points. If your extrusion width is set to 0.4mm and the walls consistently measure less (say 0.36-0.38mm), increase your flow rate.
The formula: New flow = Current flow × (Target width / Measured width)
Example: If flow is at 100% and walls measure 0.38mm when they should be 0.4mm → New flow = 100 × (0.4 / 0.38) = 105.3%
In Cura, this is the “Flow” setting. In PrusaSlicer, it’s “Extrusion multiplier.” Adjust in 1-2% increments and retest.
Cause 2: Incorrect Filament Diameter
Most desktop printers use 1.75mm filament, but the actual diameter varies by brand and even by spool. If your slicer thinks it’s pushing 1.75mm filament but the actual filament is 1.70mm, it will under-extrude by about 6% — which is very noticeable.
How to Check and Fix
Measure your filament diameter with calipers at 5-6 points along a meter of filament, rotating 90 degrees at each point (filament isn’t always perfectly round). Average the measurements and enter that value in your slicer’s filament settings. Most slicers default to 1.75mm, but real filament often measures 1.72-1.74mm. That difference matters.
Cheap filament tends to have more diameter variation, which can cause intermittent under-extrusion. Quality brands like Hatchbox, eSun, and Prusament typically hold ±0.02mm tolerance.
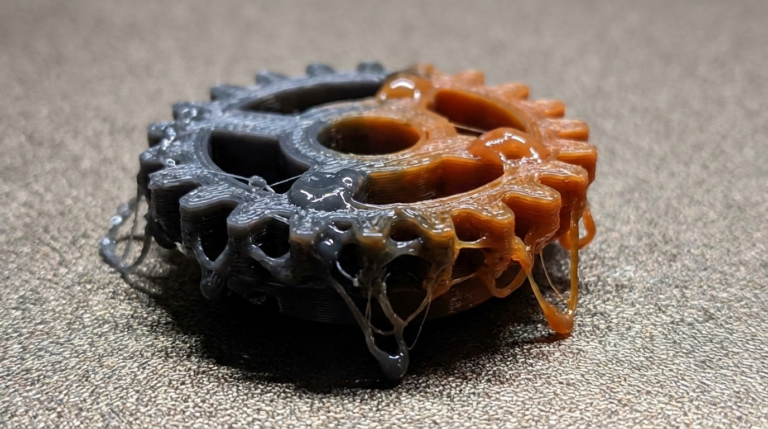
Cause 3: Partial Nozzle Clog
A partial clog is sneaky because your printer still extrudes — just not enough. Debris, carbonized filament, or contaminants partially block the nozzle opening, reducing flow without stopping it completely.
Signs of a Partial Clog
- Extrusion is inconsistent — sometimes normal, sometimes thin
- Extruder motor clicking or skipping occasionally
- Problem appeared gradually or after changing filament types
- Filament curls to one side when extruded freely into air (indicates partial blockage on one side of the nozzle)
How to Fix
Cold pull (atomic pull): This is the gold standard for clearing partial clogs. Heat the nozzle to printing temperature, manually push filament through until it flows, then let the nozzle cool to about 90°C (for PLA) or 160°C (for PETG/nylon). Once cool, yank the filament out firmly. The solidified filament conforms to the shape of the inside of the nozzle and pulls debris out with it. Repeat 3-5 times until the pulled filament tip comes out clean with a perfect nozzle-shaped point.
Cleaning needle: Use the acupuncture needle that came with your printer (or buy a 0.3-0.4mm needle). With the nozzle at printing temperature, push the needle up through the nozzle opening several times to break up any debris. This is a quick fix but less thorough than a cold pull.
Replace the nozzle: Brass nozzles cost under $1 each. If cold pulls don’t fix the problem, just replace it. Keep a few spares on hand — it’s not worth spending 30 minutes trying to save a $0.50 nozzle.
Cause 4: Extruder Problems
Tension Issues
The extruder’s drive gear needs proper tension to grip the filament. Too loose and it slips; too tight and it deforms the filament (creating a flat spot that can jam in the PTFE tube or hotend). Most extruders have a tension adjustment screw or spring. Set it so the gear grips firmly without crushing — you should see light gear marks on the filament but not deep grooves.
Worn Drive Gear
Over time, the teeth on the drive gear wear down, especially with abrasive filaments like carbon fiber or glow-in-the-dark PLA. A worn gear can’t grip filament properly, leading to slipping and under-extrusion. Inspect the teeth — if they look smooth or clogged with filament dust, clean them with a wire brush. If they’re visibly worn, replace the gear.
Cracked Extruder Arm
If you have a plastic extruder (common on budget printers like the Ender 3), check for cracks. The arm that presses the filament against the drive gear is under constant spring tension and can crack over time. A cracked arm loses pressure and the filament slips. Upgrading to an aluminum extruder ($8-15 on Amazon) eliminates this problem permanently and is one of the best bang-for-buck upgrades for any budget printer.
Stepper Motor Issues
If the extruder motor is overheating, it loses torque and can’t push filament effectively. Feel the motor — if it’s too hot to touch comfortably, it might be overheating. This can be caused by the stepper driver’s current being set too high (or too low). If you have a mainboard with adjustable stepper drivers (like TMC2208/2209), check the current setting. For a typical extruder motor, 600-800mA is appropriate.
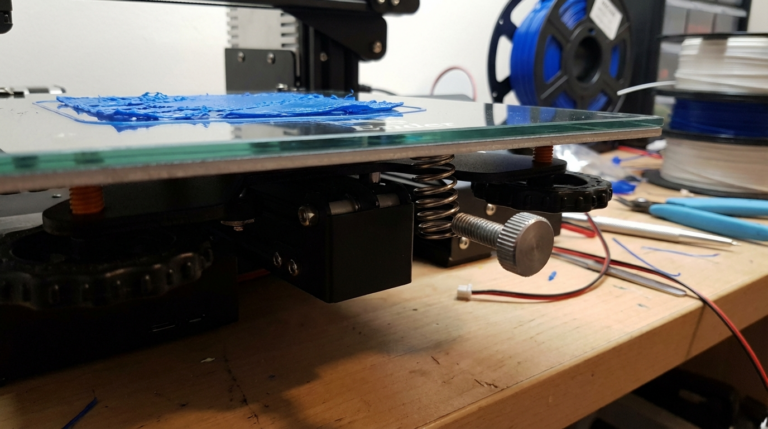
Cause 5: Bowden Tube Problems
If you have a Bowden printer (where the extruder is separated from the hotend), the PTFE tube is a common source of under-extrusion.
Gap at the Nozzle
The most critical issue: if the PTFE tube doesn’t sit flush against the nozzle inside the hotend, a small gap forms where filament accumulates and partially carbonizes. This creates a restriction that causes gradually worsening under-extrusion. The fix: remove the nozzle and the PTFE tube, clean out any buildup, cut the tube end square, and reassemble making sure the tube is pushed firmly against the nozzle. Creality’s original hotend design is notorious for this — consider upgrading to a Capricorn PTFE tube and pneumatic couplers, or better yet, a bimetal heatbreak that eliminates the PTFE-to-nozzle junction entirely.
Worn or Low-Quality Tube
Cheap PTFE tubes have rougher inner surfaces that create more friction. Over time, any PTFE tube wears, and the inner diameter increases slightly, allowing filament to flex and buckle inside the tube instead of being pushed straight through. Capricorn premium PTFE tubing has a tighter inner diameter (1.9mm vs the standard 2.0mm), which reduces play and improves extrusion consistency.
Pneumatic Coupler Failure
The push-fit connectors (pneumatic couplers) that hold the PTFE tube can wear out, allowing the tube to move slightly during retractions. This creates an effective gap that gets worse over time. Test by gently pulling the tube while printing — it shouldn’t move at all. Replace worn couplers or add small clips that prevent the tube from sliding out.
Cause 6: Temperature Too Low
If the nozzle isn’t hot enough, the filament doesn’t melt fully and can’t flow freely through the nozzle. This is basically a self-inflicted partial clog.
How to Check and Fix
Print a temperature tower — a test print that changes temperature every few layers. Look for the temperature range where extrusion is smooth and consistent. If you’ve been printing PLA at 190°C and seeing under-extrusion, try 200-210°C. Temperature requirements vary significantly between brands and even colors of the same brand.
Also verify your thermistor is reading correctly. A thermistor that reads 10°C high means your actual nozzle temperature is 10°C lower than displayed. You can verify with a thermocouple or by checking if filament melts at the expected temperature.
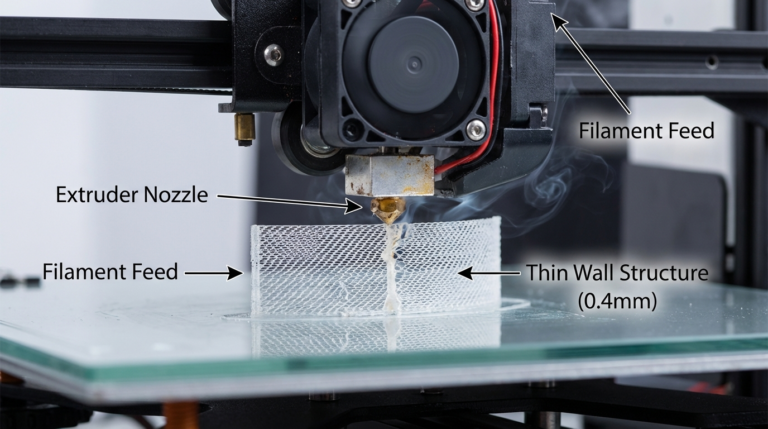
Cause 7: Printing Too Fast
Every hotend has a maximum volumetric flow rate — the maximum amount of plastic it can melt and push through per second. If your speed settings exceed this limit, the extruder motor literally can’t push filament fast enough through the melt zone.
Understanding Volumetric Flow
Volumetric flow (mm³/s) = Layer height × Line width × Print speed
Example: 0.2mm height × 0.4mm width × 100mm/s = 8 mm³/s
A typical all-metal hotend maxes out around 10-15 mm³/s for PLA. A stock Ender 3 hotend with PTFE liner caps around 8-10 mm³/s. High-flow hotends like the Revo or Rapido can do 25+ mm³/s.
If your calculated flow exceeds your hotend’s capability, you’ll get under-extrusion at high speeds even with everything else perfectly calibrated. The fix: reduce speed, or upgrade to a high-flow hotend.
Cause 8: Filament Path Friction
Any friction in the filament path — from spool to nozzle — can cause under-extrusion by making the extruder work harder than it should.
- Spool holder: Make sure the spool rotates freely. A tight or stiff spool holder adds drag that the extruder must overcome.
- Filament guide: If your filament makes a sharp bend between the spool and extruder, it creates friction. Use a filament guide to ensure a gentle, consistent curve.
- Tangles: If the filament crosses itself on the spool (a manufacturing defect), it can create sudden resistance that causes intermittent under-extrusion. When loading a new spool, hold the end firmly — if you let it go and the filament springs free, it might tangle.
Cause 9: Wet Filament
Moisture-saturated filament causes a range of problems, including under-extrusion. As the filament enters the hot end, water vaporizes and creates bubbles in the molten plastic. This introduces air into the extrusion path, reducing the actual amount of plastic being deposited.
Signs: popping/crackling sounds during printing, rough surface texture, stringing, and inconsistent extrusion width. The fix: dry your filament. Use a filament dryer or oven at the appropriate temperature for your material (50°C for PLA, 65°C for PETG, 80°C for ABS/nylon) for 4-8 hours.
Systematic Troubleshooting Process
When you encounter under-extrusion, work through this diagnostic process:
- Start with the basics: Check filament diameter, verify slicer flow rate, make sure you’ve selected the right filament profile
- Listen and watch: Is the extruder clicking? Is the filament being ground? These point to mechanical issues
- Do a manual extrusion test: Heat the nozzle and command a 100mm extrusion at slow speed (2mm/s). Does the filament come out in a clean, consistent stream? If it curls, sputters, or comes out thin, you have a hotend or nozzle issue
- Measure what comes out: Mark 120mm on the filament above the extruder. Command a 100mm extrusion. Measure what’s left — if 25mm remains instead of 20mm, you’re under-extruding by 25%
- Check temperature: Try printing 5-10°C hotter. If under-extrusion improves, your original temperature was too low
- Reduce speed: Cut speed in half. If the problem disappears, you’re exceeding your volumetric flow limit
- Inspect hardware: Check for clogs, worn drive gears, cracked extruder, PTFE tube gap
Preventing Under-Extrusion
Once you’ve fixed the immediate problem, these habits will help prevent it from coming back:
- Calibrate your E-steps after any hardware change (extruder, motor, gear, hotend)
- Recalibrate flow when switching filament brands or materials
- Store filament in sealed bags with desiccant
- Replace brass nozzles every 500-1000 print hours
- Inspect the PTFE tube every few months for wear
- Clean the drive gear periodically with a wire brush
- Keep your filament path smooth with proper spool holders and guides
Final Words
Under-extrusion is rarely a single-cause problem. More often, it’s a combination of slightly-off settings and minor wear that together add up to noticeably poor extrusion. The systematic approach — checking flow rate, filament diameter, nozzle condition, extruder health, temperature, and speed — will find the issue every time. Don’t just crank up the flow rate to compensate; find the root cause and fix it properly. Your prints will be stronger, more consistent, and more dimensionally accurate for it.