3D Printer Ghosting and Ringing: Causes, Fixes, and Input Shaper
You’re examining a fresh print and notice wavy, ripple-like patterns on the surface — usually near corners, sharp edges, or after direction changes. These ripples are called ghosting (also known as ringing or echoing), and they’re caused by vibrations in your printer’s mechanical system. While they don’t usually affect structural integrity, they make prints look rough and unprofessional. The good news is that ghosting is almost always fixable, often without buying a single upgrade.
What Causes Ghosting
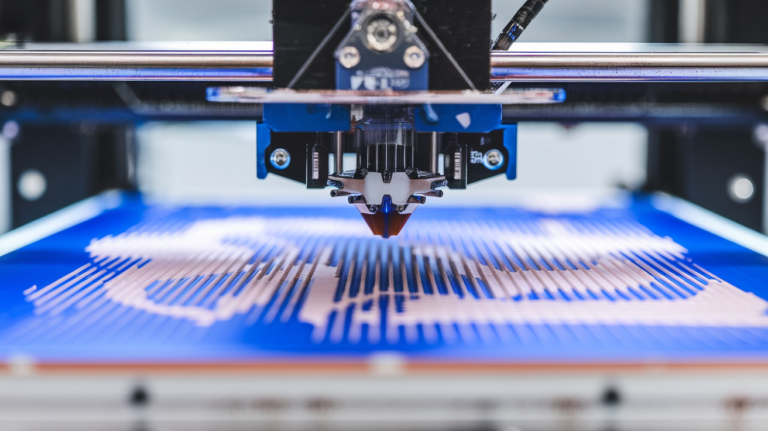
To understand ghosting, think about what happens when your printer makes a sharp direction change — like printing a corner. The print head or bed is moving at speed, then suddenly has to change direction. The momentum of the moving mass causes the mechanical components to vibrate, like a tuning fork that’s been struck. These vibrations translate into tiny oscillations in the nozzle’s position, which show up as ripples on the print surface.
The ripples always appear after the feature that caused them (a corner, a letter, a sharp edge) and fade out over distance as the vibrations dampen. The spacing between ripples is consistent and depends on the resonant frequency of your printer’s mechanical system.
Factors That Influence Ghosting
- Print speed: Faster speeds mean more momentum and harder direction changes, leading to stronger vibrations
- Acceleration: Higher acceleration values mean faster speed changes, which cause more abrupt movements and more vibration
- Moving mass: Heavier print heads or beds have more momentum and produce more vibration. This is why CoreXY printers (which move only the lightweight head) generally ghost less than bed-slingers (which move the heavy bed on Y)
- Mechanical rigidity: Loose belts, wobbly frames, and worn bearings amplify vibrations instead of dampening them
- Jerk settings: Higher jerk values allow faster instantaneous speed changes at corners, creating sharper acceleration events
Quick Fixes: Software Settings
1. Reduce Acceleration
This is the single most effective fix for ghosting. Acceleration controls how quickly your printer speeds up and slows down. Lower values mean gentler speed transitions, which cause less vibration.
Default acceleration on many printers is 500-1500 mm/s². If you’re seeing ghosting, try reducing to 500 mm/s² and see if it improves. For Ender 3 and similar printers, 500 mm/s² is a good starting point. For CoreXY machines, you can often run higher — 1000-2000 mm/s² — before ghosting appears.
In Cura: Print Settings → Speed → Acceleration Control → Print Acceleration. In PrusaSlicer: Print Settings → Speed → Acceleration.
2. Lower Print Speed
If reducing acceleration isn’t enough, lower your overall print speed. This reduces the maximum velocity, which means less momentum at direction changes. Try reducing to 40-50mm/s and see if ghosting disappears. If it does, gradually increase until ghosting returns to find your sweet spot.
Keep in mind that outer wall speed matters most for surface quality. Many slicers let you set different speeds for inner walls (can be faster) and outer walls (keep slower). Setting outer wall speed to 25-35mm/s while keeping inner walls at 50-60mm/s gives a good balance of quality and print time.
3. Adjust Jerk Settings
Jerk (or in Klipper, square corner velocity) controls the maximum instantaneous speed change that can happen without acceleration. Higher jerk values make corners sharper and print faster, but they cause abrupt movements that trigger vibrations. Lower values make corners more rounded but smoother.
Default jerk is typically 8-10 mm/s on Marlin-based printers. Try reducing to 5-7 mm/s. On Klipper, try reducing square_corner_velocity from the default 5 to 3-4 mm/s.
Mechanical Fixes
1. Tighten Belts
Loose belts are one of the most common causes of ghosting on belt-driven printers (which is most FDM machines). A loose belt allows play in the motion system, which amplifies vibrations and causes them to persist longer.
To check belt tension: push the belt sideways in the middle of its longest span. It should deflect about 2-3mm with moderate finger pressure. If it deflects more, it’s too loose. Many printers have built-in tensioners — tighten them until the belt gives a low guitar-string twang when plucked. Don’t over-tighten though — extremely tight belts put excessive load on bearings and stepper motors.
2. Check Frame Rigidity
A wobbly frame amplifies every vibration. Check all bolts and screws on your printer’s frame — especially the gantry and any crossbars. On aluminum extrusion printers (Ender 3, Prusa, V-slot machines), the corner brackets should be tight enough that the frame doesn’t flex when you push on it. Add corner braces if your printer doesn’t have them.
The surface your printer sits on matters too. A wobbly table or thin shelf can resonate with the printer’s vibrations, making ghosting worse. Put your printer on a heavy, rigid surface. A concrete paver or thick stone tile under the printer can help absorb vibrations.
3. Reduce Moving Mass
Less mass = less momentum = less vibration. On printers where the print head moves on XY (CoreXY, i3-style X axis), lighter heads ghost less. Practical ways to reduce mass:
- Remove unnecessary accessories from the print head (heavy cable chains, oversized fan ducts)
- Switch from a steel nozzle to brass (saves a few grams)
- Use a lightweight hotend like the E3D Revo or Bambu-style integrated hotend
- On bowden printers, the extruder motor isn’t on the head — this is actually an advantage for ghosting
4. Check Eccentric Nuts and Linear Bearings
Printers that use V-slot wheels (Ender 3, CR-10, many others) have eccentric nuts that adjust wheel tension against the rail. If these are too loose, there’s play that causes ghosting. If they’re too tight, they add friction that can cause inconsistent motion. The right tension: the wheel should roll smoothly on the rail without any wobble. You should be able to spin the wheel with your fingers, but it shouldn’t turn freely on its own.
For printers with linear bearings (Prusa i3, many CoreXY), worn or dry bearings can cause vibrations. Listen for grinding or rattling during fast moves. Lubricate with light grease, or replace if they feel rough when rotated by hand.
Advanced: Input Shaper (Klipper)
If you’re running Klipper firmware, input shaper is by far the most effective solution for ghosting. It’s essentially software that pre-compensates for your printer’s vibration characteristics.
How It Works
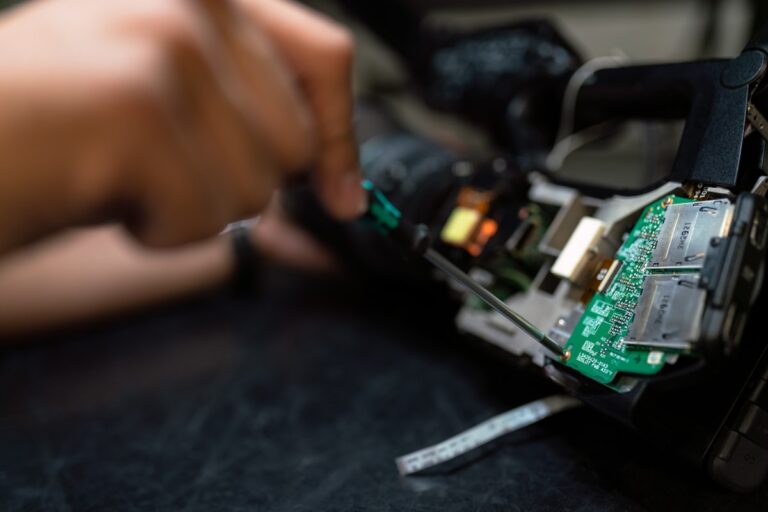
Input shaper uses an accelerometer (typically an ADXL345, which costs about $5) mounted on your print head to measure your printer’s resonant frequencies. Then it applies a filter to the motion commands that cancels out those specific frequencies. The result is dramatically reduced ghosting even at very high speeds and accelerations.
Setting It Up
- Mount an ADXL345 accelerometer on your print head (Klipper’s documentation has wiring guides for your specific board)
- Run the resonance test:
SHAPER_CALIBRATEin the Klipper console - Klipper will recommend a shaper type and frequency for each axis
- Add the recommended values to your printer.cfg
- Run a test print — ghosting should be dramatically reduced or eliminated
The difference is night and day. Printers running input shaper can often print at 100-150mm/s with less ghosting than they previously had at 40mm/s. If you’re on Klipper and haven’t set up input shaper yet, it should be your number one priority.
Marlin Input Shaper
Marlin firmware added experimental input shaper support in version 2.1.3. It’s not as mature as Klipper’s implementation and doesn’t support auto-calibration with an accelerometer, but you can manually set shaper frequencies. If you know your printer’s resonant frequency from a test print, you can enable input shaper in Marlin’s configuration.h file.
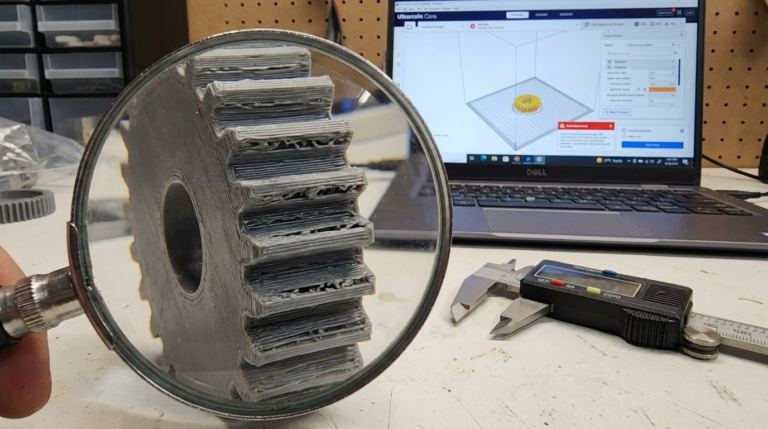
The Ringing Test Print
The standard way to diagnose and measure ghosting is to print a ringing test model. These are specifically designed with sharp corners and features that trigger ghosting. By examining the results, you can:
- See which axis has more ghosting (X vs Y)
- Measure the ripple spacing to calculate resonant frequency
- Compare before/after when making changes
Popular ringing test models include the Klipper ringing tower and the classic “vibration test” on Thingiverse. Print one at your normal settings as a baseline, then print another after each change to quantify the improvement.
Ghosting vs. Other Surface Defects
Don’t confuse ghosting with other problems that look similar:
- Salmon skin: A regular, fine pattern (like tiny zigzags) across the entire surface. This is caused by stepper motor vibration and is fixed with TMC stepper drivers in stealthChop mode, not by adjusting acceleration.
- VFA (Vertical Fine Artifacts): Regular vertical lines on the surface, often caused by cheap lead screws or inconsistent belt tooth engagement. Different from ghosting because the pattern doesn’t relate to corners or features.
- Moire patterns: Wavy patterns that appear when the perimeter line spacing interacts with the infill pattern. Adjust wall count or infill angle to fix.
- Backlash: Shifted or doubled features rather than ripples. Caused by mechanical play in the motion system. Fix by tightening everything and eliminating play.
Material and Print Settings Interaction
Different materials and settings can make ghosting more or less visible:
- Glossy filaments show ghosting more than matte ones because light reflects off the ripples
- Thicker layer heights can hide minor ghosting better than thin layers
- Fewer walls/perimeters make ghosting more visible because there’s less material to dampen vibrations before they reach the outer wall
- PLA tends to show ghosting more clearly than PETG because PLA solidifies faster and preserves the surface detail (including defects) more faithfully
Troubleshooting Checklist
- Print a ringing test at your current settings — establish a baseline
- Check belt tension on X and Y axes
- Check all frame bolts and gantry screws
- Check eccentric nuts / linear bearings for play
- Reduce acceleration to 500 mm/s² and retest
- Reduce outer wall speed to 30mm/s and retest
- Lower jerk to 5-7 mm/s and retest
- If on Klipper: set up input shaper with an accelerometer
- If still present: consider structural upgrades (braces, dampening feet, rigid surface)
Wrapping Up
Ghosting is fundamentally a physics problem — mass, momentum, and vibration. The solution is to either reduce the forces that cause vibration (lower speed, acceleration, jerk), strengthen the structure that resists vibration (tighter belts, rigid frame), or compensate for vibration in software (input shaper). Most people find that a combination of tighter belts, reduced acceleration, and lower outer wall speed eliminates ghosting completely. And if you’re on Klipper, input shaper makes the whole discussion almost moot — it’s that effective.
Don’t settle for wavy surfaces. A little mechanical TLC and some slicer adjustments will give you prints that are smooth, sharp, and ghost-free.