How to Fix Gaps Between Infill and Walls in 3D Prints
What Causes Gaps Between Infill and Walls?
If you’ve ever pulled a finished print off your build plate only to notice visible gaps where the infill meets the outer walls, you’re not alone. This is one of the most common — and most frustrating — 3D printing defects. The good news? It’s almost always fixable with a few slicer tweaks.
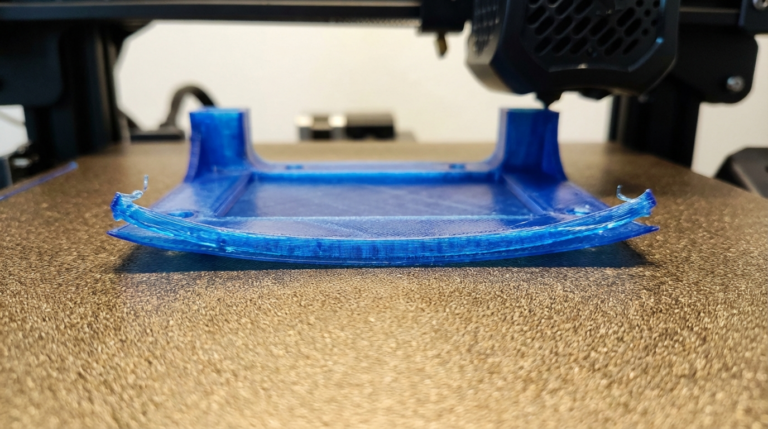
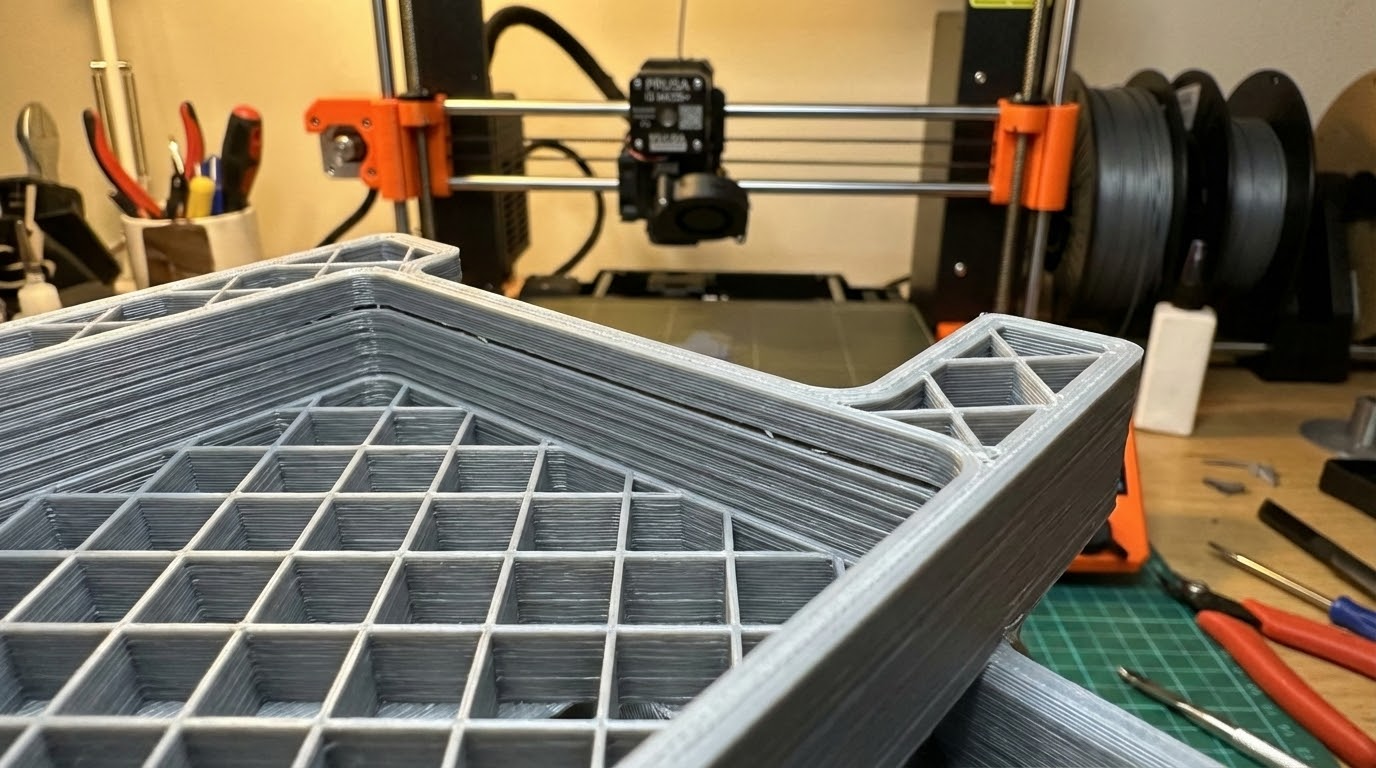
These gaps appear as thin lines or voids running along the inside perimeter of your print, right where the infill pattern connects to the shell. They weaken the part structurally and can cause surface imperfections visible from the outside, especially on thinner walls.
The Most Common Causes
1. Infill Overlap Is Too Low
This is the number one culprit. Every slicer has an “infill overlap” setting (sometimes called “infill/perimeter overlap”) that controls how much the infill lines overlap with the inner wall. In Cura, it’s called Infill Overlap Percentage, and it defaults to around 10-30% depending on your profile.
When this value is too low, the infill lines don’t quite reach the wall lines. The result: a thin gap that runs along every wall-infill boundary. Increasing it to 20-30% usually fixes the problem immediately. In PrusaSlicer, look for “Infill/perimeters overlap” under Print Settings → Advanced.
2. Under-Extrusion
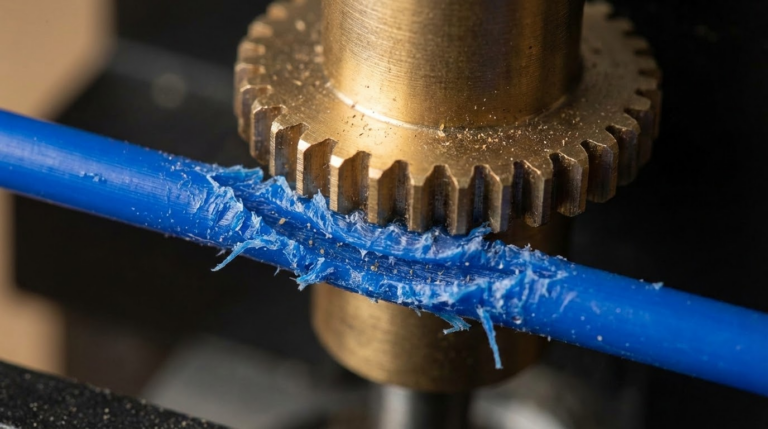
If your printer isn’t pushing enough plastic, everything gets slightly thinner — walls, infill, and especially the connection between them. Under-extrusion can be caused by a partially clogged nozzle, incorrect filament diameter in your slicer, low extrusion multiplier, or a slipping extruder gear.
Check your extrusion multiplier (flow rate). The default is 1.0 (100%), but some filaments need 1.02-1.05 to fill properly. If you haven’t calibrated your e-steps recently, that’s worth doing too — it takes five minutes and can fix a surprising number of print quality issues.
3. Print Speed Mismatch
Here’s one people often miss: if your infill speed is significantly faster than your wall speed, the infill lines can be thinner than expected. When the printer speeds up for infill, the extruder sometimes can’t keep up, resulting in slightly under-extruded infill that doesn’t reach the walls properly.
Try reducing infill speed to no more than 1.5x your wall speed. If you’re printing walls at 40 mm/s, keep infill under 60 mm/s until you’ve ruled out this as the cause.
Slicer-Specific Fixes
Cura Settings
In Cura, go to the “Walls” and “Infill” sections:
- Infill Overlap Percentage: Increase to 25-30%
- Infill Wipe Distance: Set to 0.1-0.2mm (this helps the nozzle “smear” into the wall)
- Connect Infill Lines: Enable this — it creates a continuous path that better connects to walls
- Infill Before Walls: Try toggling this. Printing infill first means walls print over the infill edges, creating a better bond
PrusaSlicer / SuperSlicer Settings
- Infill/perimeters overlap: Increase to 25-30% (or 0.3-0.4mm in absolute terms)
- Infill speed: Reduce if significantly faster than perimeter speed
- External perimeters first: Disable if enabled — printing inner perimeters first gives better infill adhesion
OrcaSlicer / Bambu Studio
These Bambu Lab-derived slicers use similar terminology to PrusaSlicer. Look for “Infill/wall overlap” in the Quality section. The default is usually fine for Bambu printers, but if you’re seeing gaps on a third-party printer using these slicers, bump it up to 20-25%.
Advanced Troubleshooting
Check Your Nozzle Condition
A worn or partially clogged nozzle produces inconsistent extrusion that’s hard to detect visually but shows up as gaps and thin spots. Brass nozzles wear out after 500-1000 hours of printing, faster with abrasive filaments like carbon fiber or glow-in-the-dark PLA. If you’ve been printing a lot, swap in a fresh nozzle and see if the gaps disappear.
Filament Diameter Variations
Cheap filament can have diameter variations of ±0.05mm or more. Your slicer assumes a constant 1.75mm diameter, so if the filament is actually 1.70mm in spots, you’re effectively under-extruding by about 6%. If you suspect this, measure your filament with calipers at several points and enter the average in your slicer’s filament settings.
Temperature Adjustments
Printing slightly hotter (5-10°C above your usual temperature) can improve flow and help the infill bond better to walls. This works because hotter plastic is less viscous and flows more easily into gaps. Just don’t go too hot — you’ll trade gaps for stringing and oozing.
The Quick Fix Checklist
If you’re seeing gaps between infill and walls, work through this list in order:
- Increase infill overlap to 25-30% — this fixes it 80% of the time
- Check extrusion multiplier — bump it up by 2-3% if needed
- Reduce infill speed — keep it within 1.5x of your wall speed
- Enable “Connect Infill Lines” in Cura (or equivalent in other slicers)
- Try “Infill Before Walls” — sometimes printing order matters
- Calibrate e-steps if you haven’t recently
- Check nozzle condition and replace if worn
When Gaps Are Actually a Feature
One last thing: some gap between infill and walls is normal and even intentional in certain slicer profiles. Very slight gaps (invisible from outside) can actually improve surface quality by preventing infill patterns from showing through thin walls. The problem only needs fixing when gaps are large enough to weaken the part or create visible defects on the outer surface.
If your prints look fine from the outside and pass your strength requirements, a tiny internal gap isn’t worth obsessing over. Focus on fixing it when it actually affects the print — visible artifacts on outer walls, parts breaking along infill lines, or post-processing issues like sanding revealing voids.
With the right overlap settings and consistent extrusion, this is one of those problems that stays fixed once you’ve dialed it in. Set it, print a test cube, verify, and move on to the next challenge.