How to Fix Spaghetti 3D Print Failures
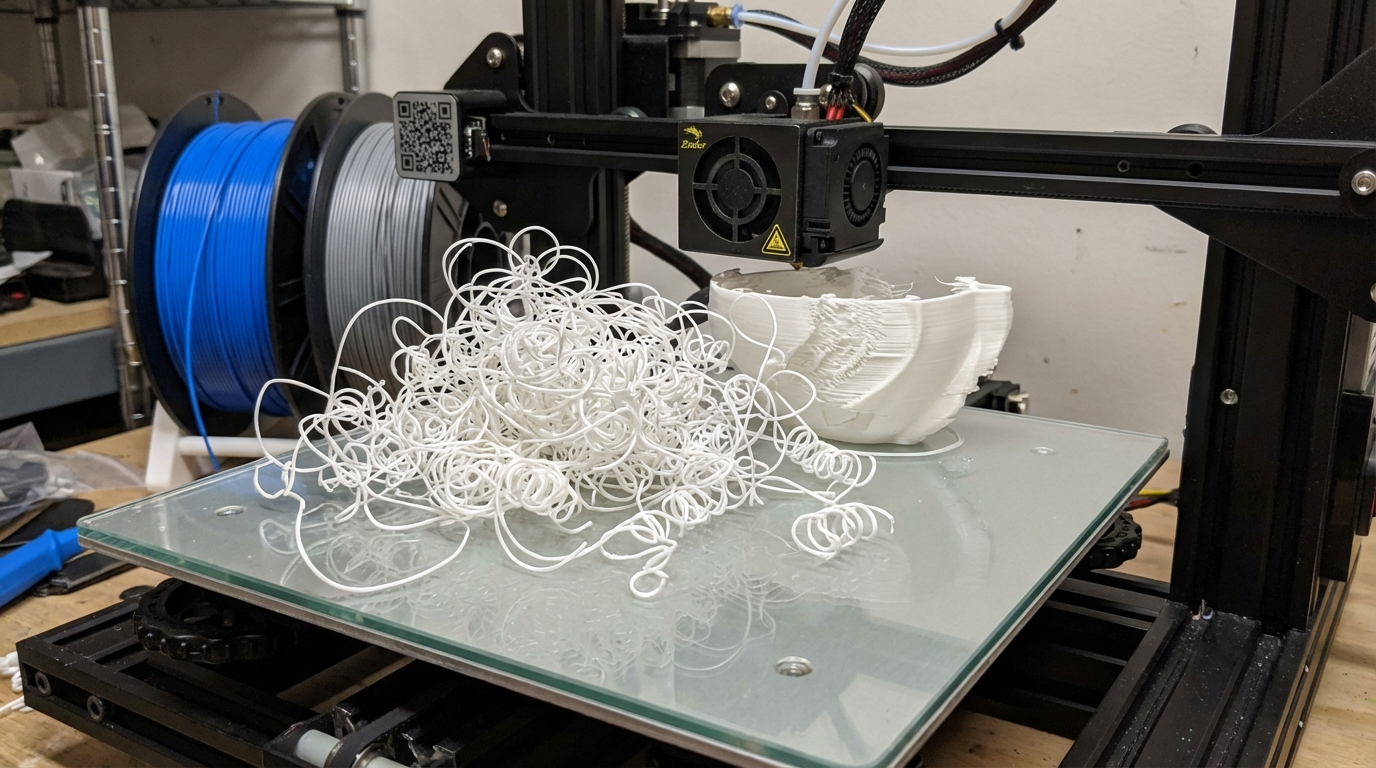
You started a print, left the room feeling confident, and came back to find your printer happily extruding into thin air — depositing a tangled mess of filament that looks exactly like a plate of spaghetti. Welcome to one of the most spectacular failure modes in 3D printing.
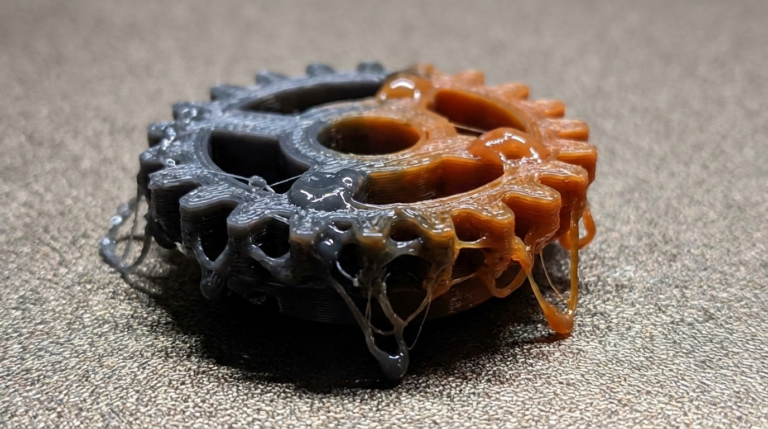
Spaghetti failures happen when a print detaches from the bed or breaks at some point during printing, and the printer keeps going, oblivious to the fact that it’s extruding into nothing. The result is a chaotic bird’s nest of filament strands that’s both frustrating and, admittedly, a little bit funny.
Why Spaghetti Happens
Every spaghetti failure starts with one of two events: either the print detached from the build plate, or a portion of the print broke or shifted mid-print. After that initial failure, the printer has no idea anything went wrong — it keeps following the G-code, depositing filament into empty space where it thinks the print surface should be.
Unlike other print quality issues (stringing, layer shifting, etc.), spaghetti is always a secondary failure. The root cause is whatever made the print detach or break in the first place.
The Most Common Root Causes
1. Poor Bed Adhesion
This is the number one cause of spaghetti prints. If the first layer doesn’t stick properly, the entire print can detach hours into the job, and you come back to find the nozzle has been drawing abstract art in the air for the last three hours.
Common bed adhesion killers include: a bed that’s not properly leveled, Z-offset too high, a dirty or worn build surface, wrong bed temperature, or printing without adequate adhesion helpers (glue stick, hairspray, etc.) for materials that need them.
The fix: Nail your first layer. Level your bed carefully (or use automatic bed leveling), clean the surface with isopropyl alcohol before every print, and use the right bed temperature for your material. For PLA on PEI, 60°C works well. For PETG, try 80°C. For ABS, 100-110°C on a smooth surface with ABS slurry or glue stick.
Adding a brim (8-15mm) for parts with small footprints dramatically reduces the chance of detachment. It’s an easy insurance policy that takes seconds to remove after the print.
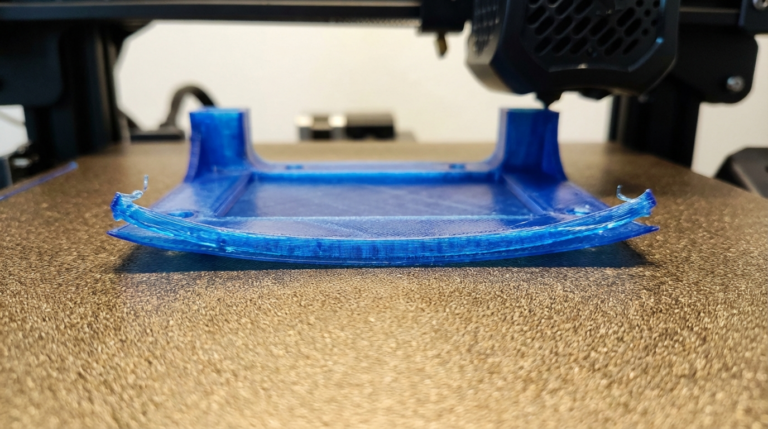
2. Warping That Pulls the Print Off
Even if the first layer adheres perfectly, warping can generate enough force to peel the print off the bed later in the print. This is especially common with ABS, ASA, and nylon — materials with high thermal contraction. The corners curl up, the adhesion bond breaks, and spaghetti follows.
The fix: Use an enclosure for warp-prone materials. A brim helps distribute the peeling force across a larger area. Reducing infill percentage can reduce internal stresses that contribute to warping. And make sure your bed temperature stays consistent throughout the print — some printers’ beds cool down slightly over long prints as the thermal controller drifts.
3. Supports Breaking Mid-Print
When support structures fail or tip over during printing, the parts they were supporting lose their foundation. The printer continues to print in mid-air, creating spaghetti where the overhanging geometry was supposed to be.
The fix: Use thicker supports (increase support density or line width), reduce support printing speed for better adhesion, and make sure supports are connected to the bed and not floating. Tree supports in Cura are generally more stable than normal line supports for complex geometries.
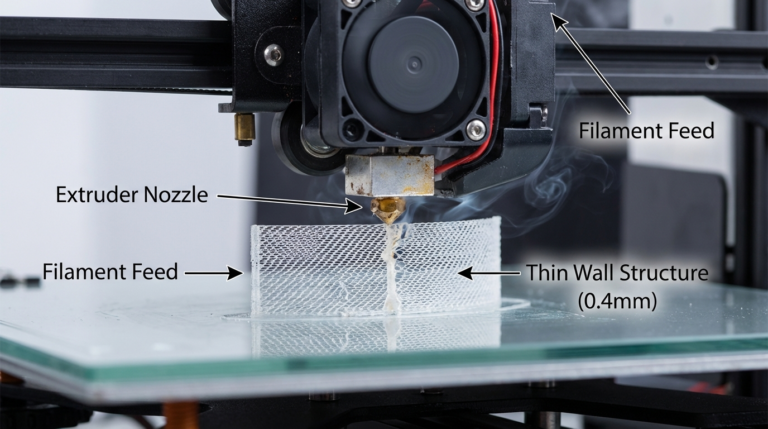
4. Print Breaking at Weak Points
Tall, thin prints are prone to snapping at narrow cross-sections. A tall vase with a thin neck, a character model with spindly legs, or any geometry that creates a structural weak point can break under the forces of the printhead moving above it.
The fix: Reduce print speed for tall, thin parts. The rapid acceleration and deceleration of the printhead creates lateral forces that can snap fragile geometries. Enable Z-hop to reduce the chance of the nozzle catching on the print. Consider adding a brim for extra base stability, and orient the model to minimize tall, unsupported sections.
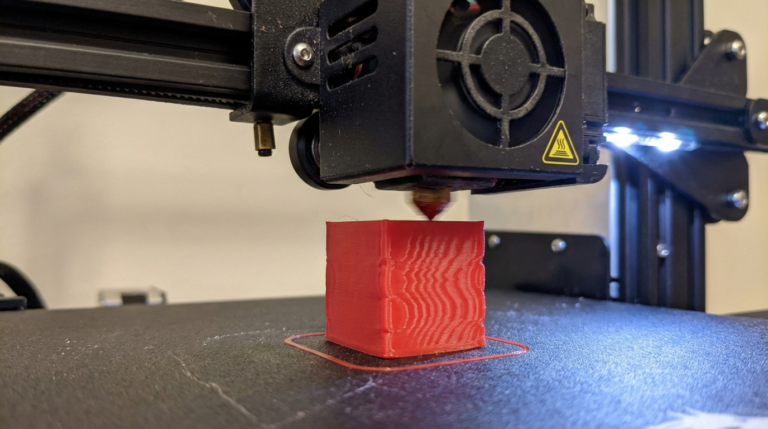
5. Nozzle Catching on the Print
If your print has any slight curling, over-extrusion, or surface irregularities, the nozzle can physically collide with the print as it moves. Each collision pushes the print a little, and eventually the print detaches from the bed entirely. This is especially common with PETG, which tends to curl slightly on overhangs and can stick to the nozzle.
The fix: Enable Z-hop in your slicer (0.2-0.4mm is usually sufficient). This lifts the nozzle during travel moves so it doesn’t drag across the print surface. Also check for over-extrusion — if your flow rate is even slightly too high, the excess material creates bumps that the nozzle can catch on.
6. Power Failure or Firmware Crash
Sometimes spaghetti isn’t caused by a mechanical failure at all. A brief power fluctuation, a corrupted SD card, or a firmware crash can cause the printer to lose its position or start executing random moves. When it recovers (or restarts), it may continue printing from a position that doesn’t match where the print actually is.
The fix: Use a UPS (uninterruptible power supply) for your printer if power reliability is an issue in your area. Print from a reliable source — a good quality SD card or a direct USB connection to a Raspberry Pi running OctoPrint. Enable power loss recovery in your firmware if available, though be aware that it doesn’t always resume perfectly.
Detecting and Preventing Spaghetti
Camera Monitoring
The simplest prevention is to watch your printer. A cheap webcam connected to OctoPrint or a similar monitoring system lets you check on prints remotely. Some services like The Spaghetti Detective (now Obico) use AI to automatically detect spaghetti failures and can pause or stop your print before too much filament is wasted.
First Layer Monitoring
Since most spaghetti failures trace back to first layer problems, watching the first layer complete successfully dramatically reduces your risk. Many experienced users make a habit of watching the first 2-3 layers of every print. If the first layer looks solid and well-adhered, the chances of a spaghetti failure drop significantly.
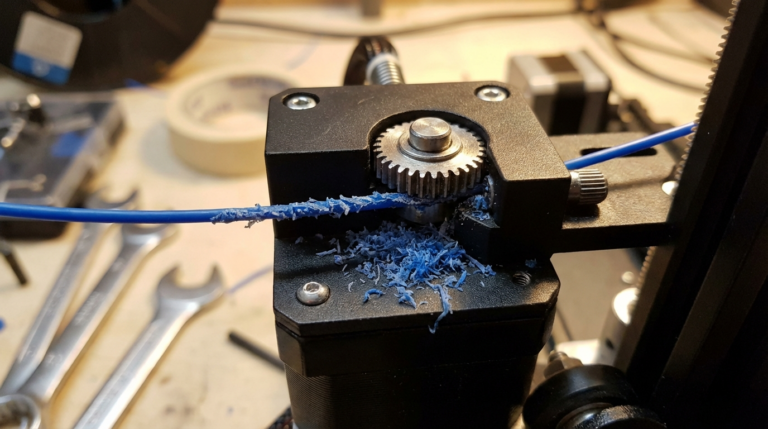
Filament Runout Detection
While not directly related to spaghetti, a filament runout sensor can prevent one specific scenario: the spool runs out mid-print, and the printer continues to move through the G-code without extruding. This creates a different kind of failure but can look similar to spaghetti when the print eventually detaches.
Recovering from a Spaghetti Failure
Once spaghetti happens, there’s no saving the current print. Stop the printer, remove the mess, and figure out what went wrong before trying again. Here’s a recovery checklist:
- Stop the print — don’t let it keep wasting filament
- Remove the spaghetti — check the nozzle for stuck filament
- Inspect the bed — is the surface damaged, dirty, or worn?
- Check the model — is the geometry prone to failure? Does it need supports or a brim?
- Review your settings — bed temp, first layer speed, Z-offset all correct?
- Clean everything — IPA wipe on the bed, check the nozzle for partial clogs
- Restart with adjustments — fix whatever you identified and try again
The Silver Lining
Spaghetti failures, while wasteful, rarely damage your printer. The worst that typically happens is some filament stuck to the nozzle or bed that needs cleaning. It’s not like a thermal runaway or a belt skip that could cause real mechanical damage. So while it’s frustrating, it’s ultimately just a learning experience and some wasted plastic.
Many seasoned 3D printing enthusiasts keep their best spaghetti disasters as trophies. There’s even a certain art to particularly spectacular failures. But ideally, you’ll see fewer and fewer of them as you dial in your settings and build habits around first layer monitoring and preventive maintenance.