How to Fix Messy Overhangs in 3D Printing: Complete Guide
Understanding Why Overhangs Fail
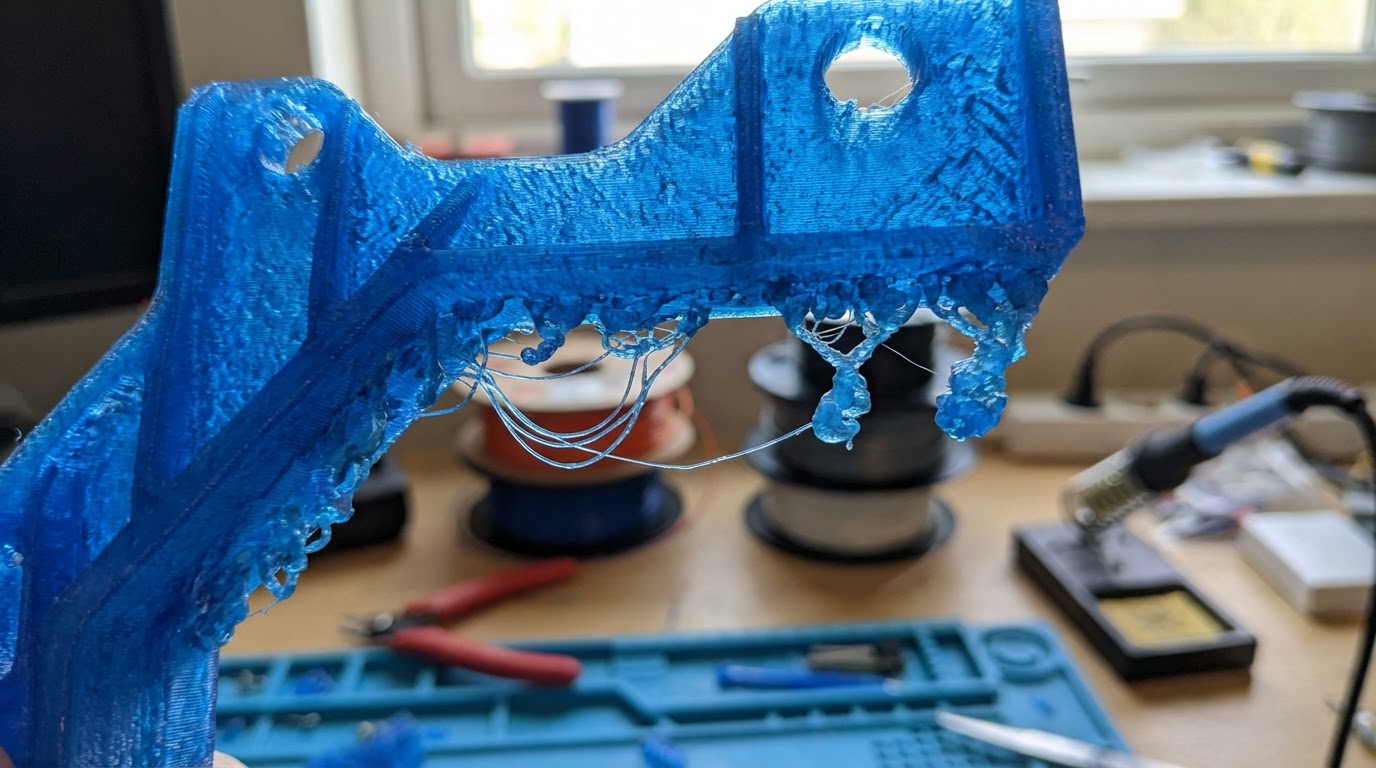
Every 3D printer owner has seen it: you’re printing a model with some angled surfaces, and at a certain point, the plastic starts drooping, curling, or looking like a melted candle. That’s an overhang failure, and it’s one of the most common quality issues in FDM printing.
Here’s the physics: FDM printing works by laying down molten plastic in thin lines. Each line needs to be supported by the line below it. When a wall or surface angles outward past about 45 degrees from vertical, the new material is being deposited partially into thin air. The more extreme the angle, the less support the fresh plastic has, and the worse it looks.
But “messy overhangs” isn’t an unsolvable problem. With the right combination of cooling, speed, and slicer settings, most printers can handle 50-60 degree overhangs cleanly, and some can push past 70 degrees without supports. Let me show you how.
The 5 Root Causes of Messy Overhangs
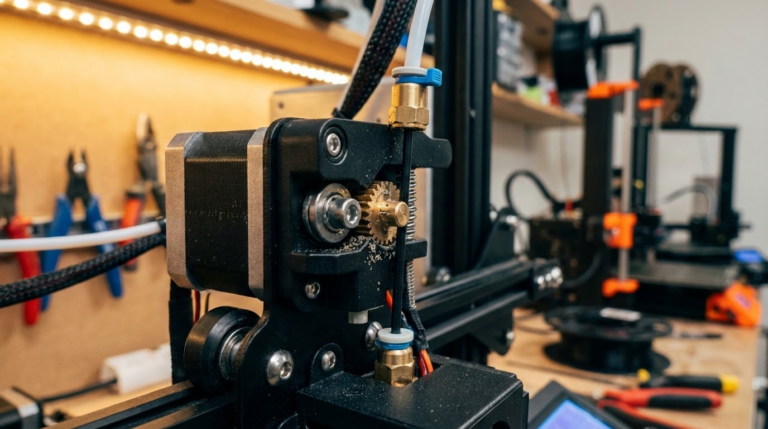
1. Insufficient Part Cooling
This is the number one cause by far. When plastic is extruded at an overhang, it needs to solidify almost instantly to hold its shape. If your part cooling fan isn’t blowing enough air — or isn’t blowing it in the right direction — the filament stays soft too long and sags under gravity.
Fix:
- Run your part cooling fan at 100% for overhangs (most slicers let you set this per-feature)
- Upgrade your fan duct. Stock fan ducts on most budget printers are mediocre. The Hero Me, Satsana, and Briss Moto fan ducts are popular upgrades that direct airflow more effectively
- Consider upgrading to a more powerful fan (5015 blower fans move significantly more air than the stock 4010 axial fans)
- Make sure the fan duct actually points at the nozzle tip, not above or below it
2. Printing Too Hot
Higher nozzle temperatures mean the plastic takes longer to solidify. If you’re printing PLA at 220°C and getting messy overhangs, try dropping to 200-205°C. The filament will solidify faster and hold its shape better on unsupported sections.
Fix: Print a temperature tower and find the lowest temperature that still gives you good layer adhesion. That’s your sweet spot for overhangs.
3. Printing Too Fast
Speed and overhangs don’t mix well. When the nozzle is moving fast over an overhang, the cooling fan has less time to solidify each section before the nozzle moves on. The result is molten plastic that droops before it has a chance to set.
Fix:
- Reduce speed specifically for overhangs — most modern slicers (Cura, PrusaSlicer, OrcaSlicer) have separate speed settings for overhangs and bridges
- A good starting point is 50% of your normal wall speed for overhangs beyond 45 degrees
- If you’re using Klipper, input shaping lets you maintain quality at higher speeds, but overhangs still benefit from slower printing
4. Layer Height Too Tall
Thicker layers mean more material being deposited, which means more mass hanging in the air at overhangs. A 0.3mm layer height will produce worse overhangs than a 0.15mm layer height, all else being equal.
Fix: For parts with critical overhangs, drop your layer height. 0.15-0.2mm is the sweet spot for most situations. If only certain sections have overhangs, some slicers support variable layer height — use thicker layers where you can and thinner layers where you need them.
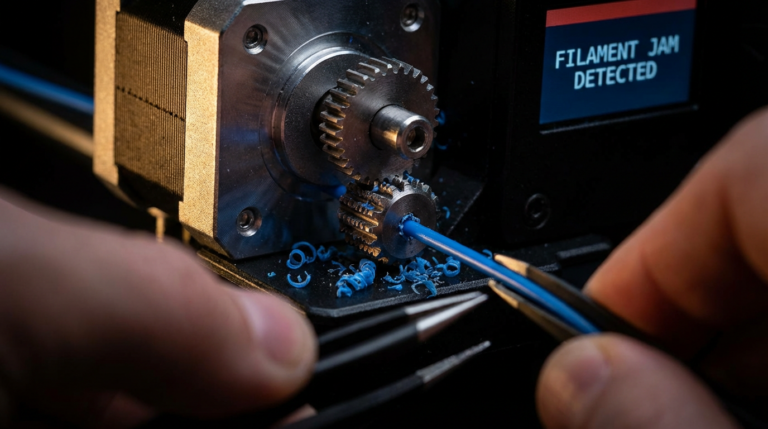
5. Poor Bridging Settings
Bridges (horizontal spans between two supported points) and overhangs are related but require different tuning. If your slicer doesn’t detect bridges properly or uses the wrong settings for them, what should be a clean bridge becomes a saggy mess.
Fix:
- Enable bridge detection in your slicer (it’s on by default in most, but double-check)
- Bridge fan speed: 100% always
- Bridge flow rate: try 95-100% (slightly reducing flow can help because thinner lines cool faster)
- Bridge speed: moderate — too fast and the lines don’t have time to bond to the anchor points; too slow and they sag
Slicer Settings That Make a Real Difference
Overhang-Specific Settings in PrusaSlicer/OrcaSlicer
Modern slicers have gotten much better at handling overhangs automatically. In PrusaSlicer 2.7+ and OrcaSlicer, look for:
- Overhang speed: Automatically reduces speed for detected overhangs (enable this!)
- Overhang fan speed: Boosts fan speed specifically over unsupported areas
- Bridge flow ratio: Fine-tune how much plastic is pushed during bridging
Cura Settings
In Cura, the relevant settings are:
- Enable Bridge Settings: Turns on specific controls for bridge speed, flow, and fan
- Overhanging Wall Angle: Defines what angle triggers overhang-specific behavior (default 90° effectively disables it — set it to 45-50°)
- Overhanging Wall Speed: How fast to print detected overhangs
Hardware Upgrades That Actually Help
Beyond slicer tuning, some hardware changes make a dramatic difference:
- Better fan duct: The single most impactful upgrade. A dual-5015 fan duct setup can transform overhang performance
- All-metal hotend: Maintains more consistent temperature, which helps with consistent extrusion at overhangs
- Smaller nozzle: A 0.3mm nozzle produces thinner lines that cool faster and handle overhangs better than a 0.6mm nozzle (at the cost of print speed)
- Enclosure removal: This sounds counterintuitive, but if you’re printing PLA in an enclosure, the warm ambient air is hurting your overhang performance. PLA loves cold air
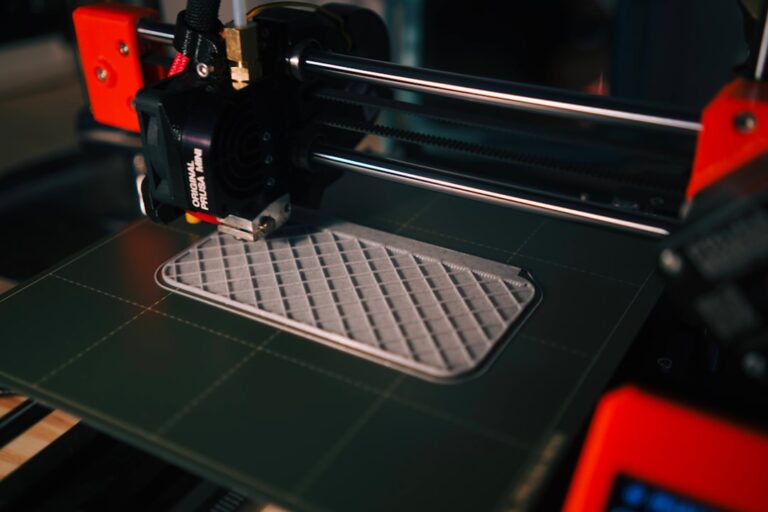
The Overhang Test Print
Before you start tweaking settings randomly, print an overhang test model. The classic one has a series of overhangs at increasing angles (20°, 30°, 40°, 50°, 60°, 70°). This gives you a clear baseline and lets you measure improvement as you dial in settings.
Search for “overhang test” on Thingiverse or Printables — there are dozens of options. My favorite is the “All In One 3D Printer Test” by majda107, which includes overhangs, bridges, stringing, and other tests in a single compact print.
When to Just Use Supports
Sometimes the answer is simply: use supports. If your part has overhangs beyond 65-70 degrees and surface quality matters, supports will give you better results than any amount of cooling and speed tuning. Tree supports in particular have gotten excellent at minimizing contact points and making cleanup easier.
The goal isn’t to eliminate supports entirely — it’s to push your printer’s support-free overhang limit as far as possible so you only use supports when truly necessary. With proper cooling and settings, most printers can handle 55-60 degree overhangs cleanly, which eliminates the need for supports on a huge percentage of everyday prints.
Take the time to dial in your overhang settings once, and you’ll benefit on every print from here on out. It’s one of those tuning exercises that pays for itself almost immediately.