Best PrusaSlicer Settings for Beginners: Complete Setup Guide
Why PrusaSlicer?
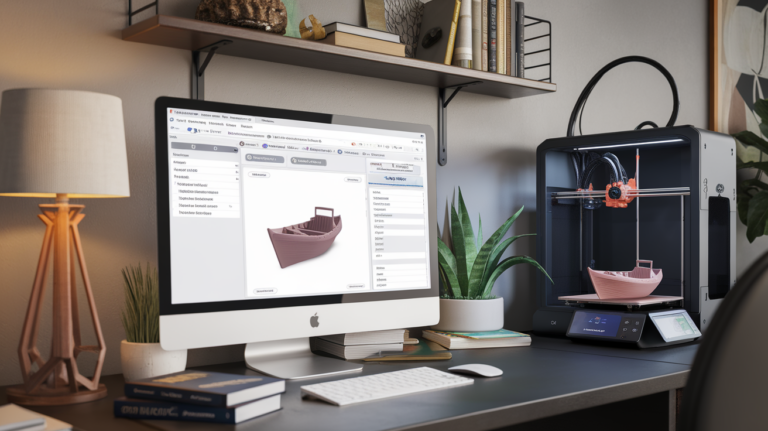
PrusaSlicer has quietly become one of the best slicing software options available — and not just for Prusa printer owners. Built on the open-source Slic3r engine, it offers powerful features that rival (and in some cases surpass) Cura, while maintaining a cleaner interface that’s less overwhelming for newcomers.
Whether you own a Prusa, Ender, Bambu Lab, or any other FDM printer, PrusaSlicer works with virtually everything. And unlike some alternatives, it’s completely free with no premium tiers or locked features. In this guide, I’ll walk you through the essential settings every beginner needs to know, from first install to your first successful print.
Installing and Setting Up PrusaSlicer
Download and Initial Configuration
Head to prusaslicer.com and download the latest version for your operating system. The installer is straightforward — just follow the prompts.
On first launch, PrusaSlicer runs a configuration wizard. This is where you select your printer. If you have a Prusa machine, just check the box next to your model. For other printers, choose “Other Vendors” and look for yours in the list. Many popular printers (Creality, Anycubic, Artillery) are included with pre-configured profiles.
If your printer isn’t listed, don’t worry. You can add a custom printer later by entering your build volume dimensions, nozzle size, and other specs manually.
Understanding the Three-Tab Layout
PrusaSlicer organizes settings into three main tabs:
- Print Settings: Layer height, infill, speed, supports, and other per-print options
- Filament Settings: Temperature, cooling, retraction (filament-specific)
- Printer Settings: Build volume, firmware type, extruder configuration (usually set once)
As a beginner, you’ll spend most of your time in Print Settings and Filament Settings. Printer Settings are typically configured once and left alone.
Essential Print Settings for Beginners
Layer Height
Layer height is the single biggest factor affecting both print quality and print time. Here’s what to use:
- 0.2mm: The default “sweet spot” for most prints. Good balance of quality and speed. Start here.
- 0.12mm: High quality. Use for detailed models, miniatures, or visible display pieces. Prints take roughly 60% longer.
- 0.28mm: Draft quality. Use for functional parts where appearance doesn’t matter, or for test prints. Much faster.
A common beginner mistake is defaulting to 0.12mm for everything. Unless you need the extra detail, 0.2mm is perfectly fine and saves significant time.
Infill Density and Pattern
Infill is the internal structure of your print. Two settings matter here:
Infill Density:
- 15-20%: Standard for decorative items, prototypes, and non-structural parts
- 30-50%: Functional parts that need moderate strength
- 60-100%: Maximum strength parts (100% = completely solid)
Infill Pattern:
- Gyroid: My go-to recommendation for beginners. Strong in all directions, prints reliably, and uses material efficiently.
- Grid: Fast and simple. Good for parts that don’t need multi-directional strength.
- Cubic: Similar to grid but stronger in the Z direction. Good all-rounder.
- Lightning: Minimal infill that only supports the top surfaces. Use for decorative prints to save time and material.
Wall Count (Perimeters)
Perimeters are the outer walls of your print. More walls = stronger part, but more time and material.
- 2 perimeters: Minimum for most prints. Fine for decorative objects.
- 3 perimeters: Default recommendation. Good strength for general use.
- 4+ perimeters: Structural or functional parts. Often more effective than increasing infill.
Pro tip: For strong parts, increasing wall count is usually more effective than increasing infill density. A 3-wall, 20% infill print is often stronger than a 2-wall, 50% infill print, and uses less material.
Print Speed
PrusaSlicer lets you set different speeds for different features (perimeters, infill, bridges, etc.). For beginners, keep it simple:
- External perimeters: 40-50 mm/s for good surface quality
- Internal perimeters: 60-80 mm/s
- Infill: 80-100 mm/s
- First layer: 20-25 mm/s (slow first layer = better adhesion)
If you’re getting quality issues, slow everything down by 20-30%. Speed is the easiest variable to adjust when troubleshooting.
Filament Settings That Matter
Temperature
Every filament brand prints slightly differently, but here are solid starting points:
- PLA: Nozzle 200-215°C, Bed 55-60°C
- PETG: Nozzle 230-245°C, Bed 75-85°C
- ABS: Nozzle 240-260°C, Bed 100-110°C (enclosure recommended)
- TPU: Nozzle 220-235°C, Bed 50-60°C
Always check the temperature range printed on your filament spool and start in the middle of that range.
Retraction
Retraction pulls filament back when the nozzle moves between print areas, preventing stringing. The right settings depend on your extruder type:
- Direct drive: Distance 0.5-2mm, Speed 30-45 mm/s
- Bowden tube: Distance 4-7mm, Speed 40-60 mm/s
PrusaSlicer’s default retraction for your printer profile should be close to optimal. Only adjust if you see stringing.
Cooling
Part cooling fan settings vary by material:
- PLA: 100% fan after the first few layers. PLA loves cooling.
- PETG: 30-50% fan. Too much cooling causes poor layer adhesion.
- ABS: 0-20% fan. ABS warps with too much cooling.
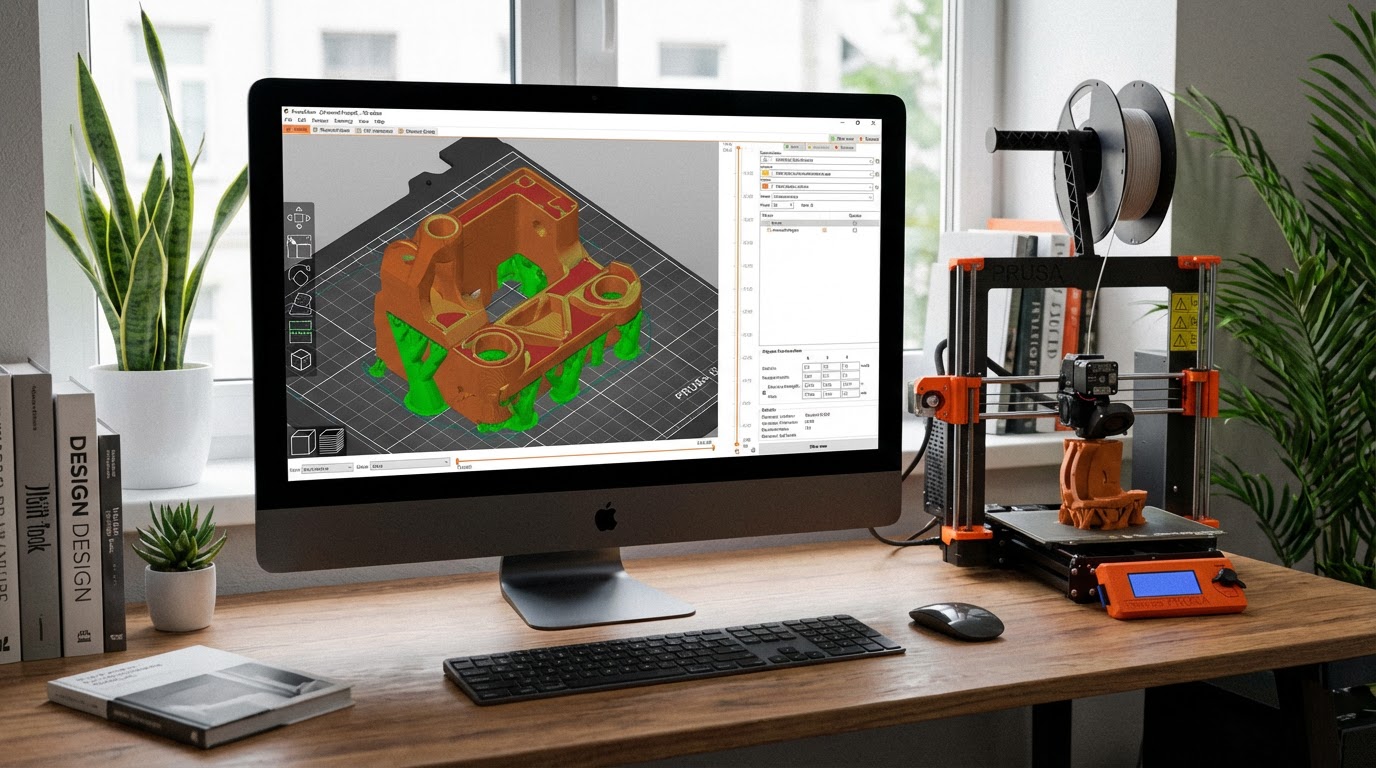
Support Settings
Supports are scaffolding the printer creates to hold up overhanging parts of your model. PrusaSlicer offers several options:
When to Enable Supports
Most printers can handle overhangs up to about 45-50 degrees without supports. PrusaSlicer’s default overhang threshold works well — enable “Support material” and set the threshold angle to 45°. The slicer will automatically generate supports only where needed.
Support Types
- Normal (grid): Traditional grid supports. Reliable but can be hard to remove and leave marks.
- Organic (tree): PrusaSlicer’s tree supports grow from the build plate in branch-like structures. They use less material, are easier to remove, and leave fewer marks. Use these by default.
Support Interface
Enable “Support interface layers” (usually 2-3 layers). This creates a denser layer between the support and your model, giving a smoother surface where the support touches your print. It’s a small setting that makes a big difference in finish quality.
Using PrusaSlicer’s Built-in Profiles
One of PrusaSlicer’s best features for beginners is its curated profile system. Instead of tweaking every setting, you can select quality presets:
- 0.30mm DRAFT: Fast prints, lower quality
- 0.20mm QUALITY: Standard quality (start here)
- 0.15mm DETAIL: Higher quality, moderate speed
- 0.10mm ULTRADETAIL: Maximum detail, slowest
These presets adjust layer height, speed, and other settings as a coordinated package. They’re an excellent starting point — use them as-is for your first several prints before tweaking individual settings.
Useful Features You Should Know About
Paint-on Supports
Instead of letting the slicer auto-generate supports everywhere, you can paint exactly where you want them. Click the support brush tool in the toolbar, then paint support areas (green) or blocker areas (red) directly on your model. This gives you surgical control over support placement.
Variable Layer Height
This feature lets you use different layer heights on different parts of the same print. Use fine layers (0.1mm) for detailed areas and coarse layers (0.3mm) for simple sections. Right-click on the layer height slider to access this. It can dramatically reduce print time without sacrificing quality where it counts.
Seam Position
The Z-seam is where each layer starts, leaving a visible line on your print. By default, PrusaSlicer tries to hide it. You can control this:
- Nearest: Hides the seam in corners (default, usually best)
- Aligned: Creates a single straight seam line — sometimes looks cleaner than scattered seam points
- Random: Scatters seam points randomly. Eliminates the visible line but creates a slightly rough overall texture
- Painted: You choose exactly where the seam goes using the seam painting tool
Modifier Meshes
You can add invisible modifier shapes to your model that change settings in specific regions. For example, add a box modifier around a stress point and increase infill to 80% just in that area, while keeping the rest at 20%. This is an advanced feature but incredibly useful for functional parts.
Common Beginner Mistakes in PrusaSlicer
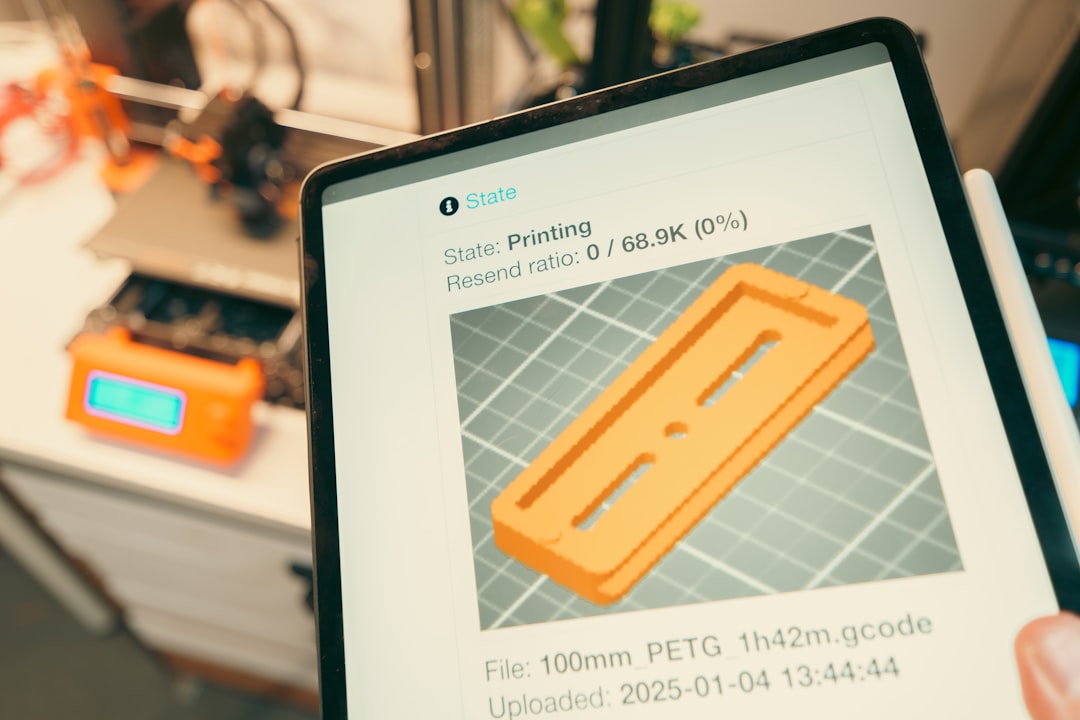
- Ignoring the preview: Always check the layer-by-layer preview before printing. It shows exactly what the printer will do, including support placement and travel moves. Catching problems here saves hours of failed prints.
- Over-tweaking settings: Start with the built-in profiles. They’re optimized by experienced users. Change one thing at a time if you need to adjust.
- Wrong filament profile: Make sure your selected filament profile matches what’s actually loaded in your printer. Printing PLA with PETG temperatures (or vice versa) causes all sorts of problems.
- Skipping first layer calibration: No amount of slicer tweaking compensates for a badly leveled bed or wrong Z offset. Get your first layer right mechanically before adjusting software settings.
- Not updating: PrusaSlicer updates frequently with genuine improvements. Check for updates every few months.
My Recommended Starting Profile
If you’re brand new and want a single set of settings to start with for PLA on a standard printer:
- Layer height: 0.2mm
- Infill: 20% Gyroid
- Perimeters: 3
- Print speed: 50mm/s (external perimeters), 80mm/s (infill)
- Nozzle temp: 210°C
- Bed temp: 60°C
- Retraction: Use your printer’s default
- Supports: Organic/tree, 45° threshold, enabled only when needed
- Fan: 100% after layer 3
Print a calibration cube first. If it looks good, you’re ready for real prints. If not, adjust temperature and speed first — they solve 80% of quality issues.
Final Thoughts
PrusaSlicer strikes an excellent balance between power and usability. Its built-in profiles give beginners a solid starting point, while advanced features like paint-on supports, variable layer height, and modifier meshes give you room to grow.
My advice: resist the urge to change everything at once. Learn what each setting does by changing one thing at a time and observing the result. Within a few prints, you’ll develop an intuition for which settings to adjust for different situations — and that’s when 3D printing really starts to get fun.