Nylon 3D Printing: Settings, Tips, and Troubleshooting Guide
Why Nylon Is Worth the Trouble
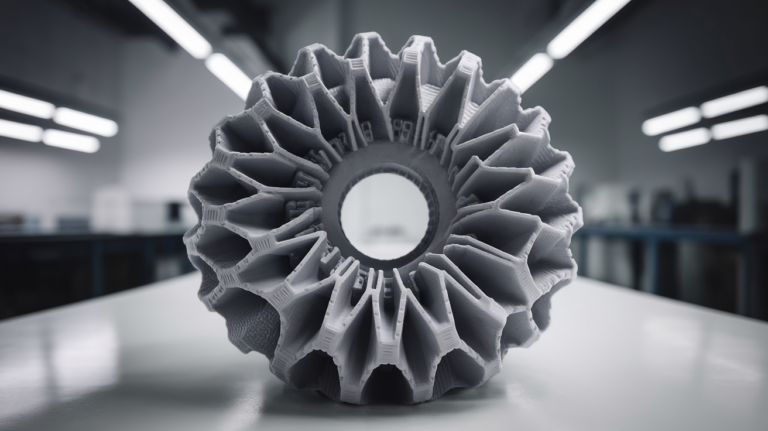
Nylon is the filament that experienced 3D printing users reach for when PLA and PETG aren’t strong enough. It offers a combination of properties that no other common FDM material can match: high tensile strength, excellent impact resistance, good flexibility, and outstanding wear resistance. Gears, hinges, living snaps, structural brackets, functional tools — if you need a part that survives real-world abuse, nylon is often the answer.
But nylon is also the most demanding common filament to print. It warps aggressively, absorbs moisture like a sponge, requires higher temperatures than most materials, and demands specific bed adhesion techniques. It has a reputation for being difficult, and that reputation is earned.
This guide covers everything you need to know to print nylon successfully: temperature settings, bed adhesion, moisture management, and the specific tricks that make the difference between frustration and functional parts.
Types of Nylon Filament
Not all nylon filament is the same. Several variants exist, each with different properties and printing characteristics:
Nylon 6 and Nylon 6/6
These are the “classic” nylons — strong, stiff, and very prone to warping. They require the highest temperatures (250-270°C) and an enclosure is essentially mandatory. Most generic “nylon” filament from major brands is Nylon 6 or 6/6.
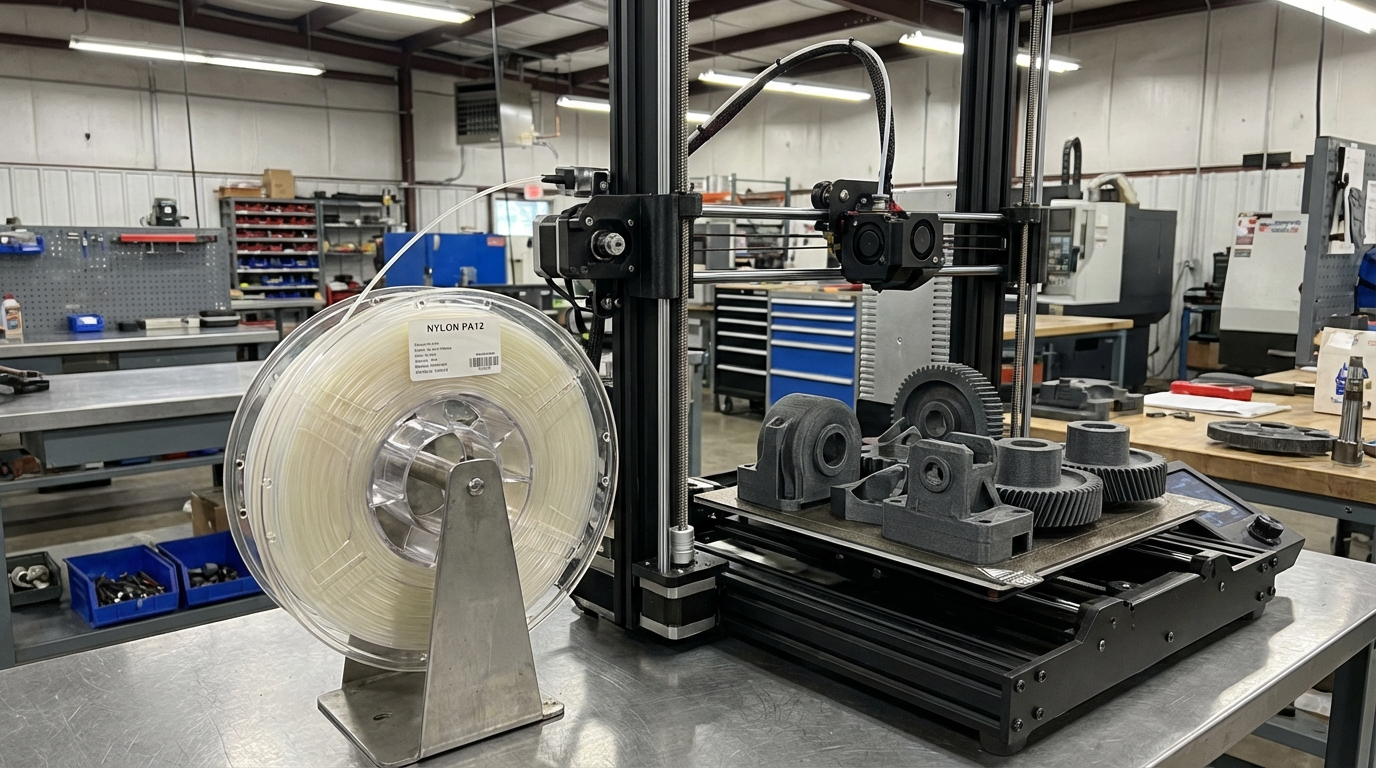
Nylon 12 (PA12)
Lower moisture absorption and less warping than Nylon 6, with somewhat lower strength. Prints at slightly lower temperatures (240-260°C). A good choice if you want nylon properties with less printing hassle.
Carbon Fiber Nylon (CF-Nylon)
Nylon reinforced with chopped carbon fibers. Dramatically stiffer and more dimensionally stable than plain nylon, with significantly reduced warping. The carbon fibers also reduce moisture absorption. The trade-off: it’s extremely abrasive and requires a hardened steel nozzle.
Glass Fiber Nylon (GF-Nylon)
Similar concept to CF-Nylon but with glass fiber reinforcement. Less stiff than carbon fiber but still much more stable than plain nylon. Also requires a hardened nozzle.
Modified Nylons (Taulman 910, Polymaker CoPA)
Several brands sell modified nylon formulations designed to be easier to print while retaining most of nylon’s desirable properties. Taulman 910 is one of the most popular — it has excellent layer adhesion and is less finicky about bed adhesion than standard nylon. Polymaker’s CoPA (co-polyamide) is another option with reduced warping.
Printer Requirements
Before you buy nylon filament, make sure your printer can handle it:
All-Metal Hotend (Required)
Nylon prints at 240-270°C. PTFE-lined hotends (like the stock Ender 3 hotend) degrade above 240°C and release toxic fumes. If your hotend has a PTFE tube that goes all the way down to the nozzle, you need to upgrade to an all-metal hotend before printing nylon. Options include the Micro Swiss all-metal hotend, the Creality Spider, or for Prusa owners, the stock E3D V6 is already all-metal.
Heated Bed (Required)
You need a bed that can reach at least 80°C, and preferably 100°C+. Most modern printers meet this requirement. Nylon’s extreme warping tendency means bed temperature is not optional — you need consistent heat across the entire build surface.
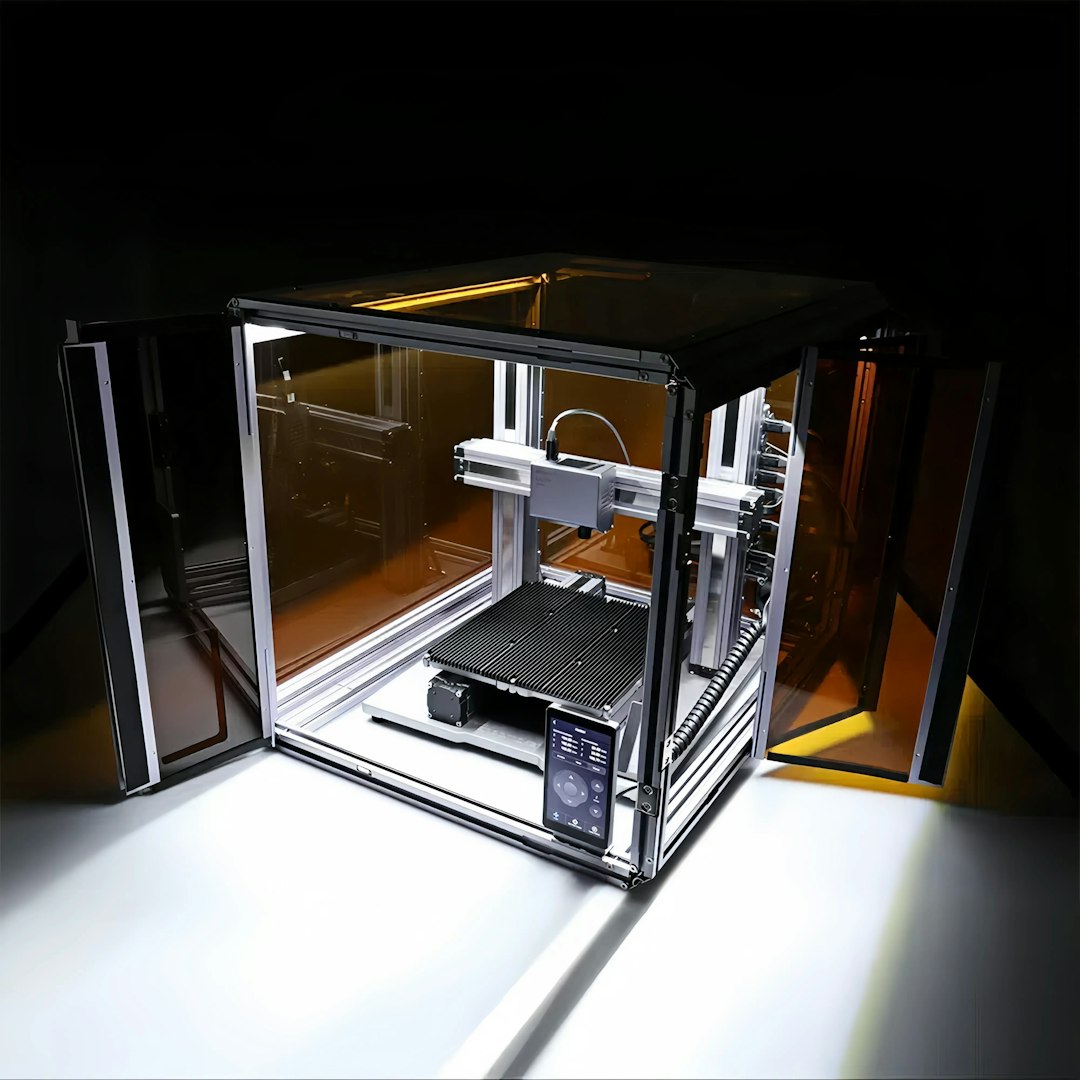
Enclosure (Strongly Recommended)
An enclosure isn’t strictly required for all nylon types, but it makes a huge difference. Nylon warps because the plastic shrinks as it cools, and temperature differences between layers create internal stress that pulls corners up. An enclosure maintains ambient temperature around 45-60°C, reducing temperature differentials and dramatically improving warp resistance.
For plain Nylon 6/6, an enclosure is practically mandatory. For CF-Nylon, GF-Nylon, and modified nylons, you can often get away without one for smaller parts, but larger prints will still benefit.
Hardened Nozzle (For Fiber-Reinforced Only)
Standard brass nozzles wear through in hours when printing carbon fiber or glass fiber nylon. Switch to a hardened steel, tungsten carbide, or ruby-tipped nozzle. A hardened steel nozzle costs about $10-15 and lasts essentially forever with abrasive filaments.
Essential Print Settings for Nylon

Temperature
- Nozzle temperature: 245-265°C (check your specific filament — ranges vary by brand and type)
- Bed temperature: 80-100°C (some nylons work best at 70°C with specific adhesion methods)
- Enclosure temperature: 45-60°C if you have a heated enclosure, or just let the bed heat warm the enclosed space
Start at the middle of the manufacturer’s recommended range and adjust based on results. Too cold = poor layer adhesion and possible jams. Too hot = excessive stringing and poor surface quality.
Print Speed
Nylon prints best at moderate speeds:
- Perimeters: 35-50 mm/s
- Infill: 50-70 mm/s
- First layer: 15-20 mm/s
Slower is generally better with nylon, especially for the first layer. Nylon’s bed adhesion is finicky, and a slow first layer gives it the best chance to stick.
Layer Height
Standard layer heights work fine (0.15-0.28mm for a 0.4mm nozzle). Nylon actually has excellent layer adhesion at proper temperatures, so you’re not sacrificing as much inter-layer strength with thicker layers as you would with PLA.
Retraction
Nylon strings more than most filaments. Aggressive retraction settings help:
- Direct drive: 1-3mm distance, 40-50 mm/s speed
- Bowden: 5-8mm distance, 50-70 mm/s speed
Even with optimal retraction, expect some stringing. You can clean up strings with a heat gun (quick pass, don’t melt the part) or by hand after printing.
Cooling
Minimal cooling for nylon. Excessive cooling causes warping and delamination:
- Fan speed: 0-30% maximum
- First layers: 0% fan for the first 5-10 layers minimum
- Bridges: Brief 20-30% fan for bridges only, then back to 0%
Infill
For functional nylon parts, higher infill pays off:
- General use: 25-40%
- Structural parts: 40-60%
- Maximum strength: 60-80% (100% is rarely needed due to nylon’s inherent toughness)
Gyroid or cubic infill patterns work well with nylon. Avoid rectilinear — its sharp direction changes can exacerbate warping.
Bed Adhesion: The Critical Challenge
Bed adhesion is the number one challenge when printing nylon. The material shrinks significantly as it cools, pulling parts off the bed with surprising force. Standard approaches (clean PEI, glass with hairspray) often aren’t enough. Here’s what actually works:
Garolite (LE / G10) Build Plate
This is the gold standard for nylon adhesion. Garolite is a fiberglass-laminate material that nylon bonds to extremely well when heated. A Garolite sheet costs $15-25 and attaches to your existing bed with binder clips or thermal pads. At 80-100°C, nylon sticks tenaciously. At room temperature, parts pop off easily.
PVA Glue Stick on Glass
A thick layer of PVA glue stick (the purple Elmer’s kind works fine) on a glass bed provides good adhesion for smaller nylon prints. Apply generously and let it dry slightly before printing. This is the cheapest and most accessible method.
Magigoo PA
Magigoo’s nylon-specific adhesive is formulated for polyamides and works well on most bed surfaces. It’s more expensive than glue stick but more reliable and requires less reapplication.
Painter’s Tape (Blue Tape)
3M blue painter’s tape provides decent adhesion for smaller nylon parts. Apply it to the bed in slightly overlapping strips. The textured surface of the tape gives nylon something to grip. Replacement cost is minimal.
Brim Is Your Friend
Always use a brim when printing nylon — at minimum 8-10mm wide, and up to 15-20mm for large parts. The brim gives the part a wider footprint, resisting the peeling forces from shrinkage. It’s easy to remove from nylon (the material is flexible enough that you can usually peel it off by hand).
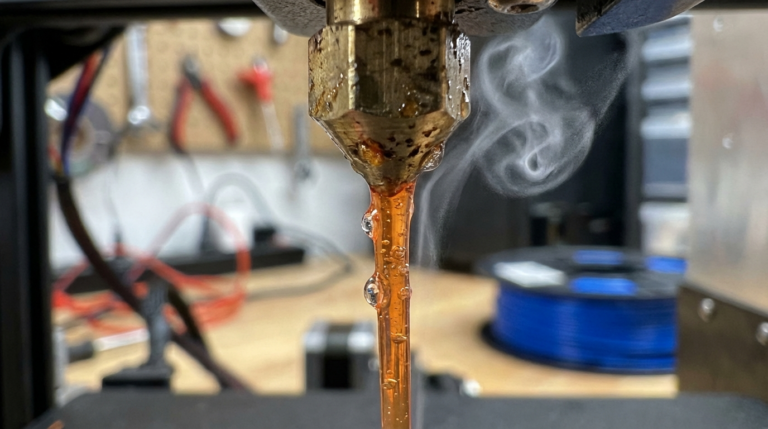
Moisture Management: Non-Negotiable
Nylon absorbs water from the air faster than any other common 3D printing filament. Left in open air for even a few hours in a humid environment, it absorbs enough moisture to cause printing problems. Symptoms of wet nylon include:
- Popping, hissing, or crackling during extrusion
- Rough, bubbly surface texture
- Poor layer adhesion and weak parts
- Excessive stringing
- Foamy or spongy-looking extrusion
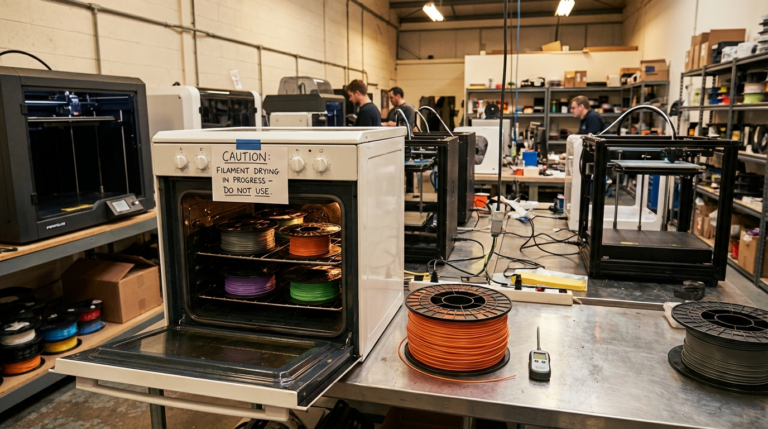
Drying Nylon
Nylon requires more aggressive drying than PLA or PETG:
- Temperature: 75-80°C
- Duration: 6-12 hours minimum, up to 24 hours for severely wet spools
- Method: Filament dryer, food dehydrator, or oven (with verified temperature)
Many users dry nylon overnight (12+ hours) before every print session. It sounds excessive, but the results speak for themselves.
Dry Box Printing
The best approach for nylon is to dry the filament and then print directly from a dry box that keeps the spool sealed while feeding filament to the printer. This prevents re-absorption during long prints. Commercial options include the Sunlu S4, EIBOS Cyclopes, and PrintDry. DIY dry boxes using cereal containers with PTFE tube fittings work too.
Storage
Never leave nylon in open air. Seal it in an airtight container or vacuum bag with desiccant immediately after use. Target storage humidity below 10% — even lower than PETG requirements. Rechargeable silica gel packs are cost-effective for long-term storage.
Troubleshooting Common Nylon Issues
Warping
This is the most common nylon problem. Solutions in order of effectiveness:
- Use an enclosure
- Increase bed temperature to 90-100°C
- Add a wider brim (15-20mm)
- Use Garolite build surface
- Reduce print speed
- Switch to CF-Nylon or GF-Nylon (fiber reinforcement reduces warping dramatically)
Poor Bed Adhesion
If your first layer won’t stick:
- Slow first layer to 15 mm/s
- Increase first layer width to 150-200%
- Decrease Z offset slightly (squish the first layer more)
- Try a different bed adhesion method (Garolite, PVA glue, Magigoo PA)
- Make sure bed is clean — isopropyl alcohol wipe before every print
Layer Separation (Delamination)
Nylon layers splitting apart means either moisture or insufficient temperature:
- Dry the filament thoroughly
- Increase nozzle temperature by 5-10°C
- Reduce fan speed (ideally 0%)
- Use an enclosure to maintain ambient temperature
Excessive Stringing
Some stringing is normal with nylon. To minimize it:
- Increase retraction distance by 1-2mm from baseline
- Reduce nozzle temperature to the lower end of the range
- Enable “wipe” or “coasting” in your slicer
- Make sure your filament is dry — wet nylon strings much worse
- Clean up remaining strings with a heat gun (250°C, quick pass) or carefully by hand
Best Nylon Filament Brands
Based on community consensus and my own experience, here are the most reliable nylon filaments for hobby printing:
- Taulman 910: Excellent all-rounder, great layer adhesion, relatively easy to print. Many users’ first nylon filament.
- Polymaker CoPA: Modified copolymer nylon with reduced warping. Good balance of properties and printability.
- Overture Nylon: Budget-friendly option that performs surprisingly well. Good for learning.
- Bambu Lab PA6-CF: Premium carbon fiber nylon with outstanding stiffness and dimensional stability. Requires hardened nozzle.
- Taulman 645: Lower warp tendency than standard nylon, slightly easier for beginners.
- 3DXTech CarbonX PA6-CF: Professional-grade carbon fiber nylon for engineering applications.
When to Use Nylon vs. Alternatives
Nylon isn’t always the right choice. Here’s a quick decision guide:
- Need impact resistance and flexibility? → Nylon wins
- Need stiffness and heat resistance? → Consider ABS, ASA, or PC
- Need wear resistance (gears, bearings)? → Nylon wins (especially PA12)
- Need chemical resistance? → PETG or PP might be better depending on the chemical
- Need easy printing with good strength? → PETG is usually sufficient
- Need maximum stiffness with minimal warping? → CF-Nylon or CF-PETG
Final Thoughts
Nylon rewards patience and preparation. It demands more from your printer and your workflow than PLA or PETG, but it produces parts with mechanical properties that those materials simply can’t match. If you print functional parts — things that need to flex, absorb impact, resist wear, and survive real-world use — nylon is worth learning.
Start with a forgiving formulation like Taulman 910 or Polymaker CoPA. Get your drying routine established (this is non-negotiable). Use a brim, slow your first layer, and keep your enclosure closed. The learning curve is real, but once you’ve dialed in your process, nylon opens up an entire category of projects that other filaments can’t handle.