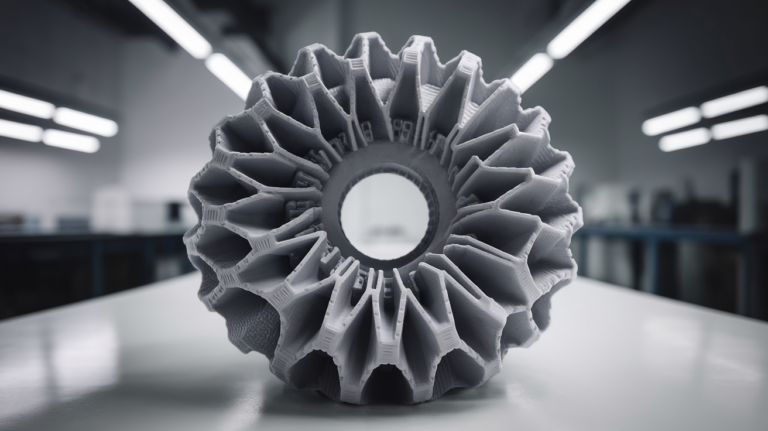
ASA Filament 3D Printing Guide: Settings, Tips, and Best Brands
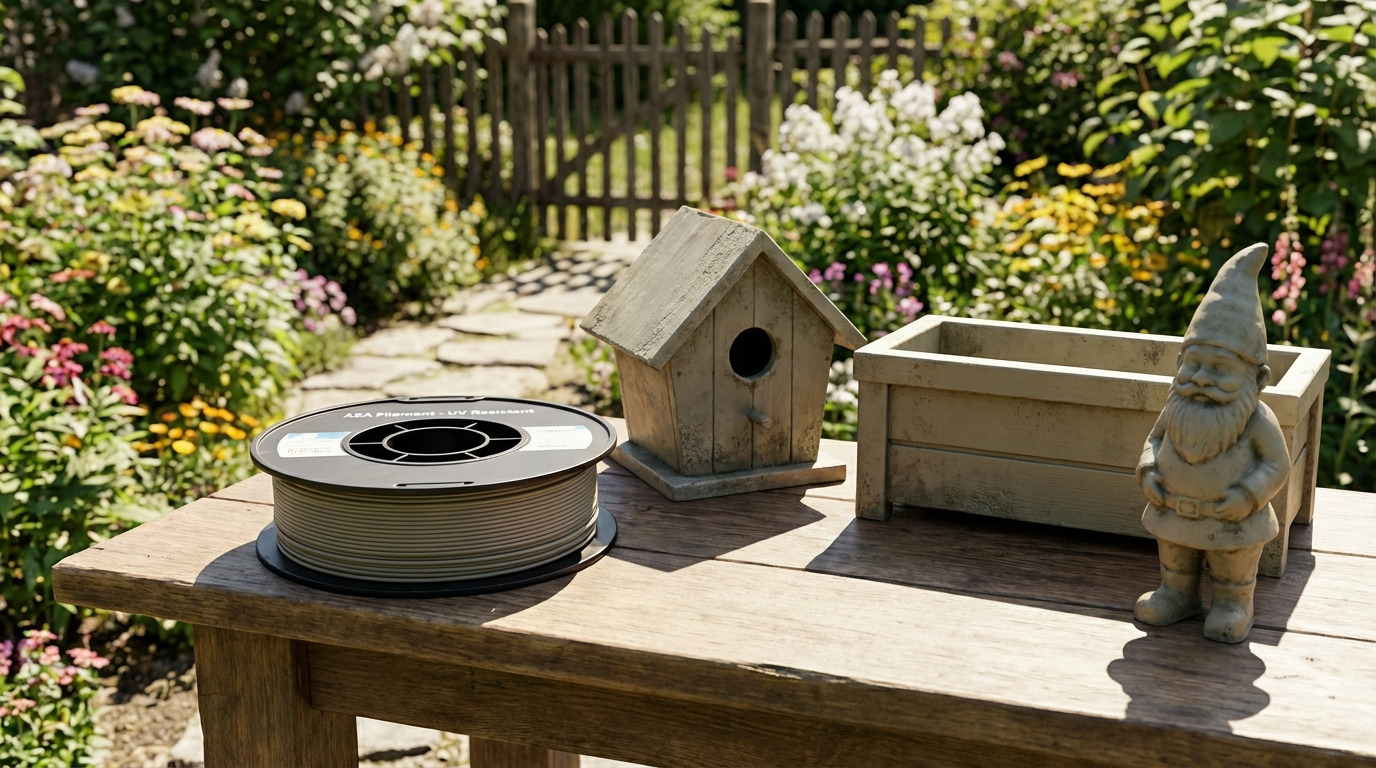
If you’ve ever left a PLA print outdoors only to watch it warp and deform in the summer heat, you’ve already discovered the hard way that not all filaments are created equal. Enter ASA — Acrylonitrile Styrene Acrylate — the filament that was essentially engineered for the outdoors.
ASA offers the mechanical strength of ABS with dramatically improved UV resistance and weatherability. It’s the go-to choice for anyone printing functional parts that need to survive sun, rain, and temperature swings. But printing ASA comes with its own set of challenges. In this guide, I’ll cover everything from optimal print settings to common pitfalls and how to avoid them.
What Is ASA and Why Should You Care?
ASA was originally developed in the 1970s as a weather-resistant alternative to ABS for automotive exterior parts. The key difference is in the rubber component: where ABS uses butadiene (which degrades under UV light), ASA uses acrylate esters that shrug off sunlight like it’s nothing.
This makes ASA the superior choice for:
- Outdoor enclosures and housings
- Garden tools and fixtures
- Automotive trim pieces and brackets
- Signage and outdoor decorations
- Anything that lives outside year-round
ASA vs ABS: The Key Differences
Since ASA is often compared to ABS, let’s break down how they actually stack up:
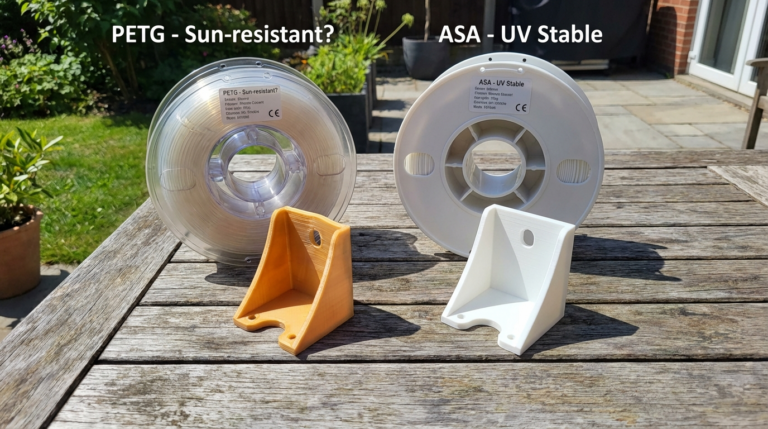
UV Resistance: ASA wins overwhelmingly. ABS yellows and becomes brittle after weeks of sun exposure. ASA can handle years of direct sunlight with minimal degradation.
Weather Resistance: ASA handles rain, humidity, and temperature cycling far better than ABS. It doesn’t absorb as much moisture and maintains its dimensional stability through seasonal changes.
Warping: Both materials warp, but ASA is slightly less prone to it than ABS. You’ll still need an enclosure and heated bed, but you won’t fight it quite as hard.
Strength: Virtually identical. Both offer excellent impact resistance and rigidity. ASA has a slight edge in long-term outdoor strength because UV doesn’t degrade it.
Fumes: ASA produces fumes during printing, similar to ABS. Print in a ventilated area or use an enclosure with a filter. Don’t print ASA in your bedroom with the door closed.
Cost: ASA is typically 10-30% more expensive than ABS, but when you factor in that your outdoor parts won’t need replacing after one summer, it’s actually cheaper in the long run.
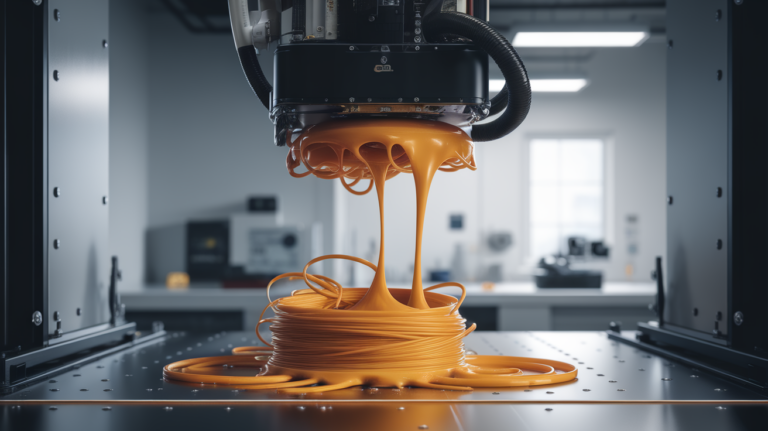
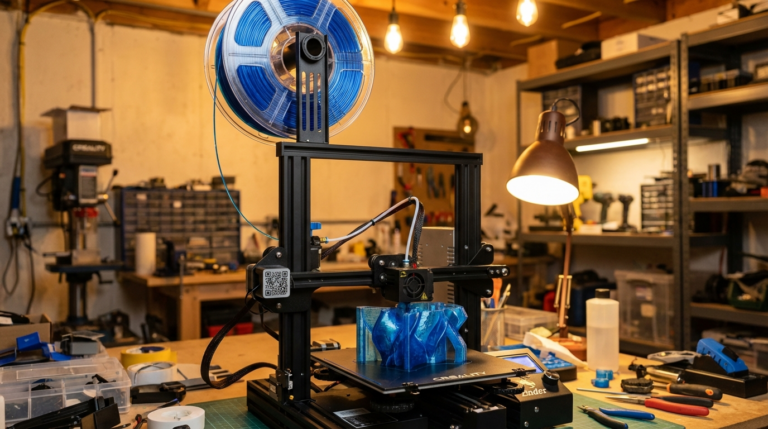
Essential Print Settings for ASA
Nozzle Temperature: 240-260°C
ASA likes it hot. Start at 250°C and adjust based on your specific brand. Polymaker PolyLite ASA prints well at 245°C, while some generic brands need 255°C to flow properly. If you see poor layer adhesion, go hotter. If you see stringing, go cooler.
Bed Temperature: 90-110°C
A properly heated bed is non-negotiable with ASA. Start at 100°C for the first layer, then drop to 95°C for subsequent layers. Glass beds work well with ASA at these temperatures — the parts stick firmly during printing and pop off when the bed cools.
Print Speed: 40-60 mm/s
ASA isn’t a speed demon. Printing too fast causes poor layer bonding and increases the risk of warping. Keep your speeds moderate: 50 mm/s for walls, 40 mm/s for the first layer, and up to 60 mm/s for infill.
Cooling Fan: 0-30%
This is where ASA diverges sharply from PLA. Minimal to zero cooling is the way to go. Too much fan causes layer separation and increases warping. Use 0% for the first 4-5 layers, then optionally bump to 15-20% for overhangs and bridges only. Never exceed 30%.
Enclosure: Strongly Recommended
An enclosed print chamber is the single biggest upgrade for ASA printing. It maintains a consistent ambient temperature (ideally 35-50°C inside the enclosure), dramatically reducing warping and improving layer adhesion. Even a simple cardboard box draped over your printer makes a noticeable difference.
Bed Adhesion: Getting ASA to Stick
ASA has excellent bed adhesion when you get it right, but the first layer is critical:
Best Bed Surfaces for ASA
- PEI sheet (textured): The gold standard. ASA sticks firmly to textured PEI at 100°C and releases cleanly when cooled.
- Glass + glue stick: Classic combo. Apply a thin layer of Elmer’s-style glue stick to heated glass. Works reliably.
- ABS/ASA slurry: Dissolve a few scraps of ASA in acetone to make a thin paste. Brush it on the bed. This creates an ASA-to-ASA bond that’s incredibly strong.
- Kapton tape: Still works, but less popular now that PEI sheets are affordable.
Brim Is Your Friend
For any part with a small footprint or sharp corners, add a 5-8mm brim. ASA warps at corners more than anywhere else, and a brim distributes the thermal stress across a wider area. It peels off easily after printing.
Dealing with Warping
Even with perfect settings, ASA can warp on larger prints. Here’s the anti-warping playbook:
- Use an enclosure. I know I already said this, but it bears repeating. It’s the #1 solution.
- Slow first layer to 20 mm/s. Give it time to bond properly to the bed.
- Increase bed temp to 105-110°C for the first 3-4 layers if warping persists.
- Reduce infill percentage. More infill means more internal stress. Drop from 20% to 15% for large parts.
- Orient the part to minimize flat surface area on the bed if possible — smaller footprint means less differential cooling.
- Avoid drafts. Even with an enclosure, opening the door mid-print can cause thermal shock that triggers warping.
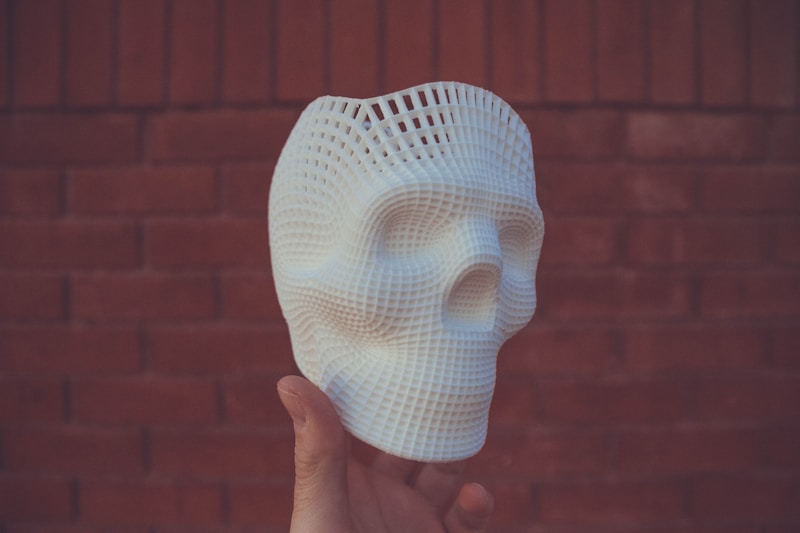
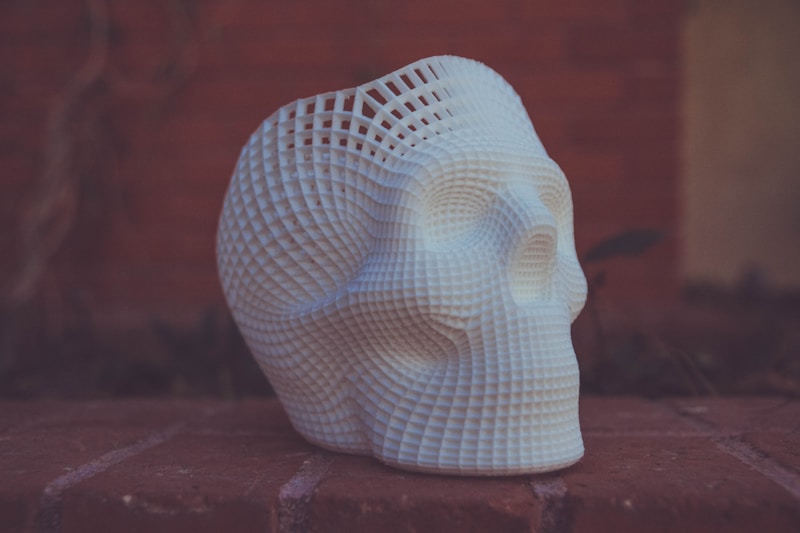
Post-Processing ASA Prints
One of ASA’s hidden superpowers is that it can be vapor-smoothed with acetone, just like ABS. This gives your prints a glossy, injection-molded appearance:
- Place your print on a raised platform inside a sealed container.
- Add a small amount of acetone to a paper towel at the bottom (don’t let liquid acetone touch the print).
- Seal the container and wait 30-60 minutes, checking periodically.
- Remove when the surface reaches your desired smoothness.
- Let it cure in open air for 24 hours before handling.
ASA also sands well (start at 200 grit, work up to 600), accepts spray paint, and can be bonded with cyanoacrylate (super glue) or acetone welding.
Best ASA Filament Brands
Not all ASA is created equal. Here are the brands that consistently deliver good results:
- Polymaker PolyLite ASA: The benchmark. Excellent UV resistance, low warping tendency, consistent diameter. Available in many colors.
- Prusament ASA: Premium quality with tight tolerances. Prusa publishes QA data for every spool. Limited color selection but excellent performance.
- KVP ASA: Great value option with good color range. Prints a bit stringier than Polymaker but mechanically sound.
- SUNLU ASA: Budget-friendly option. Requires a bit more temperature tuning but delivers solid results for the price.
- eSUN ASA+: Modified formula that reduces warping slightly compared to standard ASA. Good for beginners trying ASA for the first time.
Common ASA Problems and Quick Fixes
Delamination (Layer Splitting)
Cause: Insufficient temperature or too much cooling. Fix: Increase nozzle temp by 5°C, reduce fan to 0%, ensure enclosure is sealed.
Excessive Stringing
Cause: ASA’s high print temperature makes stringing common. Fix: Retraction of 4-6mm (Bowden) or 1-2mm (direct drive), retraction speed 40 mm/s, and reduce temperature by 5°C if stringing is severe.
Rough Surface Finish
Cause: Often moisture-related. Fix: Dry your ASA at 75°C for 4-6 hours before printing. Store in a sealed container with desiccant.
Parts Breaking in Cold Weather
Cause: While ASA handles UV well, extreme cold can make it slightly brittle. Fix: Increase wall count to 4-5 and use 20%+ infill for parts that will endure freezing temperatures.
Real-World ASA Projects
To give you some inspiration, here are projects where ASA truly shines:
- Outdoor camera mounts: ASA brackets that hold security cameras through sun, rain, and snow for years.
- Garden irrigation fittings: Custom connectors and splitters that handle UV and moisture exposure.
- Car phone mounts: Dashboard mounts that won’t deform in a hot car interior.
- Mailbox numbers and signs: Weatherproof house numbers and custom signage.
- Drone frames: Lightweight, UV-resistant structures for outdoor quadcopters.
Final Thoughts
ASA isn’t the easiest filament to print — it demands an enclosure, careful temperature management, and patience with warping. But for outdoor applications, nothing else in the FDM world comes close. PLA melts in the sun, PETG eventually yellows, and ABS crumbles under UV. ASA just keeps going.
If you’re printing parts that will live outside, ASA should be your default choice. Invest in a basic enclosure, dial in your settings with a few test prints, and you’ll have a material that produces functional outdoor parts for years to come.