Polycarbonate 3D Printing Guide: Settings, Tips and Troubleshooting
What Is Polycarbonate Filament?
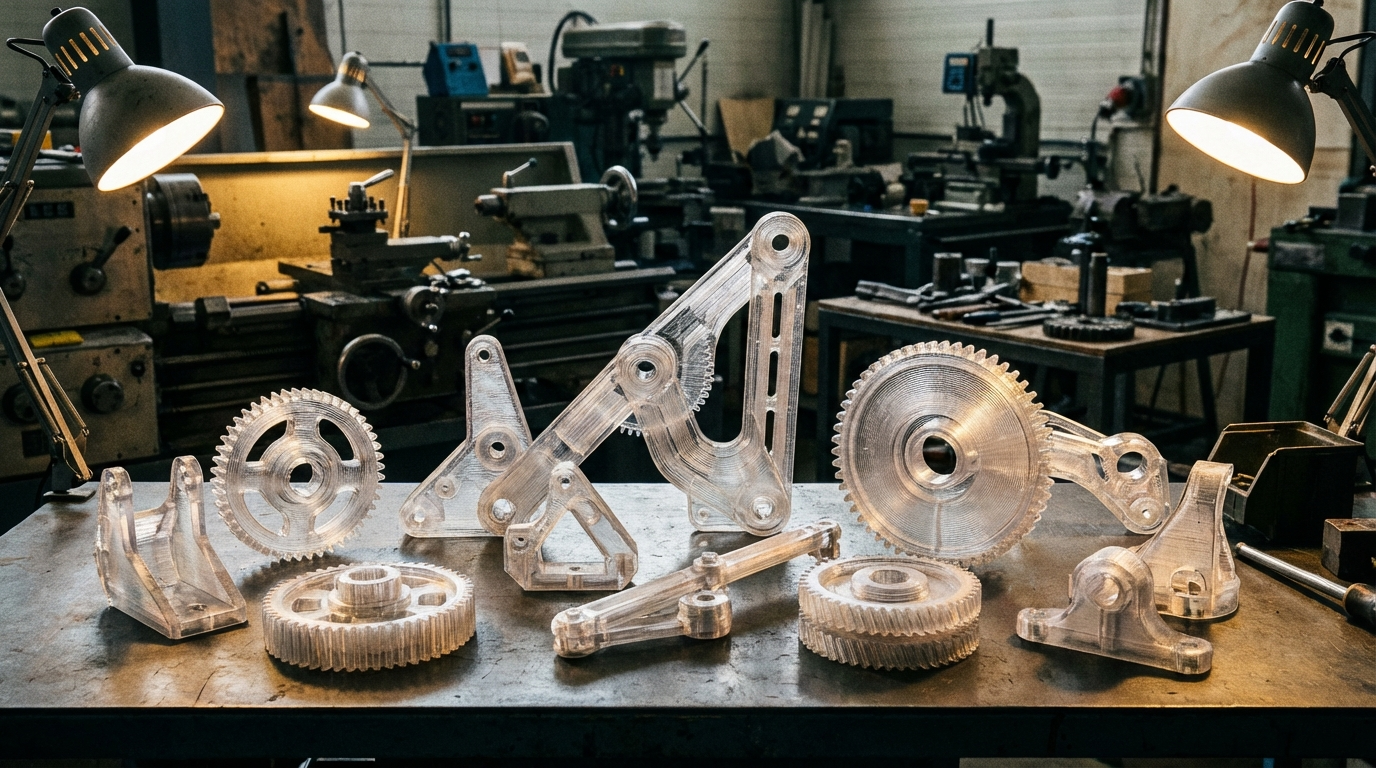
Polycarbonate (PC) is one of the strongest thermoplastics available for desktop FDM 3D printing. Known for its exceptional impact resistance, high heat deflection temperature, and natural transparency, polycarbonate is the go-to material for engineers and makers who need parts that can take real-world punishment.
Unlike PLA or even PETG, polycarbonate demands more from your printer — higher temperatures, an enclosed build chamber, and careful moisture management. But once you dial in the right settings, the results speak for themselves: parts that rival injection-molded components in both strength and thermal performance.
In this guide, I’ll walk you through everything you need to know about printing polycarbonate successfully — from temperature settings and bed preparation to common problems and how to solve them.
Why Print with Polycarbonate?
Polycarbonate offers a combination of properties that no other common FDM filament can match:
- Impact resistance: PC is virtually unbreakable under normal conditions. It’s the same material used in bulletproof glass and safety helmets.
- Heat resistance: With a glass transition temperature around 147°C, polycarbonate parts won’t deform in hot environments where PLA (60°C) and even PETG (80°C) would fail.
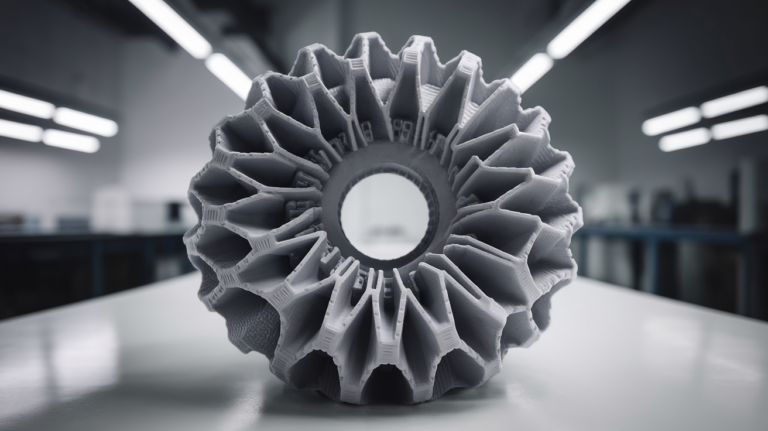
- Optical clarity: Natural PC filament prints translucent to nearly transparent, making it suitable for light covers, lenses, and display cases.
- Dimensional stability: Once printed correctly, PC parts maintain their shape and tolerances over time, even under mechanical stress.
Common applications include functional prototypes, automotive components, electrical housings, tool handles, and any parts exposed to high temperatures or mechanical loads.
Printer Requirements for Polycarbonate
Before you load that spool, make sure your printer can actually handle polycarbonate. Not every machine is up to the task.
All-Metal Hotend (Required)
Polycarbonate prints at 260–310°C. If your hotend uses a PTFE-lined heatbreak (like stock Ender 3 or most budget printers), the PTFE will start degrading above 240°C and release toxic fumes. You absolutely need an all-metal hotend — options like the Micro Swiss, E3D V6, or Bambu Lab’s stock hotends work well.
Heated Bed (Required)
A heated bed capable of reaching at least 110°C is essential. Most PC filaments want bed temperatures between 110–130°C. Standard magnetic PEI sheets work well, though some users prefer glass with a thin layer of glue stick.
Enclosure (Strongly Recommended)
Polycarbonate is highly prone to warping and layer splitting due to its high shrinkage rate. An enclosed build chamber that maintains ambient temperatures of 50–70°C dramatically reduces these issues. If you don’t have a commercial enclosure, even a simple cardboard or foam board enclosure helps significantly.
Hardened Nozzle (Optional but Recommended)
While pure polycarbonate won’t wear a brass nozzle quickly, many PC blends contain carbon fiber or glass fiber reinforcement. If you’re using any filled variant, a hardened steel or ruby-tipped nozzle is worth the investment.
Recommended Polycarbonate Print Settings
These settings work as a solid starting point for most PC filaments. Always check your specific filament manufacturer’s recommendations, as formulations vary.
Temperature Settings
- Nozzle temperature: 260–300°C (start at 270°C and adjust)
- Bed temperature: 110–130°C (120°C is a safe starting point)
- Chamber temperature: 50–70°C if enclosed
Speed and Flow
- Print speed: 30–50 mm/s (slower is better for PC)
- First layer speed: 15–20 mm/s
- Flow rate: 100–105% (PC can be slightly under-extruded if not adjusted)
- Retraction: 1–3mm for direct drive, 4–6mm for Bowden (minimize to prevent clogs)
Cooling
- Part cooling fan: OFF for the first 4–6 layers, then 0–30% maximum
- Minimal cooling is key: Too much cooling causes layer delamination, which is the number one failure mode with PC
Bed Adhesion
- First layer height: 0.25–0.3mm for better squish
- Adhesion method: Brim (8–10mm) strongly recommended; raft for large parts
- Bed surface: PEI, glass with glue stick, or Garolite (G10) — Garolite gives the best adhesion for PC
Step-by-Step: Your First Polycarbonate Print
Ready to try it? Follow this workflow for the best results:
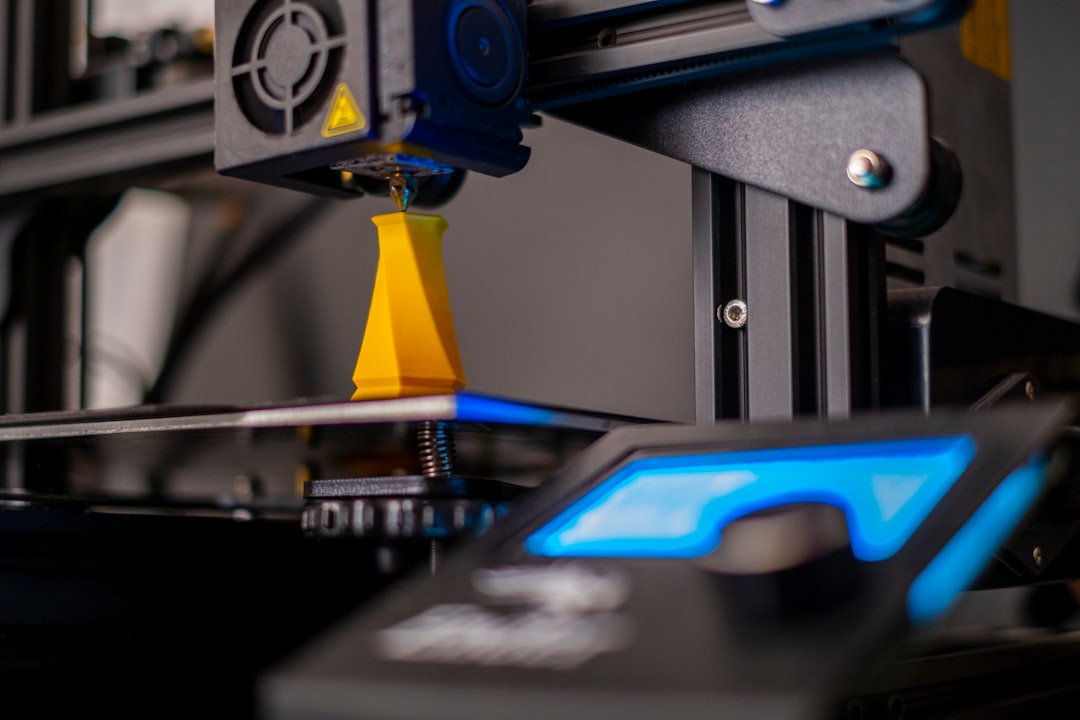
- Dry your filament. This is non-negotiable. PC absorbs moisture aggressively. Dry it at 80°C for 4–6 hours before printing, and keep it in a dry box or filament dryer while printing.
- Preheat everything. Set your bed to 120°C and nozzle to 270°C. If you have an enclosure, close it up and let the chamber warm for 15–20 minutes before starting.
- Level carefully. PC’s first layer adhesion is critical. Use a piece of paper or feeler gauge and make sure your Z-offset gives good squish without being too close.
- Start with a test cube. Print a 20mm calibration cube first. Look for warping at corners, layer adhesion quality, and surface finish. Adjust temperature up if you see delamination, down if you see stringing.
- Print your part. Use a brim, keep the enclosure closed during the entire print, and resist the urge to open it. Temperature fluctuations are your enemy.
- Cool slowly. When the print finishes, leave it in the enclosed printer for 30–60 minutes to cool gradually. Rapid cooling causes internal stress and can crack the part.
Common Polycarbonate Printing Problems and Fixes
Warping and Lifting
This is the most common PC problem. The filament contracts significantly as it cools, pulling corners off the bed.
Fixes:
- Use an enclosure — this is the single biggest improvement
- Increase bed temperature to 125–130°C
- Apply a thin layer of glue stick or use Garolite bed surface
- Add a wider brim (10–15mm)
- Turn off part cooling fan completely for the first half of the print
Layer Delamination (Splitting)
If your print looks like layers are peeling apart or you can pull layers off easily, the interlayer adhesion is failing.
Fixes:
- Increase nozzle temperature by 5–10°C increments
- Reduce print speed to 30 mm/s or slower
- Disable the part cooling fan entirely
- Ensure your enclosure is maintaining proper chamber temperature
- Check for wet filament — moisture causes steam bubbles that weaken layer bonds
Stringing and Oozing
At 270°C+, polycarbonate becomes very fluid and loves to string between travel moves.
Fixes:
- Increase retraction distance slightly (but don’t go too far or you’ll get clogs)
- Increase travel speed to 150–200 mm/s
- Enable “wipe” or “coasting” in your slicer
- Try lowering the temperature by 5°C if strings are excessive
Nozzle Clogs
PC’s high printing temperature combined with moisture can cause carbonized material buildup inside the hotend.
Fixes:
- Always dry filament before use
- Perform cold pulls regularly (use nylon at 250°C for best results)
- Don’t leave PC sitting in a hot nozzle — if you pause, either continue quickly or unload
- Make sure your all-metal hotend has a smooth transition between heatbreak and nozzle
Best Polycarbonate Filament Brands
Not all polycarbonate filaments are created equal. Some are pure PC (harder to print but strongest), while others are PC blends designed to be easier to work with:
- Polymaker PolyMax PC: One of the easiest PC filaments to print. It’s a PC blend with improved printability and still offers excellent impact resistance. Great for beginners to the material.
- Priline PC: A budget-friendly pure polycarbonate option. Requires more careful settings but delivers true PC properties at a lower price point.
- 3DXTech PC: Premium pure polycarbonate with tight diameter tolerances. Excellent for functional parts that need maximum strength and heat resistance.
- Overture PC: Mid-range option with decent printability. Good vacuum-sealed packaging helps with moisture control.
- eSUN ePC: Another budget-friendly blend that prints easier than pure PC. Good choice if you want PC-like properties without fighting the print process.
Polycarbonate vs. Other Engineering Filaments
How does PC stack up against other strong filaments?
- PC vs. ABS: PC is significantly stronger and more heat-resistant than ABS, but harder to print. If ABS meets your strength requirements, it’s the easier option.
- PC vs. PETG: PETG is far easier to print and doesn’t need an enclosure, but it can’t match PC’s impact resistance or heat tolerance. PETG tops out around 80°C.
- PC vs. Nylon: Both are engineering-grade, but they excel in different areas. Nylon has better wear resistance and flexibility; PC has better impact resistance and heat tolerance.
- PC vs. ASA: ASA offers better UV resistance for outdoor use, but PC wins on mechanical strength. For outdoor functional parts, ASA is often the better choice unless extreme strength is needed.
Safety Considerations
Printing polycarbonate requires some safety awareness:
- Ventilation: PC can emit small amounts of bisphenol A (BPA) when heated. Print in a well-ventilated area or use an air filtration system with activated carbon.
- Hot surfaces: Bed temperatures above 110°C can cause serious burns. Be cautious around the printer while it’s running.
- PTFE degradation: If you accidentally print PC through a PTFE-lined hotend, the PTFE will decompose and release toxic fumes. This is why an all-metal hotend is mandatory, not optional.
Final Thoughts
Polycarbonate isn’t a beginner filament, and it doesn’t pretend to be. It demands an upgraded printer, careful preparation, and patience with settings. But when you need parts that combine extreme impact resistance, high heat tolerance, and optical clarity, nothing else in the FDM world comes close.
Start with a PC blend like Polymaker PolyMax PC if you’re new to the material, invest in proper filament drying, and build or buy an enclosure. Once you’ve mastered the basics, you’ll wonder how you ever relied on PLA for functional parts.
The learning curve is real — but so are the results.