How to Clean a Clogged 3D Printer Nozzle
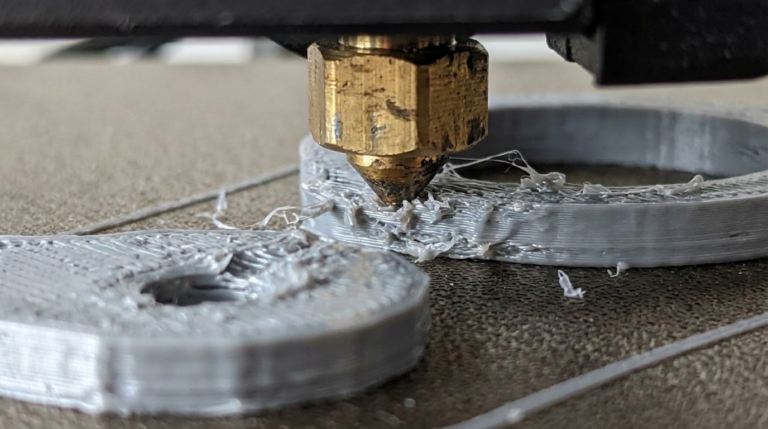
A clogged nozzle will ruin your day faster than almost any other 3D printing problem. One moment you’re printing fine, the next moment the extruder is clicking, filament stops flowing, and you’re staring at a half-finished print with a bald patch where plastic should be.
I’ve dealt with clogged nozzles more times than I can count. Some were my fault (switching from PLA to PETG without purging properly), some were bad filament (cheap stuff with inconsistent diameter), and a few were just age — nozzles wear out, especially brass ones. Here’s everything I’ve learned about diagnosing, fixing, and preventing nozzle clogs.
How to Tell Your Nozzle Is Clogged
Not every extrusion problem is a clog. Before you start disassembling things, check for these symptoms:
Partial clog signs:
- Thinner-than-expected extrusion lines
- Under-extrusion on one side or intermittently
- The extruder gear is clicking or skipping steps
- Print quality has gradually gotten worse over several prints
Full clog signs:
- No filament comes out at all, even when you manually push it
- The extruder motor clicks rapidly or stalls
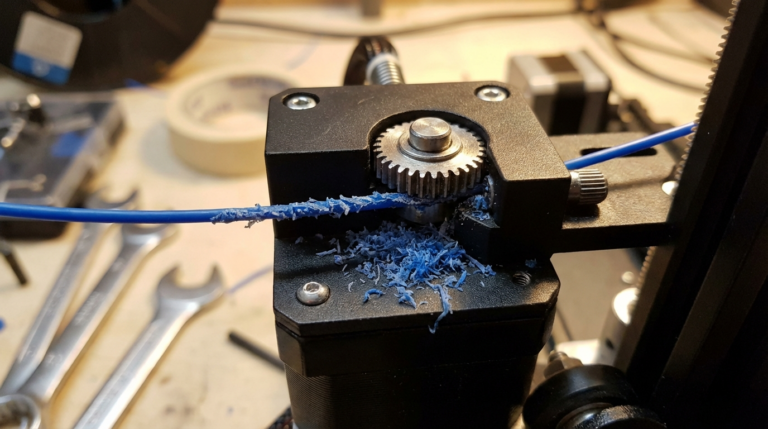
- Filament grinds down to a flat ribbon at the extruder gear
Not a clog (but often confused for one):
- Filament tangles on the spool — check your spool
- PTFE tube has slipped — check the coupler fittings
- Extruder tension is too loose — tighten the spring or adjust the arm
Once you’ve confirmed it’s actually a clog, here are your options, from easiest to most involved.
Method 1: The Cold Pull (Atomic Method)
This is my go-to technique and it works about 80% of the time. The idea is simple: you heat the nozzle, push filament in, let it cool, then yank it out. The solidified filament grabs onto whatever debris is inside the nozzle and pulls it out with it.
Step-by-Step Cold Pull
- Remove the filament currently loaded in the printer.
- Heat the nozzle to the printing temperature of the filament you’ll use for the pull. I prefer nylon for cold pulls because it grabs debris better than anything else, but PLA or PETG works too. For nylon, heat to 250°C. For PLA, 200°C.
- Manually push filament into the hotend until it starts coming out the nozzle. Push a good 10-15cm through to flush out loose debris.
- Let the nozzle cool down. For nylon, cool to about 120°C. For PLA, cool to about 90°C. The filament needs to be solid but still pliable.
- Pull the filament out firmly in one smooth motion. Don’t jerk — pull steadily.
- Inspect the tip of the pulled filament. You should see a clean cone shape with a narrow tip matching the nozzle diameter. If the tip is blackened, has debris on it, or has an irregular shape, repeat the process.
I usually do 3-4 cold pulls in a row until the tip comes out clean and cone-shaped. It takes about 15 minutes and clears most partial clogs beautifully.
Why Nylon Works Best
Nylon has a wider temperature range between its melting point and its fully solidified state. That means it stays pliable longer as the nozzle cools, giving it more time to grip debris inside. It also bonds to carbonized plastic better than PLA.
I keep a short length of cheap nylon filament in my toolbox specifically for cold pulls. Doesn’t need to be fancy — even $15/kg nylon works perfectly for cleaning.
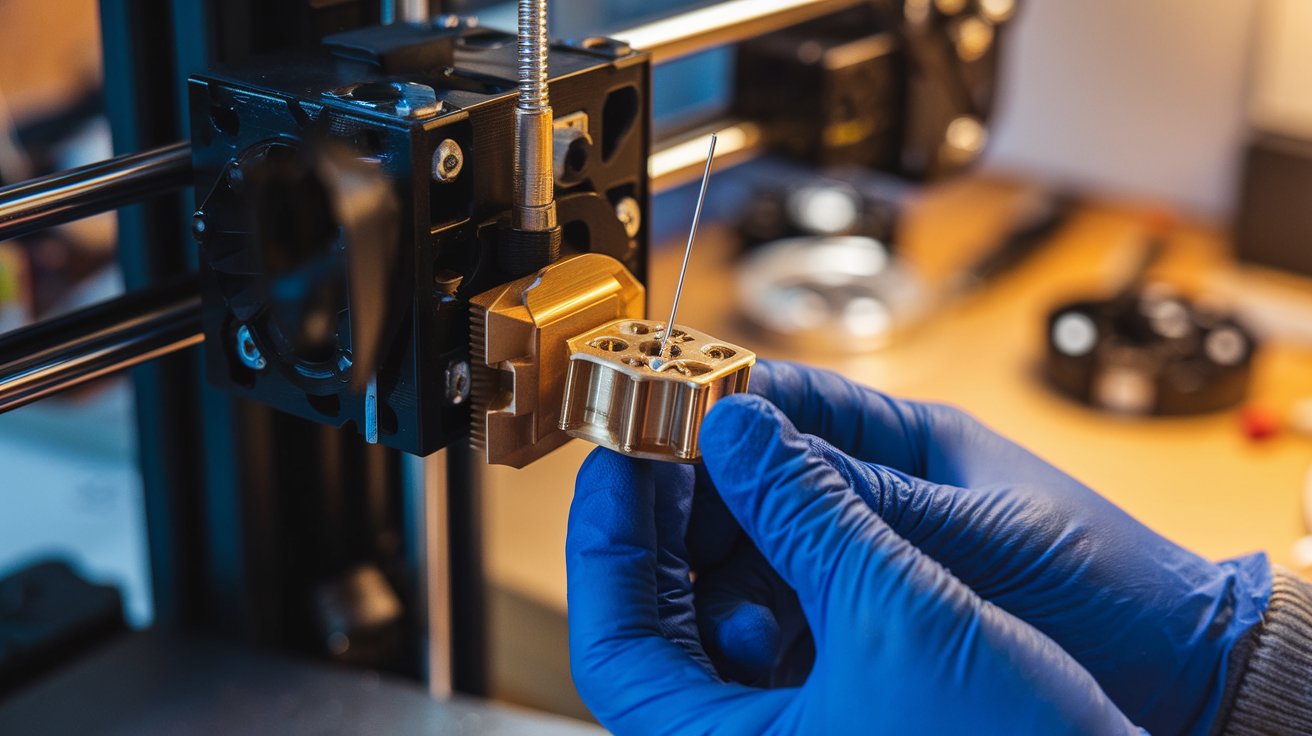
Method 2: The Cleaning Needle (Acupuncture Needle)
Most printers come with a tiny needle in their accessory kit. That’s not a decoration — it’s a nozzle cleaning needle, and it’s surprisingly effective for partial clogs.
How to Use It
- Heat the nozzle to your normal printing temperature.
- Insert the needle from below, up into the nozzle opening. For a 0.4mm nozzle, use a 0.3mm or 0.35mm needle.
- Push it in and out several times, rotating gently. You’re breaking up carbonized filament stuck to the inner walls.
- Extrude some filament manually afterward to flush out the loosened debris.
This method is great for quick maintenance between prints. I do a needle clean every 50-100 hours of printing as preventive care. Takes about 30 seconds.
Pro tip: Don’t use a needle that’s too thick. If it’s the same diameter as the nozzle bore, you risk damaging the nozzle opening or getting the needle stuck. Ask me how I know.
Method 3: Heat Soak and Purge
For soft clogs — usually caused by switching filaments without proper purging — a heat soak can dissolve the stuck material.
- Heat the nozzle to the highest temperature rating for your hotend (usually 250-260°C for all-metal, 240°C max for PTFE-lined).
- Let it sit for 5-10 minutes. The heat liquefies any partially melted filament stuck in the nozzle.
- Push filament through manually. The molten debris should flush out with it.
- Repeat if needed.
I use this method when I switch from PETG to PLA and notice the first few centimeters of PLA come out slightly discolored. That residual PETG needs higher temps to fully clear out.
Method 4: Disassembly and Soak
For truly stubborn clogs — the kind where nothing else works — you’ll need to remove the nozzle and soak it.
- Heat the nozzle to about 200-250°C.
- Use a socket wrench or the right-sized wrench to unscrew the nozzle while hot. On most hotends, it’s an M6 thread. Hold the heater block steady with pliers so you don’t twist the heatbreak.
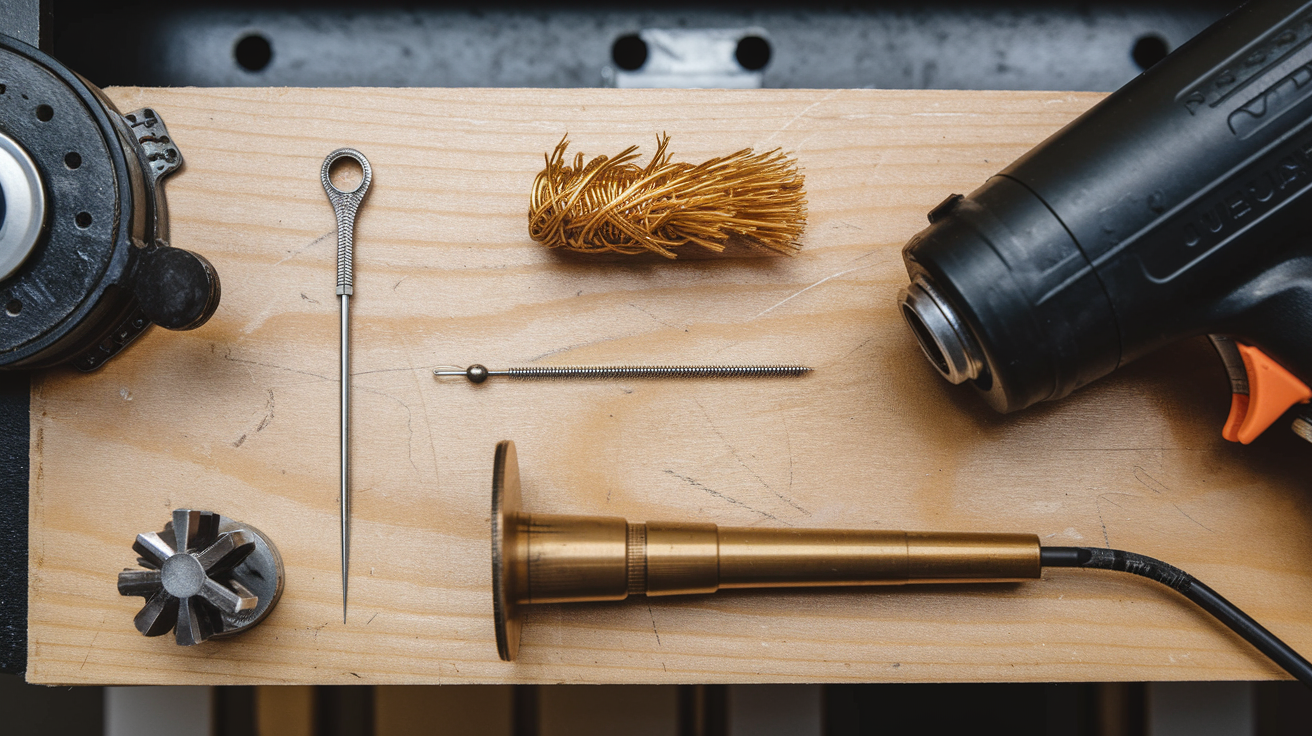
- Drop the nozzle into a container of acetone (works for ABS residue) or place it in a heat gun’s path to burn off residual plastic.
- For brass nozzles: you can torch them with a lighter or butane torch. Hold the nozzle with pliers and heat it until all plastic burns away. Let it cool, then push a needle through.
- Reinstall the nozzle while the hotend is hot. Tighten it snug but don’t over-torque — you’ll strip the threads.
Important: Only torch brass nozzles. Hardened steel nozzles can handle it too. But plated copper or ruby-tipped nozzles? Don’t. You’ll damage the coating or the tip.
When to Just Replace the Nozzle
Brass nozzles cost $1-3 each. I buy them in packs of 20 from Amazon and treat them as consumable parts. If a nozzle has been through 200+ hours of printing, or if I’ve been using abrasive filaments (carbon fiber, glow-in-the-dark, wood fill), I just swap it rather than trying to clean it.
Signs your nozzle needs replacing, not cleaning:
- Over-extrusion despite correct settings. The bore has worn wider. A 0.4mm nozzle that’s worn to 0.5mm will over-extrude at 0.4mm settings.
- Rough surface finish that won’t go away with tuning.
- Inconsistent extrusion even after thorough cleaning.
For abrasive filaments, invest in hardened steel or ruby-tipped nozzles. They cost $10-30 but last 10-50x longer than brass. The E3D Nozzle X and Slice Engineering Vanadium are both solid choices.
Preventing Clogs in the First Place
An ounce of prevention, as they say.
Purge between filament changes. When switching materials, extrude 20-30cm of the new filament before starting your print. If you’re going from a high-temp material (PETG, ABS) to a low-temp one (PLA), you need even more purging. The higher-temp residue doesn’t fully melt at PLA temps and can cause partial clogs.
Keep your filament dry. Wet filament produces steam bubbles inside the nozzle, which leaves behind carbonized residue over time. Store your spools in sealed bags with desiccant, and dry them in a filament dryer if you notice popping sounds during printing.
Don’t let filament sit in a hot nozzle. If your printer is going to be idle for more than 30 minutes, either retract the filament or cool down the hotend. Filament that sits at temperature slowly degrades and carbonizes, coating the inside of the nozzle.
Use quality filament. The cheapest no-name filament off AliExpress might save you $5 per spool, but inconsistent diameter and contaminants cause clogs and headaches. Hatchbox, eSUN, Polymaker, Prusament, and Bambu Lab filament are all reliable choices that rarely cause issues.
Do periodic cold pulls. Even if everything seems fine, a cold pull every few weeks keeps your nozzle pristine. Think of it like changing the oil in your car — preventive maintenance beats emergency repairs.
Quick Reference: Clog Fixes by Severity
| Severity | Method | Time |
|---|---|---|
| Minor (slightly reduced flow) | Cleaning needle | 1 minute |
| Moderate (under-extrusion, clicking) | Cold pull x3 | 15 minutes |
| Stubborn (barely any flow) | Heat soak + cold pull | 20 minutes |
| Severe (completely blocked) | Remove and soak/torch | 30 minutes |
| Beyond repair | Replace the nozzle | 5 minutes |
A clogged nozzle feels like a big deal the first time it happens. After you’ve cleared a few, it becomes routine maintenance — annoying but manageable. Keep a few spare nozzles and a cleaning needle in your toolbox, and you’ll never be down for more than a few minutes.