How to Prevent 3D Print Failure on Overnight and Long Prints
Why Overnight 3D Prints Fail (And How to Stop It)
There’s nothing worse than waking up to a pile of spaghetti where your 12-hour print should be. Overnight and long-duration prints carry unique risks — from power outages to filament tangles, thermal creep to adhesion failure. After years of running printers around the clock, I’ve compiled every trick that actually works for preventing those heartbreaking failures.
Whether you’re printing large cosplay helmets, architectural models, or functional parts that simply take a long time, this guide will help you hit that sweet spot of reliability so you can sleep soundly while your printer does its thing.
Pre-Print Checklist for Long Runs
Before you hit “Start” on anything longer than 6 hours, walk through this checklist. It takes 5 minutes and can save you 15 hours of wasted time and filament.
1. Verify Your First Layer
The first layer is everything. If it’s even slightly off, the problem compounds over hours. Watch the first 2-3 layers before walking away. Look for:
- Consistent squish — no gaps between lines, no excessive squishing
- Even adhesion across the entire print area
- No curling or lifting at corners
- Proper flow rate — lines should be touching but not overlapping excessively
2. Check Your Filament Spool
A tangled spool is one of the most common causes of overnight failures. Before starting:
- Ensure the filament unwinds freely — spin the spool manually and check for snags
- Look for crossed lines where the filament wraps over itself
- Verify you have enough filament — weigh the spool if possible (empty spools typically weigh 200-250g)
- Secure the end of the filament to prevent tangles when loading
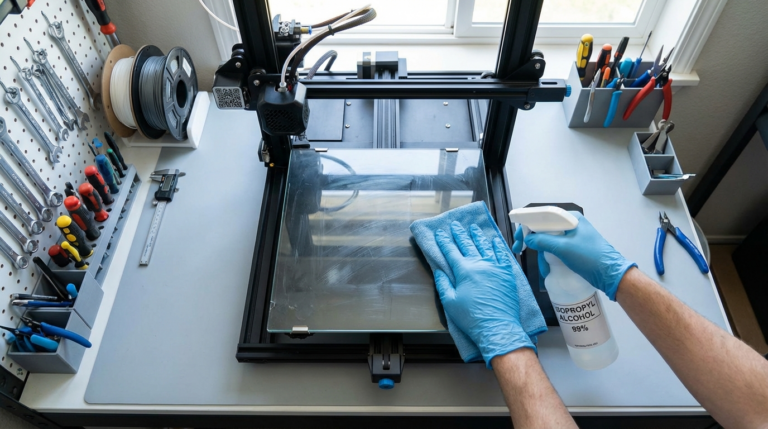
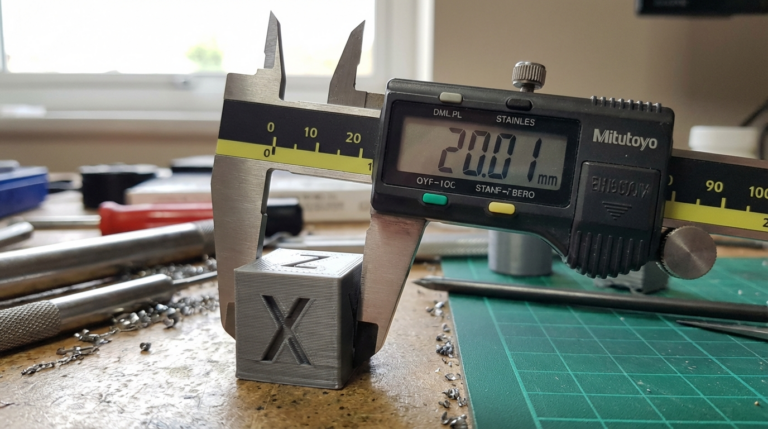
3. Clean Your Bed Surface
Oils from fingerprints are adhesion killers. Wipe your PEI sheet with 99% isopropyl alcohol before every long print. For glass beds, a thin layer of glue stick provides insurance. This 30-second step prevents more failures than any other single action.
Hardware Safeguards You Need
Thermal Runaway Protection
If your printer doesn’t have thermal runaway protection enabled, stop everything and fix that first. This safety feature shuts down the heaters if the firmware detects a thermistor failure or heater malfunction. Without it, a runaway heater could cause a fire — especially dangerous when you’re asleep.
Most modern firmware (Marlin 2.x, Klipper, RRF) includes this by default. If you’re running older firmware, update immediately. It’s non-negotiable for unattended printing.
UPS (Uninterruptible Power Supply)
A basic UPS doesn’t need to run your printer for hours — it just needs to keep it alive through the brief power flickers that cause 90% of power-related failures. A $40-60 UPS with 10-15 minutes of runtime is usually sufficient. Some printers (like those running Klipper on a Raspberry Pi) only need the Pi protected, since the printer board can handle brief interruptions.
Filament Runout Sensor
If your printer supports it, install a filament runout sensor. It pauses the print when filament runs out, so you can load a new spool and continue. Most modern printers include this, but if yours doesn’t, aftermarket sensors are cheap (under $10) and easy to install.
Slicer Settings That Improve Reliability
Adhesion Helpers
For long prints, don’t be shy about using brims. A 5-10mm brim adds minimal print time but dramatically improves adhesion for parts with small footprints. Rafts are overkill for most situations, but brims are nearly free insurance.
Conservative Speed Settings
Running at 80% of your normal speed for overnight prints is smart. The slight increase in print time is worth the improved reliability. Specifically:
- Outer wall speed: 40-50 mm/s instead of 60+
- First layer speed: 20-25 mm/s
- Travel speed: Keep at normal — this doesn’t affect quality much
- Acceleration: Drop by 20-30% from your tuned values
Temperature Stability
For prints lasting 8+ hours, ambient temperature changes become a factor. If your printer is near a window or in a garage, nighttime temperature drops can cause warping and adhesion failure. Solutions:
- Use an enclosure — even a simple cardboard box or LACK enclosure helps
- Set your heated bed 5°C higher than usual for overnight prints
- Close nearby windows and doors
- Consider a space heater on a thermostat if your printing area gets below 15°C (60°F)
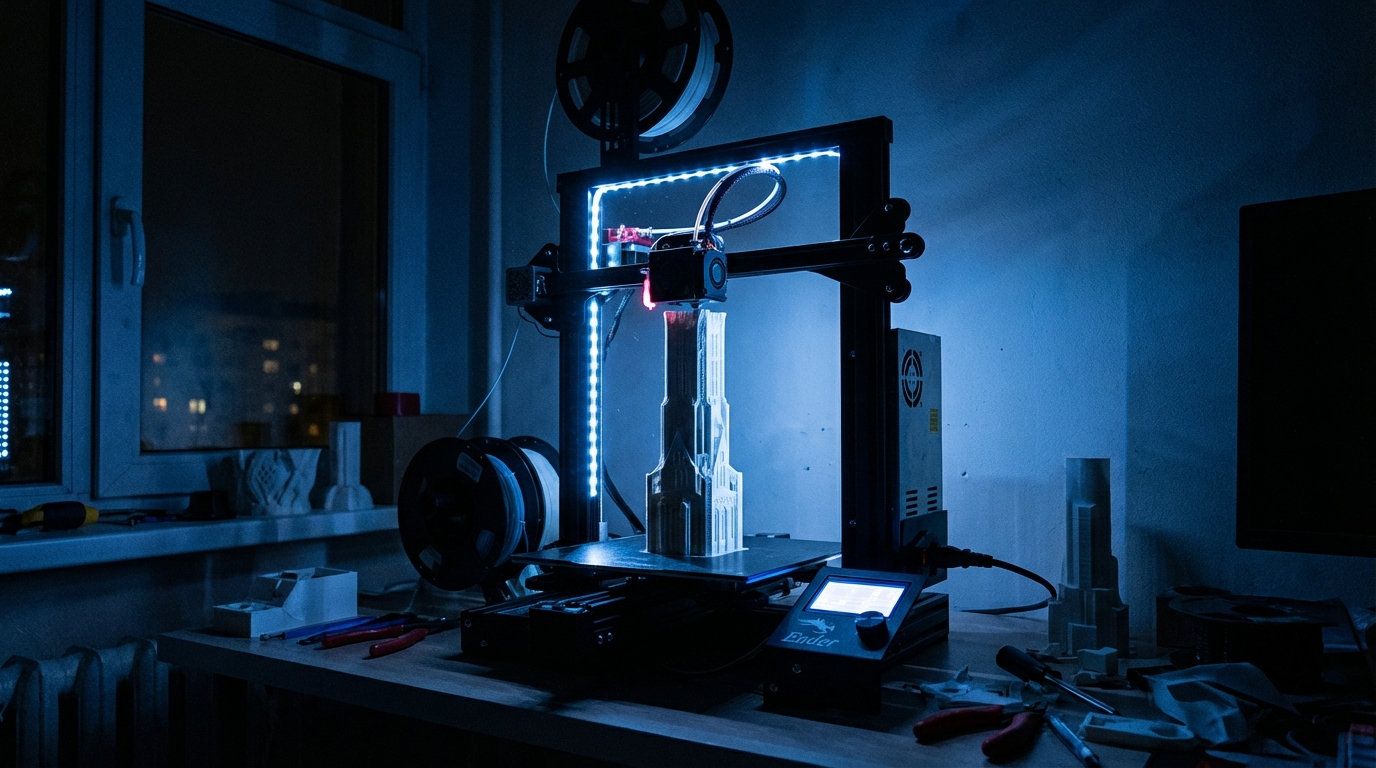
Remote Monitoring: Your Eyes While You Sleep
Camera Setup
A cheap webcam running OctoPrint or an IP camera pointed at your printer lets you check on prints from your phone. More importantly, you can set up automated monitoring with tools like:
- OctoPrint + Obico (formerly The Spaghetti Detective): AI-powered failure detection that automatically pauses your print if it detects spaghetti or detachment
- OctoEverywhere: Remote access to OctoPrint from anywhere
- Bambu Lab / Prusa Connect: Built-in camera monitoring for supported printers
Smart Plugs
A WiFi-enabled smart plug lets you kill power remotely if you see a failure on camera. Some users set up automations: if OctoPrint detects a failure, it triggers the smart plug to cut power. Just make sure you never use a smart plug to turn ON a printer remotely — you should always be present for startup.
Print Design Considerations
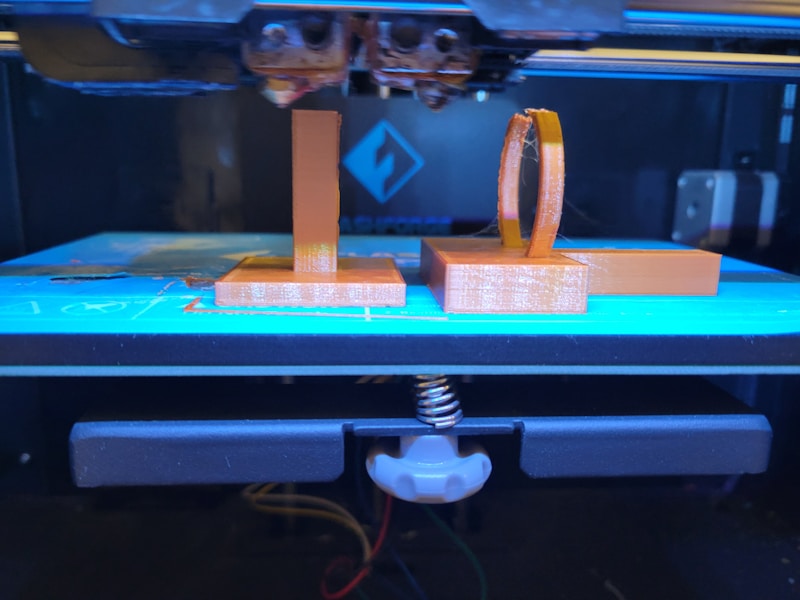
Some prints are inherently riskier for overnight runs. Here’s what to watch for:
- Tall, thin prints: High risk of being knocked over by the nozzle. Add a brim or increase bed temp.
- Large flat surfaces: Prone to warping. Use an enclosure and proper bed adhesion.
- Heavy support structures: Supports can fail and cause a chain reaction. Use tree supports for better reliability.
- Multi-part prints on one bed: If one part fails, the debris can knock over others. Print critical parts individually.
What to Do When a Long Print Fails
Even with all precautions, failures happen. Here’s how to diagnose and prevent repeats:
- Check the failure point: Did it fail at a specific layer? That might indicate a slicer issue, retraction problem, or geometry that needs support.
- Inspect the bed: Is there residue where the part lifted? Clean and re-level.
- Look at the filament path: Did the spool tangle? Was there a knot?
- Check your gcode preview: Sometimes the slicer creates problematic toolpaths at certain layers. Preview the entire print before starting.
- Review OctoPrint/Klipper logs: Temperature fluctuations, communication errors, and other issues are logged.
The Nuclear Option: Split Your Print
If a model keeps failing during overnight prints, consider splitting it into smaller pieces that can each finish in 4-6 hours. Tools like Meshmixer, Luban, or your slicer’s cut tool make this straightforward. Print the pieces during hours you can monitor, then assemble with CA glue or epoxy. Yes, it’s more work — but it’s less work than reprinting a failed 20-hour print three times.
Final Thoughts
Overnight printing isn’t about luck — it’s about systems. A proper pre-print checklist, hardware safeguards, conservative slicer settings, and remote monitoring turn overnight prints from gambling into a reliable workflow. Start with the basics (clean bed, check spool, watch first layer), add monitoring as your budget allows, and you’ll find that 90%+ of your overnight prints succeed on the first try.
The goal isn’t to eliminate all risk — it’s to reduce it to the point where hitting “Start” and going to bed feels boring instead of terrifying. That’s when you know your setup is dialed in.