How to Paint 3D Prints: Beginner Guide to Sanding, Priming, and Finishing
A raw 3D print looks cool. A painted 3D print looks professional. Whether you’re finishing cosplay props, tabletop miniatures, or functional parts, painting transforms FDM prints from “obviously 3D printed” to something that could pass for injection molded — or even handcrafted. This guide covers everything from surface prep to final clear coat, with specific techniques for PLA, PETG, and ABS.
Surface Preparation: The Most Important Step
Paint can’t fix what prep didn’t address. The single biggest factor in how good your painted print looks isn’t the paint — it’s the surface preparation underneath. Skip this section at your own peril.
Sanding Basics
Start with 120-180 grit sandpaper to knock down the worst layer lines, then progress through 220, 400, and finish with 600-800 grit. Always sand in one direction rather than circular motions — this prevents swirl marks that show through paint.
Wet sanding (with water) produces smoother results and prevents the plastic from melting due to friction heat. This is especially important for PLA, which softens at relatively low temperatures. Keep a bowl of water nearby and dip your sandpaper frequently.
Time-saving tip: You don’t need to sand the entire print to 800 grit. Focus your fine sanding on the most visible surfaces. Areas that will be covered by detail paint or decals only need 220-400 grit.
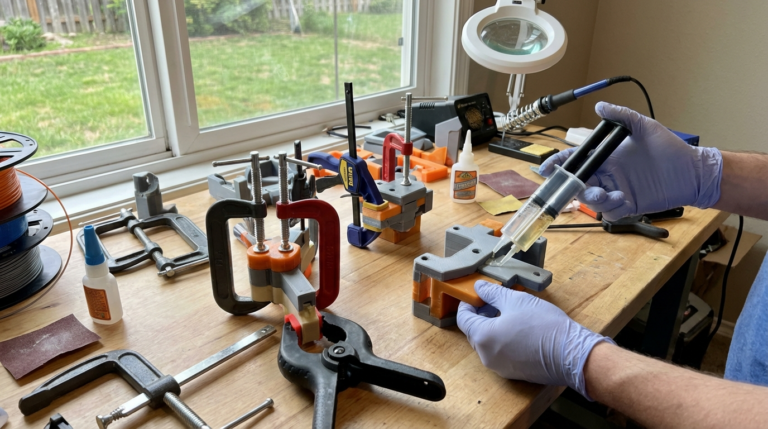
Filler for Deep Layer Lines
For prints with significant layer lines that sanding alone can’t remove, use a filler:
- Spray filler primer (Rust-Oleum Filler Primer): The easiest option. Apply 2-3 coats, sand between coats with 400 grit. Fills layer lines up to 0.3mm deep.
- Bondo Spot Putty: Apply with a spatula to fill deep lines and gaps. Sand smooth after drying (20-30 minutes). Best for large imperfections.
- XTC-3D (Smooth-On): A brush-on epoxy coating that self-levels and fills layer lines. Creates a smooth, paintable surface. Apply in thin coats — it can obscure fine detail if applied too thickly.
- Automotive glazing putty: Professional-grade filler that works well for large flat surfaces.
Chemical Smoothing (ABS Only)
ABS prints can be vapor smoothed using acetone. Place the print in a sealed container with a small amount of acetone on a paper towel (don’t let the print touch the liquid). The acetone vapor gradually melts the surface, smoothing out layer lines completely. Check every 5-10 minutes — over-smoothing will destroy detail.
Warning: This only works with ABS. Acetone has no effect on PLA and can damage PETG. Always work in a well-ventilated area — acetone vapor is flammable and the fumes are harmful.
Priming: Don’t Skip This
Primer serves three critical functions: it provides a consistent color base, creates tooth for paint to grip, and reveals surface imperfections you missed during sanding.
Best Primers for 3D Prints
- Rust-Oleum 2X Ultra Cover Primer: Affordable, widely available, works great on PLA and PETG. Gray is the most versatile color.
- Tamiya Surface Primer: Finer spray for detailed models and miniatures. Available in gray, white, and oxide red.
- Vallejo Surface Primer: Brush-on or airbrush primer designed for miniatures. Excellent adhesion to plastics.
- Krylon ColorMaxx Primer: Good all-around option with fast dry time.
Apply primer in thin, even coats. Hold the can 10-12 inches from the surface. Two thin coats are always better than one thick coat, which can drip and obscure detail. Let each coat dry completely (30-60 minutes) before the next.
The Primer Inspection
After priming, inspect your print under strong light at a low angle. The uniform color of primer makes imperfections obvious — scratches, remaining layer lines, and filled spots that need more work. If you see problems, sand the primer coat lightly (600 grit), fix the imperfections, and re-prime. This is much easier now than after painting.
Painting Techniques
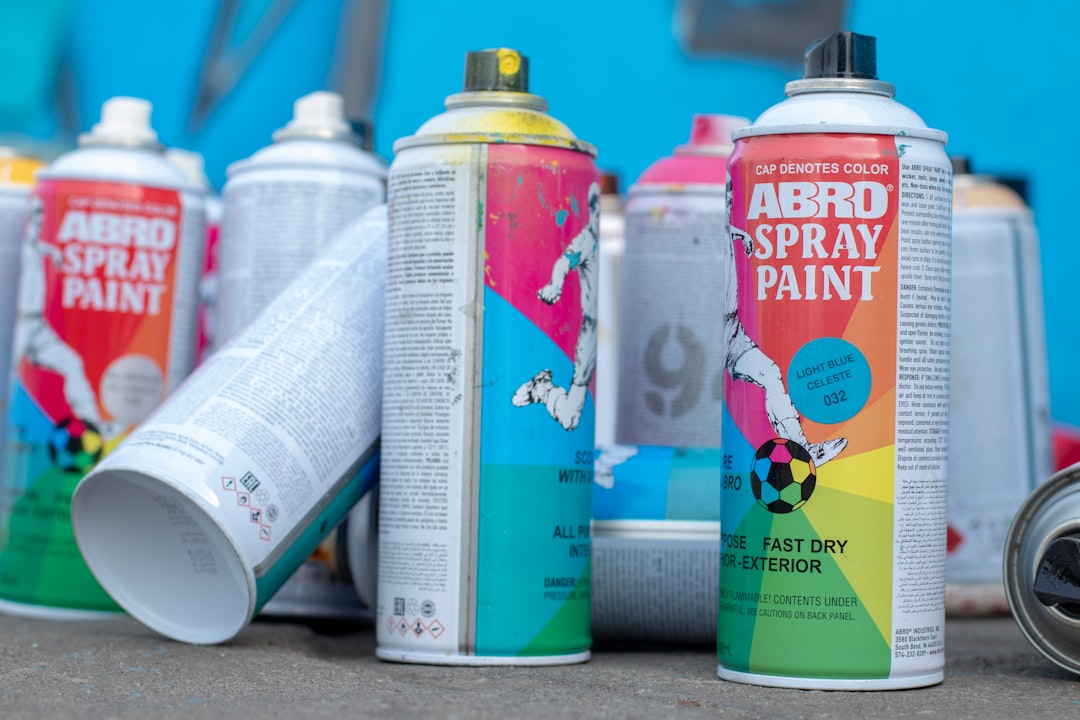
Spray Paint
Spray paint is the fastest way to get even coverage on larger prints. Key tips:
- Shake the can thoroughly (2 minutes minimum after the ball starts rattling).
- Start spraying before the print and sweep past it — never start or stop on the model.
- Multiple thin coats. Wait 10-15 minutes between coats.
- Warm the can in warm water (not hot!) for better flow in cold weather.
- Maintain consistent distance (10-12 inches) for even coverage.
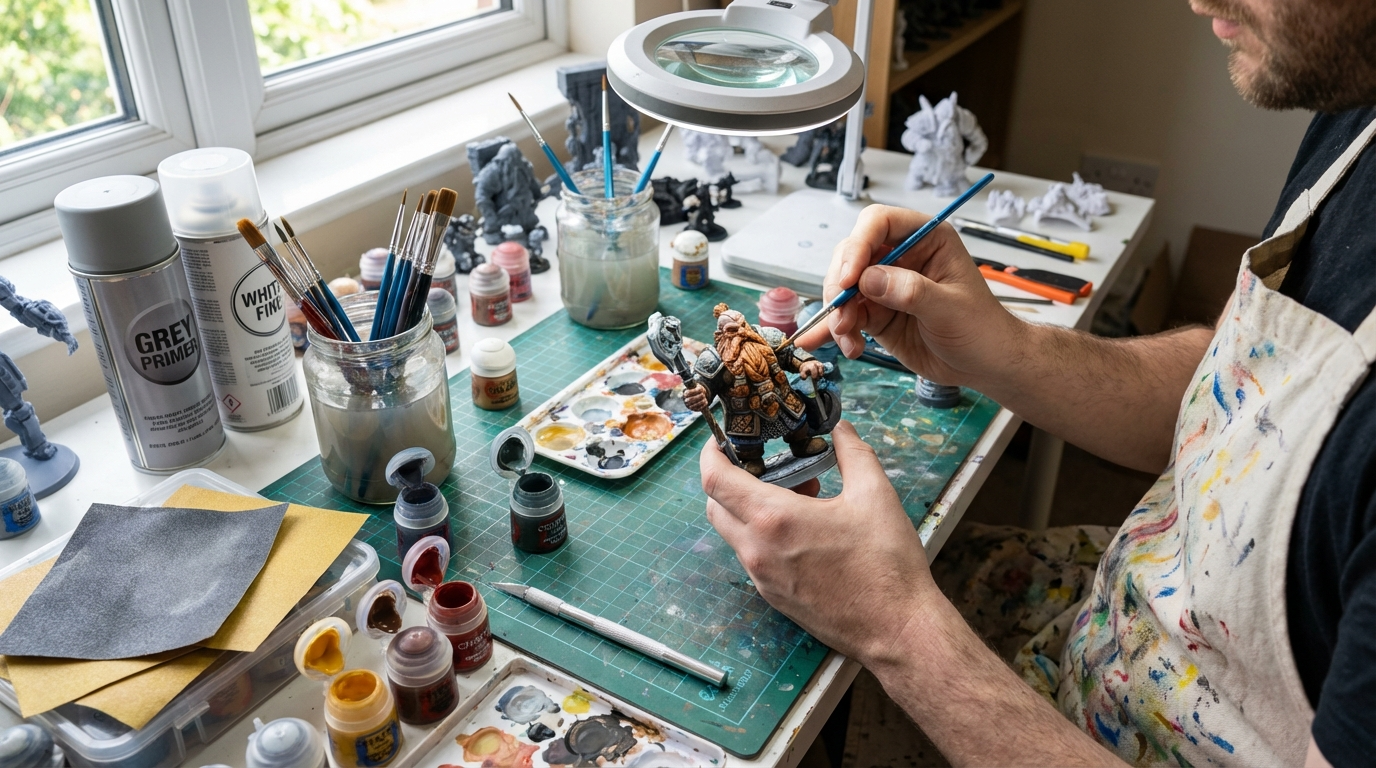
Brush Painting
For detail work, miniatures, and multi-color models, brush painting gives you the most control:
- Use acrylic paints. Brands like Vallejo, Citadel, and Army Painter are formulated for plastic models and adhere well to primed 3D prints.
- Thin your paints. The cardinal rule of miniature painting applies to 3D prints: thin your paints with water (or acrylic medium) to a milk-like consistency. Multiple thin coats build up smoothly without brush strokes.
- Two thin coats is the minimum for solid coverage. Three coats is ideal for coverage without detail loss.
- Let each coat dry completely (15-30 minutes for acrylics) before the next.
Airbrush Painting
If you’re painting frequently, an airbrush is the best investment you can make. Airbrushes produce the smoothest finish of any painting method, allow precise gradient effects, and use less paint than spray cans.
A basic gravity-feed airbrush (like the Iwata Neo or Badger Patriot 105) costs $50-80 and will handle everything from priming to detail work. Pair it with a quiet compressor that has a tank and regulator.
Advanced Finishing Techniques
Dry Brushing
Dry brushing highlights raised details and creates a weathered, realistic look. Load a small amount of lighter paint on a flat brush, wipe most of it off on a paper towel, then lightly drag the brush across the surface. The paint catches only on raised edges and details. This technique is essential for making props and miniatures look realistic.
Washes
A wash is heavily thinned paint (or purpose-made products like Citadel Shade or Army Painter Quickshade) that flows into recesses and crevices. It adds shadow and depth to surface detail with minimal effort. Apply liberally and let it flow — gravity does the work. Clean up any pooling on flat surfaces with a damp brush.
Masking
For multi-color designs with crisp edges, use painter’s tape or masking fluid. Apply your base color first, mask the edges, then paint the second color. Remove the tape while the paint is still slightly tacky for the cleanest lines. Tamiya masking tape is particularly good for curved surfaces.
Clear Coating: Protecting Your Work
A clear coat protects your paint job and can adjust the final finish:
- Matte clear coat: Hides minor imperfections and gives a realistic, non-shiny finish. Best for props, terrain, and utilitarian items.
- Satin clear coat: A middle ground between matte and gloss. Natural looking for most applications.
- Gloss clear coat: Maximum protection and a shiny finish. Best for items that will be handled frequently or need a polished look.
Apply 2-3 thin coats of clear coat for best protection. Spray in a well-ventilated area and allow 24 hours for full cure before handling.
Common Painting Mistakes and How to Avoid Them
Paint peeling off: Usually means insufficient prep. The primer didn’t adhere because the surface wasn’t cleaned (use isopropyl alcohol before priming) or wasn’t lightly sanded.
Brush strokes visible: Paint is too thick. Thin it more and apply additional coats instead.
Paint pooling in details: Too much paint applied at once. Use less paint on your brush and build up gradually.
Orange peel texture (spray paint): Too much paint in one pass, or spraying too close. Increase distance and use faster sweeping motions.
Layer lines visible through paint: Insufficient surface prep. You need to go back to sanding and filling before more paint will help.
Quick Reference: Materials and Costs
Here’s what you need to get started on a budget:
- Sandpaper variety pack (120-800 grit): $5-10
- Filler primer spray: $6-8
- Gray primer spray: $5-7
- Acrylic paint set (basic colors): $15-25
- Brush set (various sizes): $8-12
- Clear coat spray: $6-8
Total starter budget: $45-70 — less than a spool of premium filament.
Final Thoughts
Painting 3D prints is one of those skills that rewards patience above all else. Proper surface prep, thin coats, and adequate drying time between steps will produce results that look professional even with basic supplies and limited experience. Start with a simple single-color project to learn the basics, then work up to multi-color pieces with washes and dry brushing. The transformation from raw plastic to finished piece is one of the most satisfying parts of the 3D printing hobby.