How to Waterproof 3D Prints: 6 Proven Sealing Methods That Actually Work
3D printed parts are inherently not waterproof. The layer-by-layer construction process creates microscopic gaps between layers that allow water to seep through, even on prints that look perfectly solid. If you need your 3D prints to hold water, survive rain, or function in wet environments, you need to apply some form of waterproofing treatment.
I’ve tested dozens of waterproofing methods over the years on everything from planters to boat parts. In this guide, I’ll share what actually works, what doesn’t, and how to choose the right method for your specific application.
Why 3D Prints Aren’t Waterproof
Understanding why FDM prints leak is key to fixing the problem. There are three main reasons:
1. Layer Line Gaps
FDM printing works by stacking layers of melted plastic on top of each other. Even at fine layer heights (0.1mm), the bond between layers isn’t 100% hermetic. Microscopic channels exist along every layer line, and water under pressure will find its way through these channels over time.
2. Under-Extrusion and Voids
Slight under-extrusion, travel moves, or retraction artifacts can create small voids within the wall structure. These voids become pathways for water penetration. Even a single missed extrusion segment in a wall can compromise the entire print’s water resistance.
3. Infill Gaps
The infill pattern inside a print creates internal air channels. If water penetrates the outer wall through a layer gap, it can travel along infill channels and emerge at a completely different location, making leaks hard to diagnose.
Method 1: Optimize Your Print Settings (No Coating Required)
Before reaching for sealants, you can dramatically improve water resistance through print settings alone. For many applications, these tweaks are sufficient:
Increase Wall Count
The single most effective setting change. Increase your wall count (perimeters) to 4-6 instead of the standard 2-3. More walls mean more overlapping plastic, which reduces the chance of a continuous leak path through the wall structure.
Increase Extrusion Width
Setting your extrusion width to 110-120% of your nozzle diameter forces the extruded plastic to squish more, improving the bond between adjacent lines and layers. This reduces inter-line gaps significantly.
Lower Layer Height
Shorter layers (0.1-0.15mm) create better inter-layer bonding because the hot nozzle spends more time heating the previous layer. This improves layer fusion and reduces micro-gaps.
Increase Nozzle Temperature
Printing 5-10°C hotter than your normal temperature improves layer bonding. The hotter plastic flows better into the gaps of the previous layer. Just watch for stringing and oozing at higher temperatures.
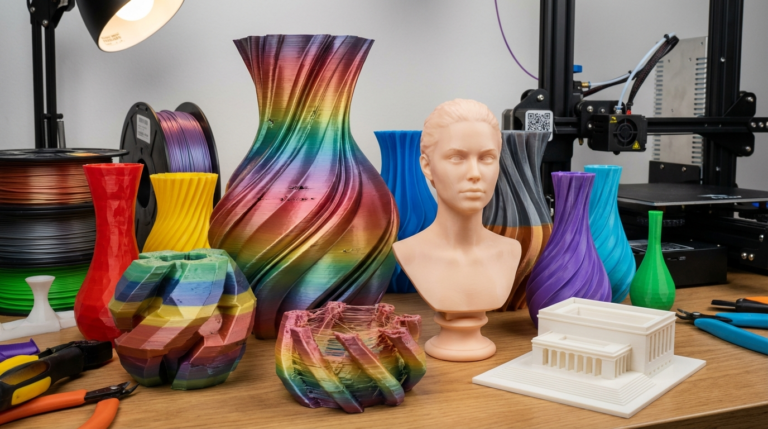
Use Vase Mode (Spiral Vase)
For containers like vases, cups, and planters, vase mode prints a continuous single-wall spiral with no seams or travel moves. This eliminates the Z-seam leak point entirely. The trade-off is that you get only one wall thickness, making the print fragile. But for water resistance, it’s remarkably effective.
Set 100% Infill for Thin Parts
If the part is small or thin, using 100% infill eliminates internal air channels entirely. This is overkill for large parts but works well for fittings, connectors, and small enclosures.
Method 2: Epoxy Resin Coating
Epoxy is the gold standard for waterproofing 3D prints. It creates a hard, glossy, completely waterproof shell over your print.
How to Apply Epoxy
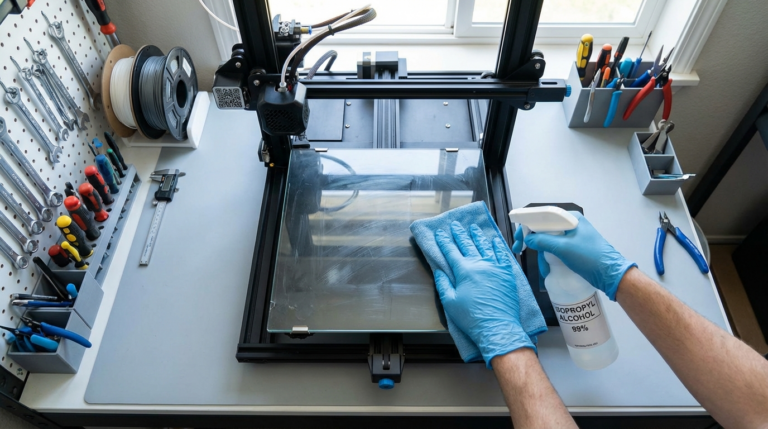
- Clean the print: Remove any dust, grease, or support material remnants. Isopropyl alcohol works well for cleaning.
- Mix the epoxy: Follow the manufacturer’s ratio precisely (usually 1:1 or 2:1 resin to hardener). Mix thoroughly for at least 2 minutes.
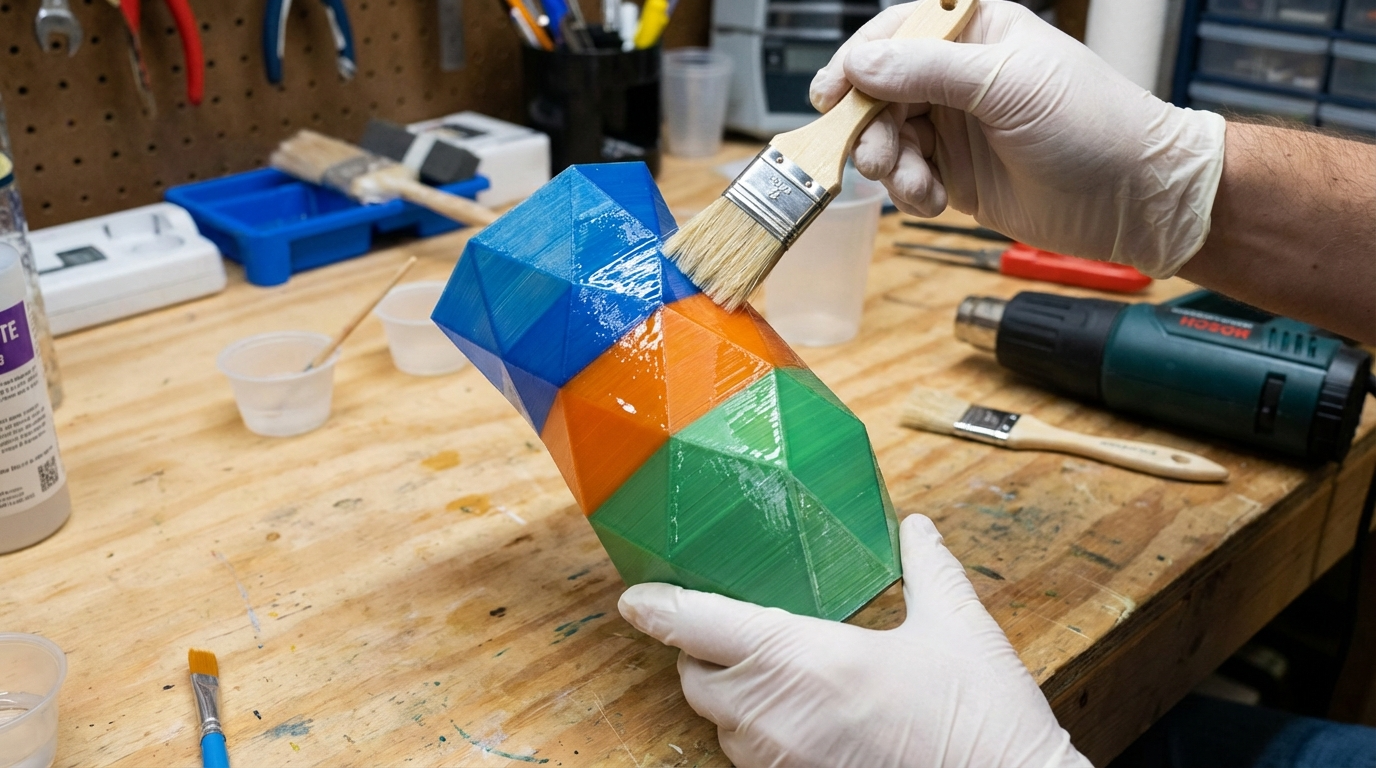
- Apply thin coats: Use a foam brush or chip brush to apply a thin, even coat. Thick coats will drip and pool. Two thin coats are better than one thick coat.
- Pop bubbles: Pass a heat gun or torch briefly over the surface to pop air bubbles before the epoxy starts to set.
- Cure: Allow 24-72 hours for full cure depending on the product. Some epoxies can be accelerated with moderate heat (40-50°C).
Best Epoxy Products for 3D Prints
- XTC-3D (Smooth-On): Specifically designed for 3D prints. Self-leveling, fills layer lines, excellent finish.
- ArtResin: Non-toxic when cured, UV-resistant, great for decorative items.
- Alumilite Amazing Clear Cast: Good for small parts, crystal clear finish.
- TotalBoat epoxy: Marine-grade, extremely durable, ideal for outdoor or high-stress applications.
Pros and Cons
Pros: Excellent waterproofing, fills layer lines, hard durable finish, chemical resistant.
Cons: Changes dimensions (adds 0.2-0.5mm per side), takes 24+ hours to cure, messy to apply, can yellow over time with some products.
Method 3: Silicone Sealant
Silicone sealant is a quick, flexible waterproofing option that works well for parts that need to flex or expand.
Application Process
- Clean the print thoroughly with isopropyl alcohol.
- Apply a thin layer of food-grade or aquarium-safe silicone sealant with a foam brush or your finger (wear gloves).
- Work the silicone into layer lines and any visible gaps.
- Let cure for 24 hours in a well-ventilated area.
- Apply a second coat if needed.
Best Uses
Silicone is ideal for parts that need flexibility — gaskets, seals, connections between moving parts. It’s also food-safe when you use the right formulation, making it good for kitchen applications.
Pros and Cons
Pros: Flexible, food-safe options available, easy to apply, inexpensive.
Cons: Soft finish (not durable for handling), can be messy, some types smell strongly during curing, doesn’t fill layer lines well.
Method 4: Spray-On Sealants
Spray sealants offer the easiest application method, though they’re generally less effective than epoxy for full waterproofing.
Recommended Products
- Flex Seal Spray: Creates a rubberized coating. Good for planters and non-precision parts.
- Plasti Dip: Rubberized coating that can be peeled off later. Good for temporary waterproofing.
- Polyurethane spray (Minwax, Rust-Oleum): Hard, durable finish. Multiple coats provide good water resistance.
- Automotive clear coat: Very durable, excellent water resistance, but requires proper ventilation and technique.
Application Tips
- Apply 3-4 thin coats rather than one thick coat
- Allow each coat to dry before applying the next (typically 15-30 minutes between coats)
- Rotate the print between coats to ensure full coverage
- Spray outdoors or in a well-ventilated spray booth
Method 5: Acetone Smoothing (ABS Only)
If your print is made from ABS, acetone vapor smoothing is a highly effective waterproofing method that also gives your prints a gorgeous glossy finish.
The Process
- Place your ABS print on a raised platform inside a sealed glass container.
- Add a small amount of acetone to paper towels and line the container walls (don’t let the liquid acetone touch the print directly).
- Seal the container and wait 30-60 minutes, checking periodically.
- Remove the print when the surface is glossy and smooth. Don’t over-smooth — the print will lose detail.
- Let it air-dry for 24 hours to fully off-gas.
Why it works: Acetone slightly dissolves the ABS surface, fusing layer lines together and creating a continuous, sealed surface. The result is nearly waterproof without any added coating.
Method 6: Wax Coating
For food-safe applications or decorative items, wax coating is a simple and effective option.
Types of Wax
- Beeswax: Natural, food-safe, easy to apply. Melt and brush on, or dip smaller parts.
- Paraffin wax: Cheap and effective. Creates a good moisture barrier but can crack if the part flexes.
- Carnauba wax: Harder than beeswax, more durable finish. Used in food-safe applications.
Wax coatings are temporary — they’ll wear off with handling and need reapplication. But for items like planters, vases, or display pieces, wax provides a beautiful, water-resistant finish with zero chemicals.
Choosing the Right Waterproofing Method
The best method depends on your specific needs:
| Application | Recommended Method |
|---|---|
| Vases and planters | Vase mode + epoxy or spray sealant |
| Outdoor enclosures | Epoxy (marine-grade) or polyurethane spray |
| Food-contact items | Food-safe silicone or beeswax coating |
| Boat and marine parts | Marine epoxy (TotalBoat or similar) |
| Quick prototypes | Print settings optimization or spray sealant |
| ABS cosmetic parts | Acetone vapor smoothing |
| Flexible/moving parts | Silicone sealant |
| Temporary waterproofing | Plasti Dip or wax |
Testing Your Waterproofing
After applying any waterproofing treatment, test it before relying on it in a critical application:
- Visual inspection: Look for uncovered spots, thin areas, or bubbles in the coating.
- Fill test: If it’s a container, fill it with water and let it sit for 24 hours on a paper towel. Any moisture on the towel indicates a leak.
- Pressure test: For parts that will be under water pressure, submerge the sealed part and look for air bubbles escaping. Apply gentle air pressure through a port to force air through any micro-leaks.
- Duration test: Some sealants break down over time with water exposure. Test with extended soaking (48-72 hours) for critical applications.
Filament Choice Matters
Some filaments are inherently more water-resistant than others:
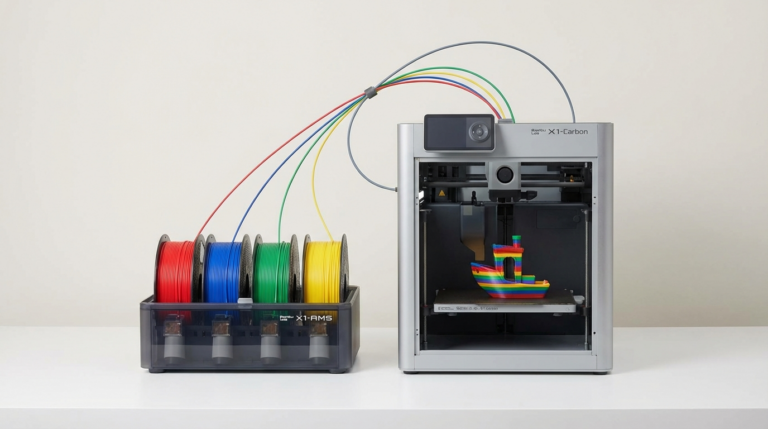
- PETG: The most water-resistant common FDM filament. With optimized settings, PETG prints can be nearly waterproof without any coating.
- ABS: Good water resistance, especially after acetone smoothing. Durable for outdoor use.
- PLA: Absorbs moisture over time and will degrade in prolonged water contact. Needs coating for any water application.
- Nylon: Highly hygroscopic — absorbs water readily. Poor choice for waterproof applications unless coated.
- ASA: Excellent water resistance and UV stability. Great for outdoor applications without coating.
Common Mistakes to Avoid
- Skipping surface prep: Oils from your hands, dust, and debris prevent coatings from adhering properly. Always clean with IPA first.
- Applying too thick: Thick coats drip, pool, and take forever to cure. They also crack more easily. Multiple thin coats always beat one thick coat.
- Not testing before deployment: Waterproofing can fail in subtle ways. Always test with water before using a sealed part in a critical application.
- Ignoring UV resistance: Many sealants and coatings break down under UV exposure. For outdoor parts, choose UV-resistant products or add a UV-blocking topcoat.
- Forgetting about thermal expansion: If your sealed part will experience temperature changes, choose a flexible sealant (silicone) rather than a rigid one (epoxy) to prevent cracking.
Final Thoughts
Waterproofing 3D prints is a solved problem — you just need to match the right method to your application. For most hobbyist needs, optimizing print settings plus a couple coats of spray polyurethane or epoxy will do the job. For critical applications, marine-grade epoxy combined with thicker walls and PETG filament creates a bomb-proof water barrier.
Start with print settings optimization and work your way up to coatings only if needed. You might be surprised how watertight a well-tuned print can be right off the build plate.