First Layer Not Sticking? Fix 3D Print Bed Adhesion
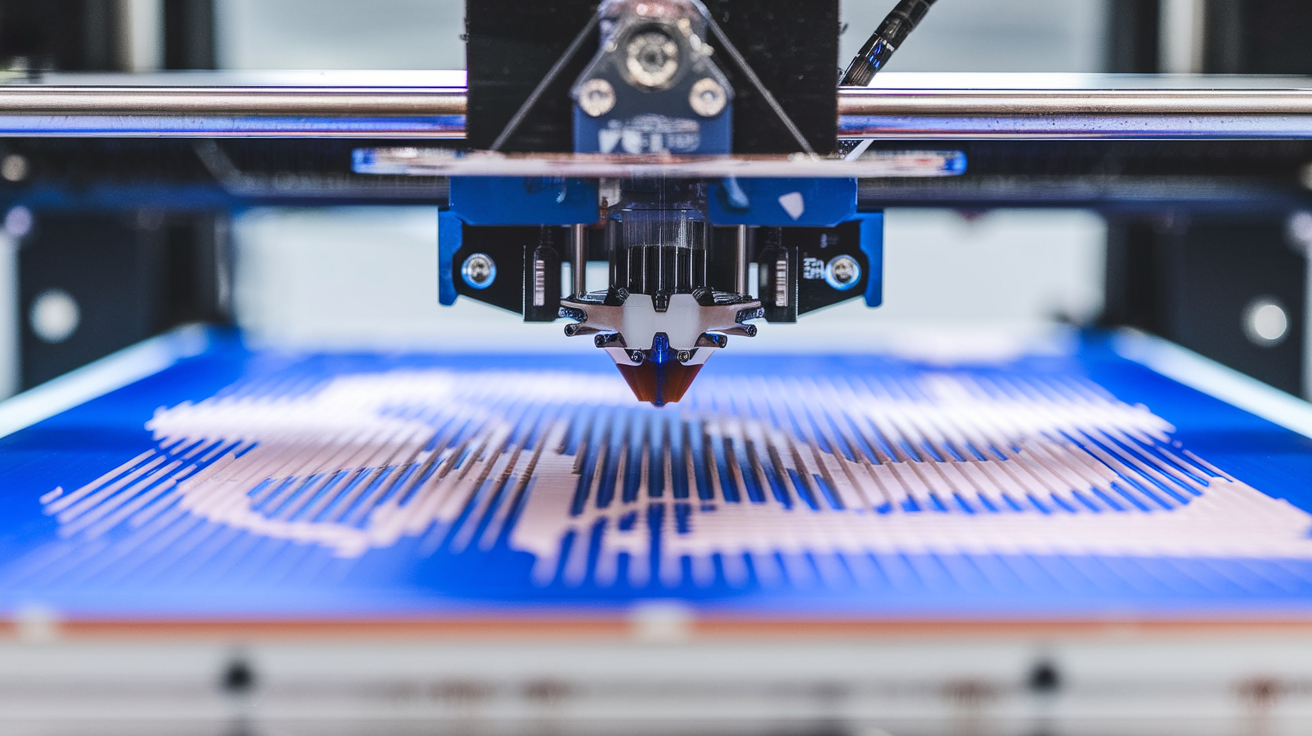
The first layer is everything. If it sticks, you’ll probably get a successful print. If it doesn’t, you’ll come back to a ball of spaghetti stuck to the nozzle, or worse — a print that looked fine for the first 20 layers and then peeled up and crashed into the hotend.
I’ve lost more prints to first layer failure than any other single cause. And almost every time, the fix was something obvious that I’d overlooked because I was in a rush. Bed leveling, Z-offset, surface cleanliness, temperature — get these right and first layer problems basically disappear.
Step 1: Level Your Print Bed
This is the number one cause of first layer problems and the most overlooked. An unleveled bed means the nozzle is too far from the surface in some areas and too close in others. Too far = filament doesn’t squish onto the bed and curls up. Too close = the nozzle drags through the first layer and creates ridges or blocks extrusion entirely.
Manual Bed Leveling (Ender 3, CR-10, etc.)
- Home all axes.
- Disable the stepper motors (so you can move the printhead by hand).
- Move the nozzle to each corner of the bed.
- Slide a piece of regular printer paper between the nozzle and the bed.
- Adjust the leveling knob until you feel slight friction — the paper should slide with a bit of drag but not be pinched.
- Repeat for all four corners, then check the center.
- Do the whole sequence twice. Adjusting one corner changes the others slightly.
This paper method isn’t perfect, but it gets you 90% of the way there. Fine-tuning happens with your Z-offset.
Auto Bed Leveling (BL-Touch, CR-Touch, Bambu Lab)
If your printer has a probe, it compensates for bed irregularities automatically. But you still need to set the Z-offset correctly — the probe tells the printer about the bed’s shape, but you tell it how close the nozzle should be.
Run the probe calibration sequence, then print a first layer test. Adjust Z-offset in 0.02mm increments until the first layer looks right.
Step 2: Dial in Your Z-Offset
Even with a perfectly level bed, the wrong Z-offset ruins everything. The Z-offset controls the gap between the nozzle tip and the print surface for the first layer.
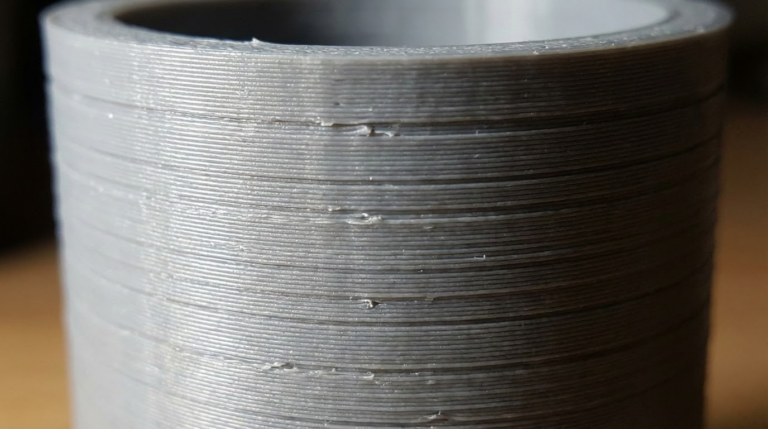
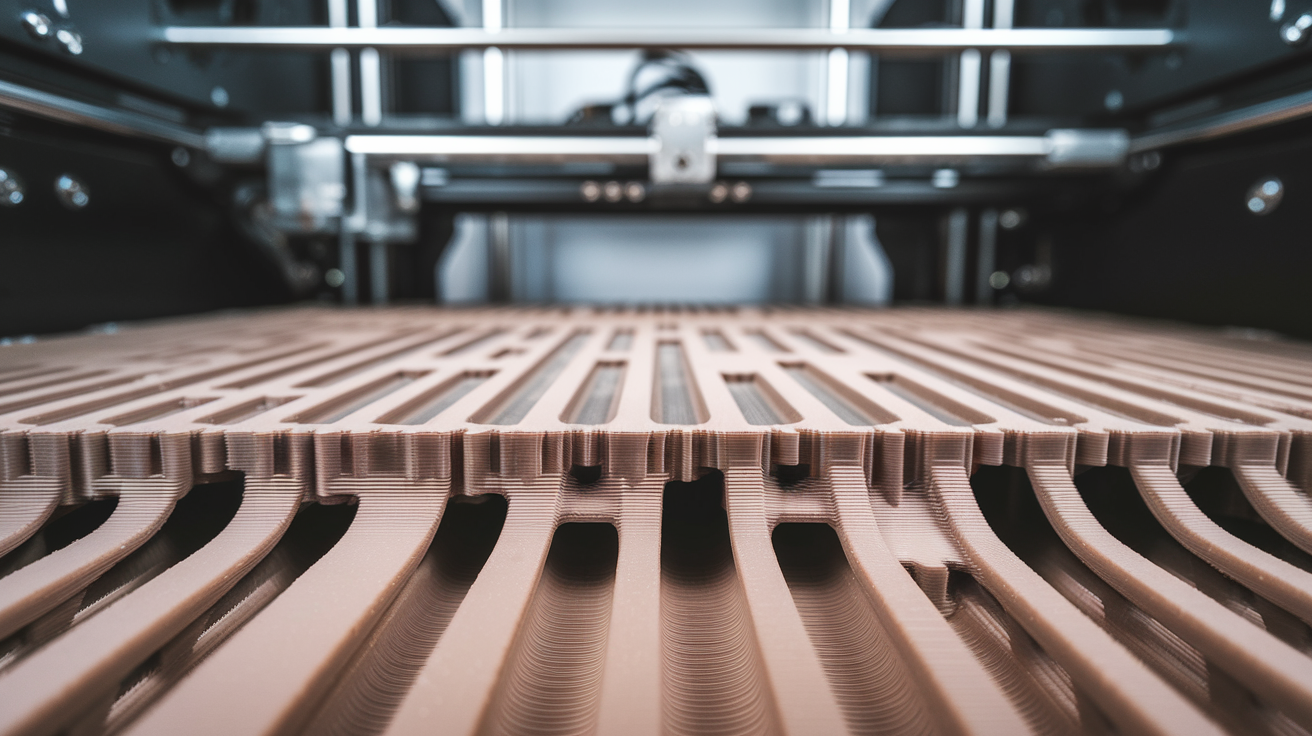
What a Good First Layer Looks Like
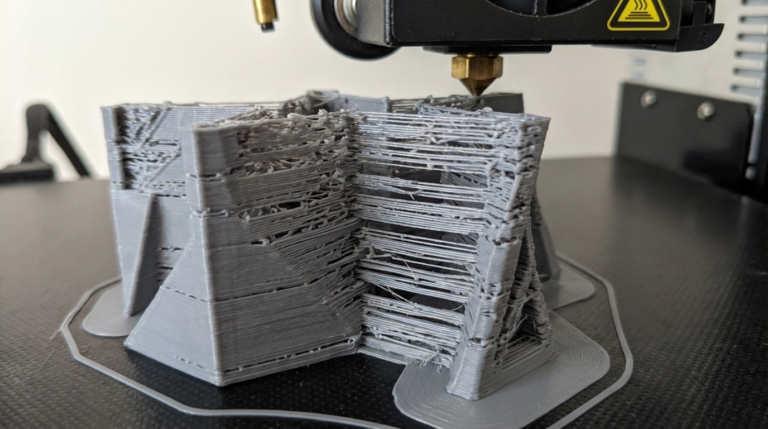
Too high: Individual lines are visible with gaps between them. Lines look rounded on top, almost circular in cross-section. They might peel up during printing.
Too low: The first layer is paper-thin, almost transparent. The nozzle scrapes against the bed, creating ridges. You might hear a ticking sound from the extruder as it struggles to push filament through the compressed gap.
Just right: Lines are slightly squished flat with no gaps between adjacent passes. The surface looks smooth and uniform. You can’t easily peel the first layer off the bed with your fingernail.
In my experience, the perfect Z-offset puts the nozzle about 0.1-0.15mm from the bed surface for a 0.2mm first layer height. That slight squish is what creates adhesion.
Live Z Adjustment
Most modern printers let you adjust the Z-offset while printing. Start a first layer test print and tweak the offset in real-time. This is way faster than doing test after test with different settings. On Marlin firmware (Ender 3, etc.), you can adjust during print via the “Babystep Z” option. Prusa printers have “Live Adjust Z.” Bambu Lab machines handle this through the touchscreen.
Step 3: Get Your Bed Temperature Right
Different filaments need different bed temperatures. Too cold and the plastic shrinks as it cools, pulling away from the surface. Too hot and the first layer stays so soft that the nozzle drags it around.
Recommended Bed Temperatures
- PLA: 55-65°C. I use 60°C for most PLA and it’s reliable. Some people print PLA with no heat at all on textured PEI, and it works, but heated beds are more consistent.
- PETG: 75-85°C. I stick with 80°C. PETG needs more heat because it’s printed at higher nozzle temperatures and cools more slowly.
- ABS: 95-110°C. ABS absolutely requires a heated bed. I run mine at 100°C with an enclosure. Without the enclosure, even 110°C sometimes isn’t enough for large prints.
- TPU: 50-60°C. TPU actually sticks really well even at lower bed temps.
First layer temperature trick: Some slicers let you set a higher bed temperature for the first layer only. I run my PLA first layer at 65°C, then drop to 55°C for the rest of the print. That extra heat helps initial adhesion without keeping the bottom layers soft for the entire print.
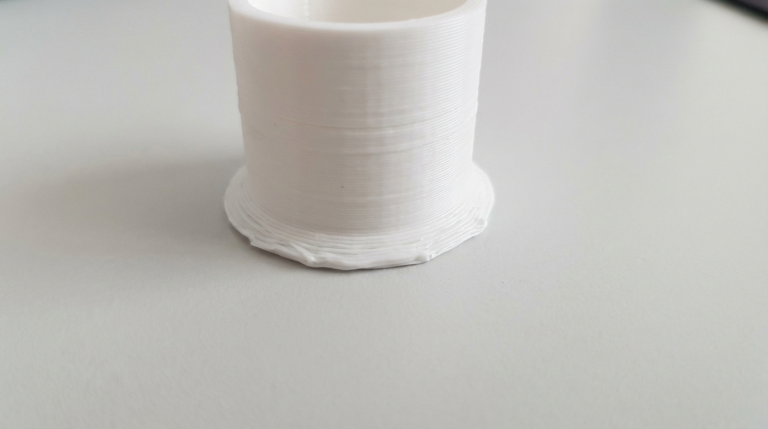
Step 4: Clean Your Print Surface
This might sound basic, but it’s the fix for about a third of all adhesion problems I see people posting about. Fingerprints, dust, and residual oils from previous prints create a slippery layer that filament can’t grip.
PEI sheets (smooth or textured): Wipe with 90%+ isopropyl alcohol before every print. Every. Single. Print. For stubborn residue, wash the sheet with dish soap and warm water every few weeks. Avoid touching the print surface with bare hands — the oils from your skin are the enemy.
Glass beds: Same deal — isopropyl alcohol wipe. Glass beds benefit from a thin layer of glue stick (the purple Elmer’s washable kind works great). The glue adds grip for materials that struggle on bare glass.
Magnetic spring steel sheets: Isopropyl alcohol, and make sure the sheet sits flat on the magnetic base with no warps or bubbles.
I cannot overstate how often a simple IPA wipe fixes “mysterious” adhesion problems. After pulling off a completed print, I wipe the bed immediately. It takes five seconds and saves me from failed prints.
Step 5: First Layer Speed and Settings
Your first layer should print slower than the rest of the model. Slower movement gives the filament more time to bond to the bed surface and reduces the chance of the nozzle dragging the first layer along with it.
First layer speed: I typically use 20-30mm/s regardless of what speed the rest of the print runs at. Some people go even slower for tricky materials.
First layer height: Use a thicker first layer than your regular layer height. If your print uses 0.2mm layers, set the first layer to 0.28-0.3mm. The thicker layer means more material touching the bed, which means better adhesion. It also gives you more tolerance for minor bed leveling imperfections.
First layer flow/extrusion multiplier: If adhesion is still marginal, try bumping first layer flow to 105-110%. You’re slightly over-extruding the first layer to ensure good bed contact. Don’t go above 115% or you’ll get elephant’s foot (the first layer bulging outward).
Common Bed Surfaces and What Works on Them
Smooth PEI (BuildTak, Prusa smooth sheet)
Great all-around surface. PLA sticks fantastically — sometimes too well. PETG sticks aggressively too, so apply glue stick as a release agent to prevent surface damage. ABS works with proper temps and an enclosure.
Textured PEI (Prusa textured, Bambu Lab textured plate)
My personal favorite. PLA releases easily once the bed cools but holds firm during printing. PETG works well without glue stick. ABS still needs an enclosure. The texture hides minor surface scratches and gives prints a nice matte bottom.
Glass (Creality glass bed, borosilicate glass)
Perfectly flat, which is its main advantage. Adhesion can be hit or miss — glue stick or hairspray is almost mandatory. PLA and PETG work well with adhesive. ABS is tough on glass without Kapton tape or ABS juice.
Spring Steel with PEI Coating
Common on Bambu Lab and Prusa machines. Works like PEI but you can flex the sheet to pop prints off. My preferred setup for daily use.
Adhesion Aids: Glue Stick, Hairspray, and More
When surface prep and settings aren’t enough, adhesion helpers bridge the gap.
Glue stick (Elmer’s purple): Cheap, effective, easy to apply. Works as both an adhesion promoter for difficult materials and a release agent for overly sticky ones (like PETG on PEI). Apply a thin, even layer before printing. Wash the bed with warm water every 5-10 prints to remove buildup.
Hairspray (Aqua Net unscented): The old-school method. Spray a light coat on a cool bed, let it dry, then heat and print. It works but makes a mess over time and gunks up the bed.
Specialized adhesives (Magigoo, Vision Miner Nano Polymer): Pricier but formulated specifically for 3D printing. Magigoo works incredibly well for ABS, Nylon, and polycarbonate. Worth the investment if you regularly print high-temp materials.
Blue painter’s tape: Apply directly to the bed. PLA sticks to it beautifully. Cheap and easy to replace when it wears out. Not as common now that PEI beds are standard, but still a solid backup option.
Brim, Raft, or Neither?
When adhesion is marginal, your slicer offers two nuclear options:
Brim: Extra rings of filament around the base of your print, extending outward. Increases the surface area touching the bed. A 5-10mm brim is usually enough. Easy to remove with a knife or deburring tool. I use brims for tall, narrow parts or anything with a small footprint.
Raft: A thick platform of throwaway material printed underneath your model. Guarantees adhesion but wastes filament, adds print time, and leaves a rough bottom surface. I only use rafts as a last resort or when printing ABS without an enclosure.
Neither: For most prints with proper bed prep and leveling, you don’t need a brim or raft. Save them for challenging geometries.
The First Layer Checklist
If your first layer isn’t sticking, work through this list:
- Level the bed or run auto-level calibration
- Adjust Z-offset (baby step down in 0.02mm increments)
- Clean the bed surface with isopropyl alcohol
- Check bed temperature (try +5°C)
- Slow down first layer speed to 20mm/s
- Increase first layer height to 0.28mm
- Apply glue stick or hairspray
- Add a brim in your slicer
Nine times out of ten, the answer is somewhere in steps 1-4. Get those right and you’ll nail your first layer consistently. The difference between a perfect first layer and a failed one is usually just 0.05mm of Z-offset or a quick wipe with IPA. Small things, big impact.