How to Anneal 3D Prints for Strength: PLA, PETG, and Beyond
If you’ve ever snapped a PLA part in half and thought, “There has to be a way to make this stronger,” you’re absolutely right. Annealing 3D prints is a post-processing technique borrowed from traditional manufacturing that can dramatically improve the mechanical properties of your FDM parts. In this guide, I’ll walk you through everything you need to know about annealing PLA, PETG, and other common filaments — including step-by-step instructions, temperature charts, and tips for avoiding warping.
What Is Annealing and Why Does It Matter?
Annealing is a heat treatment process where you slowly raise the temperature of a printed part above its glass transition temperature (Tg) but below its melting point, hold it there for a period, then allow it to cool gradually. This process relieves internal stresses created during printing and allows the polymer chains to reorganize into a more crystalline structure.
The result? Parts that are significantly stronger, stiffer, and more heat-resistant than untreated prints. Studies have shown that annealed PLA parts can see up to 40% improvement in tensile strength and a dramatic increase in heat deflection temperature — sometimes from 60°C all the way up to 160°C.
Which Filaments Can Be Annealed?
Not every filament responds equally to annealing. Here’s a breakdown of the most common materials:
PLA (Polylactic Acid)
PLA is the most popular candidate for annealing. Its semi-crystalline nature means it responds very well to heat treatment. Standard PLA has a glass transition temperature around 60–65°C, making it easy to anneal in a regular kitchen oven. After annealing, PLA becomes significantly more heat-resistant and mechanically stronger, though it does become slightly more brittle.
PETG (Polyethylene Terephthalate Glycol)
PETG can also be annealed, though the improvements are less dramatic than with PLA. The glass transition temperature of PETG is around 80°C, and annealing temperatures typically range from 85–90°C. You’ll see modest gains in stiffness and heat resistance, but PETG already has decent layer adhesion, so the strength improvement is less noticeable.
ABS and ASA
These amorphous polymers don’t crystallize the same way PLA does, but annealing can still help relieve internal stresses and reduce warping tendencies in finished parts. Temperatures of 100–110°C work well for ABS.
Nylon (PA)
Nylon responds excellently to annealing. With temperatures around 150–170°C (depending on the specific formulation), you can achieve significant improvements in both strength and dimensional stability.
Step-by-Step: How to Anneal 3D Prints
What You’ll Need
- A conventional oven (toaster ovens work but are less consistent)
- An oven thermometer (don’t trust the built-in dial)
- A baking sheet or oven-safe container
- Fine sand, salt, or plaster of Paris (optional, for dimensional support)
- Your printed part
The Process
Step 1: Prepare your support medium. If dimensional accuracy matters, fill an oven-safe container with fine sand, salt, or plaster of Paris. Bury your part in this medium — it acts as a support structure that prevents the softened plastic from warping or sagging under its own weight. For simple, solid parts, you can skip this step.
Step 2: Preheat your oven. Set it to the appropriate temperature for your filament (see the chart below) and verify with an independent oven thermometer. Oven temperature accuracy is critical — even 10°C too high can ruin your part.
Step 3: Place your part in the oven. Put it on the middle rack for the most even heat distribution. If using a support medium, make sure the part is fully covered.
Step 4: Hold at temperature. The general rule is about 1 hour per 5mm of wall thickness, with a minimum of 30 minutes for thin parts. Thicker parts need more time for the heat to penetrate fully.
Step 5: Cool slowly. This is crucial. Turn off the oven and leave the door closed. Let the part cool to room temperature inside the oven. Rapid cooling reintroduces internal stresses — exactly what we’re trying to eliminate.
Annealing Temperature Chart
Getting the temperature right is the single most important factor. Here’s a quick reference:
- PLA: 70–85°C (start at 70°C for your first attempt)
- PLA+: 75–90°C
- PETG: 85–95°C
- ABS: 100–110°C
- ASA: 100–115°C
- Nylon PA6: 150–170°C
- Nylon PA12: 140–160°C
- Polycarbonate: 130–145°C
Always start at the lower end of the range and increase in subsequent tests if needed. Every brand of filament has slightly different properties.
Dealing with Shrinkage and Warping
Here’s the uncomfortable truth about annealing: your part will shrink. When the polymer chains reorganize into a crystalline structure, the material becomes denser, and the part gets smaller. For PLA, expect anywhere from 1–8% shrinkage depending on the annealing temperature, hold time, and part geometry.
To compensate:
- Scale your model up by the expected shrinkage percentage before printing. This requires some trial and error with your specific filament.
- Use a support medium (sand, salt, or plaster) to constrain the part during annealing. This significantly reduces warping and uneven shrinkage.
- Print with higher infill. Parts with more internal structure resist warping better during annealing. 50% infill or higher is recommended.
- Orient the part carefully in the oven. The side resting on the flat surface tends to warp less.
When Should You Anneal?
Annealing isn’t always necessary or beneficial. Here’s when it makes the most sense:
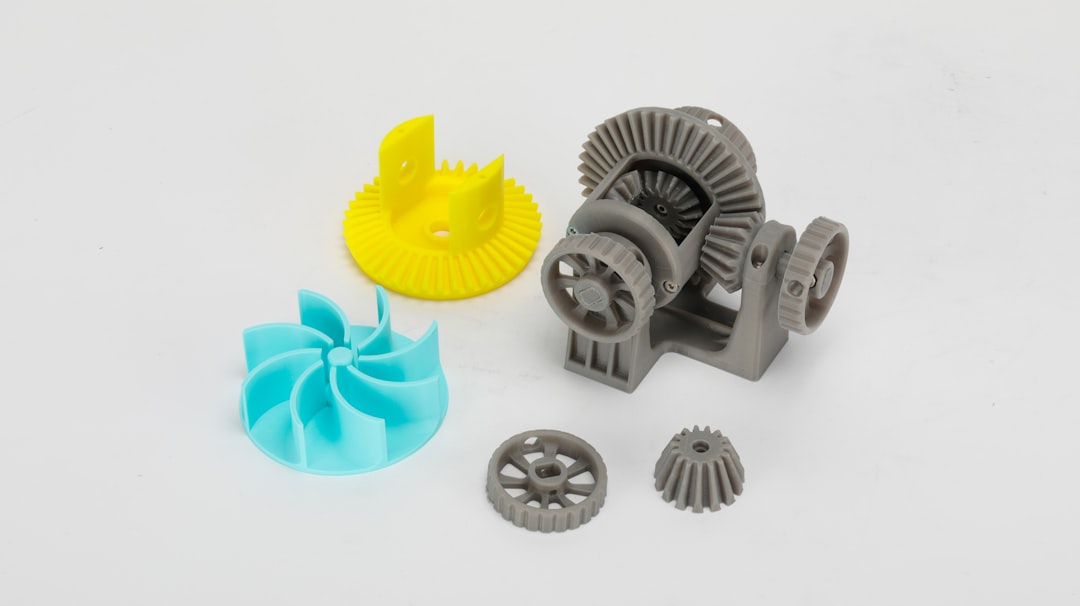
- Functional parts under mechanical stress: Brackets, clips, gears, and structural components all benefit from increased strength.
- Parts exposed to heat: Dashboard mounts, engine bay components, parts near heat sources — annealed PLA can survive temperatures that would destroy regular PLA.
- When layer adhesion is critical: Annealing essentially “welds” the layers together, dramatically improving z-axis strength.
- Prototype testing: If you want to test how a part performs under more demanding conditions before committing to an engineering filament.
Skip annealing for decorative prints, parts that need tight dimensional tolerances (unless you’ve dialed in your shrinkage compensation), or very thin-walled parts that might deform.
Advanced Tips for Better Results
Use a dedicated thermometer. Oven temperature displays can be off by 10–20°C. An inexpensive oven thermometer placed next to your part gives you the real temperature. For the best accuracy, consider a thermocouple probe.
Try a sous vide approach. For small PLA parts, some makers have had great success using a sous vide immersion circulator set to exactly 70°C. The water provides extremely even heating and precise temperature control. Just seal your parts in a vacuum bag first.
Print with annealing in mind. Use thicker walls (3–4 perimeters minimum), higher infill (50%+), and concentric top/bottom patterns for the strongest annealed results. Print at a slightly lower temperature than normal to minimize internal stresses before annealing.
Test with calibration cubes first. Before annealing a critical part, print a 20mm calibration cube with the same settings and anneal it. Measure the shrinkage in X, Y, and Z to determine your compensation values.
Annealing vs. Other Strengthening Methods
Annealing isn’t the only way to make stronger prints. How does it compare?
- Epoxy coating: Adds surface strength and water resistance but doesn’t improve internal structure. Good complement to annealing.
- Using stronger filaments: PETG, ABS, nylon, or carbon fiber composites may be strong enough without annealing. But annealing PLA is often cheaper and faster than switching materials.
- Increasing infill/walls: More material = more strength, but also more weight, cost, and print time. Annealing can achieve similar strength gains without extra material.
- Changing print orientation: Orienting parts to put stress along the XY plane instead of the Z axis avoids the weakest point (layer adhesion). Combined with annealing, this is extremely effective.
Common Mistakes to Avoid
Temperature too high: Your part will turn into a melted blob. Always start low and work up.
Cooling too fast: Opening the oven door or removing the part while hot reintroduces stresses and can cause cracking. Patience pays off.
Ignoring shrinkage: If dimensional accuracy matters, you must account for shrinkage in your original model. Measure and compensate.
Annealing hollow or thin-walled parts: These are most prone to warping. Either fill them with support medium or accept some dimensional change.
Using an unreliable oven: Toaster ovens and convection ovens with poor temperature control can produce hotspots. A full-size kitchen oven is more consistent.
Final Thoughts
Annealing is one of the most underrated post-processing techniques in desktop 3D printing. With nothing more than a kitchen oven and some patience, you can transform a fragile PLA part into something genuinely strong and heat-resistant. The key is getting your temperature right, accounting for shrinkage, and using a support medium when dimensional accuracy matters.
Start with a few test pieces to dial in your process, and once you’ve got it figured out, you’ll have a powerful tool in your 3D printing toolkit that costs nothing but time and electricity.