How to Strengthen 3D Printed Parts: Settings, Materials & Post-Processing
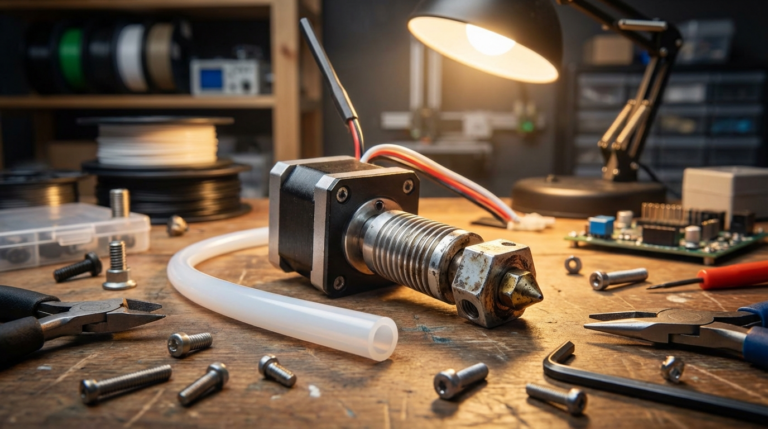
Why 3D Printed Parts Break — And What You Can Do About It
3D printing gives you incredible design freedom, but let’s be honest: most prints straight off the bed aren’t winning any strength competitions. A standard PLA print with default slicer settings can snap, crack, or delaminate under loads that would barely register on an injection-molded part. That’s a problem when you’re printing functional brackets, tool holders, mechanical linkages, or anything that actually needs to hold up in the real world.
But here’s what many makers don’t realize — the difference between a fragile print and a genuinely strong one often comes down to how you print it, not what you print it with. Slicer settings, print orientation, and post-processing techniques can dramatically increase the strength of your parts without changing materials or buying new hardware.
Understanding How FDM Parts Fail
FDM (Fused Deposition Modeling) creates parts by stacking layers of extruded plastic. This layered construction means 3D printed parts are inherently anisotropic — they’re much weaker along the Z-axis (between layers) than in the X-Y plane (within layers).
Most failures happen at layer boundaries. The bond between one layer and the next is never as strong as the continuous filament within a single layer. Think of it like plywood vs. solid wood — the lamination creates a weak plane.
Understanding this anisotropy is the foundation of printing stronger parts. Every technique below either strengthens those layer bonds or works around them.
Slicer Settings That Maximize Strength
Increase Wall Count (Perimeters)
Walls (perimeters) contribute far more to part strength than infill does. Most slicers default to 2-3 walls, but bumping this to 4-6 walls can double the tensile strength of your prints with minimal impact on print time.
For maximum strength in thin parts, consider going full solid walls. In Cura, you can set “Wall Thickness” to a large value. In PrusaSlicer/OrcaSlicer, increase “Perimeters” to 5-8 depending on part geometry.
Optimize Infill Pattern and Density
Not all infill patterns are created equal when it comes to strength:
- Cubic — Good all-around strength in all directions
- Gyroid — Excellent for isotropic strength (equal in every direction), great for parts under multi-directional loads
- Triangles — Strong against shear forces
- Grid/Lines — Adequate for simple compression, but weak against lateral forces
For structural parts, 40-60% infill with cubic or gyroid pattern is the sweet spot. Going above 60% adds minimal strength for significant time and material cost. Below 20%, parts become noticeably weaker under load.
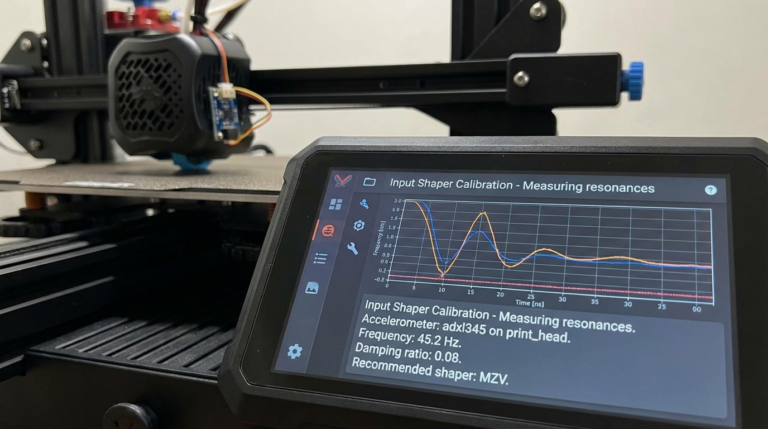
Increase Layer Adhesion Temperature
Higher print temperatures improve interlayer bonding because the freshly extruded plastic has more energy to fuse with the layer below. Try increasing your print temperature by 5-10°C above your usual setting:
- PLA: 215-225°C (vs. typical 200-210°C)
- PETG: 240-250°C (vs. typical 230-240°C)
- ABS: 245-255°C (vs. typical 235-245°C)
Watch for stringing and oozing at higher temps — you may need to increase retraction slightly to compensate.
Reduce Print Speed for Structural Parts
Slower printing allows each layer more time to bond with the previous one. For critical structural parts, reduce your speed to 30-40 mm/s. This is especially important for materials like PETG and nylon that benefit from slower, hotter extrusion.
Widen Your Extrusion Width
Setting your extrusion width to 120-150% of your nozzle diameter squishes each line more firmly against adjacent lines and the layer below, improving bonding. A 0.4mm nozzle with 0.5-0.55mm extrusion width produces noticeably stronger parts than a standard 0.4mm width.
Print Orientation: Your Most Powerful Tool
Orientation is arguably the single biggest factor in part strength, and it costs you nothing to change.
The rule: Orient your part so that the expected load runs parallel to the layer lines, not perpendicular to them. If a bracket will be pulled in tension, print it so the layers stack along the tension axis — don’t print it so the layers are perpendicular to the pull.
Common examples:
- Hooks and hangers: Print standing up so the hook curve is within single layers
- Brackets: Print flat so the mounting face has continuous layers
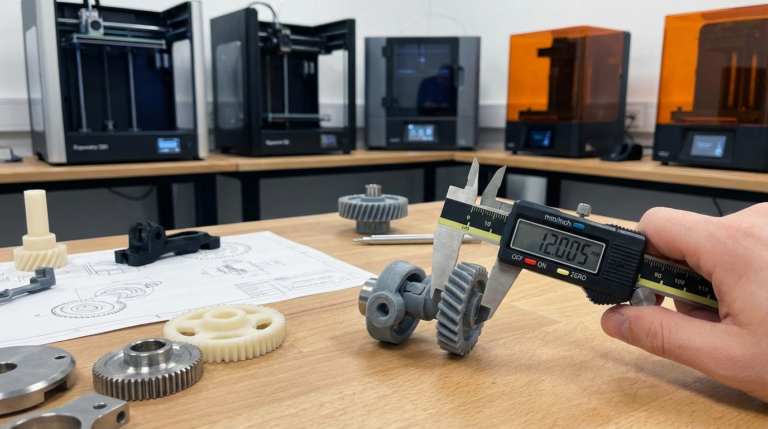
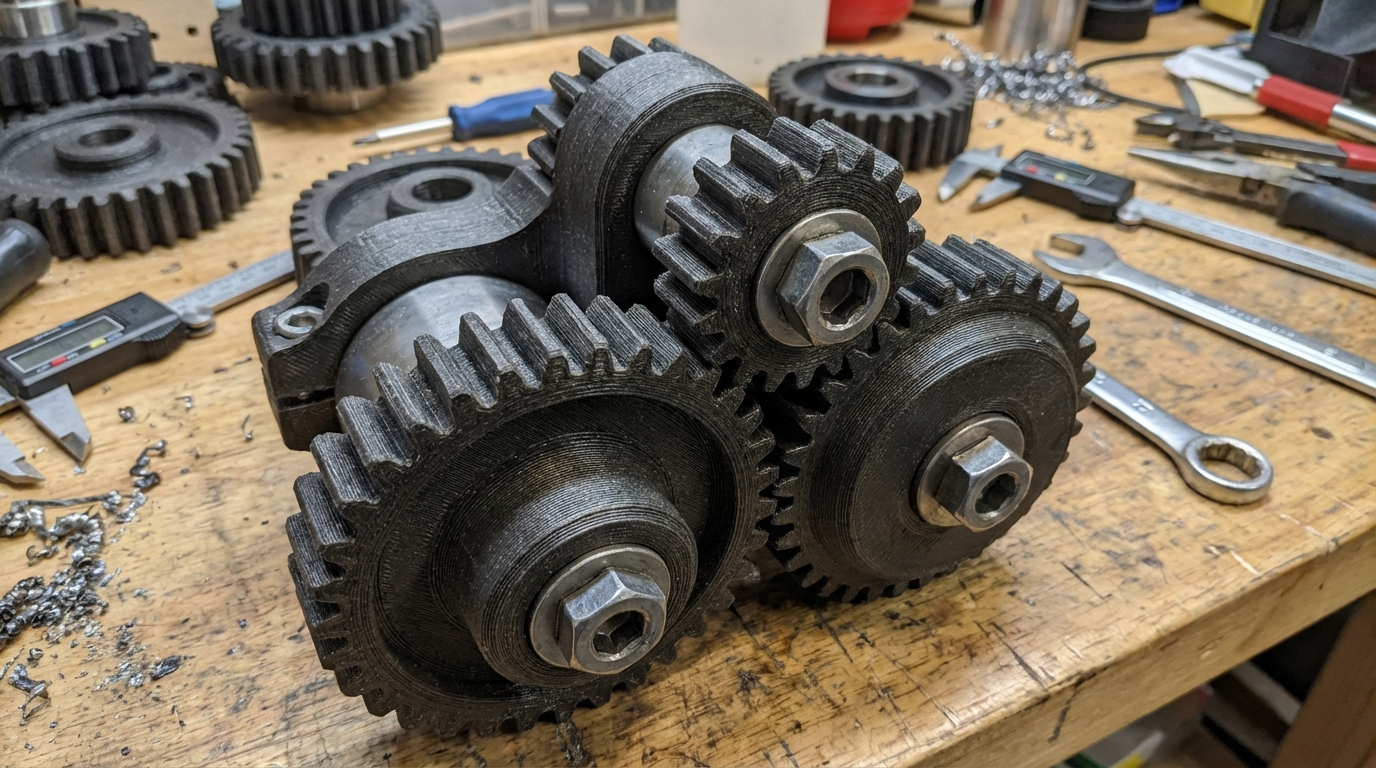
- Gears: Print with the gear face on the bed (teeth in X-Y plane)
- Tubes and pipes: Print vertically for wall strength, horizontally for axial load resistance
Material Selection for Strength
When slicer settings and orientation aren’t enough, upgrading your material is the next step:
| Material | Tensile Strength | Best For | Difficulty |
|---|---|---|---|
| PLA | ~50 MPa | Stiff parts, low-heat environments | Easy |
| PLA+ | ~55 MPa | Slightly better impact resistance than PLA | Easy |
| PETG | ~50 MPa | Impact resistance, chemical resistance, moderate heat | Easy-Medium |
| ABS | ~40 MPa | Heat resistance, acetone welding | Medium |
| ASA | ~45 MPa | UV resistance, outdoor use | Medium |
| Nylon (PA) | ~70 MPa | Toughness, flexibility under load, wear resistance | Hard |
| Polycarbonate | ~65 MPa | High heat, impact resistance, transparency | Hard |
| Carbon Fiber Nylon | ~90 MPa | Maximum stiffness-to-weight ratio | Hard |
For most functional applications, PETG offers the best balance of strength, ease of printing, and layer adhesion. If you need maximum toughness, step up to nylon or carbon fiber reinforced filaments — but be prepared for more challenging print requirements (dry box, enclosure, higher temps).
Post-Processing Techniques for Stronger Parts
Annealing
Annealing involves heating a finished print to just below its glass transition temperature, allowing the polymer chains to reorganize and crystallize. This can increase strength by 20-40% and dramatically improve heat resistance.
- PLA: Bake at 80-90°C for 1-2 hours (expect 3-5% shrinkage)
- PETG: Bake at 85-95°C for 1-2 hours
- ABS: Bake at 100-110°C for 2 hours
Important: Annealing causes dimensional changes. Design your parts slightly oversized to compensate, or accept the warping as a tradeoff for strength.
Epoxy Coating
Coating a part in thin epoxy resin fills the gaps between layer lines and creates a continuous skin. This can improve both strength and water resistance. Use slow-cure epoxy for best penetration — brush it on in thin coats and let gravity fill the layer gaps.
Chemical Welding (ABS/ASA)
For ABS and ASA parts, acetone vapor smoothing or brush-on acetone slurry doesn’t just improve surface finish — it chemically fuses the layer boundaries, creating a more monolithic structure. The strength improvement can be significant, especially for thin-walled parts.
Mechanical Reinforcement
For critical structural parts, consider embedding reinforcements during the print:
- Pause the print mid-way and insert steel pins, carbon fiber rods, or threaded inserts
- Design channels into your part for reinforcement rods
- Use heat-set threaded inserts instead of printing threads directly
Design Tips for Stronger Prints
Sometimes the best way to make a stronger print is to design it better from the start:
- Add fillets to corners — sharp internal corners are stress concentrators that initiate cracks
- Use gussets and ribs instead of solid bulk — they add strength without proportional weight and material
- Avoid thin unsupported walls — anything under 2mm (5 perimeters with a 0.4mm nozzle) will be fragile
- Design for the layer direction — put material where the loads go
- Consider splitting and reassembling — sometimes printing two halves in optimal orientation and gluing them together beats printing one piece in a compromised orientation
Quick Reference: The Strength Hierarchy
From most impact to least, here’s what matters for part strength:
- Print orientation — free, massive impact
- Wall count — cheap, big improvement
- Layer adhesion (temperature) — free, moderate improvement
- Infill pattern and density — moderate cost, moderate improvement
- Material upgrade — highest cost, guaranteed improvement
- Post-processing — extra time, can be significant
Final Thoughts
You don’t need exotic materials or expensive equipment to print strong parts. The combination of smart orientation, extra walls, proper temperature, and gyroid infill will get you 80% of the way to a seriously strong print using nothing but standard PLA or PETG.
Start with the free changes — orientation and temperature — then work your way through the list based on how critical your application is. For truly structural applications, test your parts under load before deploying them in anything safety-critical.