Layer Height vs Print Quality: Finding the Perfect Speed Tradeoff
What Is Layer Height and Why Does It Matter?
When I got my first 3D printer back in 2018, I printed everything at 0.2 mm layer height because that’s what the default profile said. It took me an embarrassingly long time to realize that changing this single number could dramatically affect both how my prints looked and how long they took to finish. If you’re just starting out, understanding the layer height versus print quality tradeoff is going to save you a ton of filament, time, and frustration.
Layer height is simply the thickness of each horizontal slice your printer deposits. Think of it like building a wall with bricks — thinner bricks give you a smoother wall, but you need more of them. Thicker bricks go up fast, but the surface is rougher. That’s the fundamental tradeoff we’re working with here.
Photo by Glen Carrie on Unsplash
How Layer Height Affects Print Quality
Let’s get specific about what “quality” actually means in this context, because it’s not one thing — it’s several:
Surface Smoothness
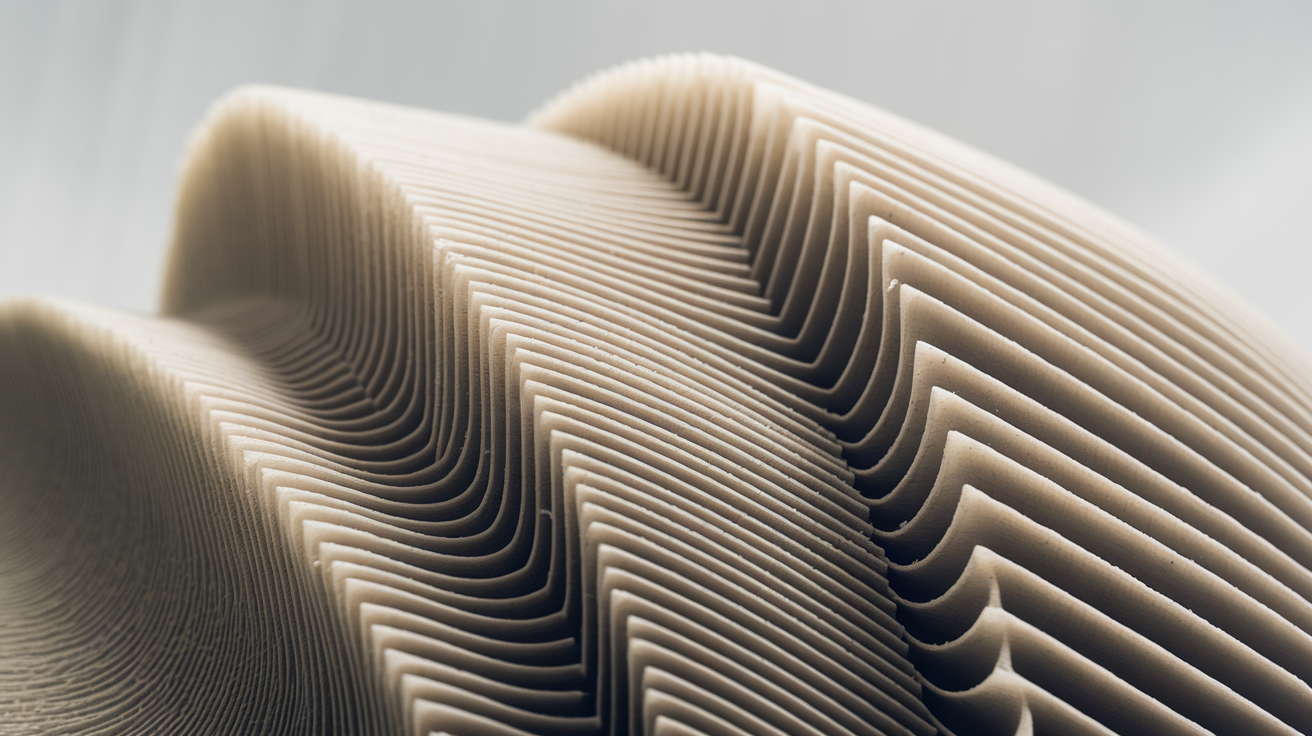
This is the most obvious effect. At 0.1 mm layer height, individual layers are barely visible to the naked eye. At 0.3 mm, you can clearly see and feel the stepped surface texture. On curved and angled surfaces, this difference becomes even more dramatic because the staircase effect is more pronounced.
I measured surface roughness on a series of test cylinders using a cheap digital surface gauge. At 0.1 mm layers, the average peak-to-valley measurement was about 0.08 mm. At 0.2 mm layers, it jumped to 0.18 mm. At 0.3 mm layers, we’re talking 0.28 mm — rough enough that you can catch a fingernail on the ridges.
Dimensional Accuracy
Here’s something that surprises most beginners: layer height doesn’t significantly affect dimensional accuracy on the X and Y axes. A hole that’s supposed to be 10 mm wide will be roughly 10 mm wide regardless of layer height. Where it matters is the Z axis — your part’s total height will only be accurate to the nearest layer increment. If you need a part exactly 15.5 mm tall and you’re printing at 0.3 mm layers, you’ll get either 15.3 or 15.6 mm.
Detail Resolution
Miniatures, text, logos, and other fine features benefit enormously from thinner layers. I print a lot of tabletop gaming miniatures for friends, and the difference between 0.12 mm and 0.2 mm layers on a 28 mm figure is night and day. Facial features, armor textures, and weapon details that are completely lost at 0.2 mm suddenly pop at 0.12 mm.
Layer Adhesion and Strength
This one goes against intuition. You might expect thinner layers to be weaker because each layer has less plastic, but the opposite is actually true in most cases. Thinner layers mean the hot nozzle passes over each area more frequently, keeping the part warmer and promoting better interlayer bonding. Multiple studies and my own destructive testing confirm that parts printed at 0.1 mm layers are typically 10-15% stronger in the Z-axis than identical parts at 0.3 mm.
How Layer Height Affects Print Speed
Now for the other side of the equation. The math here is straightforward but the real-world impact is staggering.
Cutting your layer height in half roughly doubles your print time. A model that takes 2 hours at 0.3 mm layer height will take about 4 hours at 0.15 mm and around 6-7 hours at 0.1 mm. That’s because you’re printing twice as many layers, and each layer takes roughly the same amount of time to complete (perimeters, infill, travel moves).
Here’s a real example from my print log. I printed the same phone stand model at three different layer heights on my Bambu Lab P1S:
- 0.28 mm layers: 1 hour 12 minutes
- 0.20 mm layers: 1 hour 48 minutes
- 0.12 mm layers: 2 hours 55 minutes
The 0.12 mm version took nearly 2.5 times longer than the 0.28 mm version. For a phone stand that sits on my nightstand, that extra time bought me smoother surfaces I’d never notice in dim lighting. For a display piece on my desk? Totally worth it.
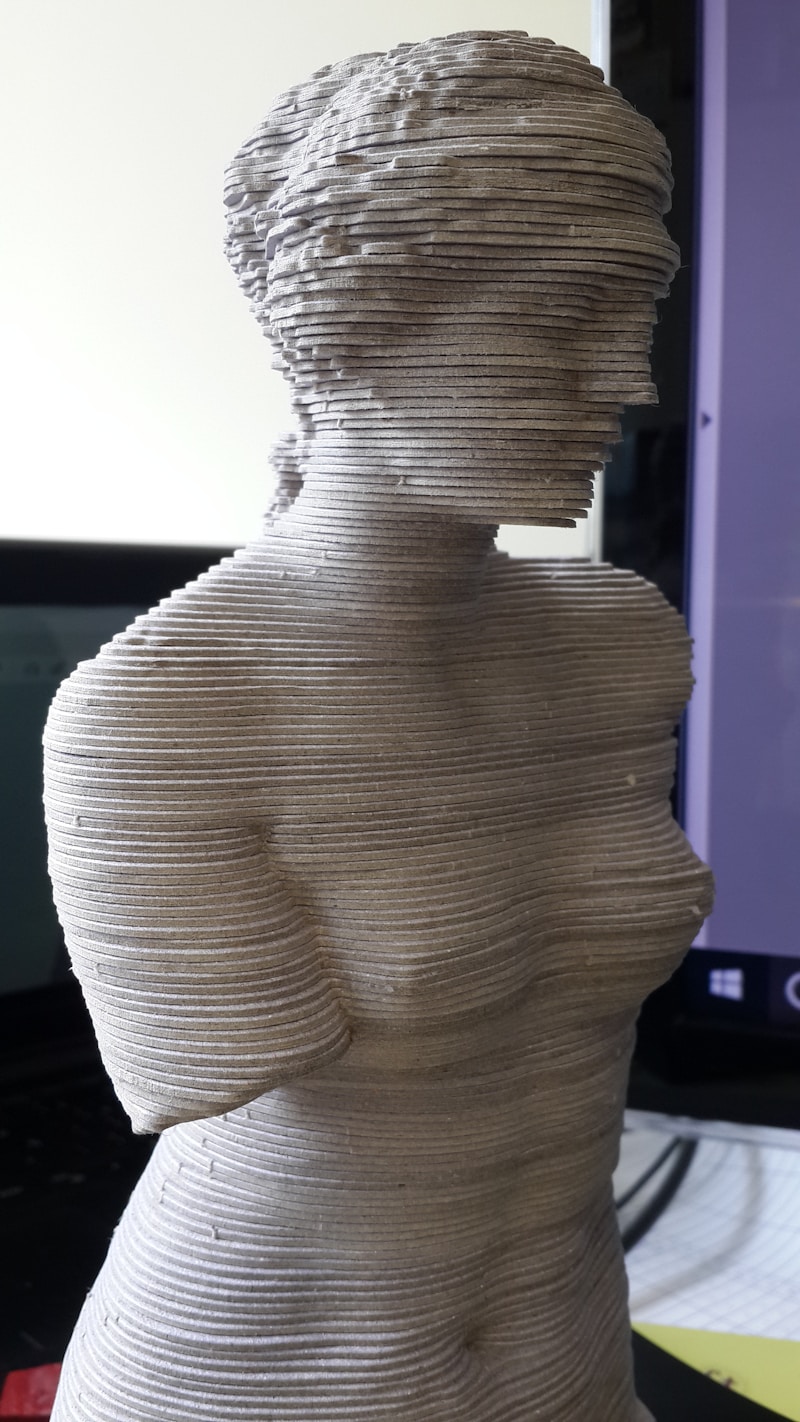
Photo by Humberto Bortolossi on Unsplash
The Layer Height Sweet Spots
After printing thousands of parts over the years, I’ve settled on a few go-to layer heights for different situations:
0.28-0.32 mm — Draft and Functional Parts
Use this for prototypes, jigs, brackets, tool holders, and anything where appearance doesn’t matter. A 0.6 mm nozzle at 0.3 mm layer height is my secret weapon for cranking out functional parts at ridiculous speed. Internal parts, test fits, and iterative designs all get this treatment.
0.20 mm — The Everyday Default
This is the Goldilocks layer height for most prints. Good enough surface quality for gifts, decent speed, and strong results. If someone asks me “what layer height should I use?” without any other context, the answer is always 0.2 mm.
0.12-0.16 mm — Quality Prints
Display models, cosplay parts that will be seen up close, anything with text or logos. The surface quality improvement from 0.2 to 0.12 mm is substantial, and the time penalty is manageable for parts you want to look good. This is my standard for anything that’ll be photographed or given as a gift.
0.06-0.08 mm — Ultra Detail
I almost never go this fine, and honestly, most FDM printers struggle here. At these layer heights, other factors like nozzle cleanliness, temperature stability, and vibration become the limiting factors. If you need this level of detail, you’re probably better off with a resin printer. But for specific applications — like printing replacement watch parts or tiny mechanical components — it has its place.
The Nozzle Size Connection
Your nozzle diameter sets a practical range for layer height. The general rule is that your layer height should be between 25% and 75% of your nozzle diameter:
- 0.4 mm nozzle: 0.1 to 0.3 mm layer height
- 0.6 mm nozzle: 0.15 to 0.45 mm layer height
- 0.25 mm nozzle: 0.06 to 0.18 mm layer height
- 0.8 mm nozzle: 0.2 to 0.6 mm layer height
Going below 25% means the nozzle is so close to the previous layer that you get poor flow and potential clogs. Going above 75% means the layer is too thick for the nozzle to properly squish the plastic into a flat bead, leading to poor adhesion and a rough surface.
I keep three nozzles on rotation: 0.4 mm for general use, 0.6 mm for fast functional prints, and 0.25 mm for detail work. Swapping nozzles takes two minutes and gives you far more flexibility than trying to push a single nozzle size across all layer heights.
Variable Layer Height: The Best of Both Worlds
Modern slicers have a feature that blows my mind every time I use it — variable layer height. Instead of printing the entire model at one fixed height, the slicer automatically adjusts layer height based on the geometry. Steep curves and detailed sections get thin layers. Flat vertical walls get thick layers. The result is a print that looks like it was done at fine layers but finishes almost as fast as a coarse print.
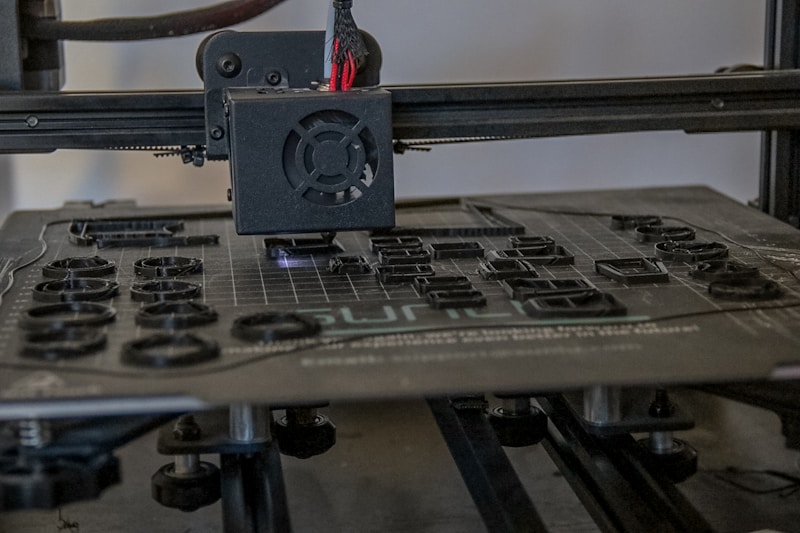
Photo by Caroline Eymond Laritaz on Unsplash
In PrusaSlicer, the adaptive layers feature is under Print Settings → Layers and Perimeters. In OrcaSlicer, it’s in the same location. Cura calls it “Adaptive Layers” under Experimental settings. I use this on probably 60% of my prints now. The time savings are real — I’ve measured 25-40% faster prints compared to using the finest layer height uniformly, with no visible quality difference on the detailed sections.
You can also manually paint variable layers using the layer height editing tool in PrusaSlicer. This lets you specify exactly which Z heights get fine layers and which get coarse ones. It’s especially useful for prints where the top surface needs to be smooth but the bottom half is hidden.
Practical Decision Framework
When I’m setting up a new print, I run through this quick mental checklist:
- Will anyone see this part? If no → 0.28 mm, done.
- Does it have fine details or text? If yes → 0.12 mm on those sections (variable layers).
- Is it a display piece or gift? If yes → 0.12-0.16 mm everywhere.
- Am I iterating on a design? If yes → 0.3 mm draft, refine dimensions first, then do a final quality print.
- Is the print time over 12 hours at fine layers? If yes → reconsider whether you really need those fine layers, or if post-processing (sanding, painting) would be faster.
This framework has saved me countless hours. The biggest mistake beginners make is printing everything at the same layer height regardless of purpose. A hidden mounting bracket doesn’t need 0.12 mm layers any more than a display figurine needs 0.3 mm layers.
Post-Processing Can Close the Gap
Here’s a perspective shift that took me years to embrace: sometimes it’s faster to print rough and finish smooth than to print smooth from the start. A part printed at 0.28 mm layers and sanded with 220-grit sandpaper for five minutes can look better than the same part printed at 0.12 mm layers that took an extra two hours.
For PLA, a coat of filler primer and light sanding eliminates layer lines entirely. For ABS, an acetone vapor bath smooths the surface to a near-injection-molded finish. These post-processing techniques effectively make layer height irrelevant for the final appearance — they just add a manual step after printing.
I use the “print fast, finish by hand” approach for about 30% of my projects, especially larger parts where the print time difference between 0.12 mm and 0.28 mm is measured in hours rather than minutes.
Finding Your Own Balance
The layer height versus quality tradeoff is ultimately personal. It depends on what you’re printing, how patient you are, and what your quality standards look like. I know people who print everything at 0.1 mm because they can’t stand visible layers. I know others who’ve never gone below 0.24 mm because they value speed above all else. Both approaches are valid.
My advice for beginners is to start with 0.2 mm as your baseline, try one print at 0.12 mm and one at 0.28 mm so you can see and feel the difference, and then make informed decisions from there. Once you understand what each layer height gives you and what it costs in time, you’ll naturally start making better choices for every print.
The beauty of 3D printing is that experimenting costs almost nothing. A test cube uses a few grams of filament and takes minutes to print. Run the tests, see the results with your own eyes, and let your own experience guide your settings. That hands-on knowledge is worth more than any guide — including this one.