How to Calibrate Retraction Settings on Your 3D Printer: The Complete Guide
Retraction is the single most important setting for clean, string-free 3D prints. Yet it remains one of the most misunderstood parameters in any slicer. If you’ve ever pulled a print off the bed only to find thin wisps of plastic connecting every tower and gap, your retraction settings need work.
This guide walks you through a systematic approach to dialing in retraction — no guesswork, no random forum advice, just a proven calibration method that works for both Bowden and direct drive setups.
What Is Retraction and Why Does It Matter?
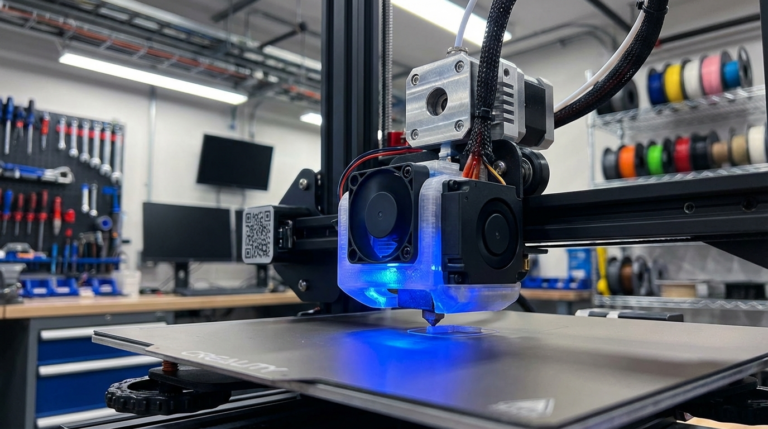
Retraction is the process of pulling filament backward through the hotend when the nozzle needs to travel across an empty space without printing. Without retraction, molten plastic continues to ooze from the nozzle during travel moves, leaving behind thin strings or blobs.
Think of it like squeezing a tube of toothpaste. If you keep pressure on the tube while moving it, toothpaste will drip everywhere. Release the pressure — or better yet, pull back slightly — and the flow stops cleanly. That’s retraction in a nutshell.
The Two Key Retraction Parameters
Retraction Distance
Retraction distance controls how far back the filament is pulled. For direct drive extruders, this is typically between 0.5mm and 2mm. Bowden tube setups need significantly more — usually 4mm to 8mm — because the longer tube adds compliance and delay.
Too little retraction distance means the filament doesn’t pull back far enough to relieve pressure. Too much can cause jams, grinding, or heat creep because you’re pulling partially molten filament into the cold zone.
Retraction Speed
Retraction speed determines how quickly the filament is pulled back. Most printers perform best between 25mm/s and 50mm/s. Higher speeds create a sharper pressure drop at the nozzle tip, which stops oozing more effectively. But exceeding what your extruder motor can handle leads to skipped steps or filament grinding.
Step-by-Step Retraction Calibration
Step 1: Print a Temperature Tower First
Before touching retraction, make sure your printing temperature is dialed in. Retraction behavior changes with temperature — hotter filament is thinner and oozes more readily. Print a temperature tower for your specific filament brand and pick the lowest temperature that still gives good layer adhesion.
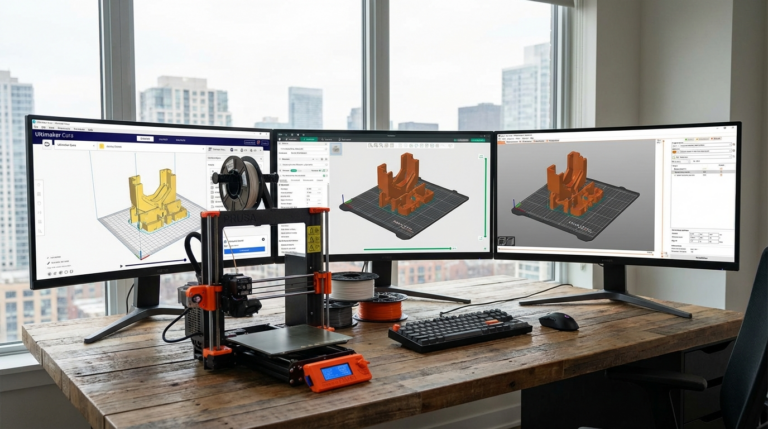
Step 2: Download a Retraction Test Model
The classic retraction test is a series of small towers spaced apart, forcing the nozzle to make travel moves between them. Popular options include:
- Retraction tower test — progressively changes retraction distance per section
- Stringing torture test — multiple thin columns at various distances
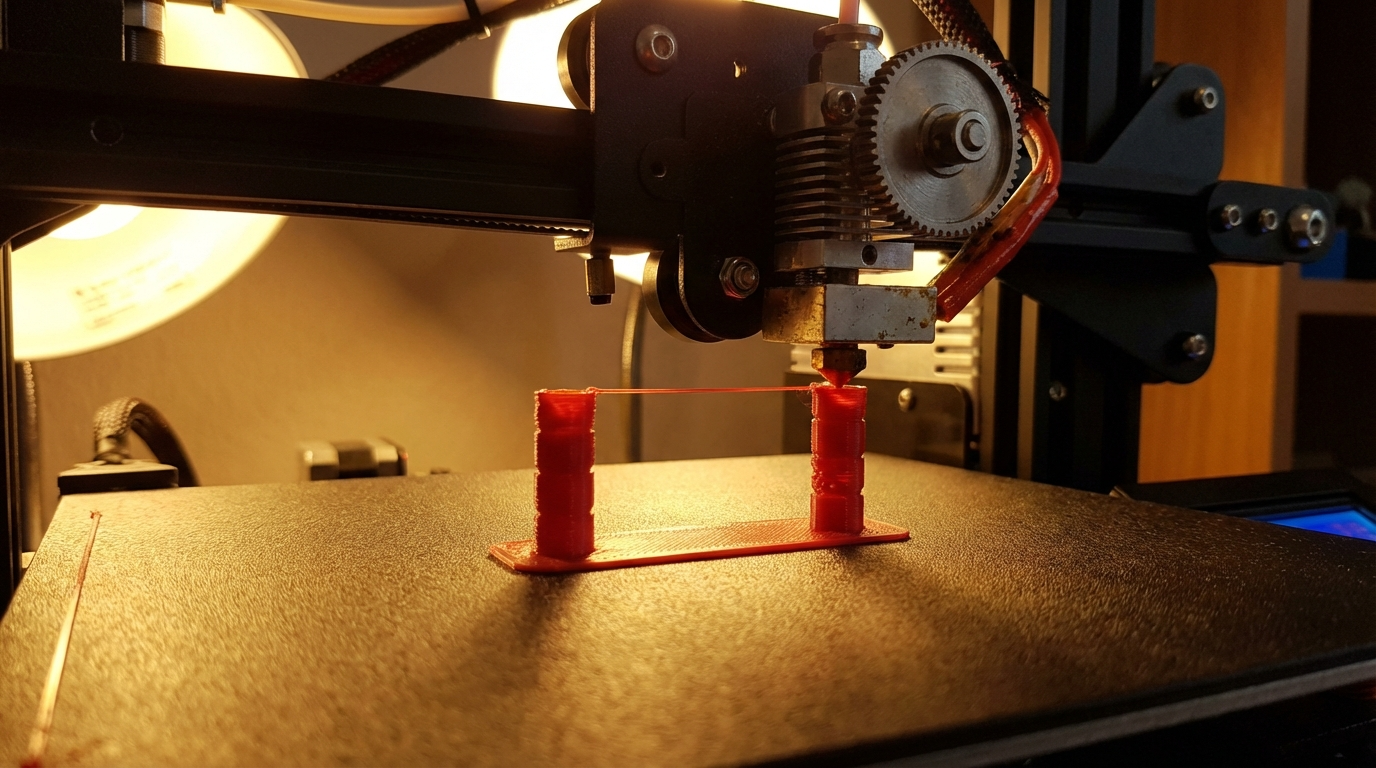
- Five-pillar test — simple and quick to print
I recommend starting with a five-pillar test because it prints fast and makes stringing immediately obvious.
Step 3: Establish a Baseline
Print the test with retraction turned off. Yes, it will look terrible. That’s the point. You need to see what uncontrolled oozing looks like on your specific machine so you can measure improvement.
Step 4: Calibrate Retraction Distance
Start with the middle of your expected range:
- Direct drive: Start at 1.0mm
- Bowden: Start at 5.0mm
Print the test. Examine the results. If you still see significant stringing, increase by 0.5mm and print again. Repeat until stringing disappears or starts getting worse (indicating you’ve gone too far).
Step 5: Fine-Tune Retraction Speed
Once you’ve found the right distance, optimize speed. Start at 35mm/s and print the test. Then try 45mm/s. Most people find their sweet spot between 30mm/s and 50mm/s. You’re looking for the speed that produces the cleanest result without any clicking or grinding noises from the extruder.
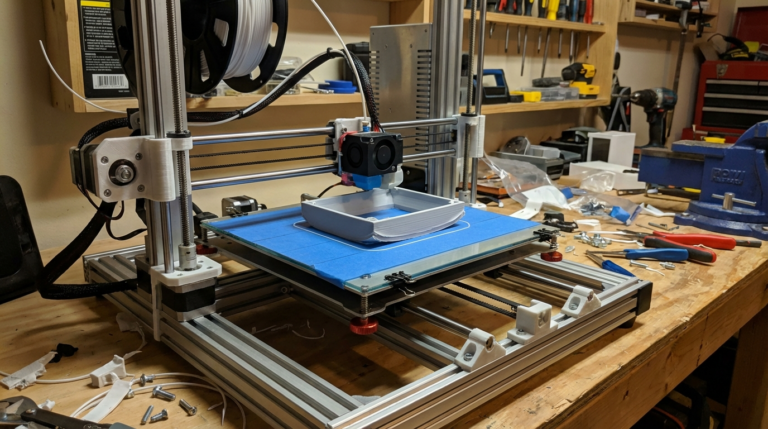
Step 6: Validate With a Real Print
Calibration towers are controlled conditions. Now print something real — a model with bridges, overhangs, and multiple separate features. Confirm your settings hold up under actual printing conditions.
Advanced Retraction Settings
Retraction Extra Prime Amount
After a retraction, the filament pushes forward again to resume printing. Some slicers let you add a small extra prime amount (0.05–0.2mm³) to compensate for any plastic lost during the retraction. This helps prevent small gaps at the start of each new extrusion after a travel move.
Minimum Travel Distance
This tells your slicer to only retract if the travel move exceeds a certain distance. Setting this to 1.5mm–2mm prevents unnecessary retractions on very short hops, reducing print time and extruder wear.
Maximum Retraction Count
Some slicers (like Cura) let you limit how many times the filament can retract within a given length. This prevents the same section of filament from being ground down by repeated retractions — a common cause of jams on prints with lots of small features.
Z-Hop on Retraction
Z-hop lifts the nozzle slightly during travel moves. Combined with retraction, it prevents the nozzle from dragging across already-printed surfaces. A 0.2mm–0.4mm z-hop works well for most situations. However, z-hop can increase stringing slightly because the nozzle is higher and any oozing filament has more room to stretch into strings.
Retraction Settings by Filament Type
Different materials behave differently during retraction:
PLA: The most forgiving material. Standard retraction settings work well. Distance: 0.8–1.5mm (direct drive) or 4–6mm (Bowden). Speed: 35–50mm/s.
PETG: Notorious for stringing. PETG is stickier than PLA and benefits from slightly higher retraction distances and lower temperatures. Add 0.5mm to your PLA retraction distance. Also reduce temperature by 5°C if stringing persists.
TPU/Flexible: Retraction barely works with flexible filaments, especially on Bowden setups. Keep retraction distance very short (0.5–1mm direct drive only) or disable it entirely. Use wipe settings instead.
ABS: Similar to PLA but slightly more prone to oozing at higher temperatures. Standard retraction settings usually work, but keeping the nozzle temperature at the lower end of the recommended range helps.
Nylon: Very stringy by nature. Use aggressive retraction (1.5–2mm direct drive, 6–8mm Bowden) and make sure the filament is bone dry. Wet nylon will string no matter what your retraction settings are.
Common Retraction Problems and Solutions
Stringing Won’t Go Away
If stringing persists despite proper retraction settings, the issue might not be retraction at all. Check your nozzle temperature (too high causes oozing), make sure your filament is dry, and verify your travel speed is fast enough. Sometimes increasing travel speed from 120mm/s to 200mm/s solves stringing better than any retraction change.
Blobs at Start of Lines After Retraction
This means too much filament is being pushed back after the retraction. Reduce your extra prime amount, or add a small amount of coasting (0.1–0.2mm) to stop extrusion slightly before the end of each line segment.
Clicking or Grinding During Retraction
Your extruder motor can’t keep up with the retraction demands. Reduce retraction speed or distance. Also check for a partial clog — extra resistance in the hotend makes the extruder work harder during retraction.
Gaps or Under-Extrusion After Travel Moves
The filament isn’t priming fast enough after retraction. Increase your extra prime amount slightly, or reduce retraction distance so the filament doesn’t have to travel as far to resume flow.
Pro Tips for Perfect Retraction
- Always calibrate retraction per filament brand. Even two different PLA brands can require different settings.
- Keep a log. Write down your retraction settings for each filament. It saves hours of re-calibration later.
- Check your Bowden tube fittings. A loose Bowden coupling adds play in the filament path, making retraction less effective. Replace pneumatic fittings regularly.
- Dry your filament. Moisture in filament causes micro-bubbles that interfere with retraction. If your settings used to work and suddenly don’t, dry the spool first.
- Consider firmware retraction. Marlin and Klipper support firmware-level retraction, which lets you change settings without re-slicing. This speeds up calibration enormously.
Conclusion
Retraction calibration isn’t complicated — it’s just methodical. Start with a temperature tower, move to a retraction distance test, fine-tune speed, and validate on a real print. The whole process takes about two hours and a few grams of filament. But the payoff is prints that look clean, professional, and string-free every single time.
Don’t skip the basics. A properly calibrated retraction setting is worth more than any hardware upgrade when it comes to print quality.