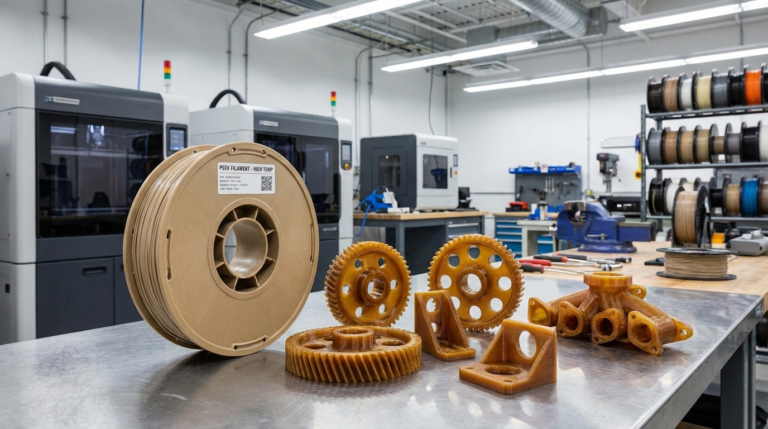
How to Dry and Print Nylon Filament Without Bubbling or Popping
Nylon is one of the most versatile filaments you can run through an FDM printer. It’s strong, flexible, wear-resistant, and perfect for functional parts that need to survive real-world abuse. But there’s a catch that trips up nearly every maker who tries it for the first time: nylon absorbs moisture from the air like a sponge, and wet nylon will absolutely destroy your prints.
If you’ve ever heard popping, crackling, or hissing sounds coming from your hotend while printing nylon — or noticed rough surfaces, bubbles, and weak layer adhesion — moisture is almost certainly the culprit. This guide walks you through everything you need to know about drying nylon filament properly and dialing in your settings so you get clean, strong prints every time.
Why Nylon Absorbs So Much Moisture
Nylon (polyamide) is hygroscopic by nature. That’s a fancy way of saying it actively pulls water molecules out of the surrounding air and traps them within its polymer chains. Unlike PLA or PETG, which can tolerate a fair bit of ambient humidity before showing problems, nylon starts degrading in print quality after just a few hours of exposure to open air.
The water content doesn’t just sit on the surface — it penetrates deep into the filament. When that moisture-laden filament hits the hotend at 240–260°C, the water instantly turns to steam, creating tiny explosions inside the molten plastic. The result? Bubbles in your extrusion, rough textures, poor layer bonding, and parts that snap apart far more easily than they should.
Signs Your Nylon Is Wet
Before diving into drying methods, it helps to know what wet nylon actually looks like in practice. Here are the telltale signs:
- Popping or crackling sounds from the nozzle during extrusion — this is steam escaping
- Stringing that won’t quit no matter how much you tweak retraction
- Rough, fuzzy, or bubbly surface texture on printed parts
- Poor layer adhesion — parts delaminate or break easily along layer lines
- Inconsistent extrusion width — the extruded line looks uneven or varies in diameter
- Filament appears slightly swollen — wet nylon can increase in diameter by 0.01–0.03mm
If you’re seeing any combination of these symptoms, don’t waste time tweaking temperature and retraction settings. Dry your filament first, then calibrate.
How to Dry Nylon Filament: Methods Compared
There are several ways to remove moisture from nylon filament, ranging from free solutions you already have at home to purpose-built hardware. Here’s how they stack up:
Method 1: Dedicated Filament Dryer (Recommended)
A filament dryer like the Sunlu S2, EIBOS Cyclopes, or PolyDryer is the gold standard for drying nylon. These units maintain precise temperature control and airflow, and many allow you to print directly from the dryer — keeping the filament dry throughout the entire print job.
Settings for nylon: 70–80°C for 6–12 hours. Yes, nylon takes a long time to dry properly. Don’t rush it.
Pros: Consistent temperature, print-while-drying capability, set-and-forget operation.
Cons: Costs $40–80 for a decent unit.
Method 2: Food Dehydrator
A food dehydrator with adjustable temperature works surprisingly well for drying filament. Look for one that reaches at least 70°C (158°F). Remove the center spindle if needed and stack the spool on the trays.
Settings for nylon: Maximum temperature (usually 70°C) for 8–12 hours.
Pros: Cheap ($25–40), effective, good airflow.
Cons: Can’t print from it, may not reach ideal temperature for nylon.
Method 3: Oven Drying
Your kitchen oven can work in a pinch, but proceed with caution. Most home ovens have poor temperature accuracy at low settings, and temperature swings can warp or fuse your spool.
Settings for nylon: 70°C (158°F) for 6–8 hours. Use an oven thermometer to verify actual temperature — many ovens run 10–20°C hotter than the dial suggests.
Pros: Free if you already have an oven.
Cons: Risk of melting the spool, inconsistent temperature, ties up your kitchen.
Method 4: Vacuum Bags with Desiccant (Maintenance Only)
Silica gel packets in vacuum-sealed bags won’t actively dry wet nylon fast enough to be useful as a primary drying method. However, they’re excellent for keeping already-dry nylon in good condition during storage.
Optimal Print Settings for Nylon
Once your nylon is properly dried, you still need the right print settings to get good results. Nylon is more demanding than PLA or PETG, but the results are worth the extra effort.
Temperature
- Nozzle temperature: 240–260°C (varies by brand — start at 250°C and adjust)
- Bed temperature: 60–80°C (some nylons prefer higher, check manufacturer specs)
- Enclosure: Highly recommended. Nylon warps aggressively with temperature changes
Speed and Retraction
- Print speed: 30–50 mm/s for best results. Nylon is more forgiving at lower speeds
- Retraction distance: 1–3mm (direct drive) or 4–6mm (Bowden). Start conservative
- Retraction speed: 25–35 mm/s
Bed Adhesion
Nylon is notorious for poor bed adhesion. Here are proven solutions:
- Garolite (G10/FR4) sheet: The best surface for nylon, period. Nylon bonds to it extremely well
- PVA glue stick on glass: Apply a thin, even layer. Works decently for most nylon variants
- Magigoo PA: Purpose-made adhesive for polyamides. Expensive but effective
- Blue painter’s tape: An older method that still works for smaller prints

Keeping Nylon Dry During Printing
Here’s the part most guides skip: drying your nylon before printing is only half the battle. If your print takes 8+ hours, the filament will re-absorb moisture from the air during the print itself. By hour six, you might notice print quality degrading as the exposed filament soaks up ambient humidity.
Solutions:
- Print from a dry box: Feed filament through a PTFE tube from a sealed container with desiccant
- Print from a heated dryer: Many filament dryers have feed-through ports for exactly this purpose
- Control room humidity: A dehumidifier in your print room makes a noticeable difference
- Print faster: The less time filament sits exposed, the less moisture it absorbs (within quality limits)
Nylon Variants and Their Moisture Sensitivity
Not all nylons are created equal when it comes to moisture absorption:
- PA6 (Nylon 6): The most hygroscopic common nylon. Absorbs up to 9% of its weight in water. Dry aggressively
- PA66 (Nylon 6/6): Slightly less moisture-sensitive than PA6, but still demands drying. Higher melting point
- PA12 (Nylon 12): The least hygroscopic nylon variant. Absorbs about 1.5% moisture. Easier to work with
- PA6-CF / PA12-CF: Carbon fiber filled nylons absorb somewhat less moisture due to the CF content displacing nylon volume
- Nylon blends (e.g., Taulman 910): Varies widely — check manufacturer data sheets
Troubleshooting Common Nylon Problems
Bubbling and Popping Despite Drying
If you’ve dried your filament and still hear popping, either you didn’t dry long enough (nylon takes 6–12 hours minimum), or your dryer isn’t reaching the required temperature. Use a probe thermometer to verify. PA6 in particular can hold moisture stubbornly and may need a second drying cycle.
Extreme Warping
Nylon shrinks significantly as it cools. An enclosure is almost mandatory for anything larger than a few centimeters. If you don’t have an enclosure, try printing with a brim (8–15mm), increasing bed temperature to 80°C, and using a draft shield in your slicer.
Parts Are Flexible but Weak
This usually indicates either wet filament (poor layer bonding) or printing too cool. Bump your nozzle temperature up by 5°C increments and test layer adhesion. Properly printed nylon should be tough to break along layer lines.
Filament Won’t Stick to the Bed at All
Switch to a Garolite sheet if possible. If not, try PVA glue applied in a very thin, even layer and dried with a heat gun before printing. Make sure your first layer is squished properly — nylon benefits from a slightly lower Z-offset than PLA.
Storage Best Practices
After going through the trouble of properly drying nylon, the last thing you want is to let it reabsorb moisture between uses. Here’s how to store it right:
- Use vacuum-sealed bags with rechargeable silica gel packs
- Store in airtight containers with color-indicating desiccant (orange = dry, green = saturated)
- Keep unused filament sealed until the moment you need it
- Track humidity inside your storage container with a small hygrometer — aim for below 15% RH
- Re-dry filament if it’s been exposed to air for more than 24 hours
Wrapping Up
Printing with nylon isn’t hard — it’s just less forgiving than PLA. The single biggest factor in nylon print quality is moisture control. Get the drying right, keep the filament dry during printing, and store it properly between uses. Do that, and you’ll have access to one of the strongest, most versatile filaments available for desktop 3D printing.
If you’re just starting with nylon, grab a spool of PA12 (like Polymaker PA12-CF or Taulman 645). It’s the most forgiving nylon variant and a great way to learn the material before moving to the more demanding PA6 varieties.