ABS Enclosure Setup — Heat Soak, Chamber Thermometers, Ventilation, and Safety That Actually Work
Why ABS Enclosure Heat Soak Setup Is the Difference Between a Strong Print and a Warped Mess
An abs enclosure heat soak chamber thermometer ventilation safety setup is what separates ABS prints that match injection-molded toughness from ABS prints that crack at the corners and split mid-print. The chemistry of ABS demands an elevated chamber temperature held steady through the entire print, not just at the start. Without that, the cooling gradient between the freshly extruded layer and the layer below it produces interlayer stress that eventually exceeds the material’s strength and the part splits — usually right where it would matter most for the application.
This guide walks through the physics of why heat soak is necessary, how to build an enclosure that supports it on either a stock printer or a Voron-class build, where to place the thermometer for honest data, what ventilation setup keeps you breathing clean air, and the safety considerations that prevent ABS printing from becoming a household health hazard. None of this is optional for serious ABS work — it is the cost of entry into the material.
Why ABS Needs Heat Soak — The Polymer Physics
ABS has a glass transition temperature of roughly 105 °C. Below that temperature, the polymer is glassy and brittle. Above it, the polymer becomes soft and rubbery. The interlayer adhesion in an FDM print depends on the surface of the existing top layer being warm enough that the freshly extruded next layer can fuse with it rather than just sitting on top. For ABS, that target surface temperature is about 60 to 70 °C — not at the glass transition, but high enough that thermal contraction across the boundary stays modest.
If the chamber temperature is room temperature (20 °C), the just-extruded layer cools from 240 °C to chamber within a few minutes. The layer below it, having been in chamber conditions for ten or twenty minutes already, is at chamber temperature. The temperature differential at the interface is enormous, and the resulting thermal contraction differential drives micro-cracks at every layer boundary. After 50 mm of vertical print, those micro-cracks have aggregated into a visible split that runs the height of the part.
An abs enclosure heat soak chamber thermometer ventilation safety setup raises chamber temperature to 50 to 60 °C and holds it there. The differential between freshly extruded ABS at 240 °C and the layer below at 50 °C is much smaller than the differential against a 20 °C ambient. Layer adhesion holds, the part finishes intact, and mechanical strength approaches the published values for the material rather than the disappointing values that explain most beginner ABS failures.
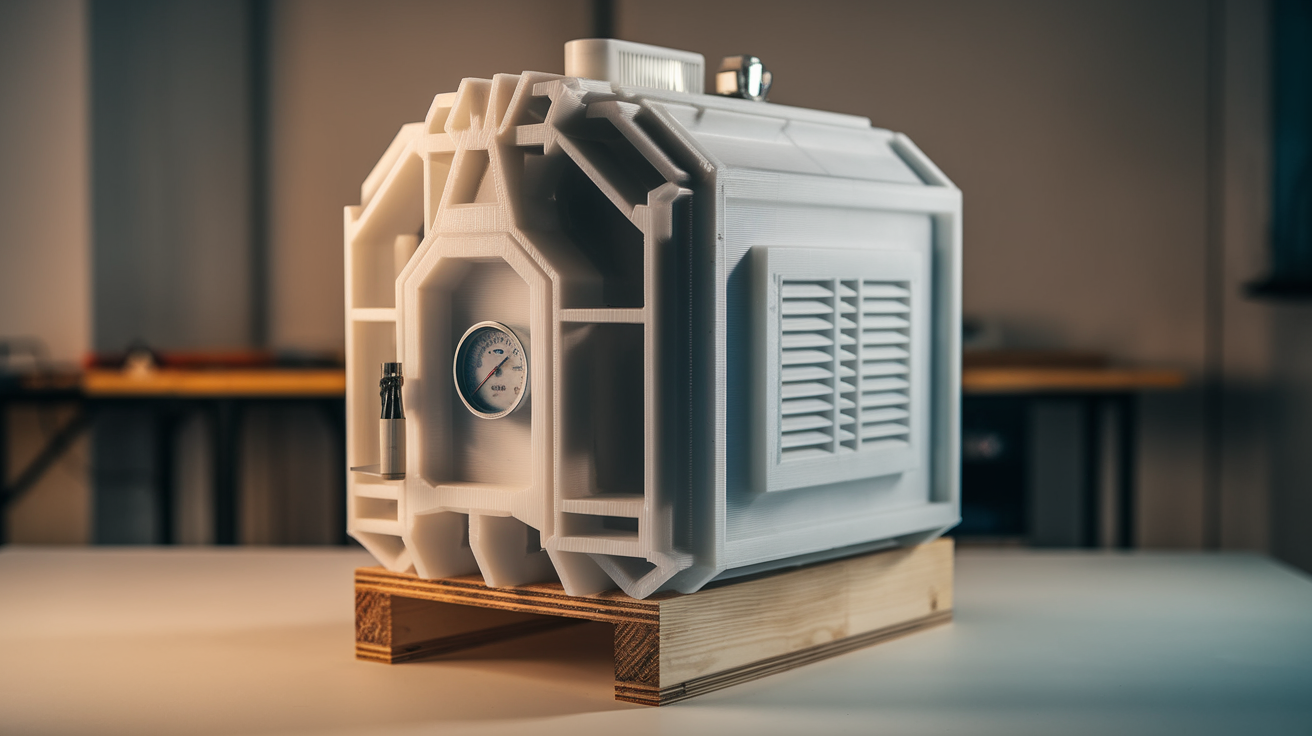
Building or Buying the Enclosure
Stock printers vary widely in enclosure suitability. Bambu X1 Carbon ships with an enclosure capable of reaching about 50 °C chamber temperature with the door closed and the print bed at 100 °C. Prusa MK4 in its optional enclosure, Voron 2.4 in any sealed configuration, and Qidi X-Plus 3 all reach the 50 to 60 °C target reliably. Open-frame printers (most Ender variants, original Prusa MK3 without enclosure) cannot reach abs enclosure heat soak chamber thermometer ventilation safety setup conditions without an external enclosure built around them.
For DIY enclosures, the standard build uses an Ikea Lack table inverted as a base, a second Lack table on top, and 3 mm acrylic or polycarbonate panels held by 3D printed corner brackets. Polycarbonate is preferred over acrylic because acrylic crazes at sustained 50 °C and becomes brittle within months of regular ABS printing. Polycarbonate handles 80 °C indefinitely. The cost difference is roughly $30 per build for a meaningful safety and durability upgrade.
A door is essential — not a removable panel, an actual hinged door with a magnetic catch. Heat soak fails the moment ambient air gets in, and a removable panel encourages opening mid-print to “just check on it,” which dumps chamber temperature back to ambient and resets the soak clock.
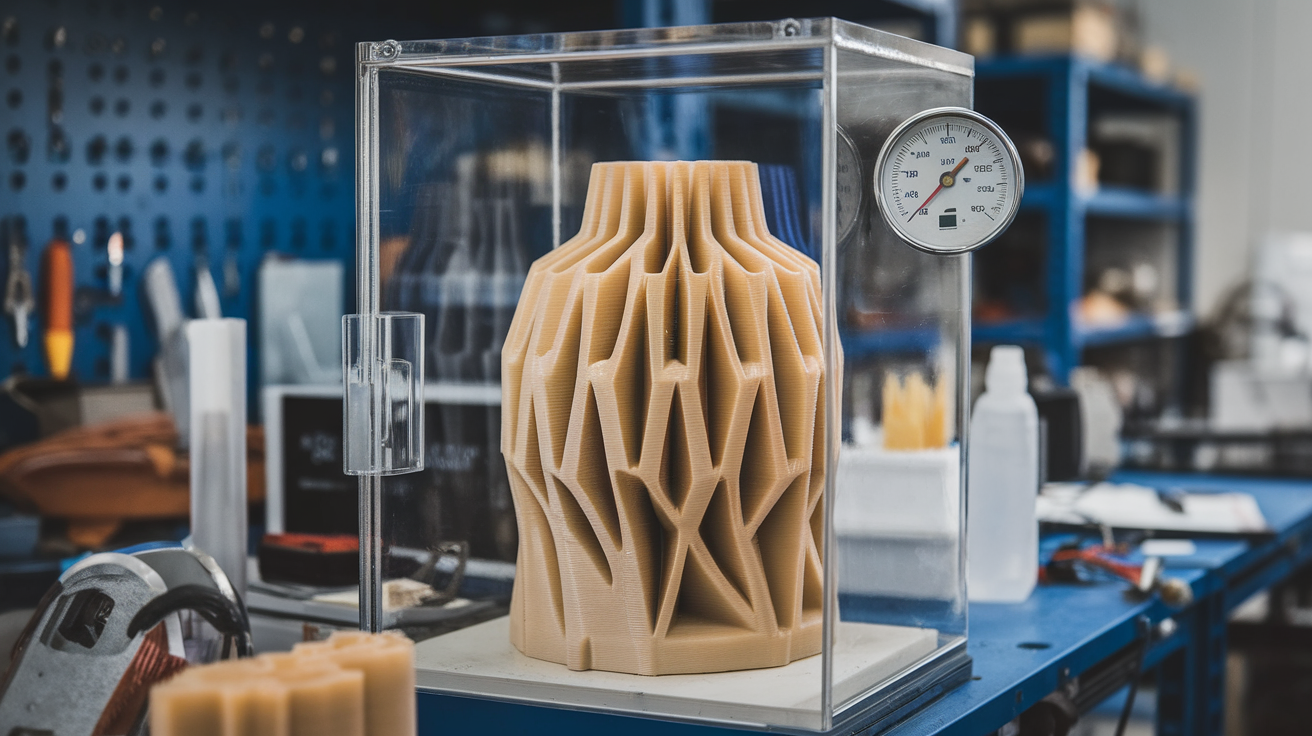
Thermometer Placement — Measure Where It Matters
The single most common mistake in abs enclosure heat soak chamber thermometer ventilation safety setup is reading the wrong temperature. Many printers report a chamber temperature, but the sensor is mounted on the side wall or near the electronics bay where airflow keeps it artificially low. The temperature that matters is the air immediately above the print, where the just-extruded material is cooling.
Mount a wired thermocouple thermometer (a simple K-type thermocouple connected to a $20 digital readout works fine) with the probe positioned 5 cm above the print bed and 5 cm in from the front-right corner. That position is far enough from the bed that you read air temperature rather than radiated heat from the bed itself, and far enough from the print head that you read steady-state chamber conditions rather than transient hotend heat. Log the temperature every five minutes for the first hour of a print to verify the chamber is stable and reaching target.
Wireless temperature loggers (Govee H5075 and similar Bluetooth thermometers) work for monitoring but introduce a one to two minute lag in their readings. For initial enclosure tuning use a wired thermocouple. For ongoing monitoring once the enclosure is dialed in, wireless is fine.
Ventilation — The ABS Off-Gas Problem
ABS releases styrene and ultrafine particles when extruded at 240 °C. Both are documented respiratory irritants. An abs enclosure heat soak chamber thermometer ventilation safety setup that ignores ventilation is trading print quality for indoor air quality, and that is a bad trade especially in a home or shared workshop space.
The standard solution is a HEPA + activated carbon filter integrated into the enclosure exhaust. The Nevermore filter (a popular community design) uses a 5015 blower, an activated carbon cartridge, and a HEPA filter in a 3D printed housing that mounts inside the enclosure. It runs continuously during printing and reduces measured VOC concentration in surrounding air by roughly ninety percent. Build cost is around $60 in parts.
For workshops with external venting available, ducted exhaust to outdoors is the gold standard. Use a 4 inch inline duct fan rated for the enclosure volume, ducted through a window kit similar to a portable air conditioner. Make-up air should enter through a HEPA filter on the opposite side of the enclosure to avoid pulling unfiltered shop air through your print zone. Ducted exhaust does not heat-soak as well as a sealed enclosure unless the duct is sized small enough to limit airflow during printing — typically a 2 inch outlet and a damper to control flow.
Safety Considerations Beyond Air Quality
Sustained 50 to 60 °C chamber operation introduces risks beyond what an open-frame printer presents. Power supplies and stepper drivers were not always designed for that ambient — the Bambu X1 keeps electronics in a separate compartment vented to ambient room air, but DIY enclosures around stock Ender or Voron builds need to vent the electronics bay separately or risk shortened component life and occasional thermal shutdowns.
Filament materials other than ABS / ASA / nylon should not be left in a heat-soaked chamber. PLA spools sitting at 50 °C will deform on their reels within a few hours, and the filament itself becomes too soft to feed cleanly through bowden tubes. The abs enclosure heat soak chamber thermometer ventilation safety setup workflow includes removing PLA spools before starting an ABS print and either leaving the chamber spool-empty or loading only the ABS spool with the others stored elsewhere.
Fire safety is rarely discussed but worth addressing. A printer running in an enclosed space at elevated temperature is at slightly higher risk of a runaway thermal event than the same printer in open air. A smoke detector in the print room is not optional. A small CO2 fire extinguisher (not water) within reach of the printer is appropriate. Klipper’s runaway temperature protection should be enabled and verified on every printer used for ABS.
For more on the materials side of running ABS, see our piece on PETG vs ASA for outdoor use for the trade-offs between ABS-family materials, and our deep-dive on classroom enclosure and ventilation requirements for shared-space printing setups that need to meet stricter air quality standards.
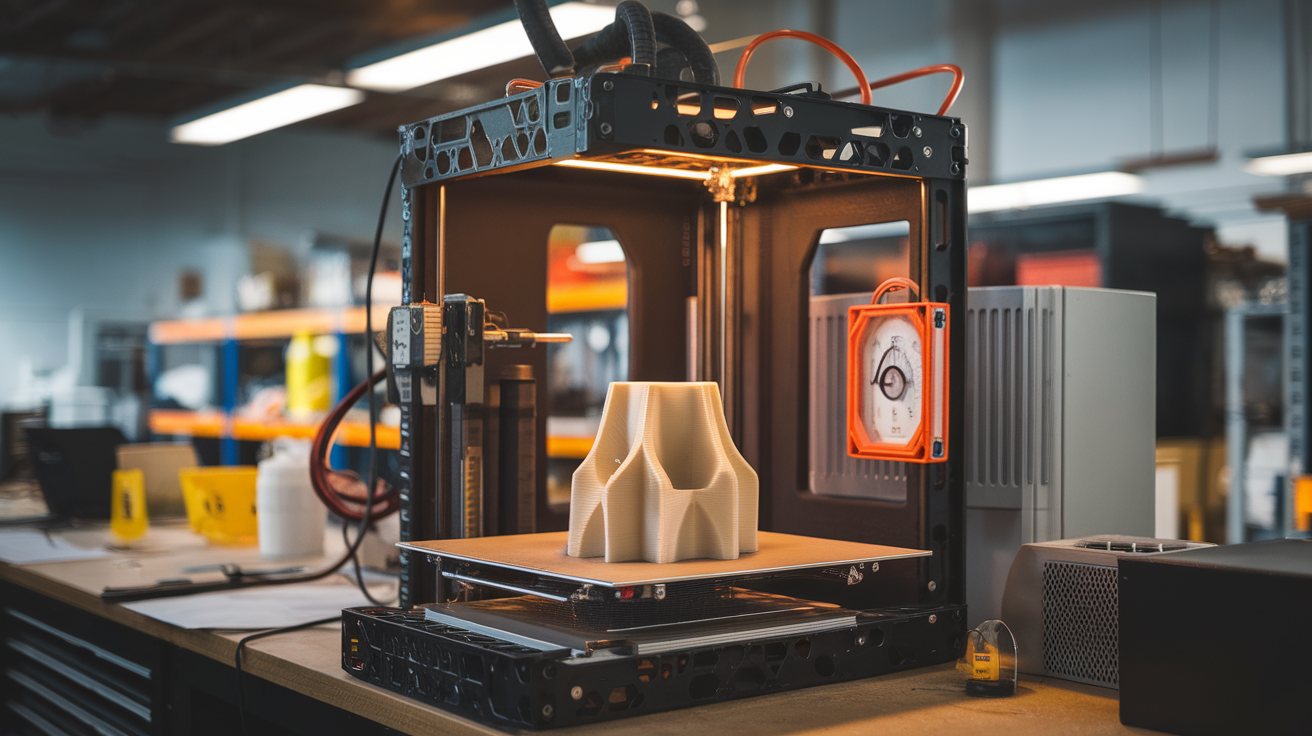
Tuning the Heat Soak Cycle on Real Prints
An abs enclosure heat soak chamber thermometer ventilation safety setup is only useful if the heat soak itself is run correctly before each print. Cold-starting an ABS print into a chamber that has not stabilized at target temperature reproduces all the problems the enclosure exists to solve. The first layer adheres while the chamber is still climbing, and by the time chamber temperature stabilizes the part is twenty layers in and already starting to develop the thermal stress that produces mid-print splits.
The standard preheat sequence is to bring the bed to print temperature (100 °C for ABS, 110 °C for ASA) and let the chamber warm passively for thirty to forty-five minutes before starting any print. A chamber thermometer reading at or above 45 °C is the green light. Some users add a heated chamber element (a small ceramic heater rated for sealed environments) to accelerate this — these typically cut preheat time in half but introduce another component to monitor for safe operation.
For long prints, monitor the chamber temperature trend across the first hour of printing. The chamber will continue to warm during the print as the bed and hotend continue radiating heat, and many enclosures climb past 60 °C if left fully sealed. The Bambu X1’s auxiliary fan and the Voron’s exhaust fan exist to bleed off this excess heat and hold the chamber in the optimal 50 to 55 °C window. If your enclosure does not have a fan, prop the door open one centimeter once chamber temperature exceeds 60 °C — the small air exchange brings temperature back into range without losing the soak.
Tuning the heat soak cycle pays off most visibly on tall ABS prints — anything above 80 mm Z height. Short prints can get away with marginal soak conditions; tall prints expose every weakness in the enclosure setup. If your enclosure can produce a clean 150 mm tall ABS test cube with no visible splits or warping, the abs enclosure heat soak chamber thermometer ventilation safety setup is dialed in and ready for production work.