How to Use AI Slicer Features in OrcaSlicer and Bambu Studio
AI Features Are Quietly Changing How We Slice
I’ll be honest — when I first heard “AI” being added to slicer software, I rolled my eyes. It felt like marketing buzzword territory. But after spending several months with OrcaSlicer’s and Bambu Studio’s AI features, I’ve changed my tune. These tools won’t replace a skilled operator’s judgment, but they genuinely save time and catch mistakes I would have missed.
Let me walk through what’s actually available, what works well, and where you’re still better off doing things manually.
Auto-Orientation: The Feature I Use Most
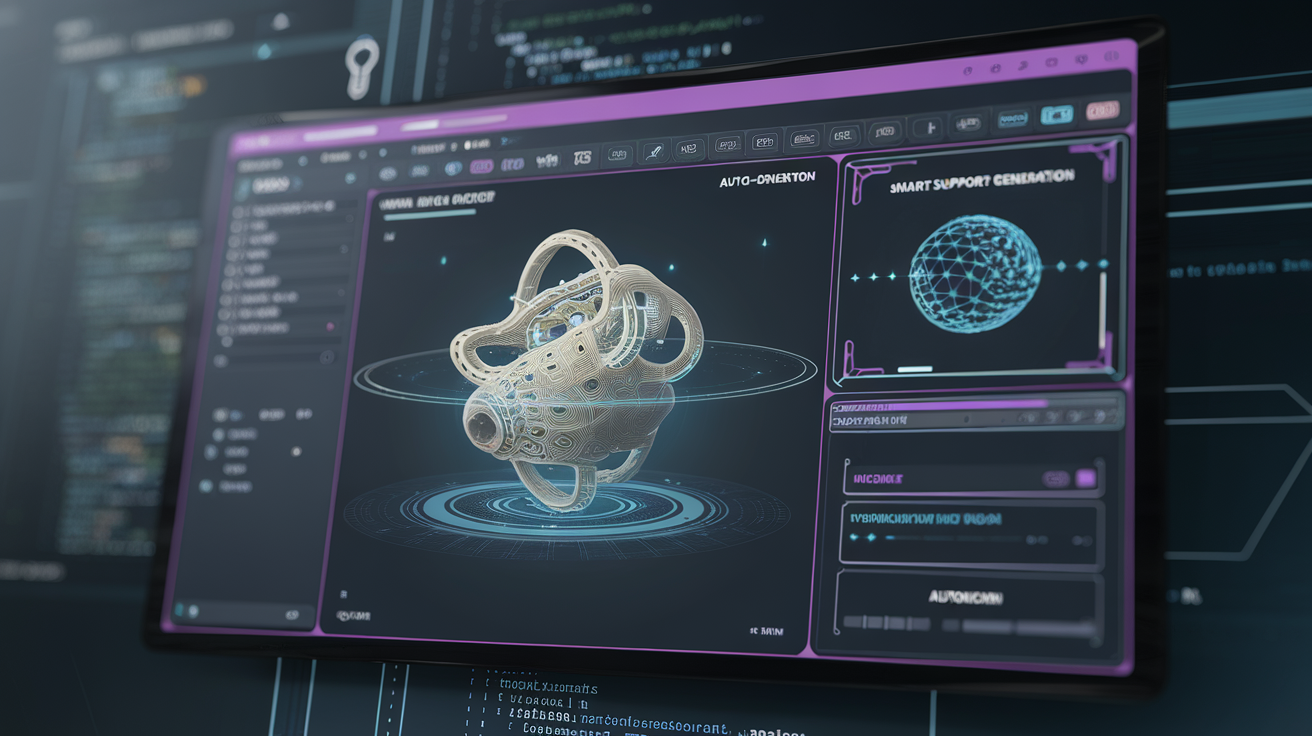
Both OrcaSlicer and Bambu Studio now include AI-powered auto-orientation. You import your STL, click one button, and the slicer analyzes the geometry to find the optimal print orientation based on minimizing supports, maximizing strength, and ensuring printability.
How It Works
The algorithm evaluates every possible orientation of your model and scores each one on multiple criteria:
- Total overhang area (less = fewer supports needed)
- Contact surface with the bed (more = better adhesion)
- Estimated print time
- Layer line direction relative to stress points
When It Works Great
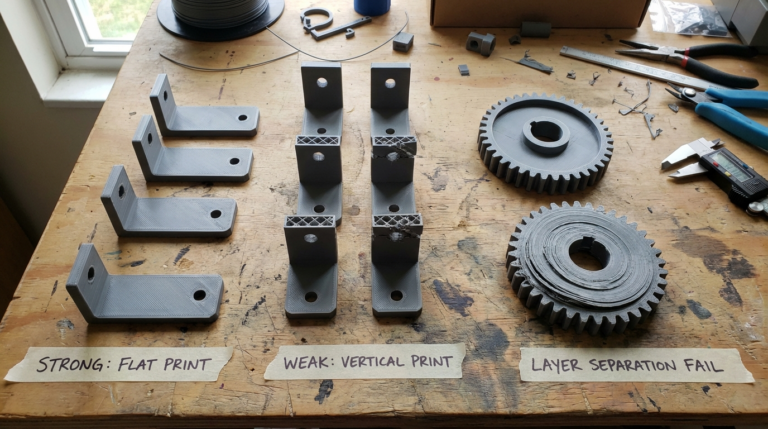
For organic shapes, imported models you didn’t design, and parts where you’re unsure about the best orientation, auto-orient is fantastic. I imported a complex bracket from GrabCAD last week, and the AI suggested an orientation I hadn’t considered — angled 23 degrees — that cut support material by 60% compared to my instinct of printing it flat.
When to Override It
The AI optimizes for printability, not necessarily for mechanical performance. If you know your part needs layer lines running in a specific direction for strength (like a hook that needs to resist pulling forces), manually set the orientation. The AI doesn’t know your use case.
Smart Supports: Better Than Tree Supports Alone
Traditional support generation works on simple overhang angle thresholds — anything over 45 degrees gets support. AI-enhanced support generation in OrcaSlicer 2.x goes further by analyzing the actual geometry to determine which overhangs will actually fail and which can bridge successfully.
What’s Different
- Bridge detection: The AI recognizes bridging opportunities and skips supports where bridges will form cleanly
- Overhang quality prediction: Short overhangs that would print fine (but technically exceed 45°) no longer get unnecessary supports
- Support placement optimization: When supports are needed, they’re placed to minimize contact scarring on visible surfaces
In practice, I’ve seen 20-40% reduction in support material compared to the standard tree support settings. More importantly, the contact points are better chosen, so support removal is cleaner and leaves fewer marks.
The Setting
In OrcaSlicer, look for “Smart” support type under the Support section. In Bambu Studio, it’s called “Intelligent Support.” Both use the same underlying algorithm. You can still set a minimum overhang angle as a fallback — I keep mine at 40 degrees with smart supports enabled.
AI Print Profiles: Automatic Settings Based on Model Analysis
This is the newest addition and the most ambitious. Bambu Studio 2.0 introduced model-aware print profiles that analyze your geometry and suggest print settings tailored to each specific model.
What It Adjusts
- Layer height: Suggests variable layer height based on surface detail — finer layers where detail matters, thicker where it doesn’t
- Infill pattern and density: Recommends higher infill for thin-walled parts and lower for thick solid sections
- Speed profiles: Slows down for detailed areas, speeds up for simple fills
- Wall count: Suggests extra walls around stress concentration points
My Experience
The profile suggestions are surprisingly good for standard prints. For a decorative vase, it correctly suggested spiral vase mode. For a mechanical bracket, it bumped wall count from 3 to 5 and increased infill from 15% to 25%. Both were decisions I would have made manually.
Where it falls short: it can’t know the mechanical loads your part will face. It also doesn’t account for material-specific behavior well enough yet. A CF-Nylon part gets the same structural suggestions as a PLA part, which isn’t ideal. Always review the suggestions before hitting print.
Automatic Seam Placement
The Z seam — that vertical line where each layer starts and ends — has always been one of the trickiest things to manage in FDM printing. OrcaSlicer’s AI seam placement analyzes the model geometry to hide the seam in corners, concavities, and areas where it’s least visible.
The “Smart Hiding” option evaluates every possible seam position on each layer and picks the one that’s least visible from the most common viewing angles. For models with complex geometry, this produces noticeably cleaner results than the old “nearest” or “aligned” options.
I still manually place seams on cylindrical objects (where there’s no good hiding spot) and on functional parts where seam strength matters. But for display prints and organic shapes, the AI seam placement is now my default and I rarely override it.
Print Failure Detection
Bambu Studio and OrcaSlicer both now include pre-print analysis that warns you about potential failures before you waste filament:
- Thin wall warnings: Highlights walls thinner than your nozzle diameter
- Unsupported overhang alerts: Shows overhangs that will likely fail even with supports
- Bridging distance warnings: Flags bridges longer than your printer can reliably handle
- Adhesion risk scoring: Estimates the likelihood of the print detaching from the bed based on contact area and part height
This feature has saved me from at least three failed overnight prints. A tall, thin part with minimal bed contact got flagged as high adhesion risk, prompting me to add a brim that I would have otherwise skipped.
When to Trust AI vs. Go Manual
After months of testing, here’s my framework:
Trust the AI
- Auto-orientation for unfamiliar models
- Smart support generation for complex organic shapes
- Seam placement on decorative prints
- Pre-print failure warnings (always worth reviewing)
- Variable layer height suggestions
Go Manual
- Orientation for parts with known load directions
- Support placement on parts where surface finish is critical in specific areas
- Infill and wall settings for structural parts (you know the loads, the AI doesn’t)
- Temperature and speed settings for unusual materials
- Any setting on a print that has already failed — the AI doesn’t learn from your specific failures
Setting Up AI Features in OrcaSlicer
If you haven’t enabled these features yet, here’s where to find them:
- Auto-orient: Right-click your model > Auto Orient, or use the toolbar button
- Smart supports: Print Settings > Support > Support Type > Smart
- AI seam: Print Settings > Seam > Seam Position > Smart Hiding
- Pre-print analysis: Usually enabled by default; check View > Print Analysis
In Bambu Studio, most AI features are enabled by default if you’re using a recent version. Check the Prepare tab for the AI suggestions panel.
The Future of AI in Slicing
What we have today is genuinely useful but clearly early-stage. The next wave will likely include real-time print monitoring that adjusts settings mid-print (Bambu Lab is already experimenting with this), per-model learning that improves suggestions based on your print history, and multi-material optimization that considers different materials within a single print.
For now, think of AI slicer features as a competent assistant — great at handling routine decisions, fast at analyzing geometry, but still lacking the contextual knowledge that comes from understanding what your printed part actually needs to do. Use them to speed up your workflow, but keep your hands on the wheel for anything critical.