Best 3D Printer Cooling Fan Duct Upgrades for Better Print Quality
Why Your Stock Cooling Fan Duct Probably Isn’t Good Enough
If you’ve been printing for more than a few weeks, you’ve probably noticed that some prints come out looking great while others have ugly drooping overhangs, rough surfaces, or curling corners. In many cases, the culprit isn’t your slicer settings or your filament — it’s your cooling fan duct.
The part cooling fan on your 3D printer is responsible for solidifying freshly extruded plastic as quickly as possible. The faster the material transitions from a molten state to a solid one, the less likely it is to sag, curl, or deform. But most stock cooling setups only blow air from one direction, creating uneven cooling across the print. Upgrading your fan duct — or even replacing the entire cooling assembly — can dramatically improve your print quality for under $20.
In this guide, I’ll walk you through why cooling matters, what makes a good duct design, and which upgrades are actually worth your time and money.
How Part Cooling Actually Works (And Why Direction Matters)
Your hotend melts filament at temperatures between 190°C and 260°C, depending on the material. Once that molten plastic is deposited on the build plate or a previous layer, it needs to cool down and solidify before the next layer goes on top of it. If it doesn’t cool fast enough, you get:
- Drooping overhangs — unsupported material sags before it hardens
- Stringing — molten filament strings between travel moves
- Curling — corners and edges lift as uneven cooling creates internal stress
- Poor bridging — unsupported horizontal spans droop instead of staying taut
- Rough surface finish — inconsistent cooling leads to visible artifacts
The key insight is that uniform, directional airflow matters more than raw fan speed. A powerful fan blowing from one side will cool that side faster than the other, creating thermal gradients that lead to warping and uneven layer adhesion. The best duct designs deliver air from multiple angles, creating a ring of cooling around the nozzle tip.
Single-Sided vs. Dual-Sided vs. 360° Cooling
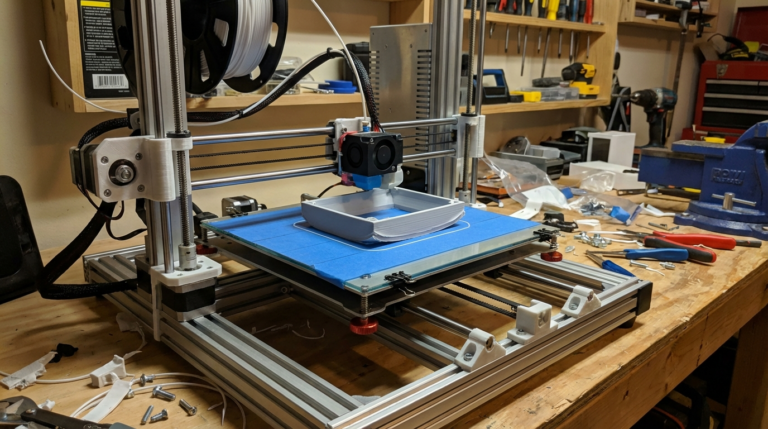
Most budget printers — including the Ender 3 series, Anycubic Kobra, and similar machines — ship with a single radial (blower) fan mounted on one side of the hotend carriage. This fan pushes air through a simple duct that directs it at the nozzle from one direction.
Single-Sided Cooling (Stock)
This is what you get out of the box on most printers. A single 4010 or 5015 blower fan with a basic duct. It works adequately for simple prints and PLA at moderate speeds, but struggles with:
- Complex geometries with overhangs on multiple sides
- Circular or cylindrical features (one side cools faster than the other)
- High-speed printing where faster cooling is essential
- Bridging in any direction other than parallel to the airflow
Dual-Sided Cooling
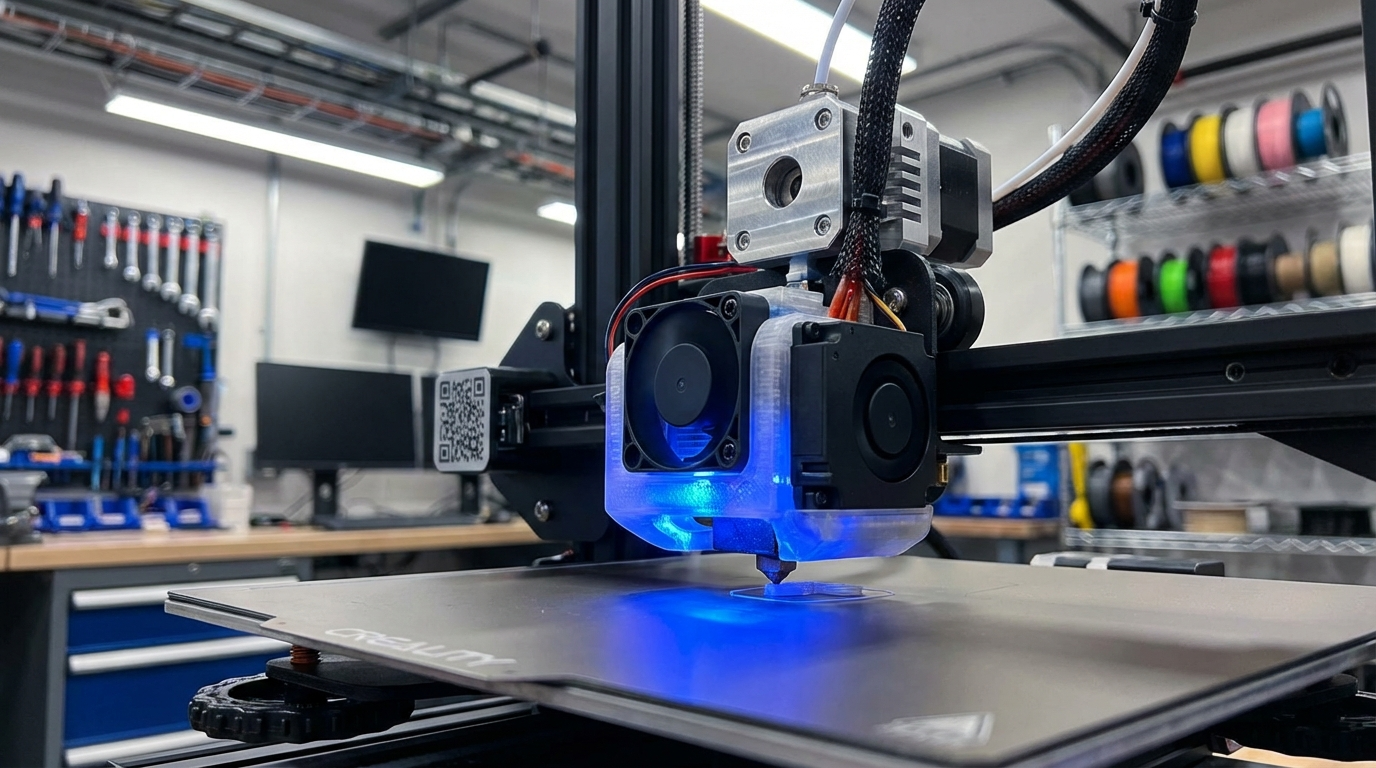
Adding a second fan on the opposite side of the hotend doubles your cooling capacity and, more importantly, balances the airflow. Many popular mods use two 5015 blower fans, one on each side. This is the sweet spot for most users — significant improvement without excessive complexity.
Popular dual-sided duct designs include the Hero Me Gen7, the Satsana, and the Briss Moto. Each has its own mounting system and compatibility list, so check that your printer is supported before printing one.
360° Ring Cooling
The gold standard. A ring-style duct wraps completely around the nozzle and delivers air from all directions simultaneously. This eliminates directional cooling bias entirely and produces the most consistent results on complex prints. The downside is that these are harder to design, print, and install, and they may reduce the usable build volume slightly.
High-end printers like the Bambu Lab X1 Carbon and Prusa MK4 use variations of this approach in their stock cooling designs, which is one reason they produce better out-of-the-box results than budget machines.
The Best Cooling Fan Duct Upgrades by Printer
Ender 3 / Ender 3 V2 / Ender 3 S1
The Creality Ender 3 series has the largest ecosystem of aftermarket cooling mods. The three most proven options are:
- Hero Me Gen7: The most versatile and customizable system. Supports single or dual 5015 fans, multiple hotend configurations, and ABL probes. Requires printing several parts and some hardware.
- Satsana: A simpler dual-fan duct that’s easier to print and install. Great results with less complexity. Works with the stock hotend and most ABL sensors.
- Briss Moto: A minimalist design that uses a single 5015 fan but splits the airflow to both sides. Good compromise between simplicity and performance.
Prusa i3 MK3S+ / MK4
The MK3S+ benefits from the “Bear” cooling upgrade or the Nextruder cooling mod. The MK4 already has excellent cooling, but users printing at very high speeds sometimes add supplemental fans.
Bambu Lab P1S / X1 Carbon
These printers already have among the best cooling systems in the consumer market. Unless you’re pushing extreme overhangs at 300+ mm/s, the stock cooling is likely sufficient. Some users have experimented with auxiliary fan mounts for specific use cases.

Choosing the Right Fan: 4010 vs. 5015 vs. 5020
The fan itself matters as much as the duct. Here’s what the numbers mean and which one to pick:
- 4010 (40mm × 10mm): The stock fan on most budget printers. Adequate for basic PLA printing but limited airflow capacity. If your upgrade uses a 4010, you’ll see improvement from better ducting alone, but the fan is still the bottleneck.
- 5015 (50mm × 15mm): The most popular upgrade. Roughly 2-3x the airflow of a 4010. This is the sweet spot for most users — powerful enough for demanding prints without being excessively loud or drawing too much current.
- 5020 (50mm × 20mm): Maximum airflow. Useful for dual-fan setups on high-speed printers or when printing materials that benefit from aggressive cooling (like PLA at 150+ mm/s). Can be louder than a 5015.
Important: Check your printer’s mainboard specifications before upgrading. Most boards can handle two 5015 fans, but you may need a buck converter or separate power supply for 5020 fans. Running a fan that draws more current than the board can supply will damage the board’s MOSFET.
How to Print a Fan Duct That Actually Works
Here’s the irony of cooling upgrades: you need decent cooling to print a good cooling duct. If your stock setup is really bad, the duct you print might not perform as well as it should because it was poorly printed. Here are some tips:
- Use PETG, not PLA. Your cooling duct sits right next to the hotend, where temperatures can reach 60-80°C on the carriage. PLA can soften and deform over time in this environment. PETG handles the heat much better.
- Print slowly. Use 30-40 mm/s for the duct to get clean overhangs and smooth internal channels. The internal geometry of the duct determines airflow distribution, so accuracy matters.
- Use maximum cooling. Run your part cooling fan at 100% when printing the duct. Better cooling while printing the duct means better overhangs, which means better airflow channels in the finished part.
- Minimize supports. Most well-designed ducts are specifically shaped to print without supports, or with minimal ones. Follow the designer’s recommended orientation.
- Check for warping. A warped duct won’t seal properly against the fan, reducing performance. Use a brim if needed.
Installation Tips and Common Mistakes
Even a perfect duct can underperform if installed incorrectly. Watch out for these common issues:
- Air leaks: If the duct doesn’t seal tightly against the fan housing, air escapes before reaching the nozzle. Use a thin layer of silicone sealant around the fan-to-duct interface if you notice gaps.
- Nozzle clearance: The duct outlet should be 1-3mm from the nozzle tip. Too far and the air disperses before reaching the print. Too close and it may interfere with the print or get hit during rapid travel moves.
- Wiring: Route fan wires carefully so they don’t catch on the frame or get pinched during axis movement. Use zip ties or cable clips to secure them along existing wire paths.
- Fan direction: Blower fans only work in one direction. Make sure the air intake is unobstructed and the outlet feeds into the duct, not the other way around.
- PWM compatibility: Some aftermarket fans have different PWM response curves. You may need to adjust your minimum fan speed in firmware to prevent the fan from stalling at low duty cycles.
Testing Your New Cooling Setup
After installation, run these tests to verify the upgrade is working:
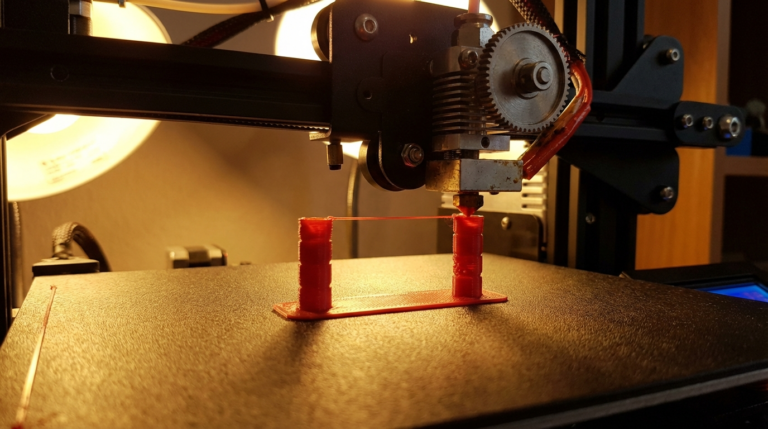
- Overhang test: Print a standard overhang test model (available on Thingiverse and Printables). Compare results with your stock setup. You should see clean overhangs up to 60-70° with a good dual-fan setup.
- Bridging test: Print a bridging test with spans from 10mm to 60mm. A good cooling setup should handle 30-40mm bridges with minimal sag.
- All-In-One test: Print a comprehensive test model like the “3D Benchy” or “Cali Cat” and compare surface quality, overhang performance, and detail resolution.
- Temperature test: Use a non-contact thermometer to check the air temperature at the duct outlet. It should be close to ambient — if it’s warm, the duct might be picking up heat from the heater block.
When More Cooling Isn’t the Answer
Before you rush to upgrade your cooling, keep in mind that not every material benefits from maximum cooling:
- ABS and ASA: These materials need minimal cooling (0-30%) to prevent warping and maintain layer adhesion. Upgrading your fan duct won’t help with ABS — in fact, too much cooling makes ABS prints worse.
- PETG: Moderate cooling (30-60%) works best. Over-cooling PETG can cause poor layer adhesion and a rough, matte surface finish.
- Nylon: Very low or no cooling. Nylon benefits from staying warm to maintain inter-layer bonding.
- TPU/TPE: Low to moderate cooling (20-50%). Too much cooling can cause flexible filaments to become brittle.
Cooling upgrades primarily benefit PLA, PLA+, and silk PLA filaments, which thrive with aggressive cooling at 80-100% fan speed. If you mostly print these materials, a fan duct upgrade is one of the best bang-for-your-buck modifications you can make.
Final Thoughts
Upgrading your cooling fan duct is one of the cheapest, easiest, and most effective modifications you can make to any FDM 3D printer. For under $10 in hardware (a 5015 fan and some screws) and a couple hours of printing and installation, you’ll see measurable improvements in overhang quality, bridging performance, and overall surface finish.
Start with a dual-fan setup if your printer supports it, print the duct in PETG for heat resistance, and don’t forget to calibrate your slicer’s fan speed curves after installation. Your future prints will thank you.