Best Cura Settings for Ender 3: A Beginners Guide That Actually Works
When I got my first Ender 3, I spent two weeks fighting with default Cura settings before I started getting consistently good prints. The stock profiles are a decent starting point, but they leave a lot of quality on the table. After printing thousands of hours on various Ender 3 models, I’ve zeroed in on the settings that actually matter for beginners.
This guide covers the best Cura settings for the Ender 3 (and Ender 3 V2/Pro/S1 — they’re similar enough that these settings work across all of them). I’ll explain what each setting does and why I set it the way I do.
First Things First: Download and Set Up Cura
Grab the latest version of Ultimaker Cura from their website — it’s free. When you first launch it, the setup wizard will ask you to select your printer. Pick “Creality Ender-3” (or your specific variant). Cura already has a built-in profile for the Ender 3, which gives you reasonable defaults for the build volume, nozzle size, and basic settings.
Once you’ve selected the printer, switch to the “Custom” settings view in Cura. The “Recommended” view hides too many settings. You want full control.
The Settings That Actually Matter
Layer Height: 0.2mm
For general-purpose printing, 0.2mm is the sweet spot. It balances print speed with quality. Most people don’t need to go finer than this for functional parts or display models viewed from normal distance.
When to change it: Drop to 0.12mm for detailed miniatures or models with fine curves. Go up to 0.28mm for rough prototypes where speed matters more than looks. Never exceed 75% of your nozzle diameter (so 0.3mm max for a 0.4mm nozzle).
Line Width: 0.4mm
Match your nozzle diameter. Simple. Some people push this to 0.44-0.48mm for slightly better layer adhesion, and that works fine, but 0.4mm is the safe default.
Print Speed: 50 mm/s
The stock Ender 3 with its 8-bit board can handle 50mm/s reliably. I ran mine at this speed for over a year before upgrading to a 32-bit board. Going faster introduces more vibration and can cause ringing artifacts (those wavy patterns around sharp corners).
Set your first layer speed to 20-25 mm/s. This is crucial for adhesion. Wall speed should be 25-30 mm/s for better surface quality. Infill can run at full speed — nobody sees it.
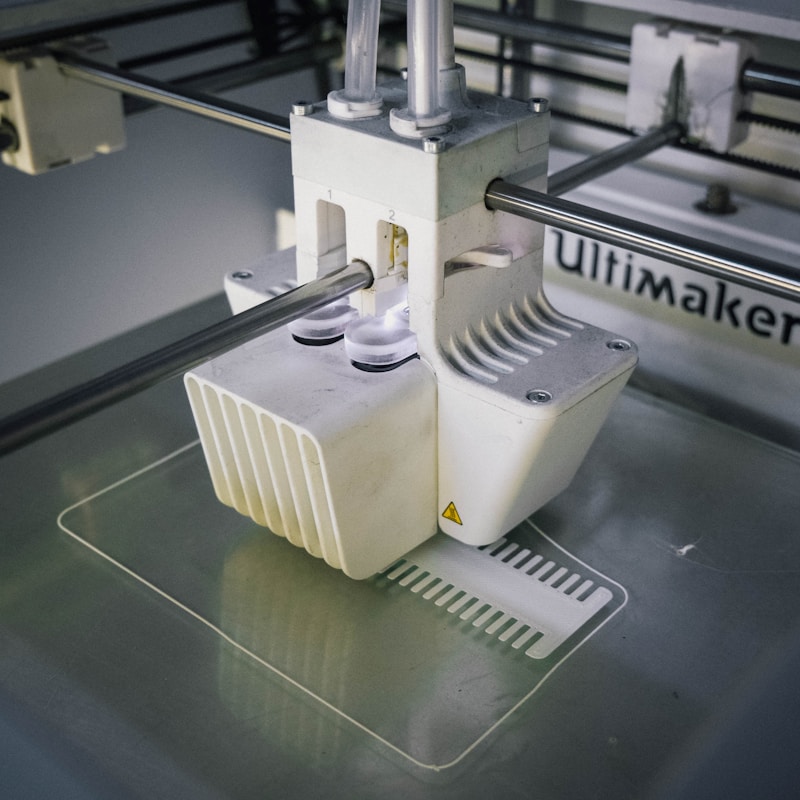
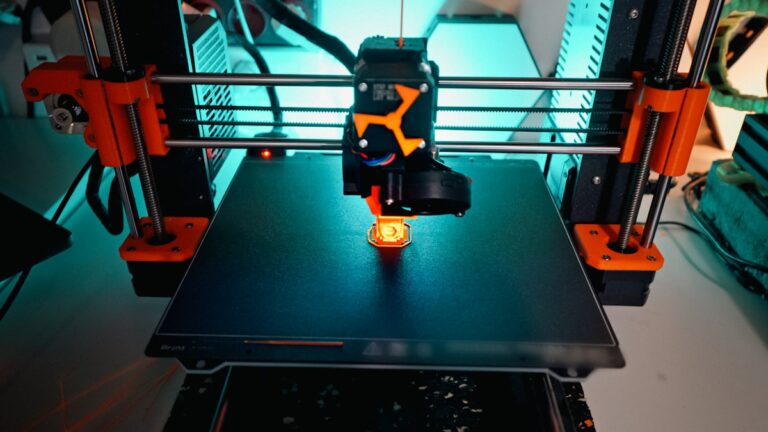
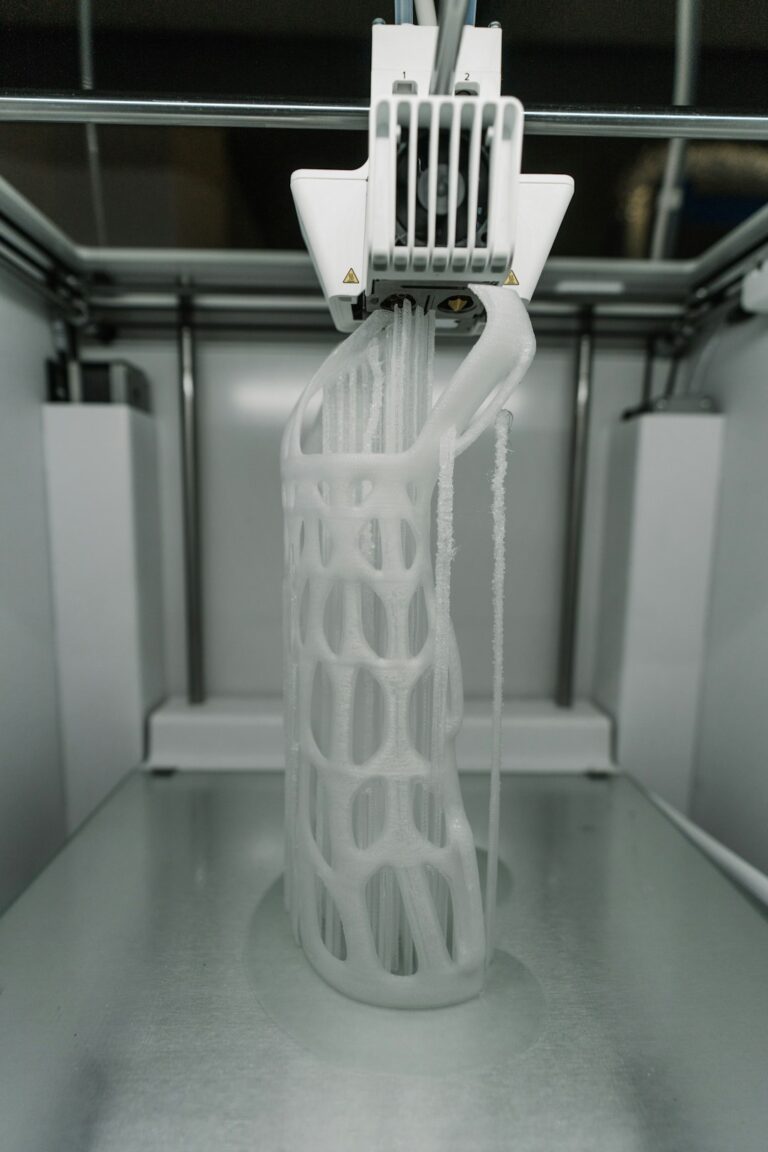
Photo by Victor Sutty on Unsplash
Temperature: 200°C Nozzle / 60°C Bed (for PLA)
These are solid starting points for PLA. Every filament brand runs a little different, so you might need to adjust by ±5°C. If you’re seeing stringing, drop the temp by 5°C. If layers aren’t bonding well, bump it up.
For your first layer, I increase the nozzle temp by 5°C (so 205°C). This helps the first layer flow better and stick to the bed. Most slicers including Cura let you set a separate “Printing Temperature Initial Layer.”
Retraction: 6mm Distance / 25 mm/s Speed
These retraction settings are specific to the Ender 3’s Bowden tube setup. The long PTFE tube between the extruder and hotend means you need more retraction distance compared to a direct-drive printer.
If you’re getting stringing (those thin wispy threads between parts of your print), try bumping retraction to 6.5mm. If that doesn’t help, increase retraction speed to 40-45 mm/s. Don’t go above 7mm — too much retraction can cause jams by pulling molten filament up into the cold zone.
Infill: 20% Grid
For most prints, 20% infill with a grid pattern gives enough strength without wasting filament. Some alternatives:
- Cubic: Better for parts that need strength in all directions. Uses slightly more material than grid.
- Gyroid: My favorite for parts that need flex. Also looks cool if you do a transparent print.
- Lightning: Saves the most material — only builds infill where it’s needed to support the top surface. Great for decorative prints.
Increase to 40-60% for functional parts that need to handle stress. Decorative stuff can go as low as 10%.
Wall Count: 3
Three walls (perimeters) is the baseline. This gives your prints enough rigidity and a good surface finish. For parts that need to be strong, bump to 4-5 walls — adding more walls is often better than increasing infill for strength.
Top/Bottom Layers: 4
Four solid layers on the top and bottom. This prevents infill pattern showing through (called “pillowing” on the top surface). If you’re printing with low infill, you might need 5-6 top layers to bridge the gaps.
Cooling Settings
The Ender 3’s stock cooling fan is decent for PLA. Here’s how I set it up:
- Fan speed: 100%
- Initial fan speed: 0%
- Regular fan speed at layer: 4
Keeping the fan off for the first few layers helps bed adhesion. After that, full blast for PLA. If you print PETG, drop the fan to 30-50%.
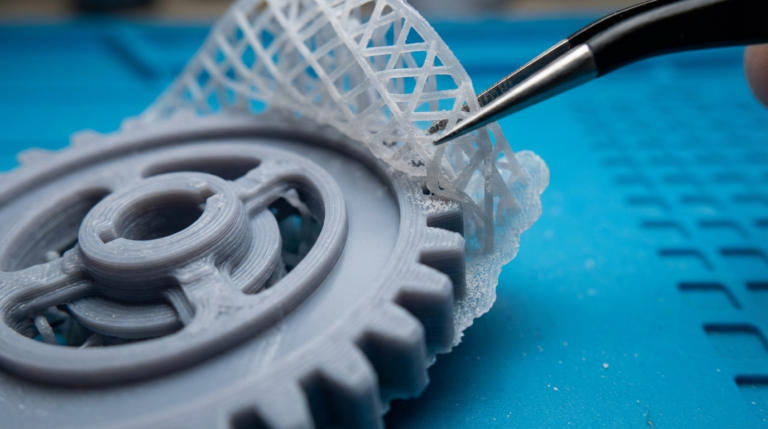
Photo by Keyvan Max on Unsplash
Adhesion Settings
I use a skirt (3 loops, 5mm offset) as my default adhesion setting. The skirt doesn’t touch the part — it just primes the nozzle and lets me verify the first layer is going down correctly before the actual print starts.
Switch to a brim for:
- Parts with a small footprint
- Tall, narrow parts
- Anything that’s given you warping trouble before
Brim width of 8-10mm works for most cases. I avoid rafts unless absolutely necessary — they waste material and leave a rough bottom surface.
Support Settings
Only enable supports when you actually need them. The Ender 3 can handle overhangs up to about 50-55° without support, which is better than the commonly cited 45° rule.
When you do need supports:
- Support pattern: Zigzag (easiest to remove)
- Support density: 15-20%
- Support Z distance: 0.2mm (one layer height)
- Support interface: Enable with 2 layers — gives a much smoother surface where supports contact the print
Tree supports in Cura are also excellent for organic shapes. They use less material and leave fewer marks on the print surface. I use tree supports for figurines and anything with lots of overhangs at different angles.
My Complete Cura Profile Summary for Ender 3
Here’s the full cheat sheet:
- Layer height: 0.2mm
- Line width: 0.4mm
- Wall count: 3
- Top/bottom layers: 4
- Infill: 20% grid
- Print speed: 50mm/s
- Wall speed: 25mm/s
- First layer speed: 20mm/s
- Travel speed: 150mm/s
- Nozzle temp: 200°C (PLA)
- Bed temp: 60°C (PLA)
- Retraction distance: 6mm
- Retraction speed: 25mm/s
- Fan: 100% from layer 4
- Adhesion: skirt (brim when needed)
- Support overhang angle: 55°
Common Issues and Quick Fixes
Stringing
Bump retraction distance to 6.5mm. Lower nozzle temp by 5°C. Enable “Combing Mode: Within Infill” to keep the nozzle moving over infill areas where strings won’t show.
Poor Bed Adhesion
Clean bed with isopropyl alcohol. Slow first layer to 15mm/s. Increase bed temp by 5°C. Increase first layer flow to 105%. Add a brim.
Rough Top Surface (Pillowing)
Increase top layers to 5-6. Make sure fan is at 100%. Consider using a top/bottom pattern of “concentric” for a cleaner look.
Layer Lines Too Visible
Drop layer height to 0.16mm or 0.12mm. Slow wall speed to 20mm/s. Make sure your belts are properly tensioned — loose belts cause inconsistent layers.
Under-Extrusion
Calibrate your e-steps (there are tons of tutorials for this — do it before messing with flow rate). Check for a clog. Replace the Bowden tube couplings — the stock ones on the Ender 3 are notorious for loosening and causing intermittent under-extrusion.
Final Advice for Beginners
Change one setting at a time. I know it’s tempting to tweak five things at once, but then you won’t know which change actually fixed your problem. Print a calibration cube (the standard 20x20x20mm XYZ cube) after each change and compare.
Save your working profile in Cura once you’ve dialed things in. Go to Profiles → Create Profile from Current Settings. Name it something like “My Ender 3 PLA” so you always have a known-good starting point.
The Ender 3 is a fantastic printer for the money, and with these settings, it can produce prints that rival machines costing three times as much. It just needs a little tuning out of the box. Once you get your baseline dialed in, you’ll be printing confidently in no time.