Best DIY 3D Printer Enclosure: Build Guide and Options
Why You Need a 3D Printer Enclosure
An enclosure isn’t just a luxury — for certain materials, it’s practically a requirement. If you’ve ever tried printing ABS on an open-frame printer and watched the corners peel up like banana skins, you already know the pain. But even for PLA-only printers, an enclosure offers real benefits that might surprise you.
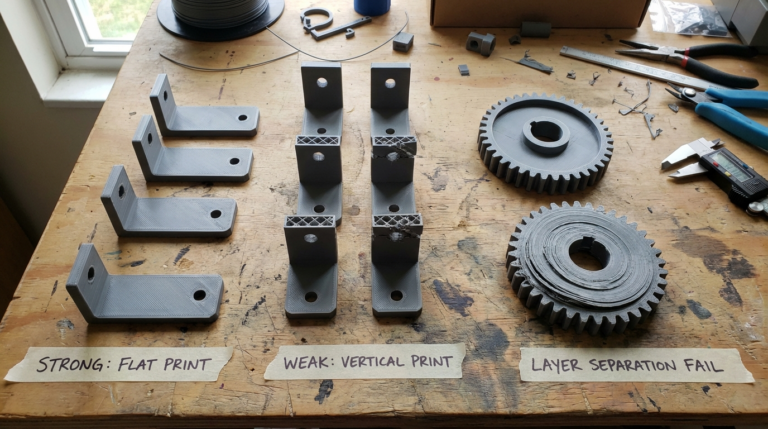
The core function of an enclosure is temperature stability. When your printer sits in the open, every draft from an air conditioner, every opened door, every person walking by creates micro-fluctuations in the air temperature around your print. These fluctuations cause uneven cooling, which leads to warping, layer splitting, and inconsistent surface quality.
An enclosure creates a stable thermal environment where the ambient temperature naturally rises from the heat of the bed and hotend. For ABS, this means the temperature differential between freshly deposited plastic and the surrounding air is smaller, dramatically reducing warping stress. For PETG, it improves layer adhesion. Even for PLA, it can eliminate those random first-layer adhesion failures that happen when your workshop temperature drops overnight.
Other Benefits You Might Not Think About
- Noise reduction: A well-built enclosure can cut printer noise by 5-10 dB, which is noticeable — especially during late-night prints.
- Fume containment: ABS and some other filaments release VOCs and ultrafine particles. An enclosure with a basic carbon filter keeps your breathing air cleaner.
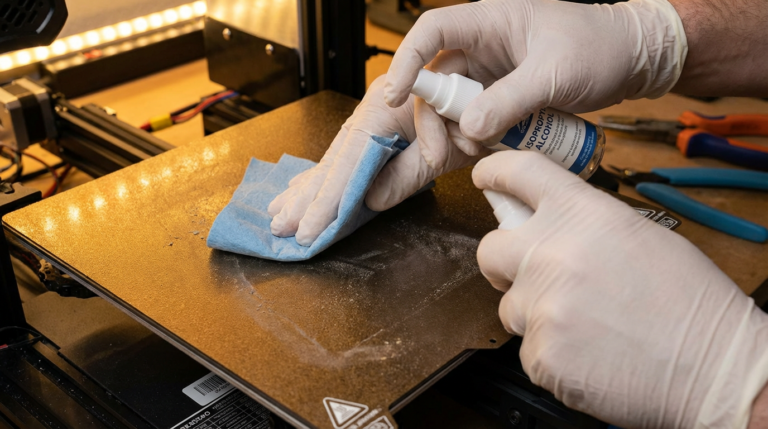
- Dust protection: Open printers are dust magnets. Dust on the build plate kills adhesion, and dust in the filament path causes clogs. An enclosure keeps both at bay.
- Child and pet safety: Hot beds, moving parts, and dangling filament are hazards. A closed box solves all three.
- Fire containment: While no enclosure is truly fireproof, a metal-lined enclosure can contain a small fire long enough for your smoke detector to alert you.
Option 1: The IKEA Lack Enclosure
The most popular DIY enclosure in the 3D printing community, and for good reason. It’s cheap, it works, and thousands of people have built one with detailed guides available online.
What You Need:
- 2× IKEA Lack side tables (~$10 each)
- Acrylic or polycarbonate panels (3-5mm thick)
- 3D printed corner brackets and door hinges (the irony of needing a printer to build an enclosure for your printer is not lost on anyone)
- Optional: LED strip, handles, magnetic door catches
How It Works:
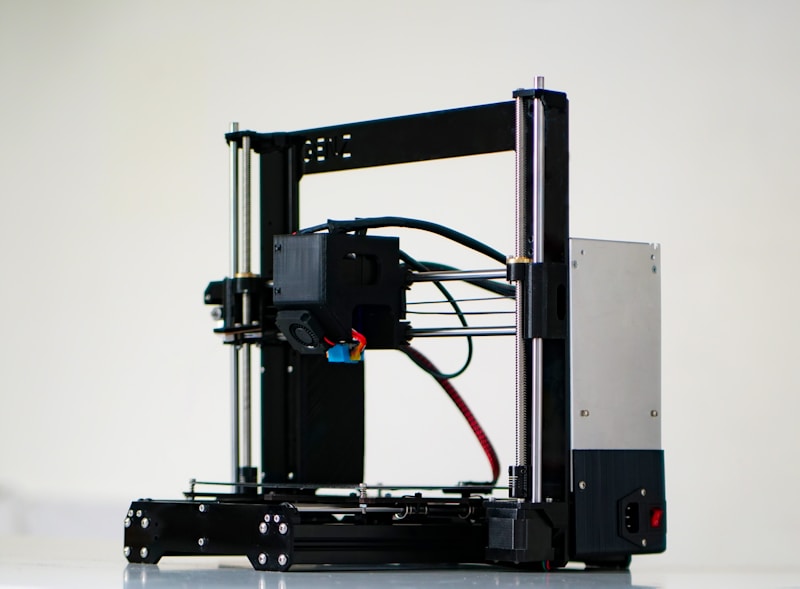
The Lack table dimensions happen to perfectly fit most Ender 3-sized printers. You stack two tables — one is the base (printer sits on top), the other flips upside down on top to create the roof. The gap between them forms the enclosure walls, which you fill with acrylic panels.
Total cost: $40-80 depending on the acrylic panels and extras. Build time: about 2-3 hours if you’ve already printed the brackets.
Pros:
- Extremely cheap
- Proven design with massive community support
- Easy to modify and customize
- Looks surprisingly decent
Cons:
- Lack tables are MDF — not heat resistant above 60°C ambient
- Won’t work for larger printers (designed for ~235mm bed)
- The open bottom means heat still escapes somewhat
- Requires cutting acrylic panels (or paying someone to do it)
Option 2: Creality-Style Fabric Enclosure
If you want something quick and don’t want to build anything, several companies sell fabric enclosures that fold up around your printer like a tent. Creality, Comgrow, and others make these for $30-60.
Pros:
- Zero build effort — unfold and done
- Portable and storable
- Available in sizes for most common printers
- Usually include viewing windows
Cons:
- Fabric doesn’t retain heat as well as rigid panels
- Limited customization
- The aluminum-coated ones reflect heat back to the printer, which can cause electronics overheating
- Not as durable long-term
These work fine for mild temperature stabilization and draft protection. If you just want to print PETG without warping and don’t want to commit to a full build, they’re a reasonable option.
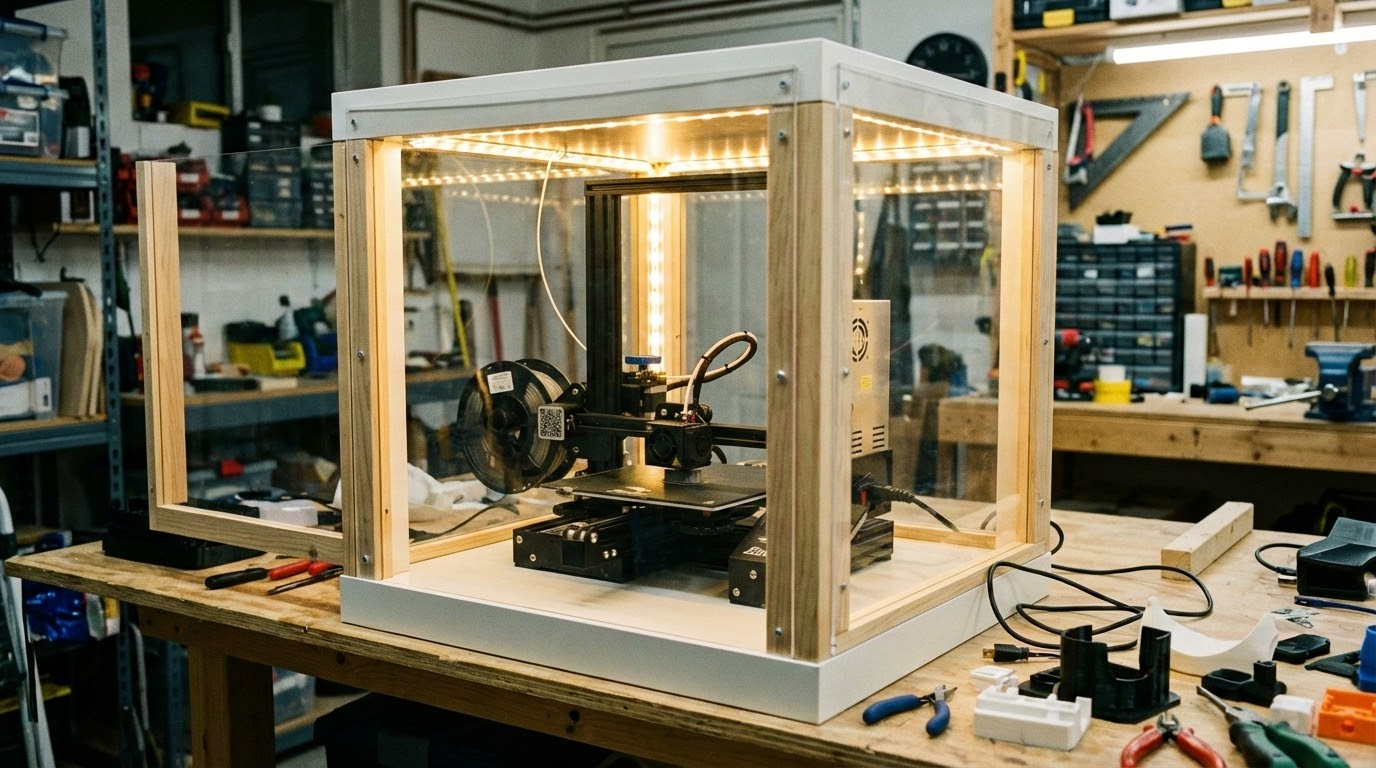
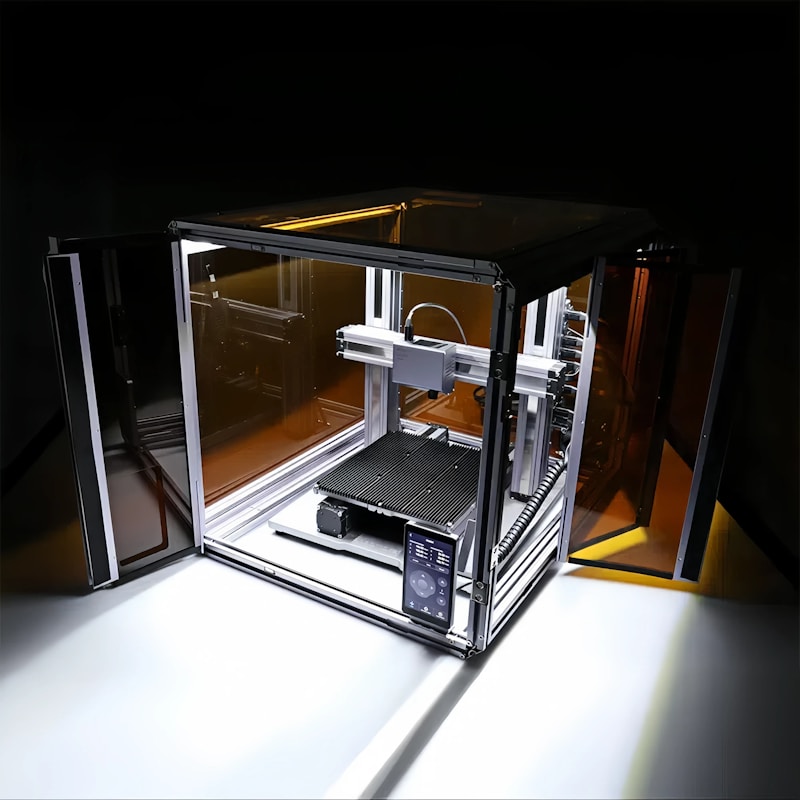
Option 3: Custom Build from Scratch
For the serious makers who want maximum performance and customization. A custom enclosure lets you size it perfectly for your printer, integrate ventilation, add fire-safe materials, and design it to look exactly how you want.
Materials to Consider:
- Aluminum extrusion frame (2020 or 2040): Strong, modular, and heat-resistant. This is the gold standard for custom enclosures. Use corner brackets or printed joints to assemble.
- Polycarbonate panels: Much better than acrylic for enclosures — higher heat resistance (130°C vs 80°C), impact resistant, and available in clear or tinted.
- Aluminum composite panels (ACM): Great for the back and sides where you don’t need visibility. Fire resistant and provides good insulation.
- Cork or foam insulation: Line the inside panels with 3-5mm cork for additional heat retention. This is especially useful for ABS and ASA.
Key Design Considerations:
Ventilation: You need controlled airflow. A sealed box will overheat your stepper motors and electronics. Install a 120mm PC fan with a carbon filter on one side, and a passive vent (with a flap you can close) on the other. Wire the fan to a thermostat so it kicks in when interior temperature exceeds your target.
Electronics placement: Move your printer’s control board and power supply outside the enclosure if possible. These components generate heat themselves and have thermal limits. Many people mount them on the back exterior of the enclosure with extended cables.
Spool placement: Filament should feed from outside the enclosure through a small PTFE-lined port. Hot, dry air inside the enclosure will make PLA softer and harder to feed. If you’re printing hygroscopic materials like nylon, a dry box feeding through the enclosure wall is the ideal setup.
Access: Make at least the front a hinged door or removable panel. You will need to access the printer more often than you think — removing prints, loading filament, adjusting the Z-offset, cleaning the bed. A magnetic latch system works great.
Temperature Targets
Different materials benefit from different enclosure temperatures:
- PLA: Room temperature is fine (20-25°C). PLA actually prints worse in hot enclosures because the filament softens in the extruder gears. If printing PLA in an enclosure, leave the door cracked open or run the vent fan.
- PETG: 30-40°C ambient helps with warping and layer adhesion.
- ABS: 45-60°C ambient dramatically reduces warping. This is where enclosures really shine.
- ASA: Similar to ABS, 45-55°C is ideal.
- Nylon: 45-60°C ambient, and the filament should be fed from a dry box.
- Polycarbonate: Needs 60-70°C ambient — this is where you need active heating (heated bed alone might not cut it).
Budget Breakdown
Here’s what to expect for each approach:
- IKEA Lack: $40-80 (tables + acrylic + printed parts + hardware)
- Fabric tent: $30-60
- Custom aluminum extrusion: $100-200 for materials, plus time
- Commercial enclosures (like the Creality Enclosed or Bambu Lab enclosure): $100-300 but limited to specific printer models
For most people, the IKEA Lack is the sweet spot of cost, performance, and effort. If you’re printing exclusively ABS/ASA and want the best performance, invest in a custom aluminum-frame build with insulation and active ventilation. And if you just need something now with zero effort, grab a fabric tent.
Whatever route you choose, even the most basic enclosure is a significant upgrade over printing in the open. Consistent temperatures mean consistent prints — it’s that simple.